Your Keurig®brewer will automatically fill
(priming it) and the water will be heated.
This takes less than 5 minutes. While
heating, the red HEATING Light will come
on. When ready, the red light will turn off.
Once finished, pour the hot water
into the sink.
The green Brew Size Indicator Lights
above the BREW Button will flash. If they
are not flashing, make sure the Handle is
pressed all the way down. Press the BREW
Button to start priming. The lights will
continue to flash until priming is complete.
While your brewer refills and reheats between
brews, the red HEATING Light will come on.
During this time the pump may cause a
vibration noise. This is normal. The red light
will turn off when the water has heated and the
brewer is ready.
The one-time priming process is now complete
and you are ready to enjoy your first cup!
Replace the Water Reservoir, then replace
the Water Reservoir Lid.
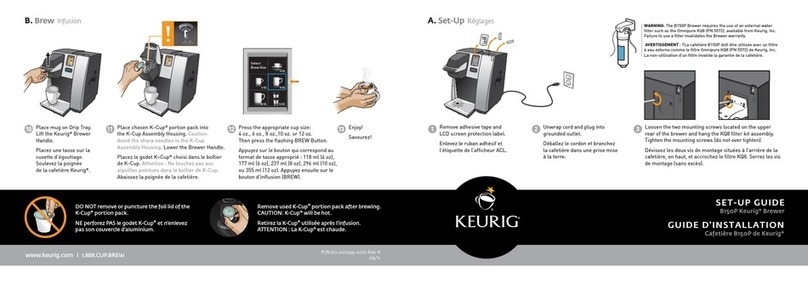
Place a large mug - that can hold 300 ml
(10 oz) or ½ pint - on the Drip Tray.
5 6 87 Lift and lower the Handle. DO NOT insert
a K-CupTM pack. The blue BREW Light will
flash. Press the BREW Button to start a
cleansing brew. Hot water will flow into
your mug.
910
www.keurig.co.uk
DO NOT lift the Handle while heating
or brewing.
Remove used K-CupTM pack after brewing.
CAUTION: K-CupTM pack will be hot.
NOTE: If your brewer has been exposed to
temperatures below freezing, we recommend you
allow two hours for an unpacked brewer to warm
to room temperature before powering on.
DO NOT remove or puncture the foil lid of the
K-CupTM pack.
DESCALE
PUSHTO BREW
AUTOOFF
ADDWATER
BREW
POWER
DRAINBREWER
HEATING
DESCALE
PUSHTO BREW
AUTOOFF
ADDWATER
BREW
POWER
DRAINBREWER
HEATING
DESCALE
PUSHTO BREW
AUTOOFF
ADDWATER
BREW
POWER
DRAINBREWER
HEATING


