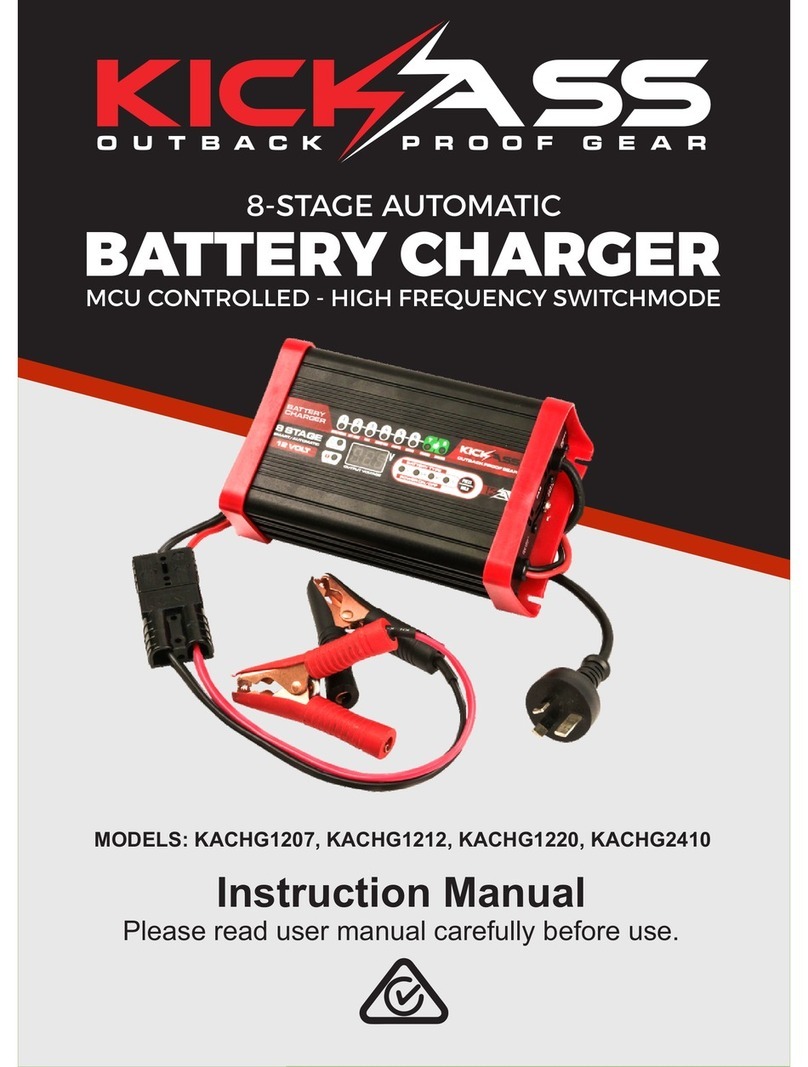
KICK ASS KACHG1220 LI-ION User manual

8 STAGE LITHIUM
BATTERY CHARGER
INSTRUCTION MANUAL

ŸExplosive gases may escape from the battery during charging. Prevent flames and
sparks. Provide adequate ventilation.
ŸBefore charging, read the instructions.
ŸFor indoor use. Do not expose to rain.
ŸFor charging 12 Volt lithium-ion with LiFePO4 batteries ONLY.
ŸDisconnect the 110V/220-240V AC mains supply before making or breaking the
connections to the battery.
ŸThe battery charger must be plugged into an earthed socket-outlet.
ŸConnection to supply mains is to be in accordance with National wiring rules.
ŸDo not attempt to charge non-rechargeable batteries.
ŸNever charge a frozen battery.
ŸIf the AC cord is damaged do not attempt to use. It must be replaced or repaired by a
qualified person.
ŸCorrosive substances may escape from the battery during charging and damage
delicate surfaces. Store and charge in a suitable area.
ŸEnsure all vehicle accessories including lights, heaters, appliances etc are turned off
prior to charging.
ŸThis appliance is not intended for use by young children or infirm persons unless they
have been adequately supervised by a responsible person to ensure that they can use
the appliance safely.
ŸYoung children should be supervised to ensure that they do not play with the
appliance.
WARNING
FEATURES
12v automatic lithium battery charger
This fully automatic charging prevents your battery from being overcharged.
8 stage charging is a very comprehensive and accurate charging process which ensures the
longest life and best performance from your battery.
This battery charger is designed for lithium batteries with LiFePO4 only.
The 8 stages are:
Soft start, bulk, absorption, analyse, completion, maximisation, float and maintain.
STEP 1
1 2 34568
STEP 2 STEP 3 STEP 4 STEP 5 STEP 6
7
INCREASES
BATTERY LIFE BY
GENTLY STARTING
TO CHARGE
THE BATTERY.
CHARGING WITH
MAXIMUM CURRENT
UNTIL APPROXIMATELY
90% BATTERY
CAPACITY.
CHARGING WITH
DECLINING CURRENT
TO MAXIMIZE UP
TO 95% BATTERY
CAPACITY.
TESTS IF THE BATTERY
CAN HOLD CHARGE.
BATTERIES THAT CAN
NOT HOLD CHARGE MAY
NEED TO BE REPLACED.
FINAL CHARGE
WITH INCREASED
CURRENT.
FINAL CHARGE
WITH MAXIMUM
VOLTAGE UP TO
100% BATTERY
CAPACITY.
STEP 7 STEP 8
FLOAT CHARGE
MAINTAINS THE
BATTERY AT
100% CHARGE.
MAINTENANCE
CHARGING.
A
V
1

LIMIT
STEP 1
SOFT START
STEP 2
BULK
STEP 3
ABSORPTION
STEP 4
ANALYSE
STEP 5
COMPLETION
STEP 6
MAXIMIZATION
STEP 7
FLOAT
STEP 8
MAINTAIN
25% Current until 11V
100% Current until
13.8V
Constant 13.8V until
current drops to15%
Checks if voltage
drops to 12V
30% Current until 14.5V
Constant 14.5V until
current drops to15%
13.6V ,100% Current
During 13.4V-13.8V ,
the current control at
100%~20%
10 days Charge cycle
restarts if voltage drops*
Max 30s
Max 10h
30 minutes
3 minutes
30 minutes
Charge cycle restarts if
voltage drops
STEP CURRENT & VOLTAGE
POLARITY PROTECTION:
Prevents sparking and short circuit faults from charger being incorrectly connected.
OUTPUT SHORT PROTECTION
Revents sparking or short circuit cause by the clips touching each other.
NON BATTERY LINK PROTECTION:
If the charger connects to a non battery load it will go into a protective state.
OVER VOLTAGE PROTECTION
The lithium battery will automatically go into a protective state if the voltage is 15.5 volts or
higher.
OVER TEMPERATURE PROTECTION:
If internal temperature is above 65+/-5°C
COOLING FAN:
The charger is fitted with a thermostatically controlled fan to cool the onboard electronics
and maintain charging performance.
PROTECTIVE FEATURES
2

PRODUCT OVERVIEW
8
9
The 8-stage 12V automatic lithium battery charging consists of the following components:
1. ON/OFF button
2. Stage lamp status display
indicates power, charging and
fully charged.
3. Power lamp
4. Fault Led
5. Output voltage meter
6. DC leads.
7. Power Cord
8. Thermostatically controlled
cooling fan.
9.Ground terminal
10.Mounting flange.
11.5.0mm mounting hole.
12.Ventilation hole
1
2
3
4
10
11
12
5
7
6
3

Power Off
Power On
Stage
Note: Solid : Flashing :
Power on
lamp
Stage
lamp
Fault
lamp
(Step 4 Lamp)
(Step 2 Lamp)
(Step 1 Lamp)
LED
display
00.0
- U -
- t -
Battery volt
00.0
Out volt
1.Soft Start
2.Bulk
3.Absorption
4.Analyse
5. Completion
6.Maximization
7.Float
8.Maintain
Non Battery Link Protection
Output Short Protection
Output Polarity Reverse
Protection
Disconnect Protection
Over Voltage Protection
Not accept charge
Faulty Battery
can not keep charge
Battery Charge Fully
Thermal Protection
(Step 7 Lamp)
The 12V AUTOMATIC LITHIUM BATTERY CHARGING and STAGE LAMP will illuminate and
flash in various patterns to indicate the different stages of charging.
See below for flash / steady patterns.
CHARGE STATUS INDICATOR
4

POWER ON LAMP:
If the power lamp is lit with a:
1.steady light
The mains is connected to a wall socket
2. Flashing light
The charger has entered the energy saving mode,
This happens if the charger hasn’t been connected to a battery within 2 minutes of being
turned on.
FAULT LAMP
If the fault lamp is solid,check the following
Has the charging stage been interrupted in stage 1,2 or 4?
Restart the charger by pressing the on/off button.
If the charger is still being interrupted check the battery.
STEP 1. The battery may be faulty and may need replaced.
STEP 2. Bulk charging has timed out and stopped after 10 hours of being charged.(replace
battery)
Step 3. If fault light is flashing chargers internal temperature is higher 65 oC (disconnect
charger from battery and allow fan to cool charger)
5

SKU
Charger type
Input voltage
Input power
Output voltage
Output current
Minimum start voltage
Back drain
Current fuse rating
KACHG1220_LI-ION
8 stage automatic lithium
220/240 volt 50/60 Hz
554W
12 volt DC
20 Amp
1.0 volt
4 mA
250 volt T5A
Soft start
Bulk
Absorption
Analyse
completion
Maximization
Float
Maintain
Efficiency
Thermal protection
Cooling Fan
Ambient temperature
Over voltage protection
25% current until 11 V
20 A up to 13.8 V
Constant voltage until current drops to 3A
Monitors voltage for 3 minutes
6A Current until 14.5 V
Constant 14.5 V until current drops to 3A
13.6V 100% Current
13.4 V to 13.8 V 20-4A
App 85%
65°C
Automatic temperature controlled
-20 to +50°C
15.5V
Deep cycle
Types of batteries
Dimensions (LxWxH)
Weight
40 to 200 Ah
LiFePo4 lithium batteries
217x116x62
1.28kg
SPECIFICATIONS
CHARGE CONTROL
BATTERY RANGE
* Internal fuses may only be replaced by a qualified electrician.
6

CHARGING INSTRUCTIONS
Connect the charger to the battery and turn on charger
Charger will go into diagnostic mode and check itself before beginning the charge process.
During the charge process the charging and stage lamp will flash in various patterns this
indicates the state of charge that the battery is in. When the stage lamp is on this is known
as float stage and this can be left on the battery without overcharging.
DISCONNECTING:
Turn off charger.
Remove BLACK lead from battery first , then remove RED lead from battery.
MOUNTING INSTRUCTIONS
Stage chargers are designed for indoor use out of the weather
Ensure the battery and charger are installed in a well ventilated area
During charging.
If permanently mounting the charger be sure to allow a minimum of 10 cm clearance from
end plates this will allow adequate ventilation for the cooling fan.
3.5mm
mounting hole
7

Inline fuse
RED BLACK
Ring terminal
FAN
Note: If permanently installing the charger a 40 Amp fuse will be required to be fitted on
the positive (red) wire.
Error Code
Fault
lamp
Cause Remedy
Polarity Reverse
/ Output Short
Short circuit
or reverse
connection of
the clips.
Check clips are not
touching each other
OR Check the clips are
correctly connected to
the battery.
Non Battery
Link Non battery link.
Please choose the
right battery type for
connection.
Over Voltage
The 12V lithium
battery voltage
is above 15.5V.
Over
Temperature
Internal
temperature
is above
O O
65 C +/-5 C.
Turn off charger and
allow to cool.
Faulty
Battery
Bulk charging
has timed out
and stopped after
10 hours.
Battery is faulty and
may need to be
replaced.
Disconnect the
charger and check
the battery voltage.
This charger is
suitable for 12V
Batteries only.
Power on
lamp
Stage
lamp
(Step 2
lamp)
There are error codes that may be displayed. These will be displayed in the following way:
FAULT CODES
8

ALWAYS PLACE THE12V AUTOMATIC LITHIUM BATTERY
CHARGER IN AN ENVIRONMENT WHICH IS:
A. WELL VENTILATED.
B. NOT EXPOSED TO DIRECT SUNLIGHT OR HEAT SOURCE.
C. OUT OF REACH FROM CHILDREN.
D. AWAY FROM WATER / MOISTURE, OIL OR GREASE.
E. AWAY FROM ANY FLAMMABLE SUBSTANCE.
F. SECURE NO RISK OF FALLING.
ŸThe charger is designed for charging 12V Lithium-ion batteries with LiFePO4 batteries .
ŸDo not use the charger for any other purpose.
ŸCheck the charger cables prior to use. Ensure that no cracks have occurred in the cables
or in the bend protection. A charger with damaged cables must not be used.
ŸA damage cable must be replaced by a professional representative.
ŸNever charge a damaged battery.
ŸNever charge a frozen battery.
ŸNever place the charger on top of the battery when charging.
ŸAlways provide for proper ventilation during charging.
ŸAvoid covering the charger.
ŸA battery being charged could emit explosive gasses. Prevent sparks close to the
battery. When batteries are reaching the end of their lifecycle internal sparks may occur.
ŸAll batteries fail sooner or later. A battery that fails during charging is normally taken
care of by the chargers advanced control, but some rare errors in the battery could still
exist. Don’t leave any battery during charging unattended for a longer period of time.
ŸEnsure that the cabling does not jam or comes into contact with hot surfaces or sharp
edges.
ŸThis appliance is not designed for use by young children or people who cannot read or
understand the manual unless they are under the supervision of a responsible person to
ensure that they can use the battery charger safely. Store and use the battery charger
out of the reach of children, and ensure that children cannot play with the charger.
ŸConnection to the mains supply must be in accordance with the national regulations
for electrical installations.
From the Team,
Thank You For Your Purchase!
CAUTION
SAFETY
9
Table of contents
Other KICK ASS Batteries Charger manuals

KICK ASS
KICK ASS KADCDC25A-AND User manual

KICK ASS
KICK ASS KADCDC25A User manual

KICK ASS
KICK ASS KADCDC20A-CAR User manual

KICK ASS
KICK ASS KACHG128 User manual

KICK ASS
KICK ASS KACHG1207 User manual

KICK ASS
KICK ASS KICKCHARGE 10K User manual

KICK ASS
KICK ASS KADCDC40A-AND User manual

KICK ASS
KICK ASS KACHG1222 User manual