KiloVault Uniti User manual

KiloVault Uniti
USERS GUIDE

Note: � Read this entire document, in addition to the equipments Installation Manual, before installing or using the KiloVault
Uniti. Failure to do so or to follow any of the instructions or warnings in this document can result in electrical shock, serious
injury, or death, or can damage the Uniti, potentially rendering it inoperable.
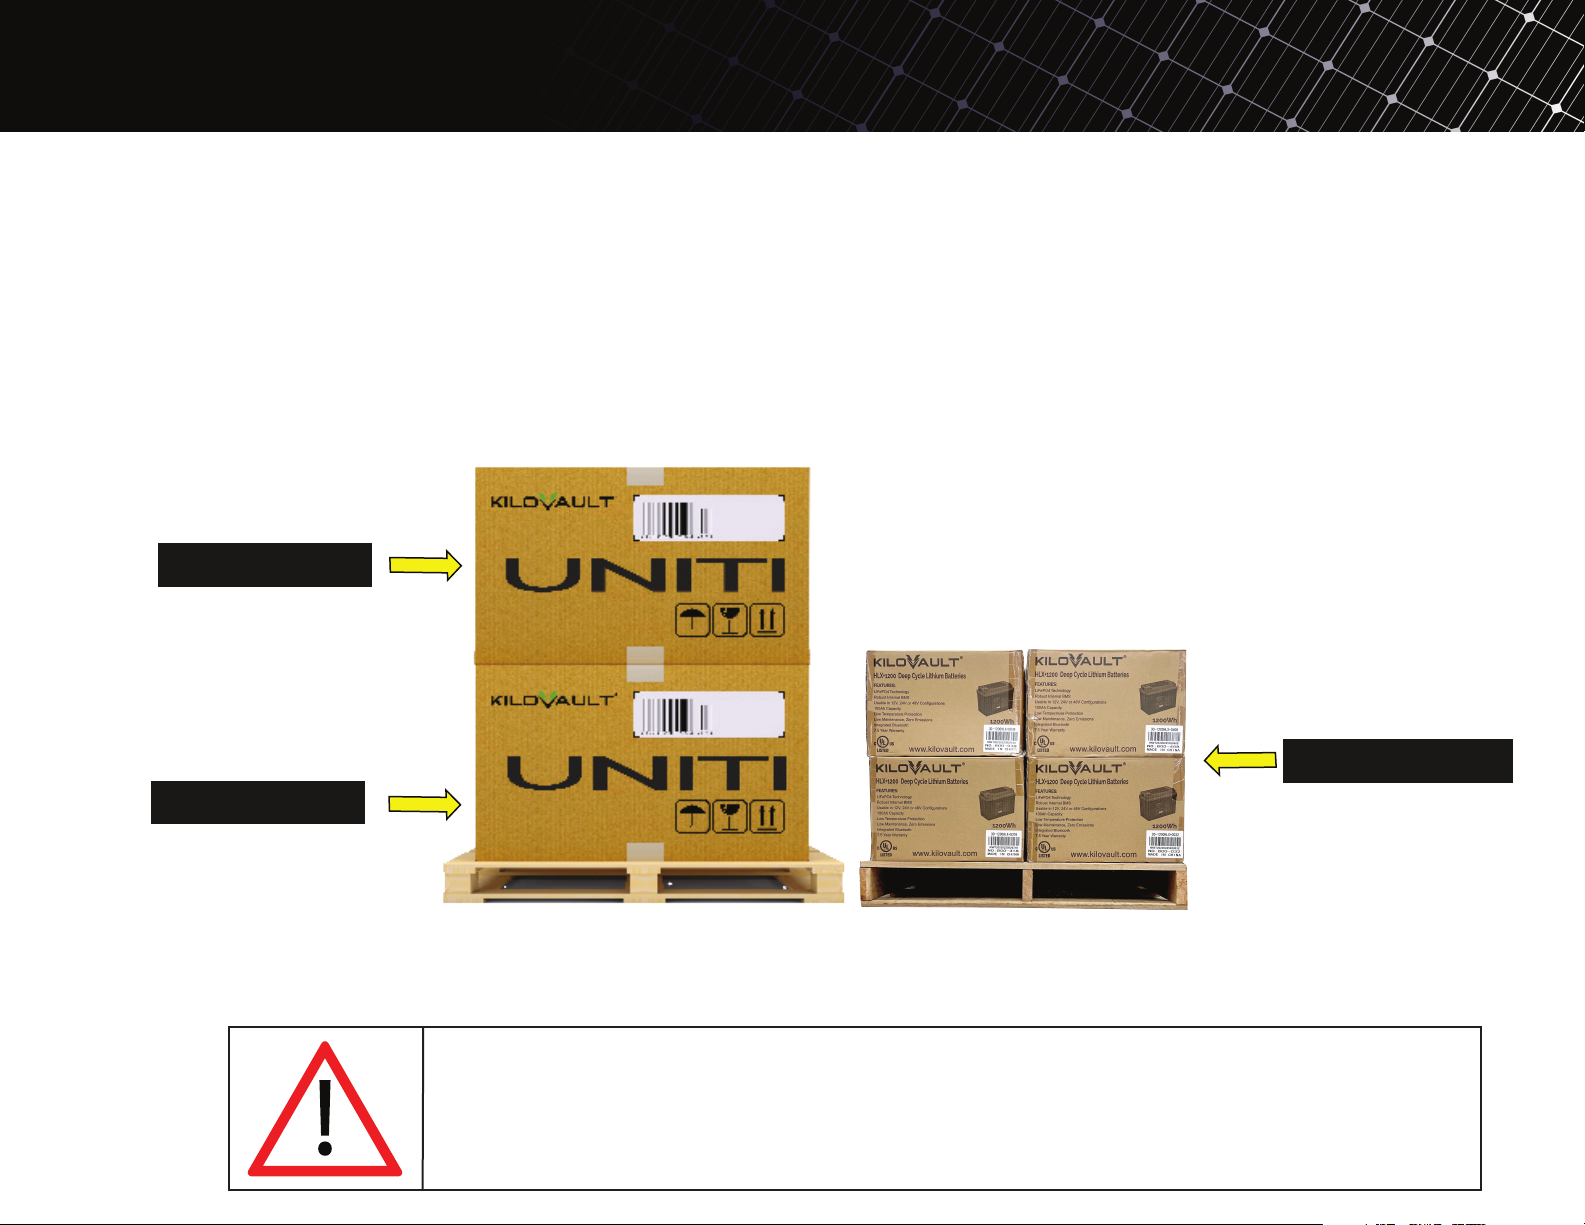
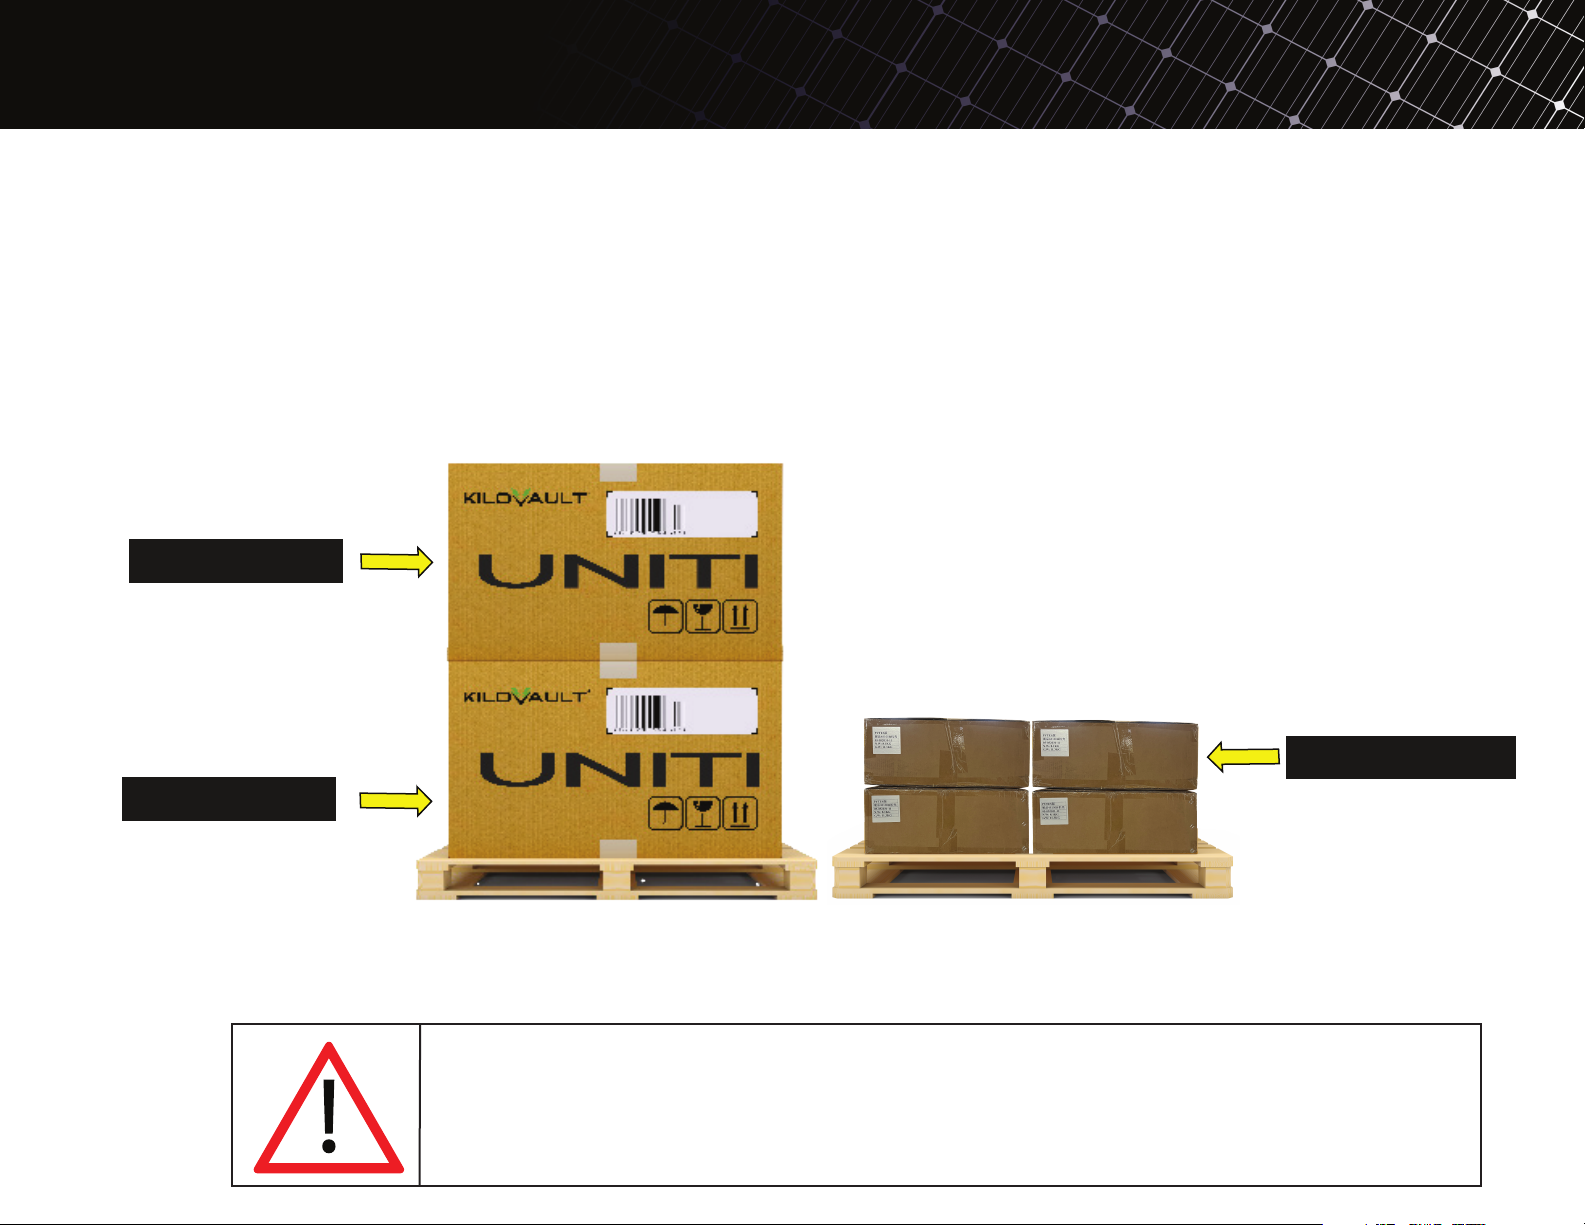
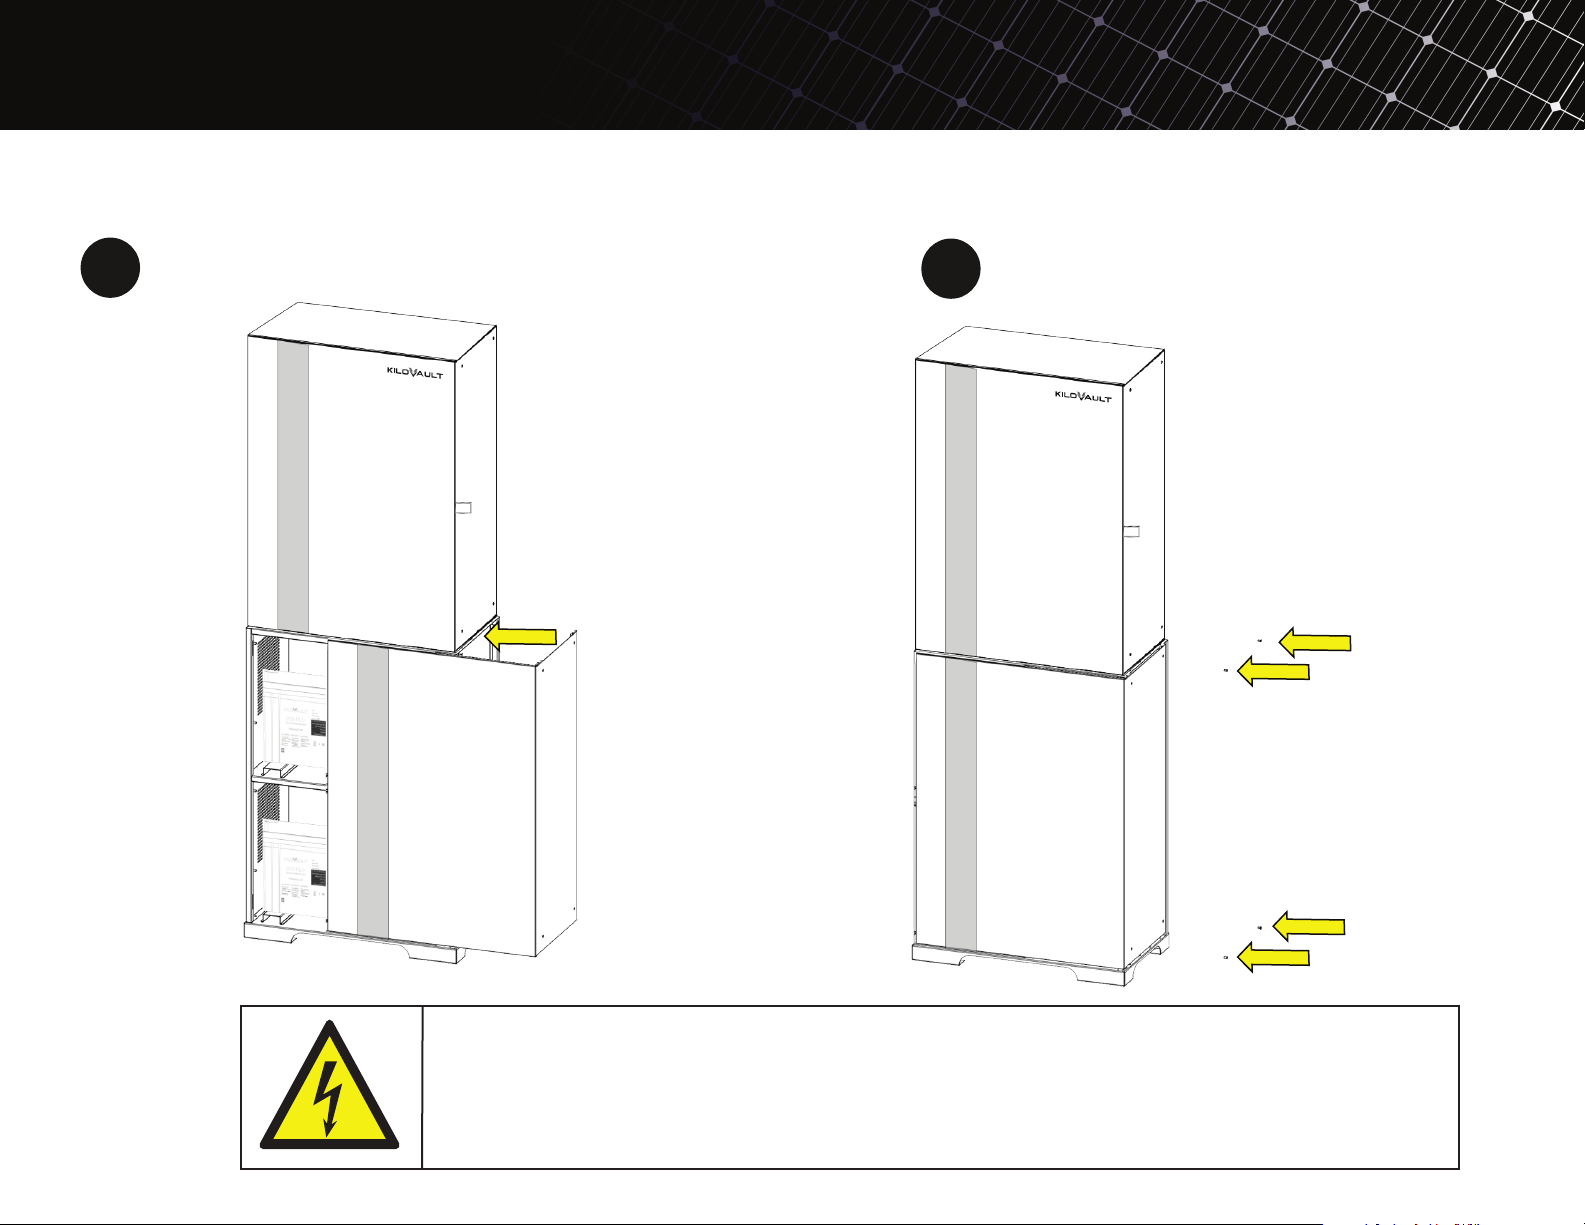
�Prior to installing the KiloVault Uniti, please take pictures of the label on the left side, including the serial number, serial
number bar-code, QR code, and MAC address. Store this information for your records, it is valuable and may be neces-
sary for system configuration or troubleshooting. Depending on your Equipments position, viewing this information after
installation may be difficult.
KiloVault Uniti USERS GUIDE
Registration
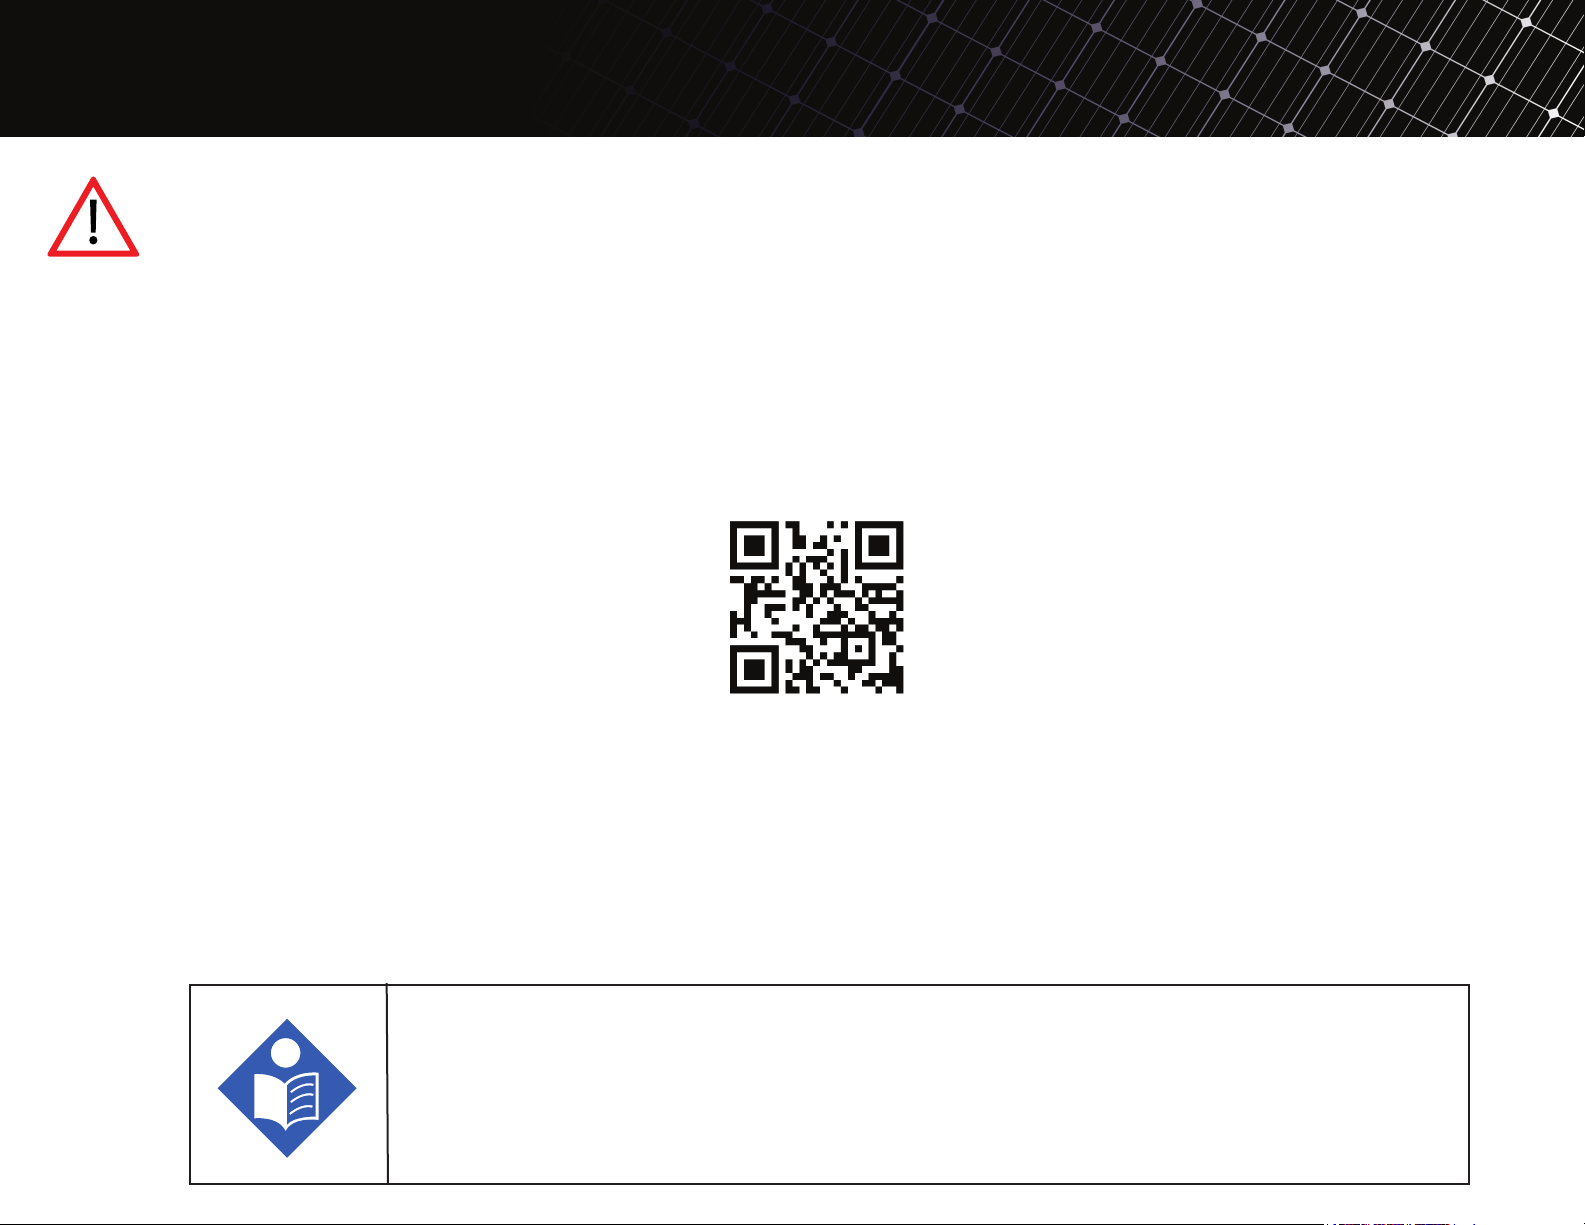
While the KiloVault Uniti is still in its packaging, Register the KiloVault Uniti
Download the KiloVault iT app and Activate the HLX+ series on the web.
•Failure to activate the KiloVault Uniti on the WEB will void the Warranty.
•Scan the QR code with your mobile device to be redirected to the KiloVault registration page.
•The information included in this manual is accurate at the time of publication. However, this
manual is subject to change without prior notice as we continuously improve our products.
This publication could include technical or other inaccuracies or typographical errors. Changes are periodically added to the information herein;
these changes will be incorporated in new editions of the publication. KiloVault® may make improvements and/or changes in the services,
facilities or specifications described in this publication at any time. Please note: If this unit is installed by someone other than the end-user, the installer
must explain the contents of this installation and user’s manual to the end-user.�

•Keep the KiloVault Unit in its box until you are ready to install it.
•Open the box and inspect all contents to ensure all items in the box are
undamaged.
Uniti EcoFreedom 5 - What you received
Inverter Cabinet
HLX+ Series Batteries
Battery Cabinet
"DO NOT DISCARD CRATE AND INTERNAL PACKAGING."

•Keep the KiloVault Unit in its box until you are ready to install it.
•Open the box and inspect all contents to ensure all items in the box are
undamaged.
Uniti Pro- What you received
Inverter Cabinet
HLX+ Series Batteries
Battery Cabinet
"DO NOT DISCARD CRATE AND INTERNAL PACKAGING."

Install the man body to the base.
STEP 1
Battery Cabinet
Cabinet Base
Prepare the required parts.
12
Fix the main body and the base by 10 screws.
3
•
Place the battery cabinet of the KiloVault Uniti onto the base. Using the ten bolts provided secure
the Battery cabinet to the base.
Tighten the screws.
4
Installing Base

Installing the top cabinet
Battery Compartment
Install the cable box to the top of the main body.
12Tighten the screws.
•Ensure critical or primary load center is de-energized or disconnected.
•Ensure AC source is de-energized or disconnected.
•Ensure all breakers are off.
STEP 2

STEP 4
11
Positive
Bus Bar
Negative
Bus Bar
Positive
Bus Bar
Negative
Bus Bar
Each Level are connected in series.
Each level holds (4) HLX+ Batteries.
STEP 3 Installing the Batteries (Uniti Eco Freedom)
•Ensure critical or primary load center is de-energized or disconnected.
•Ensure AC source is de-energized or disconnected.
•Ensure all breakers are off.
(Uniti EcoFreedom 5)

Attach the side cover to the main body, Slid the front cover in.
1Fix the side cover and the main body with screws.
2
STEP 4 Install the side cover
•Ensure critical or primary load center is de-energized or disconnected.
•Ensure AC source is de-energized or disconnected.
•Ensure all breakers are off.
(Uniti EcoFreedom 5)

Load the batteries into the cabinet from bottom to top.
1
2
Fix the batteries to the main body with screws.
3
Tighten the screws.
•Note: When making the connections, be sure to observe correct
hardware stacking and proper polarity, and ensure that nothing
obstructs the connection between the terminal surface and the
battery cable lug.
(Uniti Pro)

Connect the batteries to the busbar
with the power cables provided.
STEP 5
1Connect the communication cables
between batteries as shown in the
pic, and connect the host battery
with the battery to inverter com cable.
3
3
Connect the cables (Uniti Pro)
Connect the provided ground wire
between the batteries.
2
•After the communication cables are connected.
•Set the batteries address using the address DIP switch
•Refer to Pytes Users Manual
3
STEP 5

•Ensure critical or primary load center is de-energized or disconnected.
•Ensure AC source is de-energized or disconnected.
•Ensure all breakers are off.
Attach the side cover to the main body Slid the front cover in.
STEP 6 Install the side cover

120 VAC outlet Breaker.
120 VAC 15 Amp outlet.
Safety Breakers
Light Breaker Light Breaker
Load Breakers Inverter DC Breakers
Positive Busbar Negative Busbar

•Before operating the Uniti be sure to read this Setup Guide and the full users manual..
•Even though the inverter is programed before shipping it is critical to program your inverter or charge con-
troller's settings for correct operation, improper programming of your system equipment may invalidate
your battery warranty and could degrade system performance.
Unit Eco Freedom
Basic Inverter Settings.
01 Output Source Priority
SOL
PV priority mode, switching to the Mains when the PV fails or the battery is
lower than the set value of the parameter.
02 Output Frequency
60.0 Hz
03 AC Input Voltage Range
APL
Wide mains input voltage range of 230V Machine: 90~280V
Mains input voltage range of 230V machine: 90~280V
04 Battery Power to Utility Setpoint
50.8V
When the parameter [01]=SOL/SBU, the battery voltage is higher than set
value, and the output is switched from mains to the inverter. Setting range:
44V~52V
05 Utility to Battery Power Setpoint
56.0V
When the parameter [01]=SOL/SBU, the battery voltage is higher than set
value, and the output is switched from mains to the inverter. Setting range:
48V~60V

•Ensure critical or primary load center is de-energized or disconnected.
•Ensure AC source is de-energized or disconnected.
•Ensure all breakers are off.
SNU Default
PV and Mains hybrid charging: PV charging is a priority, and when
the PV energy is insufficient, the Mains charging supplements.
When the PV energy is sufficient, the Mains charging stops.
NOTE:
Only when the Mains bypass output is loaded, the PV charging and
the mains charging can work at the same time. When the inverter
is in use, only the PV charging can be started.
06 Charge source priority
07 Max charger current
80A default
Max charger current (AC charger + PV charger)
Setting range: 0~80A
08 Battery Type
[08]
Use User-defined; all battery parameters can be set.
09 Battery Absorption charge voltage
56.4V
10 Battery Absorption charge time
5 Minutes
11 Battery float charge voltage
53.6V
12 Battery over discharge voltage
48V default
13 Battery over discharge delay time
5 SEC default
14 Battery under voltage alarm
50.4V
15 Battery discharge limit voltage
50.0V
16 Battery equalization enable
DIS Equalizing charge is disabled

•Ensure critical or primary load center is de-energized or disconnected.
•Ensure AC source is de-energized or disconnected.
•Ensure all breakers are off.

•Ensure critical or primary load center is de-energized or disconnected.
•Ensure AC source is de-energized or disconnected.
•Ensure all breakers are off.
Max Amps Charge/Discharge
185A is the max amps that Sol-Ark 12K. Fill in the max
amps or (50A*unit numbers) which is lower.
(For example, there are three Pytes E-BOX batteries
and one 12K Sol-Ark inverter in a system. The max
amps of 12K is 185A and three batteries can support
150A(50*3). So the number should fill in is 150A.)
Battery Setup
A. Select “Use Batt% Charged”.
B. Enable “BMS Lithium Batt” and set its value to “00”.
C. Turn on “Activate Battery”.
D. Note that enabling BMS Lithium Batt 00 will adjust
some values and make other
Battery Capacity
100 Ah per unit
Uniti Pro
Inverter Settings.

KiloVault® Uniti Series
Pre-wired energy storage system
KiloVault* LLC
330 Codman Hill Road Boxborough,
MA 01719 +1(888)218–5924
[email protected].kilovault.com

KiloVault Uniti
USERS GUIDE
Table of contents
Other KiloVault Batteries Pack manuals
Popular Batteries Pack manuals by other brands

IOGear
IOGear GMP2000P quick start guide

NOCO Genius
NOCO Genius XGrid Important product information guide and limited warranty

EnerSys
EnerSys powerbloc dry XFC Series Operation and maintenance instruction

Huawei
Huawei LUNA2000-15-S0 quick guide

LEGRAND
LEGRAND Battery Box 24V user manual

Bosch
Bosch PowerPack 300 Original operating instructions