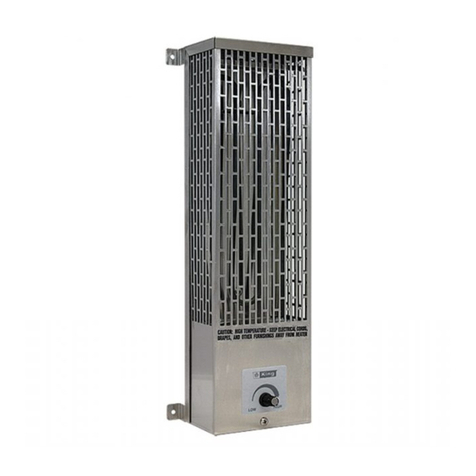
KING PCKW Series Instruction Manual
Other KING Heater manuals
KING
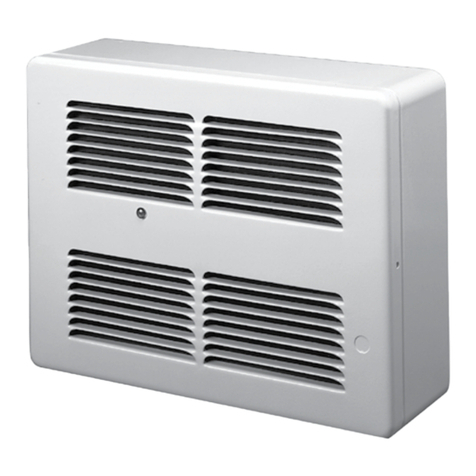
KING SL Series User manual
KING
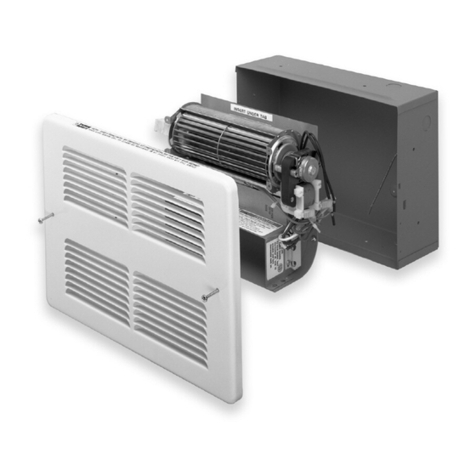
KING WHF Fan Force Electric Space Heater User manual
KING
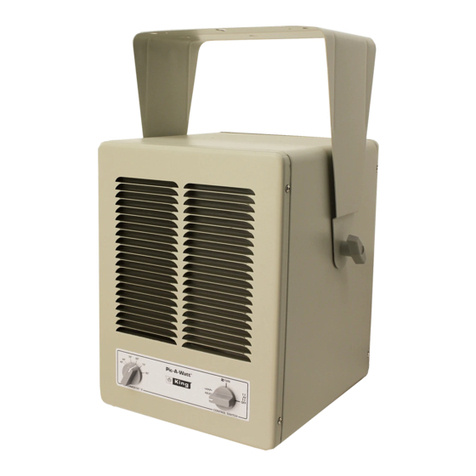
KING KBP2406 User manual
KING
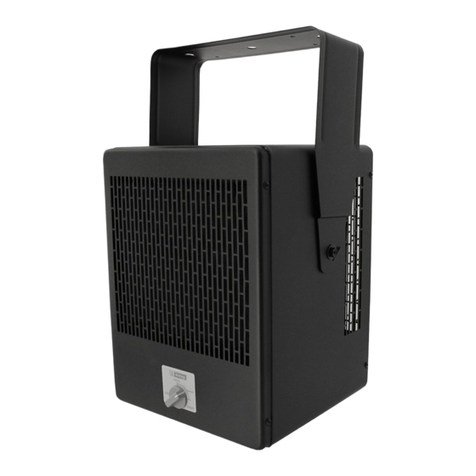
KING EKB Series Installation instructions manual

KING
KING K Series Guide
KING
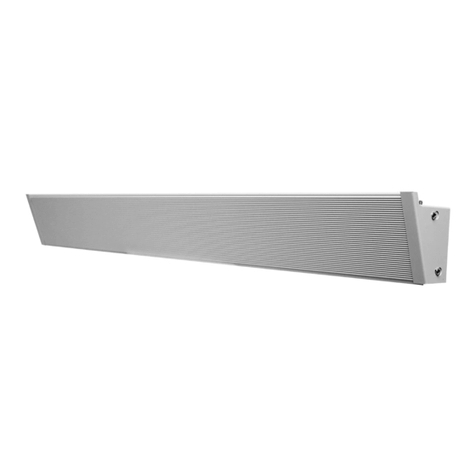
KING KCV SERIES User manual

KING
KING U Series User manual
KING
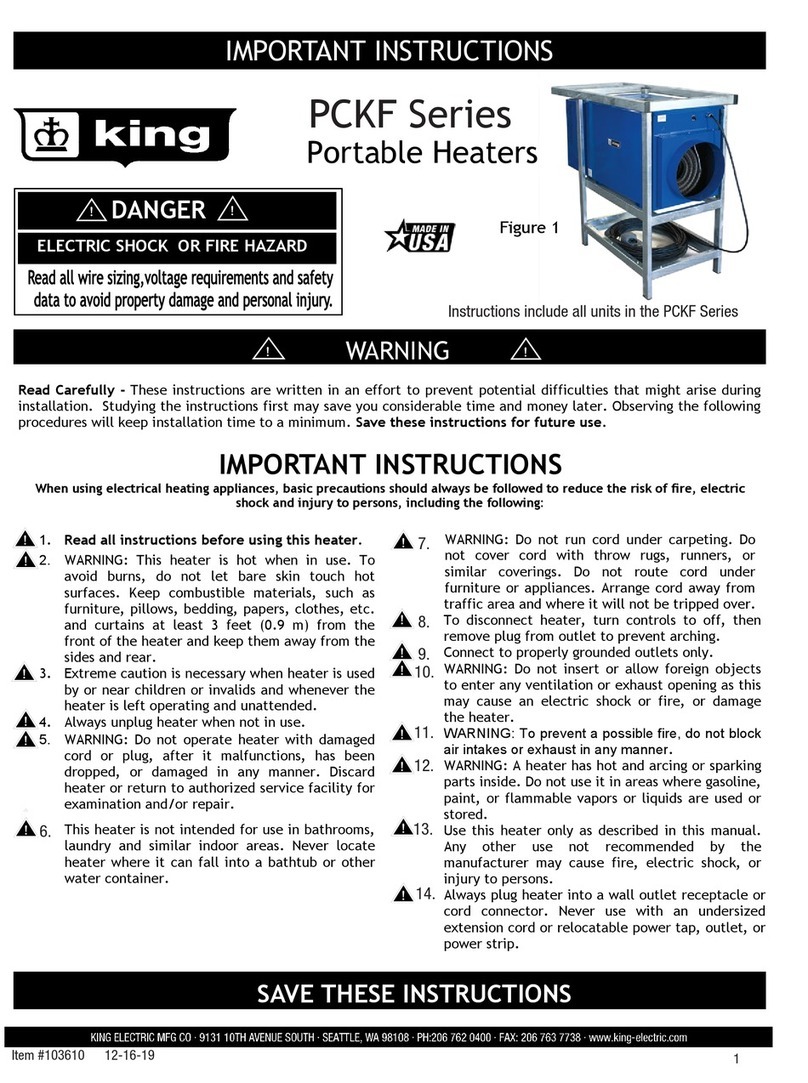
KING PCKF Series Installation instructions manual

KING
KING 2016E User manual

KING
KING KCV Series User manual
KING
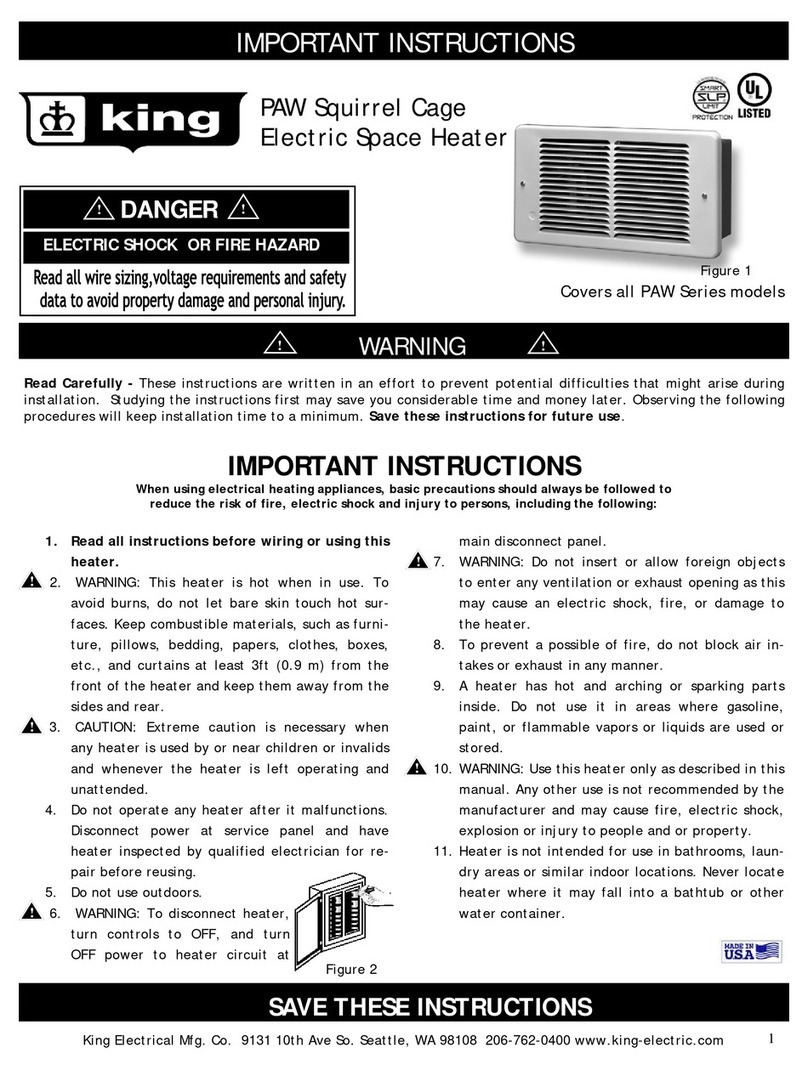
KING PAW Series User manual
KING
KING KVC Series User manual
KING
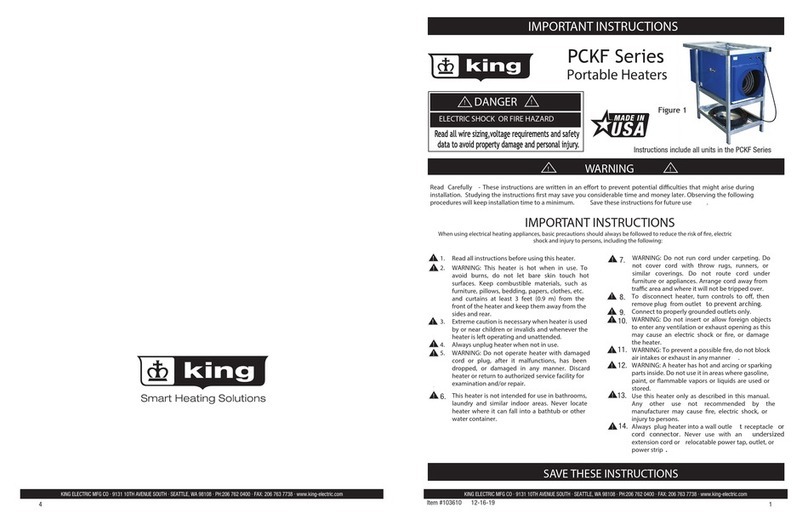
KING PCKF Series Installation instructions manual
KING
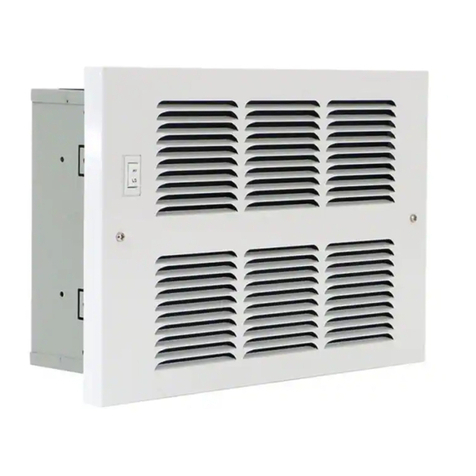
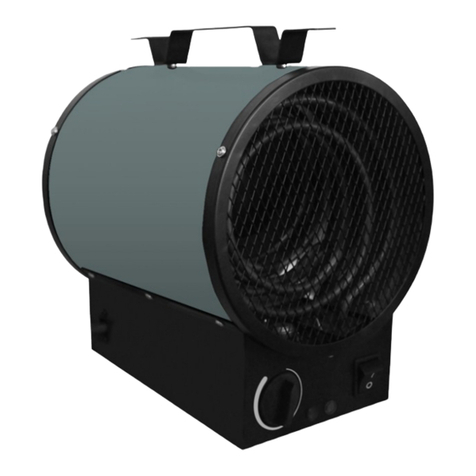
KING H412 2/3-FS-GW User manual
KING
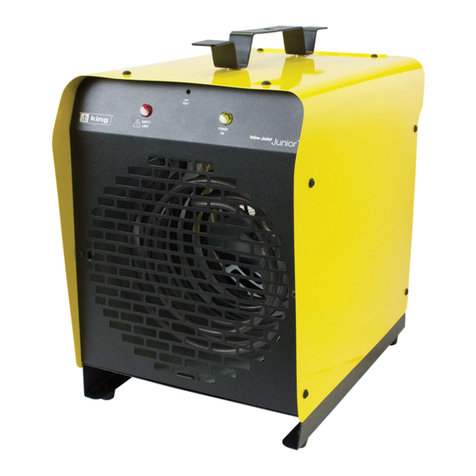
KING PGH2440TB Instruction Manual
KING
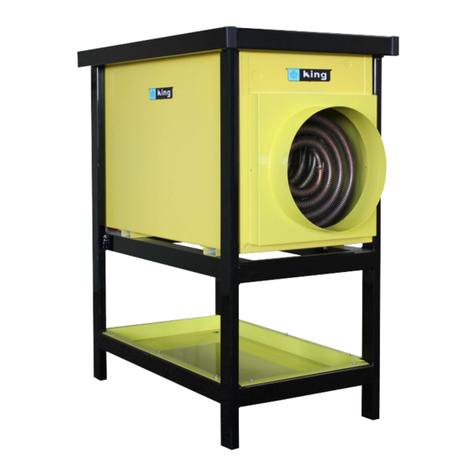
KING PSH2440TB Instruction Manual
KING
KING PCK Series Installation instructions manual

KING
KING K series Guide

KING
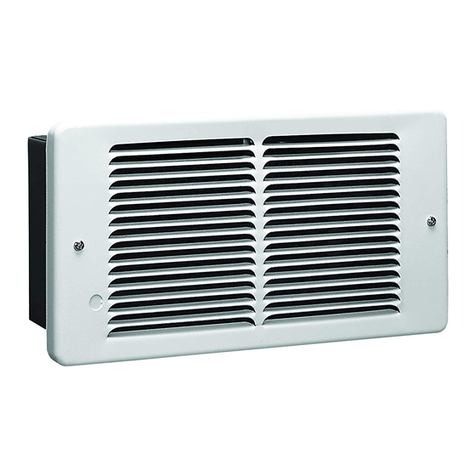
KING KT Series Installation instructions manual
KING
KING PAW Series Installation instructions manual
Popular Heater manuals by other brands

oventrop
oventrop Regucor Series quick start guide

Blaze King
Blaze King CLARITY CL2118.IPI.1 Operation & installation manual

ELMEKO
ELMEKO ML 150 Installation and operating manual

BN Thermic
BN Thermic 830T instructions

Empire Comfort Systems
Empire Comfort Systems RH-50-5 Installation instructions and owner's manual

Well Straler
Well Straler RC-16B user guide

EUROM
EUROM 333299 instruction manual

Heylo
Heylo K 170 operating instructions

Eterna
Eterna TR70W installation instructions

Clarke
Clarke GRH15 Operation & maintenance instructions

Empire Heating Systems
Empire Heating Systems WCC65 Installation and owner's instructions

Wetekom
Wetekom 92 86 43 Original instructions


