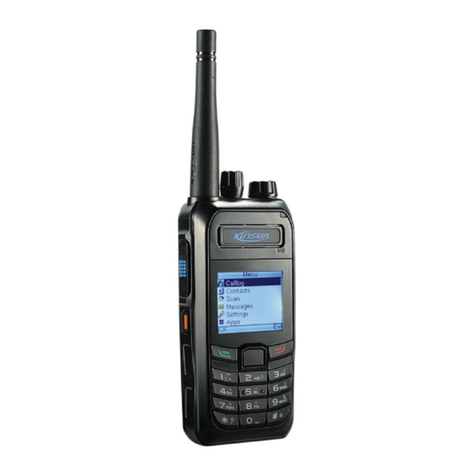
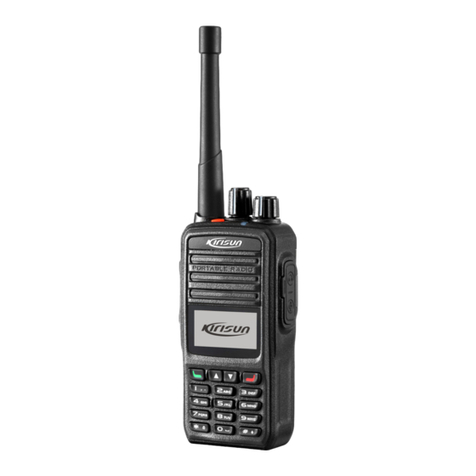
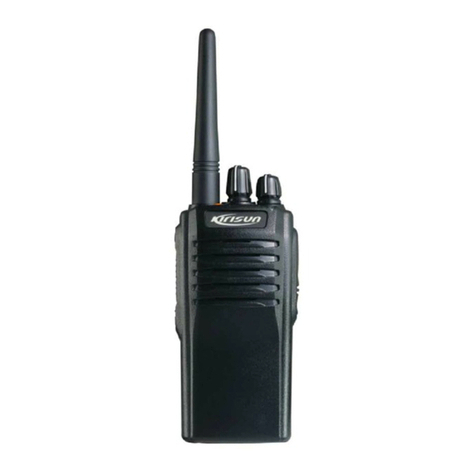
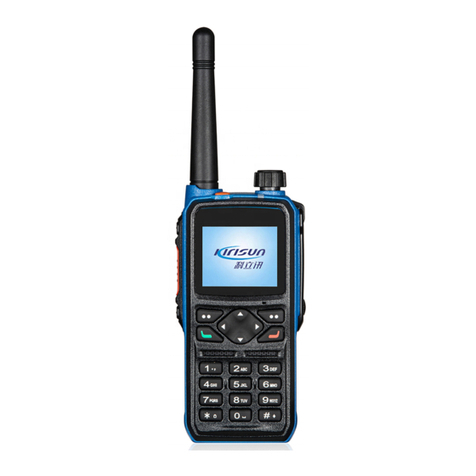
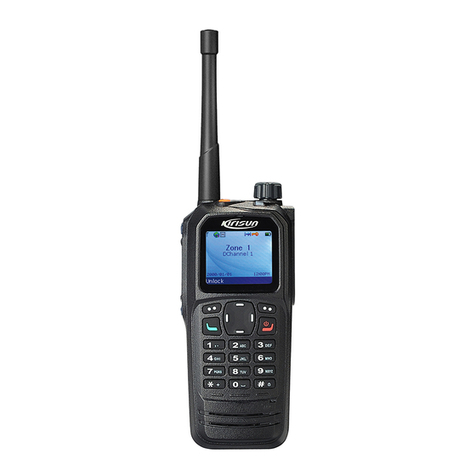
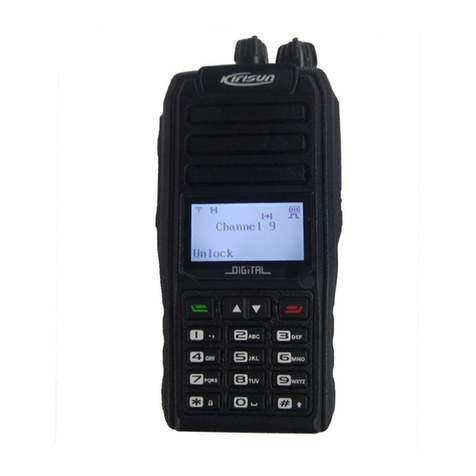
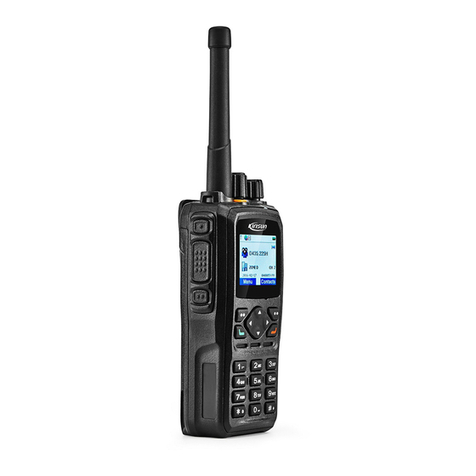
Kirisun DP99001 User manual

[
键入公司名称
]
使用说明书
[
键入文档副标题
]
XT
[选取日期]

DP990 DMR Two Way Radio User Manual
User Manual
DP990
DMR Two Way Radio
We are very grateful for your purchasing Kirisun brand two-way radio produced by Kirisun
Communications Co., Ltd.
We believe Kirisun two-way radio, which always incorporates the latest technology, can bring
great convenience to your life and work. We also believe that the quality and function of
Kirisun two-way radio can meet your demands for reliable communication.
III

DP990 Digital Radio Instruction Manual
Notice
◆Please carefully read this instruction manual before using the product for your easy
operation. We will consider that you have read this manual when you use the product.
◆Please carefully keep the manual for future reference.
◆In order to protect your legal rights from infringement, please carefully fill in the warranty
card and claim valid receipt.
◆Kirisun and our authorized partners own the intellectual property of all the parts of this
product (including accessories). Any design and materials may not be modified, copied,
extracted or translated without authorization of Kirisun or its authorized parities.
◆This product may involve update or modification in future, and Kirisun owns the right to
change the specifications of software and hardware described in this manual without further
notice. Specifications and information contained in this manual are for reference only.
◆All the contents are carefully proofread, but mistake may be inevitable. The rights of final
explanation are preserved by Kirisun.

DP990 DMR Two Way Radio User Manual
Safety Precaution
◆The radio can only be repaired or maintained by professional technicians. The user must not
disassemble the radio at liberty.
◆In order to avoid problems caused by electromagnetic interference or electromagnetic
incompatibility, please turn off the radio in the place such as hospital, plane and other health
care centers where there is a sign such as “Turn off Your Radio”.
◆In the car with air bags, please do not keep your radio at the place within possible reach of
the air bag spread.
◆Please turn off your radio before entering flammable or explosive environment.
◆Do not change or charge the battery in flammable or explosive environment.
◆Please turn off your radio when getting closer to the blast zone or thunder zone.
◆Do not use any radio with damaged antenna, which may cause slight burning to the skin in
contact.
◆Please make sure that the antenna is properly attached when using the radio.
◆Please keep the radio vertical when it is transmitting, and also keep the microphone 5 cm
away from your mouth.
◆Please make sure that the antenna is 2.5cm away from your body when the radio is
transmitting.

DP990 Digital Radio Instruction Manual
Battery
◆If the conductive substance on human body makes contact with the exposed battery terminal,
it may damage your belongings, and/or do harm, such as burning, to human body. Conductive
material includes jewelry, keys or bead-like necklace. They can form a loop (it causes short
circuit) with battery and cause skin burn after the rapid temperature rise. Be cautious when
managing a charged battery, especially when you put it in the pocket, wallet or container with
metallic objects. To decrease the risk of being harmed, the battery cannot be exposed in the
file, disassembled or squeeze.
◆The highest environment temperature around the power supply device or voltage
transformer must not be higher than 40°C (104°F).
◆Please turn off the radio attached with battery when charging. Using radio during charging
will affect its charging process.
◆Please do not put the radio and battery into the charger when they are not in need of
charging, and constant charging will shorten the battery life. Do not use the charger as a store
to radio.
◆To achieve optimal performance, we recommend changing battery after one-year use.

DP990 DMR Two Way Radio User Manual
Content
1UNPACKING AND CHECKING................................................................................... - 2 -
2BATTERY INFORMATION........................................................................................... - 3 -
3INTRODUCTION............................................................................................................ - 7 -
4BASIC OPERATION ..................................................................................................... - 9 -
5INITIATING/RECEIVING A CALL.............................................................................. - 13 -
6SHORT MESSAGE ..................................................................................................... - 14 -
7EMERGENCY .............................................................................................................. - 19 -
8CALL LOG................................................................................................................... - 21 -
9GENERAL SETTING................................................................................................... - 23 -
10 ADVANCED FEATURES ........................................................................................ - 29 -
11 TROUBLESHOOTING............................................................................................. - 40 -

DP990 Digital Radio Instruction Manual
12 MAJOR TECHNICAL SPECIFICATION................................................................ - 42 -
13 FCC STATEMENT:.................................................................................................. - 47 -
14 PMR TECHNICAL PARAMETERS:....................................................................... - 49 -
15 RESTRICTIONS ARE VALID FOR THE EUROPEAN COUNTRY:.................... - 57 -
16 CAUTION
:
.............................................................................................................. - 58 -


1 Unpacking and Checking
Please carefully open the box, and check if the accessories listed below are contained in the package. For
any missed or damaged item, please contact your local dealer for solution.
1.1 Supplied Accessories
Material
Quantity
Radio 1
Charger
1
Power Adaptor 1
Battery
1
Belt Clip 1
Antenna
1
Strap 1
Certificate
1
User Manual 1
Strap
Belt clip + Screw
Charger
Battery
Antenna
Power Adaptor

2 Battery Information
2.1 Battery Charging
1) Plug the power adaptor in the proper socket of AC power.
2) Plug the cable of the power adaptor at the back of the socket,
and the green indicator glows.
3) Plug the battery or radio in the charger
Make sure that the battery is in proper contact with the charger
terminal, and the red indicator glows.
4) After the battery is charged for 5 hours, the red light goes out,
indicating that the battery is fully charged.
When the green indicator glows, keep the battery on the charger
for 1-2 hours before taking it out so as to achieve the optimal
performance.
5) Take out the power adaptor from the socket of AC power output.
Note:
The battery is not charged before delivery from the factory, so please charge the battery before
your first use.
If the battery which is stored for over 2 months or a new battery is charged for the first time,

it should be charged repeatedly to gain full battery capacity. The battery should be at least
charged once every three months.
When the battery is fully charged or the battery power is above the level of low power alert,
do not charge the battery, or it may affect the battery life and performance. Please take out
the battery from the charger after it is fully charged.
When the radio enters the state of low voltage alarm, please charge the battery before using
it and do not force to power on the radio in case that the battery life and performance is
impaired.
2.2 Attaching the Battery
As shown in ①,align the battery with the main unit
and push it from the bottom . Press the battery until
a click is heard as shown in ②

2.3 Detaching the Battery
For detaching the battery, please turn off the radio. As shown on the
right picture, lift the battery latch to bounce the battery, and slide the
battery downwards to take it out.
Note:
Do not throw the battery terminals with short circuit or
battery into fire.
Do not remove the battery case without permission.
2.4 Attaching the Antenna
As shown in ①, align the antenna with the
interface at the radio top, and turn it clockwise to
fasten.
For detaching the antenna, turn the antenna
counter-clockwise as shown in ②to take it out.

2.5 Attaching the Audio Accessories
Connect the audio accessory in the port
and fix it with screw
2.6 Attaching the Belt Clip
Align the two screw holes in the belt clip
with the holes at the back of the radio,
and fix them together with screws.
Loosen the screws to detach the belt
clip.

3 Introduction

No. Part Name No. Part Name No. Part Name
1 Antenna 10 Belt Clip 19 Up Key
2 Side Key 1 11 Digital Key 20 LCD Display Screen
3 PTT Key 12 Battery Latch 21 Comm Port
4 Side Key 2 13 Battery 22 LED Indicator
5 Menu/OK Key 14 Hang-up /Menu Key 23 Power/Volume Knob
6 Left Key 15 Right Key 24 Channel Selector Knob
7 Dial Key 16 Return Key 25 Top Key
8 Speaker 17 Cover Screw - -
9 Down Key 18 Microphone - -

4 Basic Operation
4.1 Powering on/off
To power on the radio, turn the power/volume knob clockwise until a click is heard; the LCD screen
displays the power-on image and the backlight is on automatically; an alert tone and a sligt vibrating hint
(created by motor)will sound and shake at the same time .
To power off the radio, turn the power/volume knob counter-clockwise until a click is heard
4.2 Adjusting the Volume
When the radio is on, turn the power/volume knob to adjust the volume. Turn it clockwise to increase the
volume and counter-clockwise to decrease
After turning the power/volume knob counter-clockwise to the minimum volume, and keep turning it until a
click is heard.
4.3 Selecting the Zone
Zone is a group of channels. You can put channels of the same kind into a zone and you can quickly switch
to different channel group in different working environment. It supports a maximum of 248 zones, and
each supports a maximum of 128 channels.
1) Press to enter the manual.
2) Select and enter “ zone menu.
3) Press【Up】/【Down】key to select the target zone.

4) Press【OK】key to switch to the selected zone.
4.4 Selecting the Channel
Turn the channel selector knob to select channel
Each channel can be configured as analogue or digital. Turn the channel selector knob to switch between
digital and analogue channel.
When the channel is switched from digital to analogue, certain features are no longer available such as
short message and etc.
4.5 PTT Key
The PTT key has two basic applications below:
1) The PTT key can transmit signals to other radios when the radio is calling
2) The PTT key can initiate a new call when the radio is not calling.
Note:
Press PTT key to talk during a call
Release PTT key to receive and wait for calls.
When other radio is calling, you cannot press PTT key to transmit.
4.6 Menu Operation
5) Press to visit menu.
6) Press to select menu item.

7) Press to enter the menu item
8) Press to return to the last menu or the main interface.
9) Press to return to the main interface.
4.7 Icon
Signal strength
More bars indicate stronger signal and less bars weak signal. It only show up when
receiving.
Battery indicator
Less space indicates more battery power. When the battery is low, the icon will turn
red
High power
Low power
Mute
Unread message
Full mailbox
Keypad lock

Emergency
Encryption
Man Down
Talkaround
GPS is receiving
GPS positioned
Icon whirling indicates it is scanning
The scan stays on priority channel 1
The scan stays on priority channel 2
IDType
:
Private call
Group call
All call
Menu Selection:
Selected
Not selected

4.8 LED Indication
Red Indicator glows:the radio is transmitting.
Green Indicator glows: the radio is receiving signals (speech message, text message and data) or it
detected activity on the channel.
Orange indicator glows: orange indicator glows during the call hang time in digital mode or auto reset time
in analog mode.
Orange indicator flashes: the radio is in emergency state or is receiving emergency alarm; missed call alert;
the radio is scanning; the radio is roaming.
Red indicator flashes:the radio is in low power.
5 Initiating/Receiving a Call
5.1 Initiating a call to the default contact
If default contact is preset on the current channel, you can press the PTT key direct to initiate a call to the
default contact
You can preset a default contact on each digital channel via dealer
5.2 Selecting the Contact and Initiating a Call
Enter the “contact” menu and select a contact in the contact list; press the PTT key to talk
5.3 Dialing Manually and Initiating a Call
Enter the contact menu and select “manual dial” to enter the call ID before pressing PTT key to initiate a
call.
This manual suits for next models
1
Table of contents
Other Kirisun Two-way Radio manuals

Kirisun
Kirisun PT7200-02 User manual

Kirisun
Kirisun PT4200 User manual

Kirisun
Kirisun DP580 User manual

Kirisun
Kirisun PT558 User manual

Kirisun
Kirisun UP305 User manual

Kirisun
Kirisun FP460 User manual

Kirisun
Kirisun DP480-01 User manual

Kirisun
Kirisun PT6500-02 User manual

Kirisun
Kirisun FP520 User manual

Kirisun
Kirisun DP770 User manual

Kirisun
Kirisun PT4200-01 User manual
Kirisun
Kirisun FP520 User manual

Kirisun
Kirisun DP480 User manual

Kirisun
Kirisun DP480 User manual
Kirisun
Kirisun DP77001 User manual

Kirisun
Kirisun DP586 User manual

Kirisun
Kirisun GP700 User manual
Kirisun
Kirisun DP580 User manual

Kirisun
Kirisun PT5200 User manual
Kirisun
Kirisun DP990 User manual