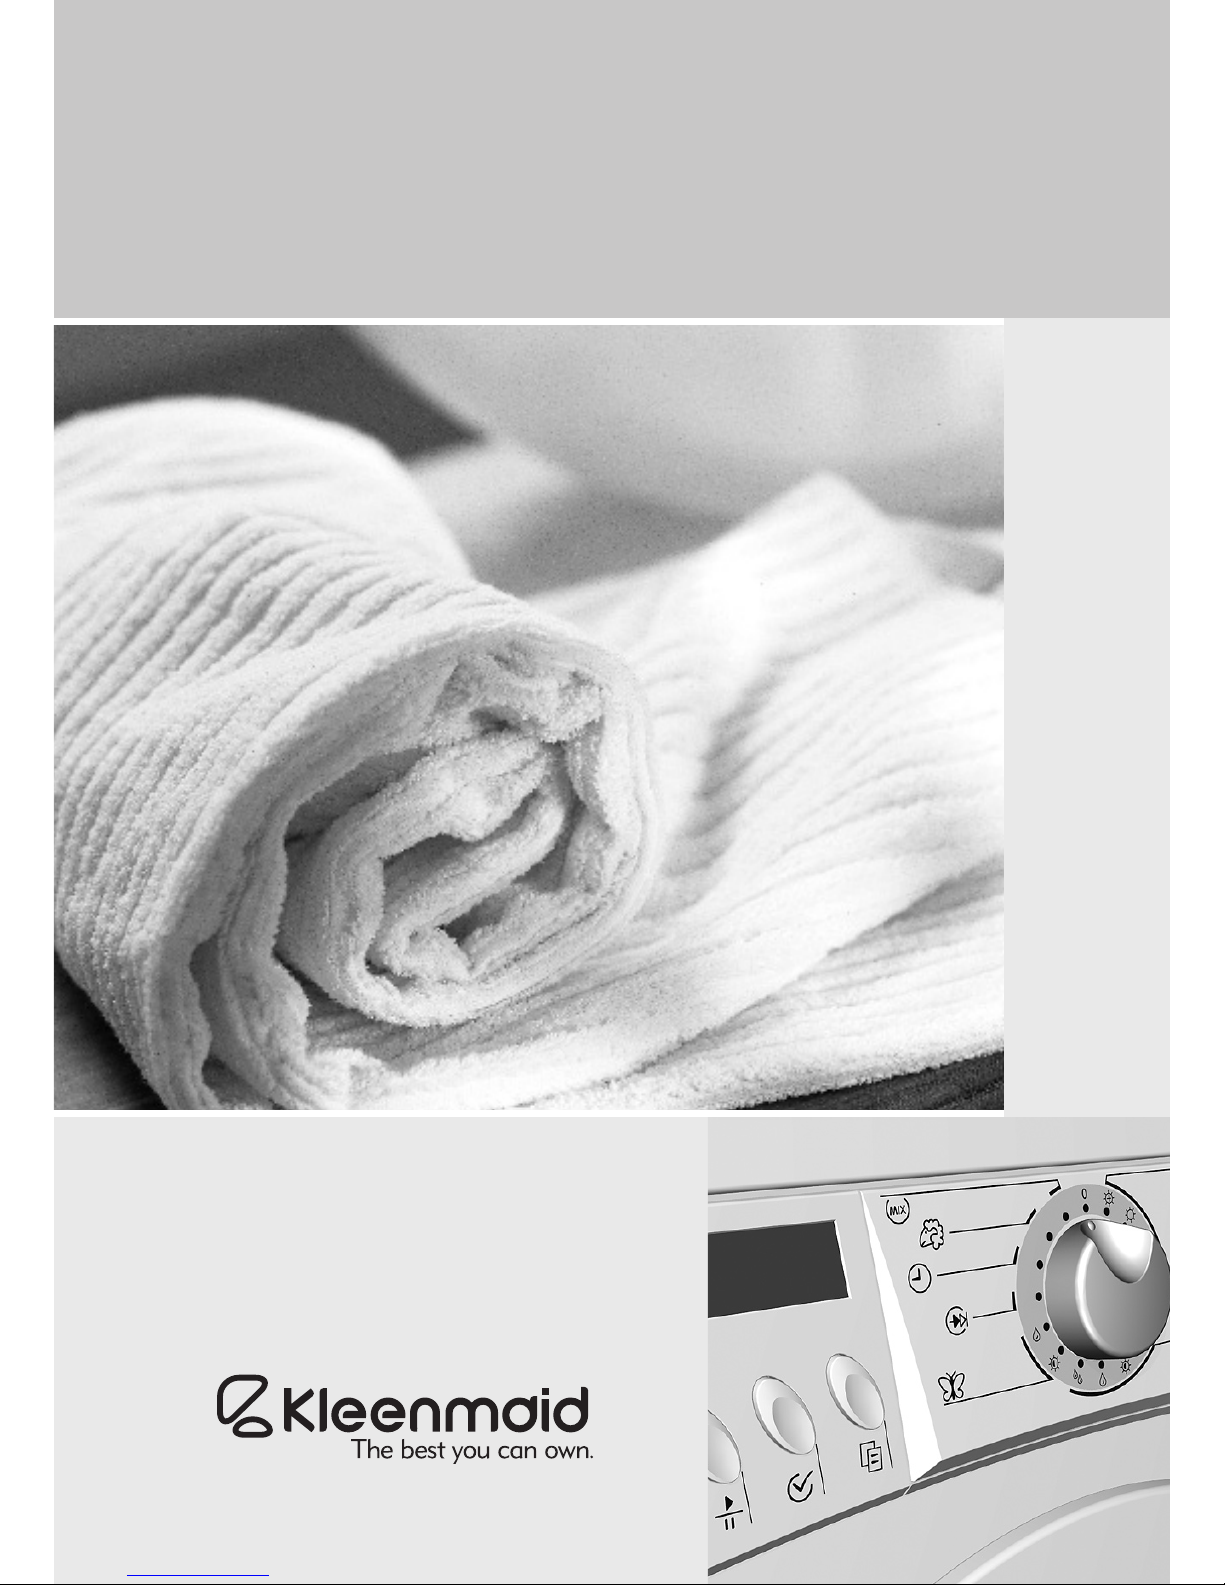
Kleenmaid KED601 User manual

Instructions for Use
KED601
Condenser Dryer

130717
Thank you for your trust and for buying our condenser dryer. We congratulate
you on your wise decision.
This appliance is designed for drying clothes for home use only. The dryer
enables quick drying of laundry, leaving clothes soft and uffy without affecting
the shape.
Our appliances are environmentally friendly: some of the materials are
recyclable while others are disposed of and destroyed. To protect the
environment, dispose of your appliance by delivering it to the authorised dealer.
The appliance is intended exclusively for use in households. If the appliance is
used for professional purposes, for prot, or for purposes beyond regular use
in a household, or if appliance is used by a person who is not a consumer, the
warranty period equals the shortest warranty period possible as stipulated by
the relevant legislation.
Appliance description ....................................... 3
Warnings ............................................................ 4
Installation and connection.............................. 7
Operation.......................................................... 10
Tips for drying and for the economic use of
the dryer ........................................................... 20
Cleaning and maintenance............................. 21
Troubles............................................................ 24
Tables ............................................................... 26
2

130717
1. Front panel
2. Drying program button
3 Water container
4. Door
5. Condenser
6. Cooling air slot
7. Legs
Name plate with technical information for the appliance is located
under the door frame.
Dimensions of the appliance (w x d x h):
600 mm x 600 mm x 850 mm
Weight (net): 43kg
Weight (gross): 45kg
Nominal voltage: 240 V, 50 Hz
Connecting power: 2400 W
Max. load: 6.5 kg
Connection: power cord (240 V, 50 Hz, min 10 A)
Fuse: 10 A
Heater: 2100 W
3
Appliance description
Technical data

130717
•Use the dryer to dry only laundry washed with water. Do not attempt to dry
laundry, washed or cleaned with ammable detergents or solutions (gasoline,
trichloroethylene etc.), as it may cause explosion.
•Do not let children play with the appliance. Ensure children or pets do not
climb into the dryer drum.
• When discarding the old appliance remove the power cord and break the
lock, so that the door can not be locked (safety precautions for children).
•After cleaning replace the condenser to the air channel. Operating the
appliance without the condenser or with a damaged condenser may cause a
re.
• The rear wall of the appliance may be hot - danger of burns.
• Clean lter after each drying. If the lter has been removed, always reinsert it
before the next operation.
• After use always turn the appliance off (the program selection jog should be
in position “0”) and unplug the power cord.
•Close the dryer door prior to pulling out the water container.
• Leave all repairs to a qualied technician. Tampering with the appliance or
damage by an unqualied person may cause accidents or failures. Call your
nearest authorised service centre on 1300 652 100.
• Name plate with technical information about the appliance is located under
the door frame.
• The room must be well aired, surrounding air must not contain dusty
particles.
• The room where the appliance is located must be well aired to prevent back
ow of gasses, released by open re gas appliances (replace).
•The warranty shall not apply to consumables (bulbs), minor discoloration or
deviations of color, increased noise level as a consequence of appliance age,
which does not affect appliance functionality, and aesthetical deciencies
which do not affect appliance functionality or safety.
To minimize the risk of re in a tumble dryer, the following should be
observed:
• Items that have been spotted or soaked with vegetable or cooking oil
constitute a re hazard and should not be placed in a tumble dryer.
Oil-affected items can ignite spontaneously, especially when exposed to
It is not recommended to reduce the
temperature or switch off the heater, as the
drying time will be extended due to poor
condensation of evaporated water.
4
Warnings

130717
heat sources such as in a tumble dryer. The items become warm, causing
an oxidation reaction in the oil. Oxidation creates heat. If the heat cannot
escape, the items can become hot enough to catch re. Piling, stacking or
storing oil affected items can prevent heat from escaping and so create a re
hazard.
If it is unavoidable that fabrics that contain vegetable or cooking oil or have
been contaminated by hair care products be placed in a tumble dryer they
should rst be washed in hot water with extra detergent - this will reduce, but
not eliminate, the hazard. The ‘cool down’ cycle of tumble dryers should be
used to reduce the temperature of the items. They should not be removed
from the tumble dryer or piled or stacked while hot.
• Items that have been previously cleaned in, washed in, soaked in or spotted
with petrol/gasoline, dry-cleaning solvents or other ammable or explosive
substances should not be placed in a tumble dryer.
Highly ammable substances commonly used in domestic environments
include acetone, denatured alcohol, petrol/gasoline, kerosene, spot removers
(some brands), turpentine, waxes and wax removers.
• Items containing foam rubber (also known as latex foam) or similarly textured
rubber. like materials should not be dried in a tumble dryer on a heat setting.
Foam rubber materials can, when heated, produce re by spontaneous
combustion.
• Fabric softeners or similar products should not be used in a tumble dryer
to eliminate the effects of static electricity unless this practice is specically
recommended by the manufacturer of the fabric softener or product.
• Undergarments that contain metal reinforcements should not be placed in a
tumble dryer.
Damage to the tumble dryer can result if metal reinforcements come loose
during drying. When available a drying rack could be used for such items.
• Plastic articles such as shower caps or babies’ waterproof napkin covers
should not be placed in a tumble dryer.
• Rubber-backed articles, clothes tted with foam rubber pads, pillows,
galoshes and rubber-coated tennis shoes should not be placed in a tumble
dryer.
5

130717
The belt can be replaced by a servicing
engineer only, who incorporates an original
spare part with the marking OPTIBELT EPH
1906, code 104265.
The symbol on the product or on its
packaging indicates that this product may
not be treated as household waste.
Instead it shall be handed over to the
applicable collection point for the recycling
of electrical and electronic equipment. By
ensuring this product is disposed of
correctly, you will help prevent potential
negative consequences for the environment
and human health, which could otherwise
be caused by inappropriate waste handling
of this product. For more detailed
information about recycling of this product,
please contact your local city ofce, your
household waste disposal service or the
shop where you purchased the product.
This appliance is not intended for use by
young children or inrm persons unless
they have been adequately supervised by a
responsible person to ensure that they can
use the appliance safely.
Young children should be supervised
to ensure that they do not play with the
appliance.
6

130717
• Packaging materials are environmentally friendly:
they can either be recycled, safely disposed of or
destroyed without any threat to the environment.
• To be able to do this effectively all materials are
marked accordingly.
Be careful not to damage the cabinet of
the appliance with a sharp object when
removing the packaging.
Before connecting the appliance, let it
warm up to room temperature (wait for two
hours).
Ventilation slots and openings on the appliance
front and rear wall should not be obstructed.
•Do not place the appliance in a room where there
is danger of freezing.
• Location should be adequately ventilated. Room
temperature should always be between 0°C and
25°C as frozen water in the condensation water
receptacle or in the pump may damage the dryer.
• Appliance can either stand on its own or can be
placed on top of a washing machine of the same
dimensions - minimum width 517 mm, depth
476 mm. The surface for placing the dryer must
be clean and at. Use supplied vacuum feet to
prevent sliding of the appliance. Washing machine
hardtop must be wooden or metallic. To conceal
the opening between the two appliances, a
decorative trim (DECPL) is available. To order call
your nearest Kleenmaid Store on 13 13 08.
7
Installation and connection
Removing wrapping
Selecting the
appropriate location of
the appliance
Installation

130717
Do not place the appliance behind a
lockable door, sliding door or door
with hinges on the opposite side of the
appliance. Place the appliance in the room
ensuring free opening of the dryer door.
•Level the machine longitudinally and transversally
by rotating the adjustable feet, thus enabling the
leveling by +/- 1 cm.
Vibrations, moving of the appliance and
loud operation due to incorrect setting of
the adjustable feet shall not be covered by
this warranty.
The appliance should be placed on a
surface with concrete base; the surface
should be dry and clean in order to prevent
slipping. The adjustable feet should also
be cleaned before installation.
Do not place the dryer on a thick
carpet since this could obstruct the air
circulation.
•Moisture from laundry is extracted in the water
condensation device and is either collected in the
receptacle or discharged directly into the drain
(drain height should not exceed 800mm).
• Display reads CONTAINER FULL and a beep is
heard when the water receptacle is full and should
be emptied, preferably after each drying cycle.
8

130717
The appliance is connected to the power supply by
means of a cable cord plug. The wall socket should
be earthed (safety socket). Required nominal
current and frequency are stated on the rating plate.
The wiring should withstand maximum load. Electric
connection and earthing should be carried out in
accordance with current standards and regulations.
If the supply cord is damaged, it must be
replaced by the manufacturer or its service
agent or a similarly qualied person in
order to avoid a hazard.
• The appliance should be placed in a position,
where the plug is within reach.
If used with a cord extension device
or portable outlet device, ensure such
devices are positioned so as not to be
subjected to splashing or ingress of
moisture.
9
Connecting to power
supply

130717
Function keys
B key (MENU) - Scrolling within main menu.
C key (SELECTION) - Selecting sub-menu
categories.
D key (START /PAUSE) - Starting, interrupting and
restarting the program.
A - program selection jog
B - MENU key
C - SELECTION key
D - START/PAUSE key
E - display
10
Operation
Program selection jog Program symbols Moisture level
Cottons very dry
Synthetics dry
Delicates dry for storage
Quick program slightly damp
Timed program iron dry
Wool
Airing
Mix

130717
- Open the dryer door by pushing the left-hand
side of the door towards the appliance.
- Sort the laundry according to the type of fabrics.
Do up buttons and zippers, tie strings and
pull out the pockets.
Very delicate laundry should be put in a
special laundry bag.
It is suggested to load the drum with items
of different sizes.
Do not load dripping wet laundry into the
dryer (min. 800 rpm).
Pay attention to the labels on the clothes,
indicating the recommending drying mode
(see table of textile treatment symbols on
the last page).
- Insert the laundry into the drum (prior making
sure that the drum is empty).
- Close the dryer door.
- Starting the appliance
1. Name of program, 2. Moisture level, 3. Additional functions
The appliance is switched on by turning the jog
button (A) to the desired program (depending on the
type of laundry, degree of moisture, and/or drying
time). Display is lit and indicates the program,
selected by the jog A. The LED button indicates
11
Drying procedure
Operating the dryer

130717
selected program.
If you fail to do anything within 5 minutes after
starting the appliance, the display will go blank.
During the drying process the display is illuminated
and is switched off after the cooling stage.
- Selecting language
Press button C (SELECTION), and simultaneously
turn the program selector jog A to the rst clockwise
position. Display indicates the default setting of
language. Use button C (SELECTION) to select the
desired language. Last selected language is stored.
Turn the appliance off by turning the program
selector jog A to the position “0”.
- Selecting basic drying programs
•For the programs cotton , synthetics and
delicate laundry select the nal moisture level
(see program chart Page 26). To start drying cycle
press START (D) or select additional settings.
•For the timed program set the preferred
drying time. To start drying cycle press START (D)
or select additional settings.
•Mixed laundry program and quick drying
program already have one single moisture
level already predetermined. Select only the
additional settings (see program chart Page 28).
To start drying cycle press START (D).
•Wool program is a separate short time dened
program.
- Selection of additional functions
Button B (MENU) moves you within the menu,
button C (SELECTION) serves to select options
(see next page. Selection of additional functions).
Only MENU functions available for a particular
program are displayed. When the preferred
12

130717
additional function is selected, the display indicates
relevant symbol. After the appliance is switched off,
all additional functions, except the sound signal and
child lock, are reset to their original settings.
Start delay
Default setting does not include delayed start
(display indicates 00:00 hours). Use button C to
select between 0 and 20 hours. For the rst two
hours the sequence may be set at 30 minute
lapses, after that the sequence is 1 hour. When the
preset time elapses, the selected program starts. In
case of power failure prior the end of the countdown
(display ashes POWER FAILURE), press button D
(START).
Lower temperature
This function is selected if you wish to dry laundry
at lower temperature than the program default (see
Page 28 Program Chart). By selecting this function
the drying time is longer. Use the C button to select.
Certain programs do not allow selection of this
function.
After drying is completed, this function
returns to the initial higher temperature.
Anti-crease program
The anti-crease program is set at 1 hour by default.
You may also select either to switch off the program
(0 h) or prolong the program to last 2 hours (2 h).
Use the C button to select.
The anti crease program is stopped if you open the
door of the appliance during the program, or if you
switch the appliance off.
Heater off
Heater may be switched off if you wish to dry
laundry at room temperature; drying time is
extended. Use the C button to select.
13

130717
Quick program does not allow turning the heater off.
Child lock
Operation of the dryer may be protected against
accidental changes of programs or functions. The
function is activated by pressing the START button.
By pressing any key the sound alarm signals that
child lock is on. Relevant symbol ashes, and the
display reads CHILD LOCK ON.
If you want to set new drying program, or change
additional settings, you must rst remove the
protection.
Switching the function off:
- during drying:
If you want to interrupt the program or change
settings, switch off the function temporarily by
keeping the B button (MENU) pressed for 4
seconds. During this time the program can be
stopped by pressing D button (see page 17
interruptions). Relevant symbol ashes on the
display. The function is reactivated by pressing the
D button (START).
In case you fail to change anything within 15
seconds, the protection is automatically reactivated.
Even if you stop drying by opening the door
and child lock is temporarily switched off, it is
automatically restarted if the door is closed within
the next 15 seconds.
If you switch off the protection in the menu during
the interruption, it will no longer be active when the
program continues.
- after drying is completed:
By pressing the B button (MENU) for four seconds
after the drying program is completed, the
protection is switched off permanently. This means
that it will remain inactive also the next time you
start the drying procedure. Otherwise the protection
remains active till the next drying process. It is
switched off by a four second pressing of B button
(MENU), while the A button is turned to position “0”,
14

130717
so you can select the drying program or additional
functions.
Sound signal
In default setting the sound signal is on.
You may select to switch the sound signal off, or
increase volume.
Legend: sound signal off;
normal sound signal setting;
increased volume setting.
If you switch the sound signal off the display
indicates relevant symbol .
Prior rst drying remove the basket and
any wrappings from the drum.
Drying in the basket (max. 2.5 kg of dry laundry)
This function may be selected only at timed drying.
Default setting is off. When this function is selected,
the anti-crease program is switched off.
The basket drying function is used to dry sneakers
or other items which should not be tumbled in the
dryer. Be careful items being dried do not touch the
drum as they may get jammed and cause damage
to the item and the dryer. During this function the
basket remains still.
Dry only clean sneakers. Wring after washing until
they do not drip water, prior to inserting into the
dryer.
After all functions are selected, move to the main
menu with the MENU button. Display ashes
START. If you agree with all selected functions,
press START for the commencement of drying,
otherwise select any other functions as preferred.
After the machine had been switched off
(program selector jog (A) is at the position “0”),
all additional functions return back to their
15

130717
default settings, except for the sound signal and
the child lock (unless permanently inactivated).
• Drying process is turned on by pressing the
START (D) button.
• If the preset delayed start was selected, the
process will start when the preset time elapses.
• Display indicates the program with all
selected functions, and the beep signals the
commencement of drying.
• The display indicates different drying stages
in their sequence, according to the selected
program.
16
Drying procedure
Press the START button to conrm commencement of drying
(program starts when the delayed start time elapsed)
Maximum moisture level of laundry
Laundry has reached ironing moisture level
Laundry has reached the preset moisture level (slightly moist)
Cooling down (10 minutes at the end of a particular program)
End of drying. Empty the condenser tank.
Clean the lter.

130717
EXAMPLE: Selected program: cotton, slightly
moist, functions selected: delayed start, decreased
temperature, child lock, no sound signal).
- End of drying procedure
At the end of the drying procedure the display
indicates END and CLEAN FILTER, and the beep is
heard.
The display intermittently ashes CLEAN FILTER
- EMPTY CONTAINER.
If the appliance is not switched off and/or the door
is not opened, the anti-crease program switches
on (according to settings from cf. Selection of
additional functions) and the dryer continues with
gentle tumbling.
Pull the power lead from the socket and cut the
power supply from the mains.
•By the user
Changing the program or the functions
After drying be careful when extracting
laundry from the appliance, as it may be
hot!
Prior any changes child lock must be
deactivated!
By pressing button D (START/PAUSE) the drying
program is paused; display reads PAUSE.
You can now change additional settings or basic
programs.
Press MENU to enter any menu and change
additional settings or select another drying program.
Conrm by pressing D (START/PAUSE).
You can switch the appliance off (turn jog A to the
position “0”) and reset all preferred settings.
17
Interruptions

130717
Door opened
If the door is opened during the drying process this
will pause the operation; the display reads DOOR
OPEN.
When the door is closed, the drying process
resumes only after the START/PAUSE button (D)
is pressed. The beep reminds you that the drying
process continues.
If you press the START/PAUSE button D when
the door is open, the display indicates the CLOSE
DOOR warning and sound signal beeps.
• Power failure
After the power supply has been restored the
display intermittently reads POWER FAILURE.
To continue press the START (D) button and the
machine will continue from the point it had been
interrupted, all previous settings remain the same
as before the failure.
If you wish to change settings or originally
selected program, you can do it by simply
pressing MENU or turn the selector jog to the
desired program.
Conrm the selection by pressing START, and
continue as in normal setting procedure.
In case of power failure child lock is not
switched off (if it was active prior the
failure).
• Water container is full
When the water container is full the drying
program is interrupted. Display reads
CONTAINER FULL and a beep is heard.
After emptying the water from the container,
resume drying by pressing the D button (START/
PAUSE).
18

130717
• Drum lamp
The drum is illuminated when the appliance
door is open. If the door is open for more than
5 minutes and no changes to the settings have
been made, the lamp goes off.
• Display illumination
Display illuminates when the program selection
jog is turned to any program position.
If you then do nothing for the next 5 minutes (if
you fail to move the program selector or press any
of the function keys), the illumination goes off.
The display is lit during the drying stage and
cooling process. It goes off 5 minutes after the
end of drying, but if you open the door or press
any key, the display illuminates again.
19
Special functions

130717
•Drying is economically most effective if you dry
the recommended quantity of laundry per one
charge (see Page 26 & 27 Program Chart).
• Do not dry laundry made of sensitive bres (wool,
silk), that may shrink or lose shape.
• It is not necessary to use a fabric conditioner
when washing the laundry, as drying makes it soft
and uffy.
•Drying time is much shorter and consequently the
energy consumption lower if laundry is well spun
prior tumble drying (minimum 1000 spin RPM).
• By selecting the most suitable drying program,
you will avoid over-drying and difcult ironing.
• By cleaning the lter on regular basis drying time
is shorter and consumes less energy.
20
Tips for drying and for the economic
use of the dryer
Table of contents
Other Kleenmaid Dryer manuals

Kleenmaid
Kleenmaid KED500 User manual

Kleenmaid
Kleenmaid KED2000 User manual

Kleenmaid
Kleenmaid Automatic dryers User manual

Kleenmaid
Kleenmaid KCDV60 Installation guide

Kleenmaid
Kleenmaid KCDV60 Installation guide

Kleenmaid
Kleenmaid LEK33A-4350 Series User manual

Kleenmaid
Kleenmaid KED400 User manual

Kleenmaid
Kleenmaid KED2000 Setup guide

Kleenmaid
Kleenmaid LEK37AWF4350 User manual

Kleenmaid
Kleenmaid KED602 User manual