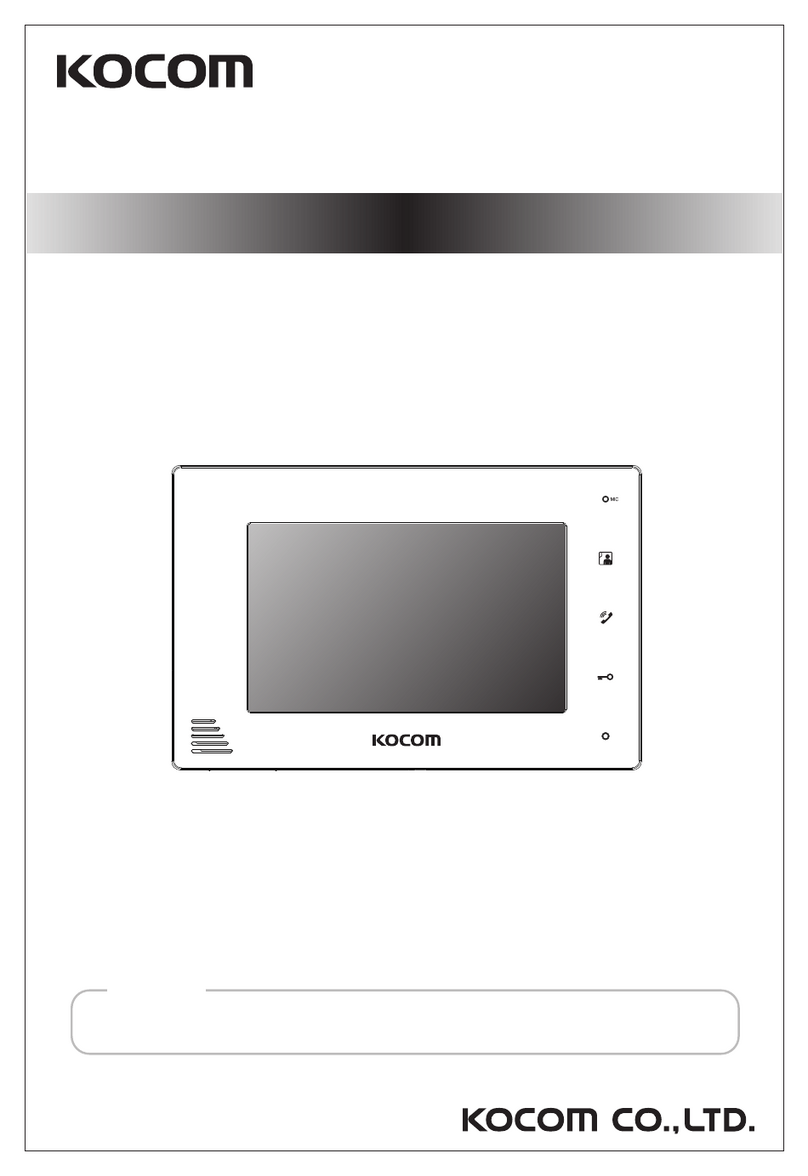
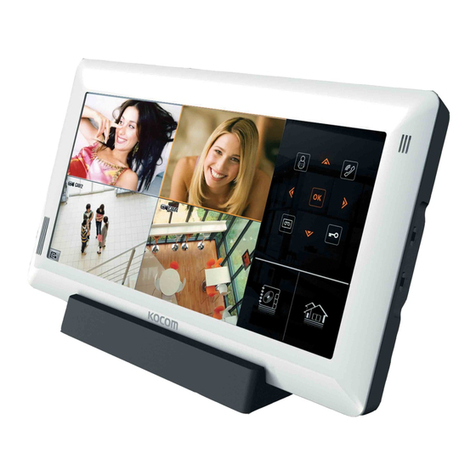
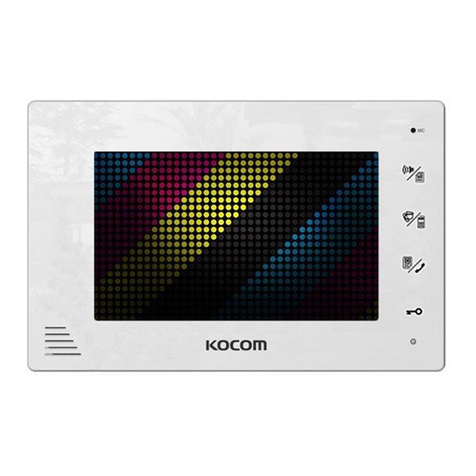
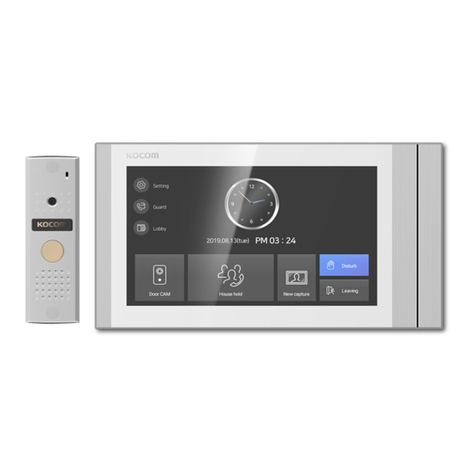
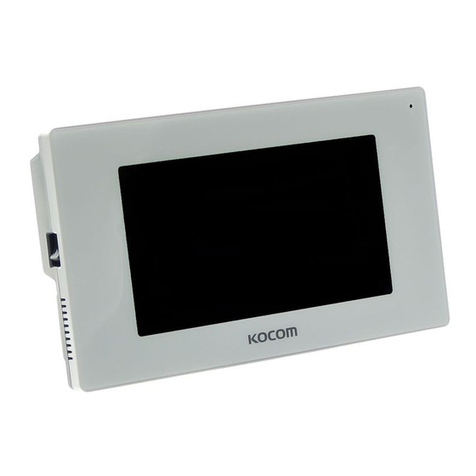
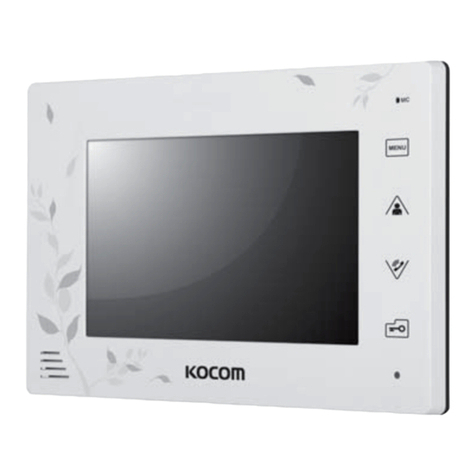
KOCOM KCV-D372 User manual

KCV-D372
09.10
PRODUCT
MODEL
DATE PURCHASED
WARRANTY PERIOD
AGENCY ADDRESS
KOCOM Warranties the original purchaser of this product as follows.
1) This product is produc d und r strict quality control and insp ction proc dur s.
2) If this product br aks down during prop r us as a r sult of product d f ct, KOCOM
will r pair it within on y ar from dat of purchas fr of charg .
3) Th following cas s will b subj ct to charg , v n during warranty p riod:
a. Br akdown during transport, or through car l ss tr atm nt, by consum r.
b. Br akdown caus by unauthoriz d r pair, or syst m modification.
c. Br akdown caus d by natural disast r or pow r disord r.
Warranty
Warranty Card
To receive after-sales service, have the following
ready when you contact our branches
1. Nam of th product
2. Mod l numb r of th product
3. Th ar a of probl m
4. Phon numb r and addr ss at which you can b contact d.
KC-C62
KC-MC22
KC-MC11
KC-MC32
KCV-D372 MANUAL
[7inch Digital color video phone ]
2 WIRE COLOR
HANDSFREE VIDEOPHONE
■ 7inch Digital LCD (NTSC / PAL)
■ LCD OSD Menu
■ Room to Door Communication and Monitoring
■ Ultra Low Power Consumption
■ Surface Mount Installation
■ Door Opener Connectable from Either
Monitor or Camera(DC)
■ Connection up to 1 Door Camera and
2 Monitors
Monitor color
White Black

■ Cautions for safety
■ Specifications
■ Product functions and features
■ Installation location
■ Components of product
■ Name and functions of each part
■ Camera installation
■ Product connection diagram
■ Instructions for operation
Contents
4
6
6
6
7
7
8
10
11

The important marks in the manual.
The meaning of the drawing signs.
Cautions for Safety
For safe use, please stick to the following cautions.
Cautions for set-up
Caution
Warning
Cautions for Repairs and Maintenance
Cautions for Use
Warnings for Usage
Cautions for Use
Cautions for Abnormality
Safety Instructions, Warnings and Cautions of Each System
Videophone
Things You Need to Know
Cautions
Stop up P.V.C. pip using
adiabatic substanc s, to
pr v nt air circulation
Caution

① Monitor screen (LCD)
② Speaker ③ Microphone
④ Monitor button
⑤ Motion lamp
⑥ Speak button
⑦ Open door button
⑧ Brightness adjustment volume
⑨
Call volume adjustment switch
⑩
Speaking volume adjustment switch
⑪ DC door switch terminal
⑫ Camera terminal
⑬ Extension monitor terminal
⑭
Color adjustment volume
⑮
Power input section
Name and functions of each part
■ The front side
■ Door Camera components
■ The Back side
Components of product
■ Monitor components
Product functions and features
Installation location
■ Specifications■ Max wiring distance
Specifications
Model number
KCV-D372
TYPE
Line type
Distance
■ Monitor installation location
■ Caution of camera installation
■ Camera installation location
■ Directly connecting cut-off power cord with power wire
1) Remove wall-hanger bracket metal behind monitor.
2) Install wall- hanger bracket metal on 1 type box or wall with attached Vis.
3) Connect wiring to monitor back terminal referring to product connection diagram.
4) Hang monitor on wall-hanging metal, and fix monitor on wall- hanger bracket metal
using attached Vis.
5) Plug monitor’s power plug into consent and check to see if the power switch is [ON]
on the left side of monitor.
■ Monitor installation
connection condition railway line type and distance
1. Display product working condition with OSD
2. When no signal on image, converts to standby condition
3.
Very low consumption of electric power in standby
4. Use of Digital 7”LCD Panel
5.
Nonpolar 2 wire method between camera and monitor
6. Extension monitor’s 2 wire method
7. Long distance wiring
8. Can connect door opener to monitor and camera
9. Automatic confirmation tool of connection between camera and monitor

Camera installationCamera installation

■ Product connection diagram
※
Door opener caution total product wiring diagram Connection method, Method for use as below
[ ]
[KC-MC32] Monitor Monitor extension
Monitor extension
Wiring diagram on monitor
Door opener wiring diagram on door camera in DC
※ Caution of
Door Lock
Wiring diagram
Door Camera
[KC-MC32] Monitor Monitor extension
Product connection diagram
Door Lock
(Adapter)
※ Cannot connect door
Lock to monitor.
[KC-MC32] Monitor
<Door Lock spec>
<Door Lock spec>
※ Must use only one switch
for monitor or camera.
Instructions for operation
■ Calling from camera
■ Using monitor tool
■ Monitor screen time
■ Screen brightness, call sound, speak volume adjustments
Push call button from
camera. You can
hear small call sound
toward camera and
check the call.
You can hear call
sound from all
connected monitors,
and camera image
comes out on screen.
①Push monitor button to
convert to monitor tool
for 60 seconds.
②Push speak button to
speak with camera.
Push open door button to
open front door. About 5
seconds after pushing the
button, call ends
automatically.
Call ends when you push
open door button and
speak button once again.
※ Open door opener works only in speaking condition, and does not work when no image is on screen.
Push monitor button when
there is no image on
monitor screen.
Camera image appears on
screen. But(only), voice
speaking is intercepted.
Push door open button after speak
button, and front door opens. 5
seconds after pushing door open
button, speaking ends automatically.
Push monitor button once more, and
image is intercepted. Do not push
the button and after 60 seconds
image is intercepted automatically.
※Cannot connect
door Lock to camera.
(Door Lock must be
purchased separately.)
Door Lock Door Lock
DC Electric
Door Lock or
If you connect other types of cable in the middle of communication cable wiring
between monitor/camera, monitor/extension monitor or divide parallel 2wick to
1 pattern, image screen may shake or quality may deteriorate.
Also, wire not used in communication wiring must be deleted or connect product.
Table of contents
Other KOCOM Telephone manuals

KOCOM
KOCOM KIP-120 User manual

KOCOM
KOCOM KCV-D372(D1) User manual

KOCOM
KOCOM KIV-102 Instruction Manual

KOCOM
KOCOM KCV-504 User manual

KOCOM
KOCOM KCV-A376 User manual

KOCOM
KOCOM KIV-101EV User manual

KOCOM
KOCOM KCV-544 Manual

KOCOM
KOCOM KCV-T701SM User manual

KOCOM
KOCOM KCV-A510R User manual

KOCOM
KOCOM KCV-A374SD User manual

KOCOM
KOCOM KCV-S701EB User manual

KOCOM
KOCOM KCV-350 User manual

KOCOM
KOCOM KCV-W354 User manual

KOCOM
KOCOM KIV-101 Manual

KOCOM
KOCOM KCV-464 User manual

KOCOM
KOCOM KIV-212 Instruction Manual

KOCOM
KOCOM KVR-A510 Reference manual

KOCOM
KOCOM KCV-544SD User manual

KOCOM
KOCOM KCV-A374SD User manual

KOCOM
KOCOM KCV-A510R User manual