manuals.online logo
Brands
  1. Home
  2. •
  3. Brands
  4. •
  5. Kogan
  6. •
  7. Ice Maker
  8. •
  9. Kogan KA38CICEMKA User manual

Kogan KA38CICEMKA User manual

Other Kogan Ice Maker manuals

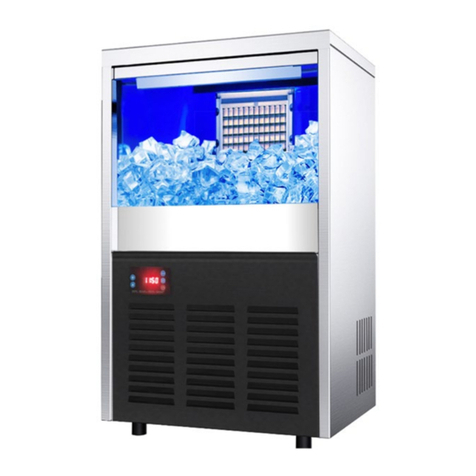
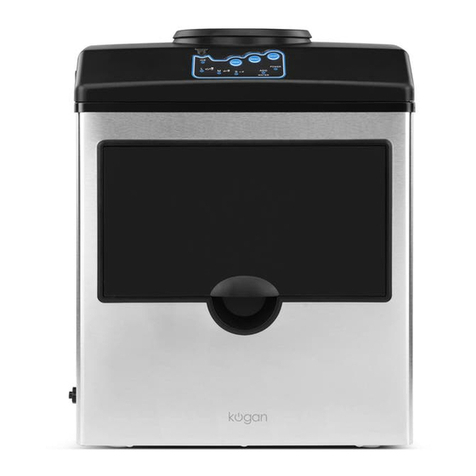
Kogan KA2ICDISPSA User manual

Kogan

Kogan KA2ICDISPSA User manual

Kogan KA15KNICEMKSSA User manual

Kogan

Kogan KA15KNICEMKSSA User manual

Kogan KA19LICEMKA User manual

Kogan

Kogan KA19LICEMKA User manual

Kogan KA60CMICEMB User manual

Kogan

Kogan KA60CMICEMB User manual

Kogan KA19LICEMKA User manual

Kogan

Kogan KA19LICEMKA User manual

Kogan KA45CICEMKA User manual

Kogan

Kogan KA45CICEMKA User manual

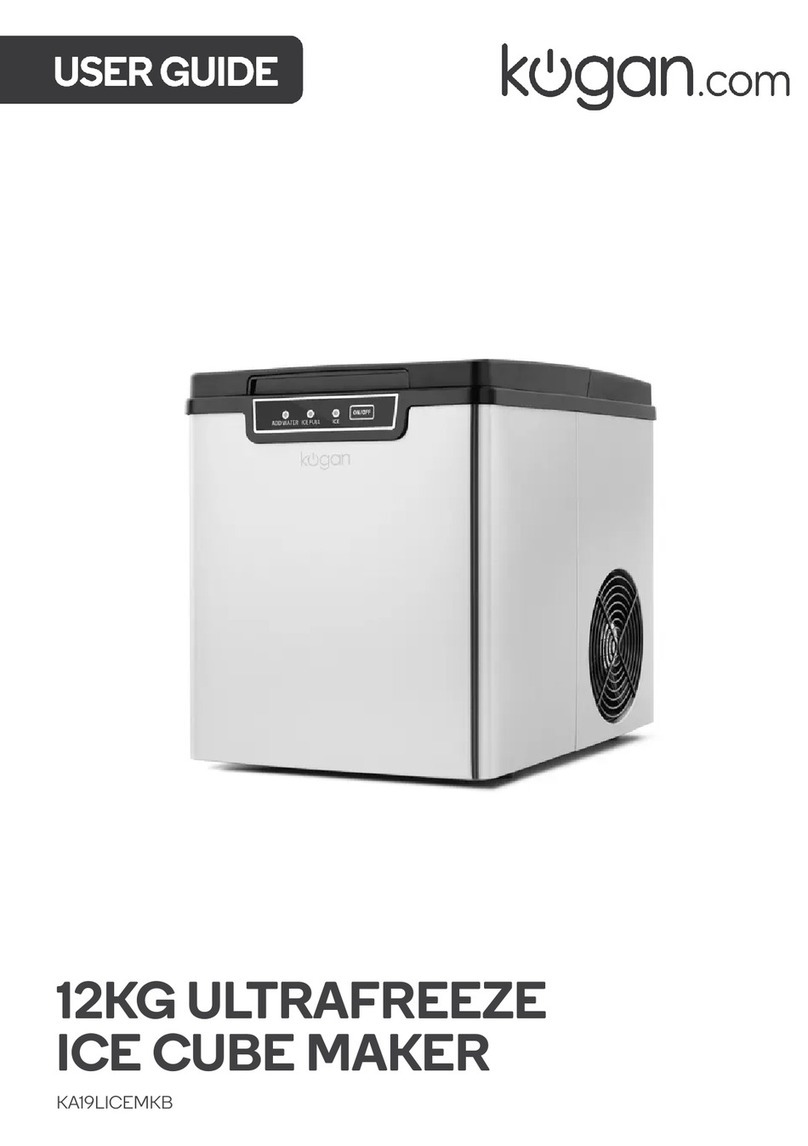
Kogan KA19LICEMKB User manual

Kogan

Kogan KA19LICEMKB User manual

Kogan KA21CBDISPA User manual

Kogan

Kogan KA21CBDISPA User manual

Kogan KA19LICEMKA User manual

Kogan

Kogan KA19LICEMKA User manual

Kogan KAICEMKR15A User manual

Kogan

Kogan KAICEMKR15A User manual

Kogan KA32LICEMKA User manual

Kogan

Kogan KA32LICEMKA User manual

Kogan KA21CBDISPA User manual

Kogan

Kogan KA21CBDISPA User manual

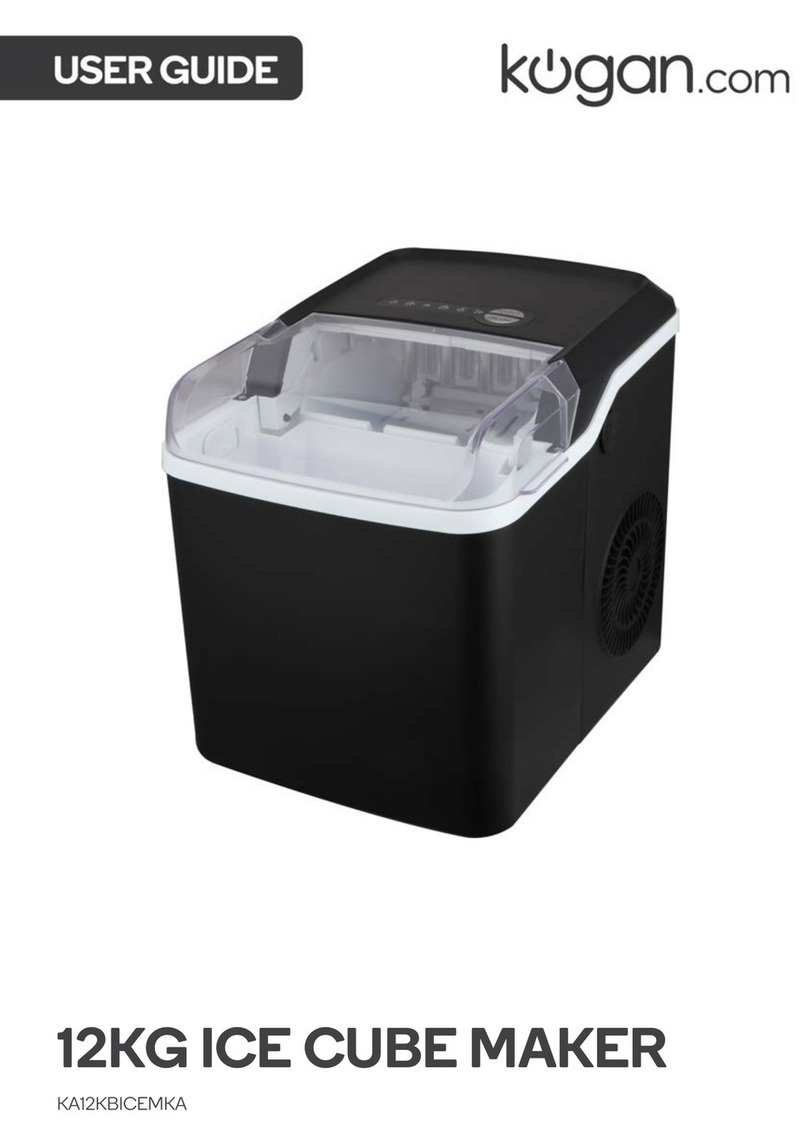
Kogan KA12KBICEMKA User manual

Kogan

Kogan KA12KBICEMKA User manual

Popular Ice Maker manuals by other brands

camry CR 8073 user manual

camry

camry CR 8073 user manual

Sub-Zero 315I Planning information

Sub-Zero

Sub-Zero 315I Planning information

Kenmore 2217402A Use & care guide

Kenmore

Kenmore 2217402A Use & care guide

Cornelius WM600 Installation & owner's manual

Cornelius

Cornelius WM600 Installation & owner's manual

GE XPIO43SCSS owner's manual

GE

GE XPIO43SCSS owner's manual

Hoshizaki KMD-901MAH Specifications

Hoshizaki

Hoshizaki KMD-901MAH Specifications

Whynter FIM-450HA instruction manual

Whynter

Whynter FIM-450HA instruction manual

Unold 48945 Instructions for use

Unold

Unold 48945 Instructions for use

Andrew James AJ000522 manual

Andrew James

Andrew James AJ000522 manual

Scotsman CME1356 user guide

Scotsman

Scotsman CME1356 user guide

Scotsman ACM 25 Service manual

Scotsman

Scotsman ACM 25 Service manual

Kärcher IP 120 manual

Kärcher

Kärcher IP 120 manual

U-Line SS1095 Quick referenc guide

U-Line

U-Line SS1095 Quick referenc guide

Maytag MIM1554WRS - Ice Maker User instructions

Maytag

Maytag MIM1554WRS - Ice Maker User instructions

Igloo ICE102-WHITE user manual

Igloo

Igloo ICE102-WHITE user manual

Hoshizaki KM-630MAH instruction manual

Hoshizaki

Hoshizaki KM-630MAH instruction manual

Princess Yonanas user manual

Princess

Princess Yonanas user manual

Unold 48946 Instructions for use

Unold

Unold 48946 Instructions for use

manuals.online logo
manuals.online logoBrands
  • About & Mission
  • Contact us
  • Privacy Policy
  • Terms and Conditions

Copyright 2025 Manuals.Online. All Rights Reserved.

38KG COMMERCIAL ICE
CUBE MAKER
KA38CICEMKA
When using electrical appliances, basic safety precautions should be followed to reduce the
risk of fire, electric shock and injury to persons or property. Read and understand all
instructions before using any appliance.
•Use this appliance only for its intended purpose as described in this guide.
•This icemaker must be properly installed by the installation instructions before it is
used.
•This unit must be positioned so that the plug is accessible. Do not run the cord over
carpeting or other heat insulators. Do not cover the cord. Keep the cord away from
traffic areas and do not submerge in water. No other appliance should be plugged
into the same outlet and be sure that the plug is fully inserted into the receptacle.
•The use of an extension cord is not recommended as it may overheat and cause a
risk of fire.
•If the supply cord is damaged, it must be replaced by Kogan.com or its service
agent to avoid a hazard.
•Disconnect the mains plug from the supply socket when not in use for a long term,
where supply connection is via mains plug.
•Remove the power plug or disconnect from the mains before cleaning or
maintaining the appliance.
•Never unplug your unit by pulling on the power cord. Always grasp the plug firmly
and pull straight out from the outlet.
•Do not use this unit outdoors. Keep the unit away from direct sunlight and make
sure that there is at least 15 cm of space between each side of the unit and
surrounding walls. Keep all ventilation openings on and in the appliance clear of
obstruction.
•Do not tip over the unit, as this will cause abnormal noise and ice-cube production.
This may also cause serious water leakage from the unit.
•If the unit is brought in from outside during winter, allow a few hours for it to warm
up to room temperature before plugging it in.
•Do not use other liquid to make ice-cubes other than water.
Do not clean the ice maker with flammable fluids, as the fumes can create a fire hazard or
explosion.
SAFETY & WARNINGS
WARNING:
•This appliance must be earthed and used with a 220-240V/50Hz
earthed power supply.
•Keep all ventilation openings in and on the appliance clear of
obstruction.
•Do not damage the refrigerant circuit.
•This appliance is not intended for use by persons (including children)
with reduced physical, sensory or mental capabilities or lack of
experience and knowledge unless they have been given supervision
or instruction concerning use of the appliance by a person
responsible for safety.
•Children should be supervised to ensure that they do not play with
the appliance.
•Do not store explosive substances such as aerosol cans with a
flammable propellant in this appliance.
•This appliance is intended to be used in household and similar
applications such as:
oStaff kitchen areas in shops, offices, and other working
environments.
oFarmhouses and by clients in hotels, motels, and other
residential type environments.
oBed and breakfast type environments.
oCatering and similar non-retail applications.
•Risk of fire/flammable materials used. Please accord to local
regulations regarding disposal of the appliance for its flammable
blowing gas.
•Do not use mechanical devices or other means to accelerate the
defrosting process or ice harvesting process, other than those
recommended by Kogan.com
•Do not use other electrical appliances inside the icemaker.
1. Main unit
1. Top cover
2. Ice-making and its water tank assembly, including ice-making evaporator, water
tank, water charging tank, water pump and detection circuits.
3. Access door for ice removal
4. Operation panel
5. Air outlet: must be unobstructed to allow air to circulate smoothly, as hot air will
blow out when the unit is running.
6. Air inlet
7. Main water supply inlet: for connecting the main water supply hose.
8. Water draining port: when the water tank requires draining, unplug the cap and
connect the white drainpipe.
Accessories:
•~2m white water drainpipe
•¼” to ½” quick tap connector
•Ice scoop
•¢6.35mm diameter white water supply hose
2. Ice-making and water tank parts
OVERVIEW
A. Water dividing pipe: water will flow out from the drainage holes, and it can be
disassembled and cleaned as required.
B. Evaporator (ice-making module)
C. Ice level sensor board: detects if the inner cabinet is full of ice and the status of the
ice-harvesting process.
D. Water tank (~0.9 litre volume)
E. Water supply pipe
F. Protective cover for water level switch
G. Water level switch installing plate
H. Water tank drainpipe: when ice-making, this pipe should be clamped in the slot of
the water tank wall. When draining, this pipe should be pulled out.
I. Ice level sensor
J. Water circulation pump
K. Water level detection switch
3. Operation panel
A. LCD display window
1. Power state: when the unit is turned off (standby mode), this symbol flashes. When
the unit is operating, the symbol will remain lit.
2. Ambient temperature and ice-making countdown time display.
3. Ice-making setting and Timer setting display.
4. Error code: E1 signifies an ambient temperature sensor fault. E2 signifies an issue in
the ice-making process.
5. Light symbol: this symbol displays when the LED light inside the cabinet is on.
6. Water flowing and water empty symbol: if the arrow of this symbol flashes, water is
flowing in from main water supply. If the symbol remains lit, there is no water
flowing from the main water supply.
7. Ice-full display: when the ice storing cabinet is full of ice cubes, this symbol will
illuminate, and the unit will stop the ice-making process.
8. Ice making and harvest display: When the ice cube symbol rotates continually, the
unit is making the ice. If the symbol flashes, the unit has entered the ice harvesting
process.
9. Self-Cleaning status display.
B. LED Light button
Turns the internal LED light on or off.
C. Timer/Clean button
Press this button once to enter the Timer setting program. Press and hold for 5 seconds
or more to enter the Self-Cleaning program.
D. ON/OFF button
When the unit is off, press this button to turn on the unit. During the automatic-cleaning
program or normal ice-making cycle, press this button to turn the unit off. If the unit is
set with the Timer, press this button to cancel the Timer setting.
When the unit is making ice cubes, press and hold this button for 5 seconds or more
and the unit will forcibly switch to the ice harvesting process.
E. “+”/“-” buttons
Press to adjust the ice-making process duration period; the default setting is zero,
increase or decrease the duration in one-minute increments for each pressing of the “+”
or “-” button accordingly.
Press to adjust the delay time of the timer in Timer setting mode; the default setting is
zero, increase or decrease the duration in one-hour increments for each pressing of the
“+” or “-” button accordingly.
Note:
Pressing and holding the LED Light button for 5 seconds or more will change the
ambient temperature unit between degrees Fahrenheit and degrees Centigrade.
4. Exploded diagram
Part list
1
Top cover
26
DC fan support frame
2
Insulation sponge
27
DC fan
3
Water dividing pipe cap
28
Water tank drainpipe
4
Water dividing pipe
29
Bottom feet
5
Water circulation pump
30
Air inlet front panel
6
Ice level detection plate
31
Water drainage cap
7
Evaporator and frame
32
Water drainage port
8
Back plate
33
Ice compartment door
9
Circuit box
34
Ice compartment door window
10
Circuit box cover
35
Door pins
11
Main control circuit
36
Compressor
12
Water pump outlet pipe
37
Refrigerant charging valve
13
Magnetic control switch
38
Bottom plate
14
Water tank cover
39
Condenser
15
Water level switch cover
40
Ice compartment door inner plate
16
Capillary tube
41
Operation panel insert label
17
Water level detecting switch
42
Ice compartment door frame
18
Water tank
43
Operation panel circuit box
19
Power cord
44
Operation panel circuit box cover
20
Power cable stop
45
Left side plate
21
Water inlet valve
46
Foaming cabinet
22
Ice-harvesting valve
47
Cabinet water drainpipe
23
Right side plate
48
Top cabinet sponge
24
Foaming cabinet support plate
49
Ice scoop
25
Dry filter
50
LED light