manuals.online logo
Brands
  1. Home
  2. •
  3. Brands
  4. •
  5. Kohler
  6. •
  7. Plumbing Product
  8. •
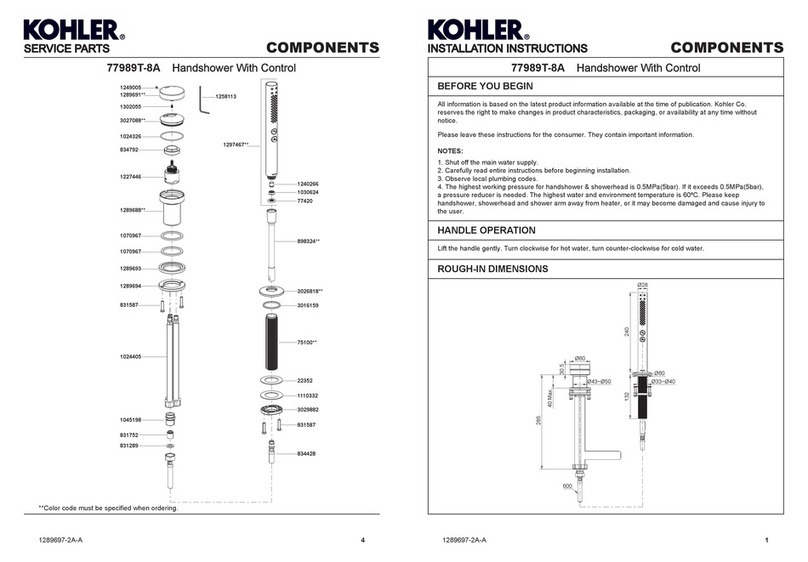
  9. Kohler KUMIN 99474T-C4 User manual

Kohler KUMIN 99474T-C4 User manual

1265602-2A-E 1
BEFORE YOU BEGIN
1265602-2A-E 4
INSTALLATION INSTRUCTIONS
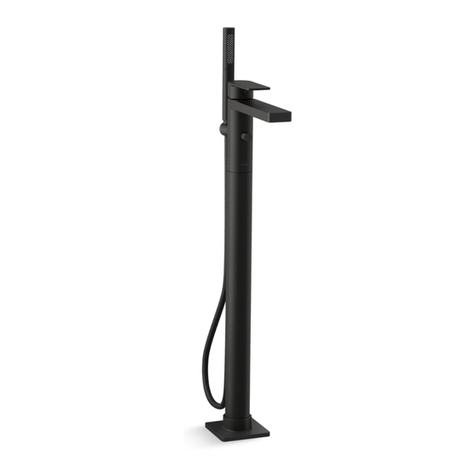
99474T-C4 3 Way Shower Column99474T-C4 3 Way Shower Column
KUMINKUMIN
SERVICE PARTS
All information is based on the latest product information available at the time of publication. Kohler Co. reserves
the right to make changes in product characteristics, packaging, or availability at any time without notice.
Please leave these instructions for the consumer. They contain important information.
NOTES:
1. Flush the water supply pipes thoroughly to remove debris.
2. Inspect the supply tubing for damage. Replace as necessary. Shut off the water supplies to the fitting.
3. Observe local plumbing codes.
4. The minimum inlet water pressure for diverter is 0.05MPa(0.5bar).
5. Recommended minimum working pressures is 0.1MPa (1bar).
6. The highest working pressure for showerhead & handshower is 0.5 MPa(5 bar). If it exceeds 0.5MPa(5 bar),
a pressure reducer is needed. The highest water and environment temperature is 60°C. Please keep handshower,
showerhead and the shower arm away from heater, or it may become damaged and cause injury to the user.
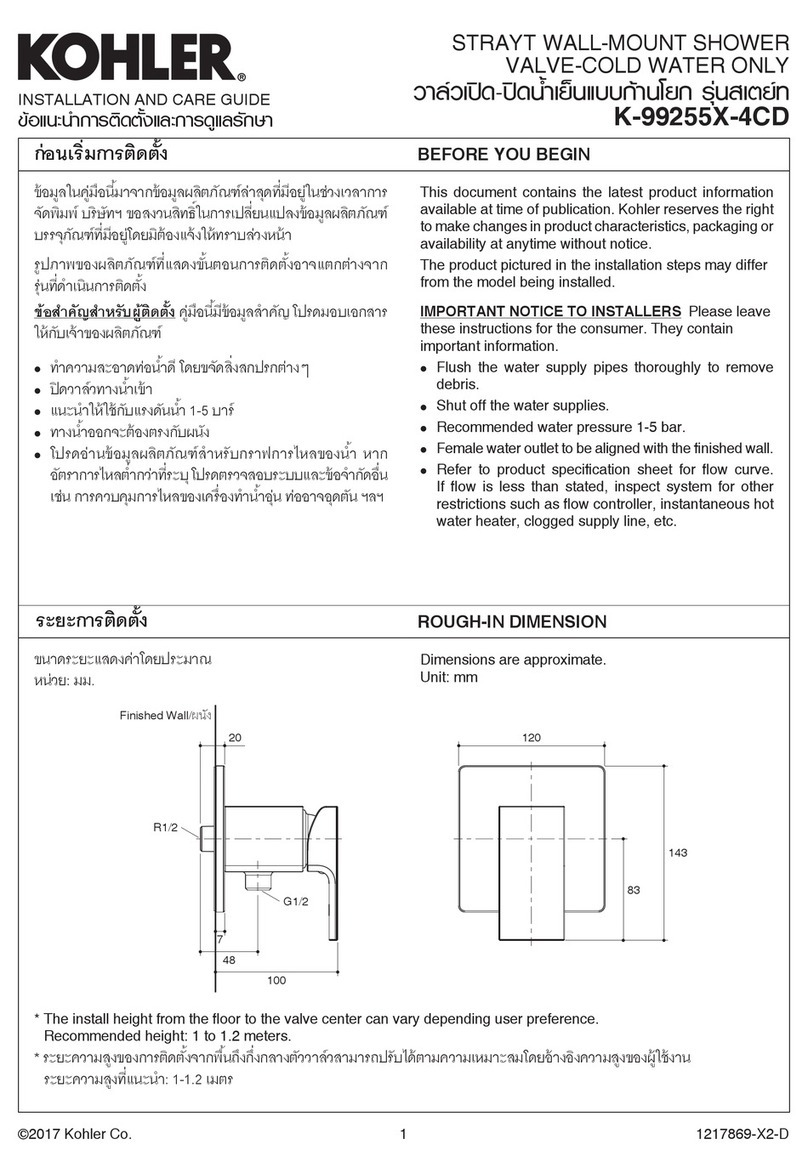
ROUGH-IN DIMENSIONS
OPERATION INSTRUCTIONS
Lift the handle gently. Turn clockwise for hot water, turn counter-clockwise for cold water. Water flows out from
spout when faucet diverter is in the normal position; lift the diverter gently, turn clockwise for shower; shut off the
faucet, turn counter-clockwise until it stops.
Turn the diverter handle counter-clockwise for handspray; Turn clockwise for showerhead.
Recommended Height
1000~1100
Finished Floor
1100~1300
875~1125
784
68
34
400
G1/2˝ G1/2˝
G1/2˝
G1/2˝
G1/2˝
1500
G1/2˝
005
188
150±15
Ø66
219
G1/2˝
Ø102
102
Ø203
128
G1/2˝
171
18º
G1/2˝
66
STANDARD APPLICABLE
Special model meets or exceeds the following at date of manufacture: TIS
**Color code must be specified when ordering.
NOTE: For all Asia pacific regions (excluding China) add SP (SPxxxxxxx**) in front of the part number when ordering.
870992
1196610
1196607**
832751
832751
1061576
1196621**
1111667**
1196628
1183267**
1109471**
880010
1046290
1209778**
1226316**
1209777
1292054
3016381
1213567
864104**
1121285
1196609**
1196622**
1196610
832751
831727**
870921
870921
880010
1121294** 3013706
3008523
1223034**
1223033**
1223039
1183428**
1061576
1196621**
1268608**
77420
1196627**
1260904**
1030624
1219595**
1030624
77420
1256397**
1256401**
3020067
1265602-2A-E 2
1265602-2A-E 3
INSTALLATION
CLEANING INSTRUCTIONS
All Finishes: Clean the finish with mild soap and warm water. Wipe entire surface completely dry with clean soft
cloth. Many cleaners may contain chemicals, such as ammonia, chlorine, toilet cleaner etc. which could adversely
affect the finish and are not recommended for cleaning.
Do not use abrasive cleaners or solvents on Kohler faucets and fittings.
INSTALLATION CHECKOUT
How to Install the Showerhead
T
urn the diverter handle, run hot and cold water for one minute to remove any
debris before the showerhead(27) is installed.
Put the regulator(28) into the showerhead inlet if needed.
Connect the
showerhead to the tube kit outlet with the washer(29), and tighten the
showerhead with strap wrench.
Hot
Cold
How to Install the Faucet
To perform installation, installer must provide G1/2″ female supply
fittings(1), spaced 150mm apart and horizontally. The supply fittings
should be vertical and not beyond the finished wall. Hot supply pipe must
be located on the left.
Flush the water supply pipes thoroughly to remove debris. Install the two
offset connectors(2) into the hot and cold supply pipes. Use appropriate
thread sealants or thread tape on pipe threads.
Adjust the center-to-center distance between the connectors to 150mm
and horizontally. They should extend 29mm beyond the finished wall.
Thread the escutcheons(3) onto the connectors until they are against the
finished wall.
Put the washers(4) into the nuts(5), thread the nuts to connectors.
Tighten the nuts with strap wrench or soft cloth between product and
regular wrench.
How to Install the Shower Column
Select a location in vertical wall to install shower column according to
rough-in dimensions. Drill the lower hole according to anchors’(6)
diameter and lower base(8-1) position in the finished wall(NOTE: The
arrow in the base is upward). Press anchors into the hole, secure the
base by the screw(7).
Rehearse the slide bar kit(9) installation for the upper base(8-2) mounting
location determination. Slide the tube joint(10) onto the slide bar kit, and
connect them to the base(NOTE: The arrow in the base is up). Install the
screws(12) into the tube joint with the hex wrench(11), and tighten them.
Place the slide bar and the body against the finished wall. Connect the
lower base and the diverter body kit(13). Position and tighten them by
hex wrench. Mark the hole of upper base(8-2) with a pencil. Uninstall the
slide bar kit and tube joint.(NOTE: Don’t lose the screws.)
Drill holes on the mark. Press the anchors into the holes. Secure the
upper base(8-2) by the screws. Install the tube joint(10) to the base(8-2)
and tighten them by screws. Reinstall the slide bar kit with
escutcheons(14) to the bases. Tighten the screws with the hex wrench.
Screw the escutcheons with the bases until against the finished wall.
Install the tube kit(15) into the slide bar kit. Install the nut(16) onto the
tube kit with soft cloth between internal hole of the nut and the tube kit.
Then screw the nut onto the slide bar kit with strap wrench or soft cloth
between the nut and regular wrench.
2
1
150mm
6
712
8-2
14
6
7
12
8-1
14 13
16
15
10
11
9
How to Install the Handspray and Hose
Tighten 500mm length hose(18) to the outlet(19) and the connector(20) with two
washers(17).
Turn the diverter handle(21), run hot and cold water for one minute to remove any
debris.
Tighten 1500mm length hose(24) to the connector(23) with filter washers(22). Put
the regulator(25) into the handspray(26) inlet if needed. Tighten the hose to the
handspray with the filter washer(22).
29
28
27
5
4
29mm
3
22
25
26
24
19
17
20
21
22
23
17
18
Ensure that all connections are tight. Ensure that the handle is in the off position.
Turn on the drain and main water supply, and check for leaks. Repair as needed.
Remove the aerator(30) by coin. Run hot and cold water through the faucet for
about one minute to remove any debris. Check for leaks. Remove any debris
from the aerator.
Lift the diverter gently, turn clockwise for shower. Remove the hose(18). Run hot
and cold water through faucet for about one minute to remove any debris. Shut
off the faucet. Reinstall the aerator and hose.
30
18
Other Kohler Plumbing Product manuals

Kohler MAXISPACE K-77217T User manual

Kohler

Kohler MAXISPACE K-77217T User manual

Kohler K-8816 User manual

Kohler

Kohler K-8816 User manual

Kohler K-12266 Assembly instructions

Kohler

Kohler K-12266 Assembly instructions

Kohler BodySpa K-1030 User manual

Kohler

Kohler BodySpa K-1030 User manual

Kohler Rada Intelligent Care MX1 20 User manual

Kohler

Kohler Rada Intelligent Care MX1 20 User manual

Kohler K-9245 Assembly instructions

Kohler

Kohler K-9245 Assembly instructions

Kohler 77984T-4MU User manual

Kohler

Kohler 77984T-4MU User manual

Kohler K-2369 User manual

Kohler

Kohler K-2369 User manual

Kohler WELLWORTH WATERGUARD K-3520 User manual

Kohler

Kohler WELLWORTH WATERGUARD K-3520 User manual

Kohler K-6881 Assembly instructions

Kohler

Kohler K-6881 Assembly instructions

Kohler K-6132 Assembly instructions

Kohler

Kohler K-6132 Assembly instructions

Kohler 10373 User manual

Kohler

Kohler 10373 User manual

Kohler K-19909 Assembly instructions

Kohler

Kohler K-19909 Assembly instructions

Kohler K-6946 User manual

Kohler

Kohler K-6946 User manual

Kohler K-7374 Assembly instructions

Kohler

Kohler K-7374 Assembly instructions

Kohler 10586-4-SN Assembly instructions

Kohler

Kohler 10586-4-SN Assembly instructions

Kohler K-994 User manual

Kohler

Kohler K-994 User manual

Kohler Stance 14787A User manual

Kohler

Kohler Stance 14787A User manual

Kohler K-T9493 User manual

Kohler

Kohler K-T9493 User manual

Kohler Kathryn K-2322 Assembly instructions

Kohler

Kohler Kathryn K-2322 Assembly instructions

Kohler K-16135 User manual

Kohler

Kohler K-16135 User manual

Kohler 23472T-4 User manual

Kohler

Kohler 23472T-4 User manual

Kohler 8002A User manual

Kohler

Kohler 8002A User manual

Kohler MARGAUX Assembly instructions

Kohler

Kohler MARGAUX Assembly instructions

Popular Plumbing Product manuals by other brands

Hans Grohe Ecostat E 15707 Series Instructions for use/assembly instructions

Hans Grohe

Hans Grohe Ecostat E 15707 Series Instructions for use/assembly instructions

Oras Medipro Installation and maintenance guide

Oras

Oras Medipro Installation and maintenance guide

Hans Grohe 13132000 Assembly instructions

Hans Grohe

Hans Grohe 13132000 Assembly instructions

Reece Mizu quick guide

Reece

Reece Mizu quick guide

Omnires Darling DA5021 Installation and Maintenance

Omnires

Omnires Darling DA5021 Installation and Maintenance

BELLOSTA baby-s 7200/1/P Installation instruction

BELLOSTA

BELLOSTA baby-s 7200/1/P Installation instruction

BELLOSTA ELITE 9000 Installation instruction

BELLOSTA

BELLOSTA ELITE 9000 Installation instruction

Bristan SMILE SM 1/2 C D6 Installation instructions & user guide

Bristan

Bristan SMILE SM 1/2 C D6 Installation instructions & user guide

Luxart VELERO VE2418-PU Installation

Luxart

Luxart VELERO VE2418-PU Installation

McAlpine Fyne quick start guide

McAlpine

McAlpine Fyne quick start guide

Electrolux IIAA030 specification

Electrolux

Electrolux IIAA030 specification

VADO AXCES VICTORIANA AX-VIC-131/S/CD-CP Instruction booklet

VADO

VADO AXCES VICTORIANA AX-VIC-131/S/CD-CP Instruction booklet

Pfister Crete F-529-7CE Quick installation guide

Pfister

Pfister Crete F-529-7CE Quick installation guide

AIR GAP TAP-A-FLOW AG250-203 quick start guide

AIR GAP

AIR GAP TAP-A-FLOW AG250-203 quick start guide

bioBidet A3 owner's manual

bioBidet

bioBidet A3 owner's manual

Delta 14178-LHP Specification sheet

Delta

Delta 14178-LHP Specification sheet

American Standard OVATION 2968BWT60 installation instructions

American Standard

American Standard OVATION 2968BWT60 installation instructions

Clou CL/06.04007.29 installation instructions

Clou

Clou CL/06.04007.29 installation instructions

manuals.online logo
manuals.online logoBrands
  • About & Mission
  • Contact us
  • Privacy Policy
  • Terms and Conditions

Copyright 2025 Manuals.Online. All Rights Reserved.