manuals.online logo
Brands
  1. Home
  2. •
  3. Brands
  4. •
  5. Kohler
  6. •
  7. Toilet
  8. •
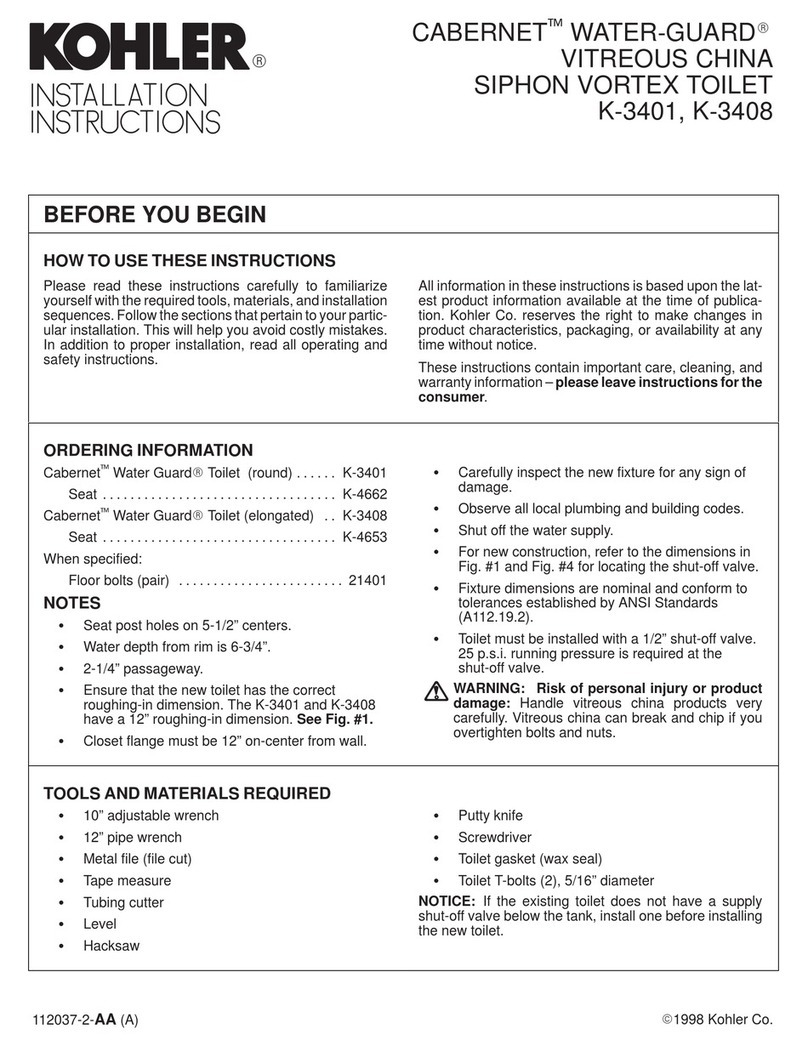
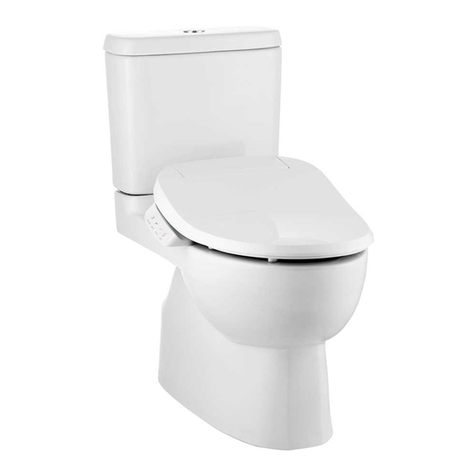
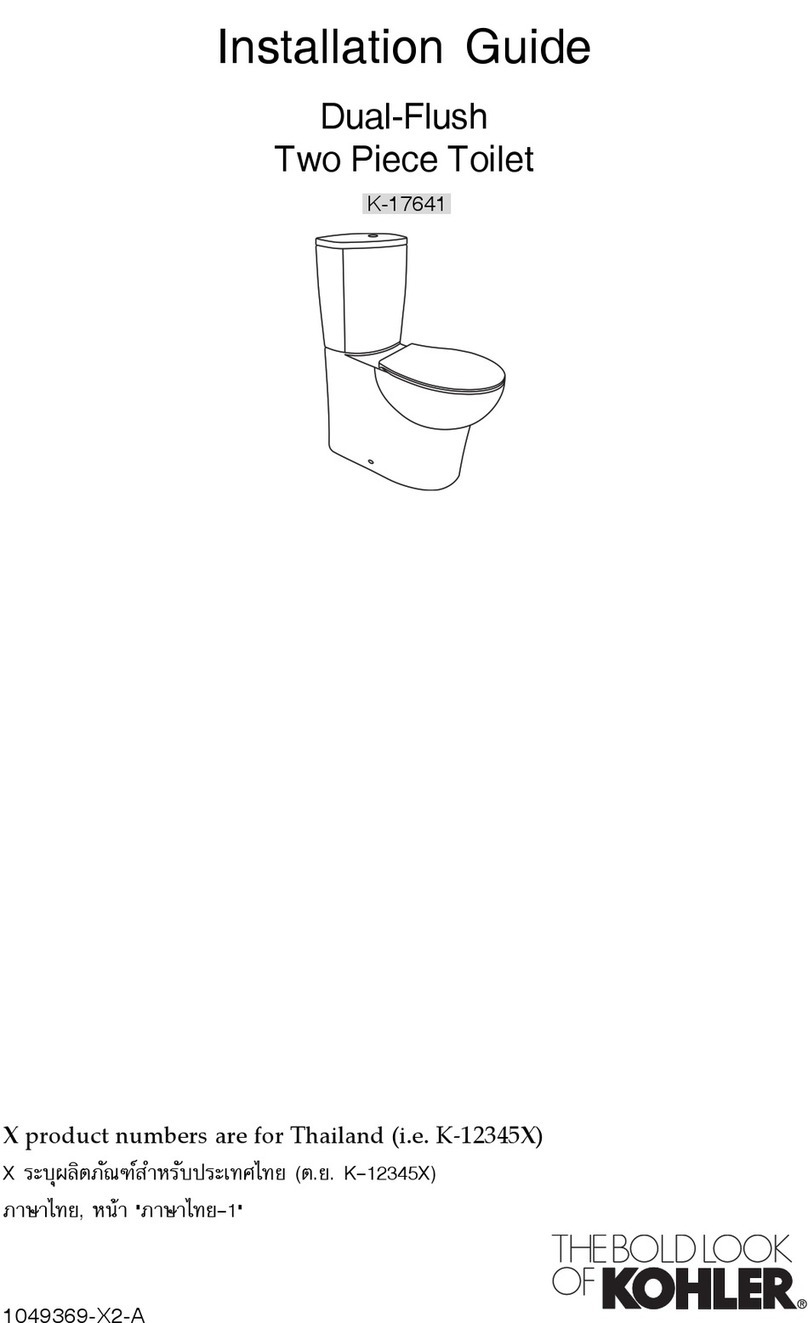
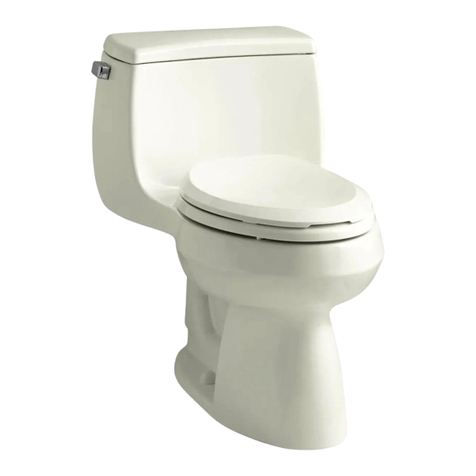
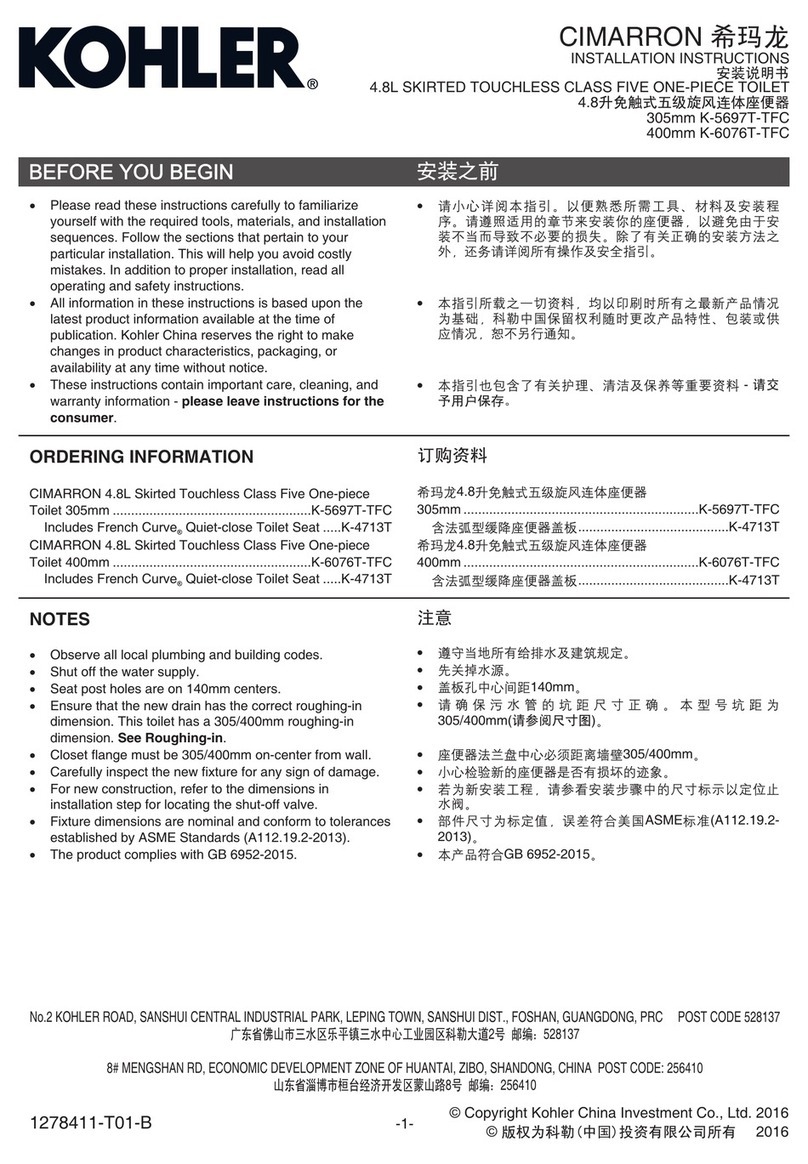
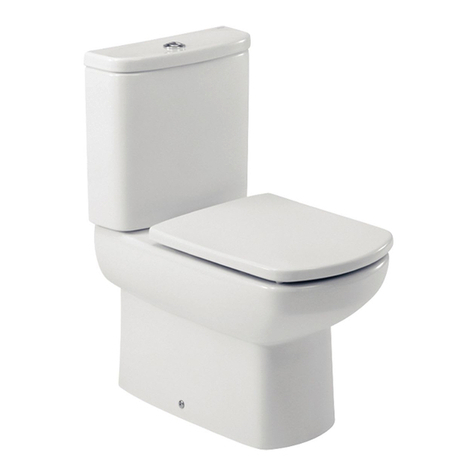
  9. Kohler KARAT K-2444X Assembly instructions

Kohler KARAT K-2444X Assembly instructions

This manual suits for next models

4

Other Kohler Toilet manuals

Kohler K-3437 User manual

Kohler

Kohler K-3437 User manual

Kohler SAN MARTINE K-5503T-C User manual

Kohler

Kohler SAN MARTINE K-5503T-C User manual

Kohler K-3678 Assembly instructions

Kohler

Kohler K-3678 Assembly instructions

Kohler VEIL WALL FACED User manual

Kohler

Kohler VEIL WALL FACED User manual

Kohler Revival K-14224-TL Assembly instructions

Kohler

Kohler Revival K-14224-TL Assembly instructions

Kohler K-25839T-NSHC User manual

Kohler

Kohler K-25839T-NSHC User manual

Kohler STERLING 402076 Assembly instructions

Kohler

Kohler STERLING 402076 Assembly instructions

Kohler MEMOIRS K-3429T User manual

Kohler

Kohler MEMOIRS K-3429T User manual

Kohler OVE K-17629T-2 User manual

Kohler

Kohler OVE K-17629T-2 User manual

Kohler K-3556 User manual

Kohler

Kohler K-3556 User manual

Kohler Rialto Pressure Lite K-3404 User manual

Kohler

Kohler Rialto Pressure Lite K-3404 User manual

Kohler C3-050 User manual

Kohler

Kohler C3-050 User manual

Kohler K-3654 Assembly instructions

Kohler

Kohler K-3654 Assembly instructions

Kohler K-3797 Assembly instructions

Kohler

Kohler K-3797 Assembly instructions

Kohler K-3323 Assembly instructions

Kohler

Kohler K-3323 Assembly instructions

Kohler ODEON K-8752K-W User manual

Kohler

Kohler ODEON K-8752K-W User manual

Kohler Escale K-25090T-S User manual

Kohler

Kohler Escale K-25090T-S User manual

Kohler K-22250T-130 User manual

Kohler

Kohler K-22250T-130 User manual

Kohler SAN MARTINE K-5503T-TFC1 User manual

Kohler

Kohler SAN MARTINE K-5503T-TFC1 User manual

Kohler K-77780KR-0 Assembly instructions

Kohler

Kohler K-77780KR-0 Assembly instructions

Kohler C3-500 Assembly instructions

Kohler

Kohler C3-500 Assembly instructions

Kohler K-3324 Assembly instructions

Kohler

Kohler K-3324 Assembly instructions

Kohler K-3496 User manual

Kohler

Kohler K-3496 User manual

Kohler VIA K-20629T-BW User manual

Kohler

Kohler VIA K-20629T-BW User manual

Popular Toilet manuals by other brands

nella LOCH NBMU-4062 ADA installation instructions

nella

nella LOCH NBMU-4062 ADA installation instructions

Toto WASHLET RG Lite installation guide

Toto

Toto WASHLET RG Lite installation guide

Crosswater US-PRO9005 manual

Crosswater

Crosswater US-PRO9005 manual

Toto Washlet TCF4911 Series installation guide

Toto

Toto Washlet TCF4911 Series installation guide

DENCK PURE-D user manual

DENCK

DENCK PURE-D user manual

Grohe Sensia ARENA user manual

Grohe

Grohe Sensia ARENA user manual

Geberit AQUACLEAN MERA CLASSIC user manual

Geberit

Geberit AQUACLEAN MERA CLASSIC user manual

Better Bathrooms BUN/BeBa 27555/78725 user manual

Better Bathrooms

Better Bathrooms BUN/BeBa 27555/78725 user manual

American Standard CONCEPT Cube TF-2704 installation manual

American Standard

American Standard CONCEPT Cube TF-2704 installation manual

BIOLAN ECO Instructions for installation, use and maintenance

BIOLAN

BIOLAN ECO Instructions for installation, use and maintenance

Thetford C260 Series user manual

Thetford

Thetford C260 Series user manual

KELISS T162A Series instruction manual

KELISS

KELISS T162A Series instruction manual

Silent Venus SVP600 Installation & maintenance

Silent Venus

Silent Venus SVP600 Installation & maintenance

BIOLAN GARDEN TOILET Instructions for installation, use and maintenance

BIOLAN

BIOLAN GARDEN TOILET Instructions for installation, use and maintenance

washloo Prestige user manual

washloo

washloo Prestige user manual

JABSCO 37010 Series quick start guide

JABSCO

JABSCO 37010 Series quick start guide

Olympia EPOQUE 69209 Installation and Maintenance

Olympia

Olympia EPOQUE 69209 Installation and Maintenance

InBe IB/04.06050 installation instructions

InBe

InBe IB/04.06050 installation instructions

manuals.online logo
manuals.online logoBrands
  • About & Mission
  • Contact us
  • Privacy Policy
  • Terms and Conditions

Copyright 2025 Manuals.Online. All Rights Reserved.

Installation and Care Guide

ขอแนะนําการติดตั้งและการดูแลรักษา
©2017 Kohler Co.
1063331-X2-B
ขอสําคัญถึงผูติดตั้ง! 

ขอสังเกต: อุปกรณสําหรับการติดตั้งบางชิ้น

ขอสังเกต:


CAUTION: Turn on the water and allow water
to flow through the supply pipe to flush the
system of any debris before connecting fill valve.
ข้อควรระวัง:

IMPORTANT NOTICE TO INSTALLERS!:
Please leave these instructions for the
consumer. Please retain for future reference.
NOTE: Some installation parts might not be
provided.
NOTE: The toilet pictured in the installation
steps may differ from the model being installed.
Do not overtighten!
อยาขันแนนจนเกินไป!
1/2"
Supply Hose

NOTE:
Do not recommend to apply with white
cement or high lime content to install this toilet. The
expansion of cement due to a rise in temperature may
make the toilet crack or cause damage. Kohler is not
responsible for any damage cased by installation
with the use of cement.
ขอสังเกต: 



K-2444X, /K-17378K, /K-17377K,
K-17376X, /K-12394K
Floor Flange

Adapter
15/16" to 1/2"
(Optional Part)
Install the floor flange with T-bolts and
screws on the floor.
Install the bowl.
Connect supply and turn on the water. Flush several
times and check for leaks.
Install the tank lid and the seat.
1
4 5
2
 



วางดานนี้ขึ้น
This side up.
ตัดสวนที่เกินออก
Cut excess.
6
6 mm Max
Install the washers and nuts as shown.
Do not overtighten!
3
3.2
3.1

อยาขันแนนจนเกินไป!
©2017 Kohler Co.
1063331-X2-B
ASIAN EMERGING MARKETS
Asia Customer Service Centre, Kohler Asia Pacific Limited Tel: +(86) 21 2606 2572
KOHLER (THAILAND) PUBLIC COMPANY LIMITED
บริษัท โคหเลอร (ประเทศไทย) จํากัด (มหาชน) : ลูกคาสัมพันธ/Call Center 0 2204 6222
E-mail: [email protected]
For best results, keep the following in mind when caring for your
product:
• Carefully read the cleaner product label to ensure the cleaner is safe
for use on the material.
• Always test your cleaning solution on an inconspicuous area before
applying to the entire surface.
• Wipe surfaces clean and rinse completely with water immediately
after cleaner application. Rinse and dry any overspray that lands on
nearby surfaces.
• Do not allow cleaners to sit or soak on the surface.
• Use a soft, dampened sponge or cloth. Never use an abrasive
material such as a brush or scouring pad to clean surfaces.
• Be careful not to leave staining materials in contact with the surface
for extended periods of time.
• The ideal cleaning technique is to rinse thoroughly and blot dry any
water from the surface after each use.
WARNING: Risk of property or product damage. Do not
use in-tank cleaners in your toilet. Products containing
chlorine (calcium hypochlorite) can seriously damage fiings
in the tank. This damage can cause leakage and property
damage.
Troubleshooting Care and Cleaning
การดูแลรักษาและการทําความสะอาด
Symptoms Recommended Action
1. Poor flush. A. Adjust the tank water level to match the
waterline.
B. Fully open the water supply shut-off valve.
C. Clear obstructions from the trapway, jet, or bowl
rim holes.
D. Clear obstructions from the waste line.
2. No flush. A. Reconnect the flapper chain to the trip lever or
flush valve.
B. Adjust the flapper chain assembly to
remove excessive slack.
3.
The fill valve
A. Adjust the flapper chain for proper slack so the
turns on/off
flapper closes.
by itself B. Clean or replace the flapper if it is worn, dirty, or
without the misaligned with the opening.
toilet being
C. Clean the area around the opening to allow
flushed, or it
the flapper to seal.
runs, allowing
D
. Adjust the tank water level if it is too high.
water to enter
E. Replace the fill valve if the valve float sinks.
the tank.
F. Adjust the tank water level if it is too high.
4. Tank takes A. Fully open the water supply shut-off valve.
excessive time
B. Check the flexible supply line (if applicable) for
to fill. a kink. Remove the kink.
C. Clean the valve inlet, valve head, or supply line.
Flush the lines.
5. There is A. Partially close the water supply shut-off valve if
excessive the waterpressure to the toilet is too high.
noise when Check the toilet performance following any such
the tank adjustment.
is filling. B. Remove dirt or obstructions from the valve head.
Flush the lines.
6. Trip arm A. Adjust flush ball chain assembly to remove
strikes excessive slack.
tank lid B. Adjust trip arm bracket and flange so they
underside. are parallel with tank top.
ปญหาที่พบ วิธีการแกไข
1.

 
  
  
   
   
2.

 
   
  
   
 
   
  
   
   
   
   
   
  
  
   
 

 

  
   
 
   
   
  
 
   
  
ขอแนะนําการแกไขปญหาเบื้องตน


• 

• 

• 

• 
• 

• 
• 

ขอควรระวัง ความเสี่ยงซึ่งอาจกอใหเกิดความเสียหายกับที่พัก
อาศัยและสุขภัณฑ 
  

