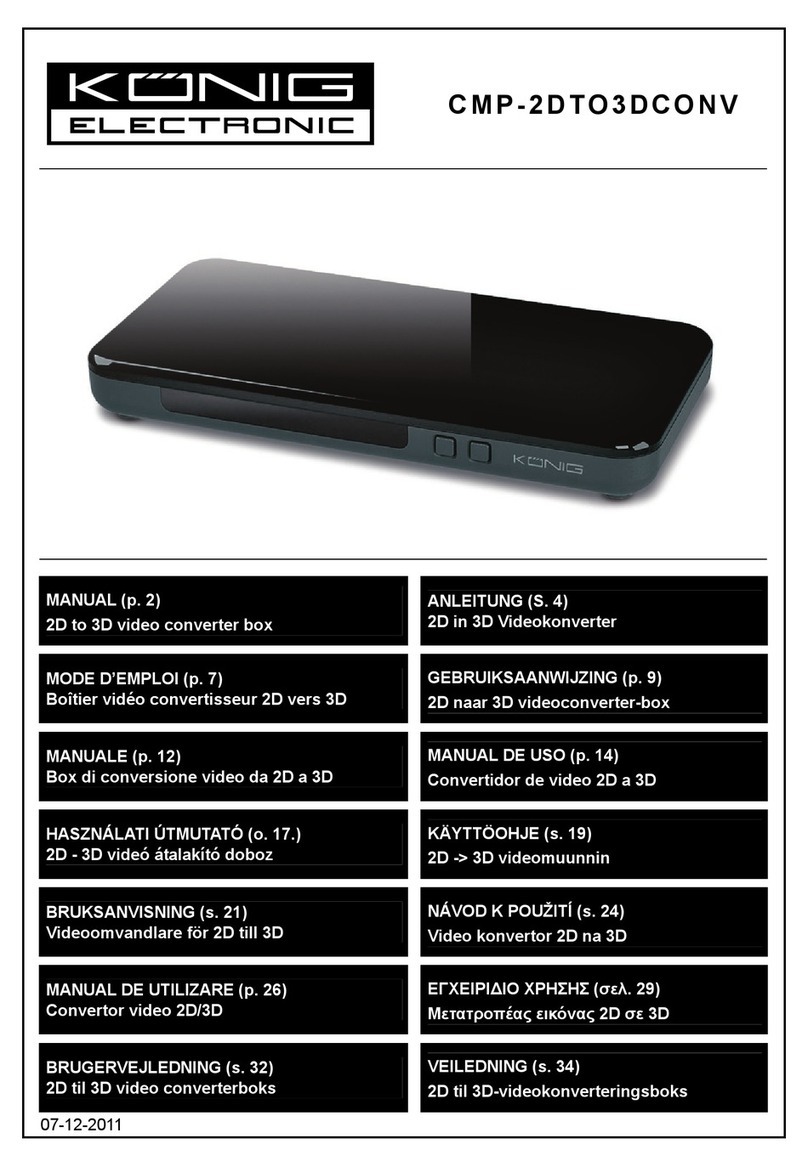
Konig CMP-2DTO3DCONV User manual

MANUAL
ANLEITUNG
MODE D’EMPLOI
GEBRUIKSAANWIJZING
MANUALE
MANUAL DE USO
HASZNÁLATI ÚTMUTATÓ
KÄYTTÖOHJE
BRUKSANVISNING
NÁVOD K POUŽITÍ
CMP-2DTO3DCONV
2D to 3D video converter

2
1 Introduction
Welcome to the 3D Converter Box User Manual.
To get the best results from the 3D Converter Box, it is recommended that you first read this
manual.
2 Components and Contents
2.1 New 3D Converter Box Components
3D Converter Box
Power Supply
3D Glasses
Remote Control
HDMI Cable

3
2.2 Other Components that are Required
A Regular HD TV with at least one HDMI input
An existing HDMI Cable
Blu-ray Player, Set-Top-Box, Media player etc.
2.3 Converter Box – Front Panel

4
2.4 Converter Box – Back Panel
2.5 Converter Box – Remote Control
A
B
C
D
E
F
G
H

5
3 Installation
3.1 Connection Diagram – The View After Installation
Converter Box
HDMI IN
1
Set Top Box
HDMI OUT
Blu Ray Player
HDMI OUT
TV
HDMI
OUT
HDMI
IN
HDMI
IN
21

6
The 3D Converter Box supports Hot-Plugging of Devices. Devices can be connected in any order
and at any time. Follow the procedure below carefully to step through and view each stage of the
installation.
Please refer to the Appendix for more advanced connectivity options which handle multichannel
audio and other compressed audio formats.
3.2 Step 1: Connect the 3D Converter Box Power Cable
1. Disconnect all cables and leads from the 3D Converter Box. Note that all LEDs on the
Front Panel of the 3D Converter Box are off.
2. Connect the 3D Converter Box power cable to the 3D Converter Box and plug in to a
mains outlet.
Converter Box
HDMI
OUT
HDMI
IN
HDMI
IN
21
3. All of the LEDs will light up briefly (self-test mode) and then they will turn off.
Your 3D Converter Box is now plugged in and functioning. It is now time to connect your TV!

7
3.3 Step 2: Connect the 3D Converter Box Output to your TV
1. Connect one end of the first HDMI Cable to the “HDMI Out” port of the 3D Converter Box.
2. Connect the other end of this first HDMI Cable to one of the HDMI input channels on your
TV.
Converter Box
HDMI IN
1
TV
HDMI
OUT
HDMI
IN
HDMI
IN
21
3. Switch on your TV and change the video source to this particular HDMI Input channel on
the TV.
4. Note that the first Source LED lights up.

8
5. On your TV note that a 3D Startup Message screen will appear immediately.
Note that you can skip the 3D Startup Message screen by pressing “OK” on your remote
control.
6. The screen will then show a message saying that ‘No Video Input Source Found’.
Your TV is now connected. It is now time to connect a Video Source!
3.4 Step 3: Connect the 3D Converter Box Input Device
1. Connect one end of the second HDMI Cable to the HDMI Output port of your DVD
Player, Set-Top-Box, Gaming Device or other video device.
2. Leave the input device switched off
3. Connect the other end of this second HDMI Cable to the “HDMI 1” input port of the 3D
Converter Box.

9
Converter Box
HDMI IN
1
Set Top Box
HDMI OUT
TV
HDMI
OUT
HDMI
IN
HDMI
IN
21
4. Note the LEDs show:
5. Note the On-Screen Message remains as follows:
6. Switch on this Input Video Device.
7. The video from the source device will now appear on the screen.

10
Your 3D Converter Box is now connected and installed correctly and ready for action!
3.5 Step 4: Determining the Current Status of the Converter Box
At any time when using the 3D Converter Box press “OK” on the remote control to display the
information screen.
This will show the current HDMI source that is selected, the mode of operation and the input and
output resolutions of the converter box.

11
4 3D Converter Box Operation
All the functions of the 3D Converter Box can be controlled using either the remote control or the
2 buttons on the 3D Converter Box (the Mode Button and the Source Button).
3D Inputs
2D Inputs
2DTV
4.1 Using the 3D Converter Box with 3D Content (3D Auto Detect)
3D Source Devices include: 3D Blu-Ray Players, TV Set-Top-Box, Gaming Consoles
4.1.1 Getting Ready
1. Ensure all connections are correct as described in the Installation section and the TV is
tuned to the appropriate HDMI channel.
2. This section is for playing 3D Content e.g. a 3D Blu-ray
4.1.2 Usage
1. In this case the 3D content is HDMI 1.4a compliant and the 3D Converter Box
automatically detects the 3D format.
2. Insert a 3D Movie or 3D Game into the input device and start the movie/game playing in
3D mode.
3. There are 2 Modes on the 3D Converter Box:
a. 3D to Anaglyph-3D Conversion allows you to watch 3D content in 3D on a 2DTV
b. 3D to 2D allows you to watch 3D content as 2D on a 2DTV

12
4. Pressing the “Mode Button” on the Remote Control or on the 3D Converter Box moves
through the available modes when playing 3D content.
5. There are 2 modes as shown below
6. Press the “OK” button to see the 3D Mode and Status
7. 3D to Anaglyph-3D Mode : When you connect first, the default mode is “3D to
Anaglyph-3D Conversion Mode”. You can watch 3D content on your 2DTV using the
supplied glasses and the LEDs will indicate the input content format as below.
This allows the 3D movie to be watched on your 2DTV.
Note that the on-screen message will indicate which mode you are in when you press the
mode button.

13
Put on your 3D Glasses and enjoy the experience!
8. 3D-2D Mode : Press the “Mode Button” again. This changes the mode to “3D to 2D
Mode”. This converts the 3D movie to 2D and you can watch it on your TV as normal 2D.
You do not need to wear your glasses for this.
4.1.3 A Little More Information About 3D Formats
Note: There are 3 3D Formats. The 3D Converter Box supports all 3 formats:
• 3D Side-by-Side
• 3D Top-and-Bottom
• 3D Frame Packing
The 3D Converter Box will automatically identify and switch to the correct format if the input
source is HDMI 1.4a compliant.

14
The LEDs on the front of the 3D Converter Box will show different patterns depending on the
3D Format that is currently being used.
4.2 Using the 3D Converter Box with other 3D Content e.g. Media Players
Other 3D Source Devices include: Media Players, some Set-Top-Boxes and some Gaming
Consoles
In this case the 3D Content may not be fully HDMI 1.4a compliant so the 3D Converter Box will
be unable to detect the 3D format. The user must choose the correct setting manually on the 3D
Converter Box to set the input 3D format.
4.2.1 Getting Ready
1. Ensure all connections are correct as described in the Installation section and the TV
is tuned to the appropriate HDMI channel.
2. The video content will now be playing on the screen
4.2.2 Usage
1. There are 4 Modes on the 3D Converter Box:
a. Bypass
b. 2D to Anaglyph-3D Conversion
c. 3D(Side-by-Side) to Anaglyph-3D Conversion
d. 3D (Top-and-Bottom) to Anaglyph-3D Conversion
2. Pressing the “Mode” Button on the front panel or on the Remote Control will switch
between a and b.
3. To access the other modes select the Mode option in the Main Menu. This allows the
user to select one of these modes and preview the effect on screen.

15
Bypass
(Default)
2D->Anaglyph-3D
Conversion
3D (TAB)->Anaglyph-3D
Conversion
3D (SBS)->Anaglyph-3D
Conversion
MODE
4. For example if you know the input content is in Side-by-Side 3D Format and the
Converter Box does not Auto-Detect this mode, you can put the converter box into
this mode using the mode button.
4.3 Using the 3D Converter Box with a 2D Source Device
2D Source Devices include: Blu-ray Players, DVD Players, TV Set-Top-Boxes, Game Consoles,
Other Media Devices
4.3.1 Getting Ready
1. Ensure all connections are correct as described in the Installation section and the TV
is tuned to the appropriate HDMI channel.
2. The video content will now be playing on the screen
4.3.2 Usage
1. Insert a 2D Movie or Game into the Input Device
2. There are 4 Modes on the 3D Converter Box:
a. Bypass
b. 2D to Anaglyph-3D Conversion
c. 3D (Side-by-Side) to Anaglyph-3D Conversion
d. 3D (Top-and-Bottom) to Anaglyph-3D Conversion
3. Pressing the “Mode Button” moves through each of these modes. (Pressing the
Mode Button on the Remote Control also performs this function).

16
Bypass
(Default)
2D->Anaglyph-3D
Conversion
3D (TAB)->Anaglyph-3D
Conversion
3D (SBS)->Anaglyph-3D
Conversion
MODE
When the “Mode Button” is pressed the following Menu will appear with the mode
options.
4. When you connect first, the default mode is “Bypass Mode”. You can watch TV as
usual (without the glasses) and the LEDs will look like this:
5. Press the “Mode Button” once. This changes the mode to “2D to Anaglyph-3D
Conversion Mode”. In this section we are assuming the input content is in 2D format.
Put on your 3D glasses and enjoy the 3D experience.

17
Note that other modes are available via the Mode Button as described in the other
sections. If other modes are selected with 2D content then the colors and video on the
screen may look strange.
4.4 Changing the Input Video Source
Input Video Source devices can be connected to either HDMI 1 input port or HDMI 2 Input Port or
you can connect 2 devices to the ports simultaneously.
Use the “Source Button” to select which input video source is active and is passed to the output
of the 3D Converter Box for displaying on your TV.
HDMI 1
(Default) HDMI 2
Input Video Source Priority
Start
SOURCE
Use the “Source Button” on the Remote Control to also change the input video source.
4.5 Hot Plugging
HDMI1.4a compliant 3D sources will be recognized automatically by the 3D Converter Box and
the 3D Converter Box will automatically switch into 3D mode.

18
5 Using the Menu System to Navigate
The 3D Converter Box has a menu system built-in to help the user navigate through the
functions.
This menu system can be operated using the supplied remote control or by using the “Mode
Button” and “Source Button” on the 3D Converter Box.
5.1 Main Menu Screen
1. Call up the Main Menu by either pressing the “MENU” Button on the remote control or by
holding down the “Mode Button” on the Front Panel of the 3D Converter Box for more
than 3 seconds.
MENU
2. The Menu Screen will look like this.
3. Navigate the Menu System using the “UP ARROW” and “DOWN ARROW” on the remote
control or by pressing the “Mode Button” on the 3D Converter Box.
4. Select a highlighted option by pressing “OK” on the remote control or by pressing the
“Source Button” on the 3D Converter Box.

19
5.2 Mode Menu Screen
1. Use the 3D Mode Menu to change the 3D mode depending on the type of source
content.
2. Select a highlighted option by pressing “OK” on the remote control.
5.3 3D Adjust Menu Screen
1. Use the 3D Adjust Menu Screen to change the settings related to the 3D effect.
2. Select “Restore Defaults” to return to a balanced 3D mode that is recommended by the
manufacturer. Sometimes if 3D Offset or 3D Strength are changed too much from the
default positions the 3D picture can become unclear and hard to watch. Use the
“Restore Defaults” to return to a balanced screen.

20
3. Note that the 3D Adjust settings are only available in 3D Modes. If the user tries to select
this option during any other mode the user will get an error message as shown below.
5.4 3D Brightness Menu Screen
1. Use the 3D Brightness Menu Screen to change the amount of 3D brightness in the
scene.
2. Move the cursor to the right by pressing the “RIGHT ARROW” on the remote control to
increase the amount of brightness in the video.
3. Move the cursor to the left by pressing the “LEFT ARROW” on the remote control to
decrease the amount of brightness in the video
Other manuals for CMP-2DTO3DCONV
1
Table of contents
Other Konig Media Converter manuals

Konig
Konig CMP-VGACONV13 User manual

Konig
Konig KN-HDMICON40 User manual

Konig
Konig CMP-2DTO3DCONV User manual

Konig
Konig KN-OPTRCA10 User manual

Konig
Konig CMP-SPLITVGA10 User manual

Konig
Konig HAV-CA10 User manual

Konig
Konig KN-AVSPLIT20 User manual

Konig
Konig CMP-VGACONV12 User manual
Konig
Konig KN-HDMICON21 User manual
Konig
Konig KN-HDMICON10 User manual