Konnectronix PowerPost EVSE User manual
Document # 906-077 Revision B
–
05/10/2018
PowerPost
®
EVSE
Dual and Quad Post System
Installation Manual
®

THIS PAGE WAS LEFT BLANK INTENTIONALLY

PowerPost® EVSE Dual and Quad Post System Installation Manual
Contents
Tools & Materials Required for Installation.........................................................................
Installation Template….........................................................................................................
Electrical Requirements…....................................................................................................
Mechanical Requirements....................................................................................................
Installation Procedure...........................................................................................................
1
2
4
5
7

PowerPost® EVSE Dual and Quad Post System Installation Manual Page 1
IMPORTANTSAFETYINSTRUCTIONS–
PLEASEREADINSTALLATIONMANUALFORSPECIFIC
POWERPOST®EVSEMODELBEINGINSTALLED
Tools&MaterialsRequiredforInstallation
#4 Security Hex Bit (supplied with unit)
#2 Flat Head Screwdriver
Bubble Level or Equivalent
Wire Stripper 10-12 AWG
Crescent Wrench
3/8” Socket and Wrench
Torque Wrench
3/8” Concrete Drill Bit
Drill

PowerPost® EVSE Dual and Quad Post System Installation Manual Page 2
INSTALLATION
TEMPLATE

THIS PAGE WAS LEFT BLANK INTENTIONALLY Page 3

PowerPost® EVSE Dual and Quad Post System Installation Manual Page 4
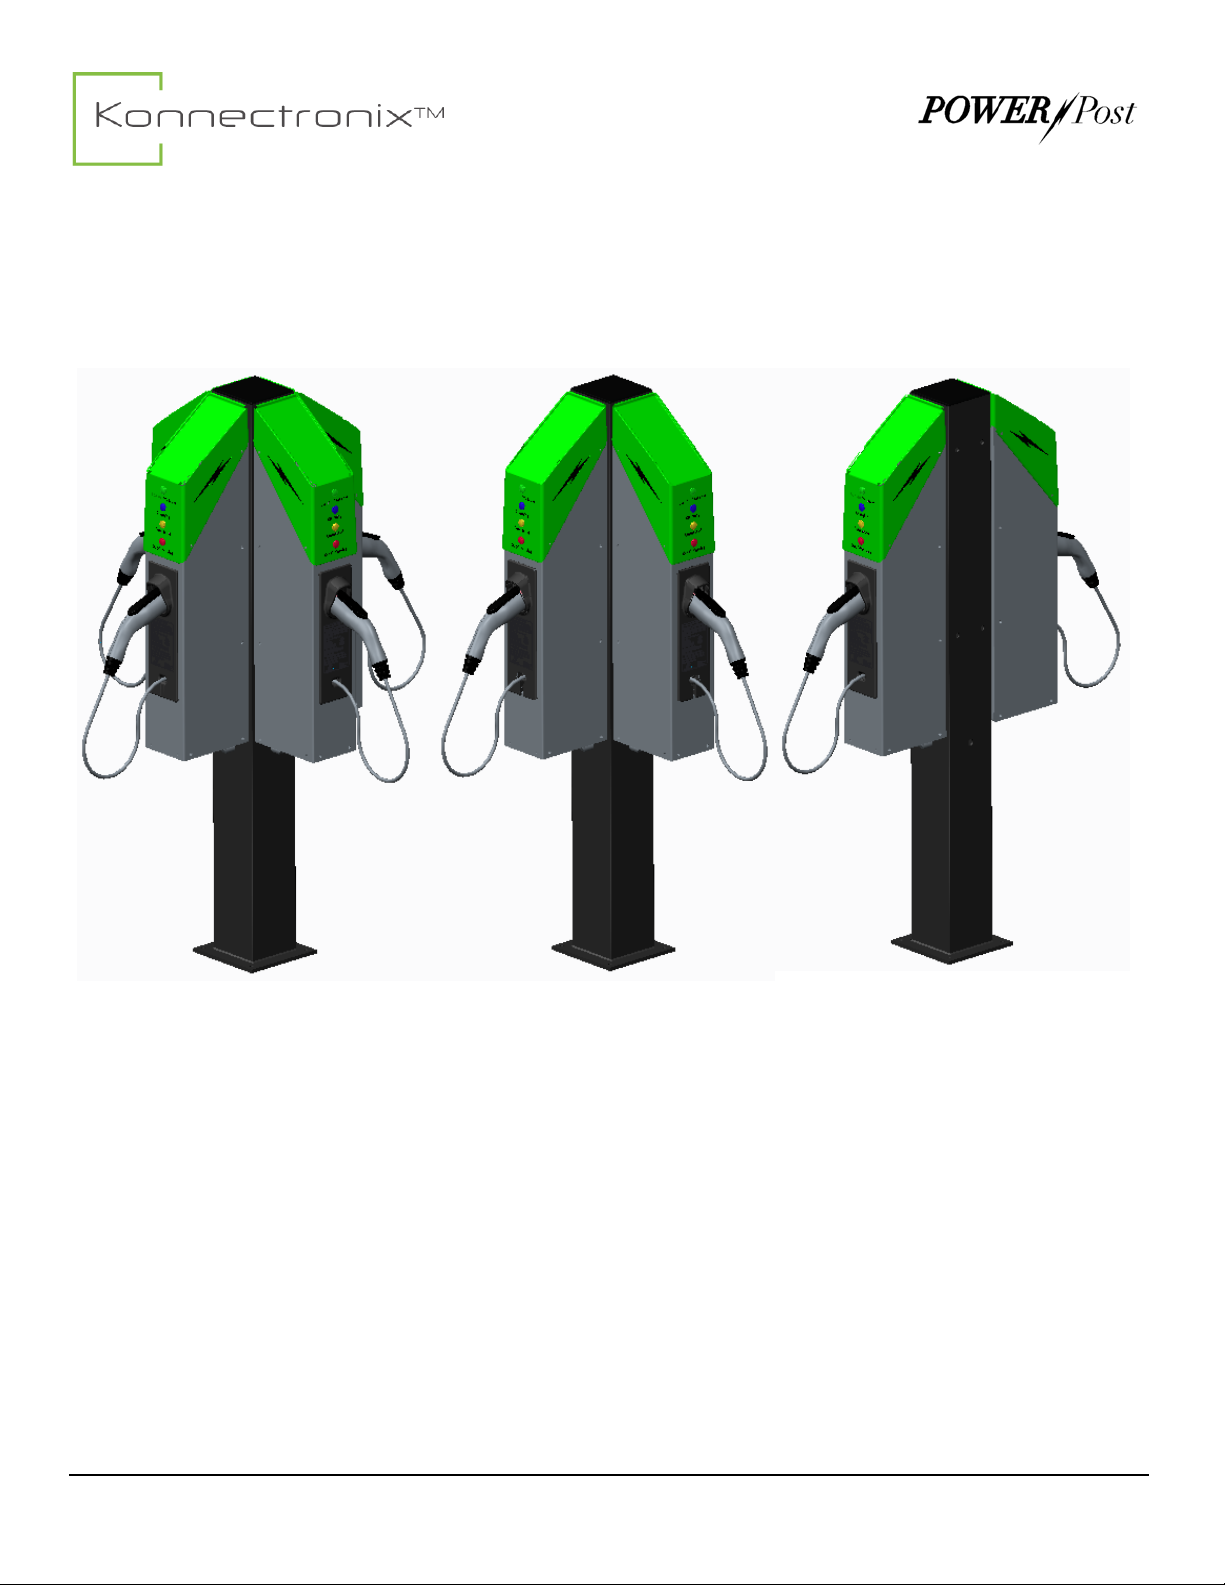
ElectricalRequirementsConfigurationA
Four separate electrical supply runs are required, one for each PowerPost EVSE unit.
Circuit Protection: See PowerPost EVSE installation manual.
Note: Requirements may vary per PowerPost EVSE model.
Conduit/Cable Penetration: Electrical supply cables enter from the bottom of the unit.
Supply wire size: 12 AWG min (75°C copper wire).
Free cable length: 52 inches minimum length beyond end of conduit.
ElectricalRequirementsConfigurationsBandC
Two separate electrical supply runs are required, one for each PowerPost EVSE unit.
Circuit Protection: See PowerPost EVSE installation manual.
Note: Requirements may vary per PowerPost EVSE model.
Conduit/Cable Penetration: Electrical supply cables enter from the bottom of the unit.
Supply wire size: 12 AWG min (75°C copper wire).
Free cable length: 52 inches minimum length beyond end of conduit.
Figure 1: Configuration A
Figure 2: Configuration B
Figure 3: Configuration C

PowerPost® EVSE Dual and Quad Post System Installation Manual Page 5
9.000
9.000
7.500
3.750
7.500
3.750
4.000
.438
MechanicalRequirements
Use Installation template provided on page 2.
Four Hilti KB3 3/8” x 3-3/4” LT SS304 torqued to 20 ft-lb. (See Figure 4 for spacing)
Concrete that can support pressure loads of 2000 PSI or more.
Figure 4: Hole Spacing for Base Plate

PowerPost® EVSE Dual and Quad Post System Installation Manual Page 6
Figure 5: Installation Hardware Information

PowerPost
®
EVSE Dual and Quad Post System Installation Manual Page 7
InstallationProcedure
1. Ensure that supply power to the install location is interrupted and properly locked out.
2. Install mounting hardware for post in concrete using supplied Installation Template and
information provided in Figure 5. Tools required are listed in Tools & Materials Required for
Installation.
3. Remove hole plugs from the locations where PowerPost EVSE units will be installed. Leave hole
plugs in place where no PowerPost EVSE units will be installed. Install supplied conduit fittings
into the appropriate locations for PowerPost EVSE units.
A. Install ½” Conduit Nipple RN50C into post 918-010 in the appropriate locations.
See Figure 6.
Figure 6: Installation of Conduit Nipple
918-010
RN50C
Table of contents


