manuals.online logo
Brands
  1. Home
  2. •
  3. Brands
  4. •
  5. Korg
  6. •
  7. Computer Hardware
  8. •
  9. Korg AIB-8 User manual

Korg AIB-8 User manual

KORG INC.
15-12, Shimotakaido 1-chome, Suginami-ku, Tokyo, Japan
Owner’s Manual
取扱説明書
Warning
When installing, servicing, or replacing parts for this product, do not perform any
action that is not prescribed in the owner's manual.
Do not apply excessive force to the electronic components or connectors on the
circuit board, and do not disassemble it.Electrical shock, fire, or malfunction may
result.
Before installing this product, disconnect the power supply cable of the device in
which it is being installed, and disconnect any cables that connect peripheral
devices. Failure to do so may cause electrical shock or malfunctions.
Caution
Do not allow this product to become wet, and do not place objects on top of it.
Doing so will cause malfunctions.
Before touching this product, touch a metal part of the device into which it will be
installed, so that any static electricity in your body will be discharged.Failure to
do so will risk damaging the electronic components by static electricity.
When handling this product, be careful not to touch the leads (wires protruding
from the electronic components) on the rear side of the circuit board. Injury may
result.
When installing this product, do not touch any unrelated parts or circuit boards.
Electric shock or malfunction may result.
When installing this product, be careful not to cut yourself on any sharp edges or
parts of this product or of the device into which this product is being installed.
When installing this product, be careful not to drop screws etc.into the device
into which this product is being installed.
The manufacturer makes no warrantee regarding possible malfunctions or
damage that may result from improper use or modification.The manufacturer
also will take no responsibility for any damages that may result from loss or
disappearance of data.
Installing this product
For the procedure of installing this product, refer to the owner's manual of the
device into which the product is being installed.If you have any questions, please
contact your local Korg distributor.
Cautions when installing an option board
In order to install the board correctly, please pay attention to the following points.
Be careful of static electricity, which may damage components inside the product
or on the board. Before beginning the installation, touch an unpainted metal part
of the chassis or the grounding terminal of a grounded device to discharge any
static electricity that may be present in your body.
Perform the installation according to the steps given in the directions, making
sure that the board is installed correctly and in the correct orientation.
Verify that the option board has been installed correctly.If installation is incorrect,
faulty connections or a shorted power supply can cause malfunctions.
All the screws that are removed will be used, so be careful not to lose any.
Using screws of the incorrect shape or length can cause malfunctions or damage
to the product. Use only the screws that were included with the option board or
the screws that were fastened in the instrument.
When installing or removing the board, be careful not to drop parts or the option
board into the instrument.
Make sure that the attaching screws are tightened firmly, and are not loose.
Handle the board with care. Subjecting it to physical shock (by dropping or
pressing it) may cause damage or malfunctions.
Be careful not to touch any exposed metal portions of the circuit board, or any
parts that are not essential to the installation process.
THE FCC REGULATION WARNING (for U.S.A.)
This equipment has been tested and found to comply with the limits for a
Class B digital device, pursuant to Part 15 of the FCC Rules.These limits are
designed to provide reasonable protection against harmful interference in a
residential installation.This equipment generates, uses, and can radiate radio
frequency energy and, if not installed and used in accordance with the
instructions, may cause harmful interference to radio communications.
However, there is no guarantee that interference will not occur in a particular
installation. If this equipment does cause harmful interference to radio or
television reception, which can be determined by turning the equipment off
and on, the user is encouraged to try to correct the interference by one or
more of the following measures:
•Reorient or relocate the receiving antenna.
•Increase the separation between the equipment and receiver.
•Connect the equipment into an outlet on a circuit different from that to
which the receiver is connected.
•Consult the dealer or an experienced radio/TV technician for help.
Unauthorized changes or modification to this system can void the user’s
authority to operate this equipment.
CE mark for European Harmonized Standards
CE mark which is attached to our company’s products of AC mains operated
apparatus until December 31, 1996 means it conforms to EMC Directive (89/
336/EEC) and CE mark Directive (93/68/EEC).
And, CE mark which is attached after January 1, 1997 means it conforms to
EMC Directive (89/336/EEC), CE mark Directive (93/68/EEC) and Low
Voltage Directive (73/23/EEC).
Also, CE mark which is attached to our company’s products of Battery
operated apparatus means it conforms to EMC Directive (89/336/EEC) and
CE mark Directive (93/68/EEC).
IMPORTANT NOTICETO CONSUMERS
This product has been manufactured according to strict specifications and
voltage requirements that are applicable in the country in which it is intended
that this product should be used. If you have purchased this product via the
internet, through mail order, and/or via a telephone sale, you must verify that
this product is intended to be used in the country in which you reside.
WARNING:Use of this product in any country other than that for which it is
intended could be dangerous and could invalidate the manufacturer's or
distributor's warranty.
Please also retain your receipt as proof of purchase otherwise your product
may be disqualified from the manufacturer's or distributor's warranty.
©2003 KORG INC. 1506 GH
Printed in Japan
This device complies with Part 15 of the FCC Rules.
Operation is subject to the following two conditions: (1) This
device may n ot cause harmful interference, and (2) this
device must accept any interference received, including
interference that may cause undesired operation.
Complies with Canadian ICES-003 Class B.
Conforme au Reglement Canadian NMB-003 classe B.
AIB-8
Introduction
Thank you for purchasing the Korg AIB-8 8-channel analog
input board. In order to enjoy long and trouble-free use, please
read this owner's manual carefully.
Features
By installing the AIB-8 in the D32XD/D16XD you can add
eight analog inputs.
INPUT 9...INPUT 16 jacks
Connect mic or line sources (such as keyboards) to these input
jacks. These are balanced inputs that allow you to use 1/4" TRS
phone jacks. You may also connect unbalanced phone plugs.
GND COLD HOT GND HOT
Balanced phone plug Unbalanced phone plug
PAD keys
These drop the input level by 26 dB. The pad is on when the
switch is pressed in. You can extend the adjustable range of the
TRIM knob by switching this on when using line inputs.
Leave the pad switched off for low-output devices such as a
mic or guitar.
TRIM Knobs
These adjust the input level. The markings around the knob
indicate the input level.
Installation and settings
For details on installing and setting up the AIB-8, please refer
to the owner’s manual of the device into which you are install-
ing the AIB-8. If you have any questions, please contact your
local Korg distributor.
ACB-8
Introduction
Thank you for purchasing the Korg ACB-8 8-channel analog
compressor board. In order to enjoy long and trouble-free use,
please read this owner's manual carefully.
Features
Analog compressors allow you to apply dynamics processing
to adjust the level of the analog signal before it is converted
into digital data, preventing clipping before A/D conversion.
This also provides the distinctive character of analog compres-
sion that cannot be duplicated by a digital compressor.
The ACB-8 can also be installed on the 8-channel analog input
board (AIB-8: optional). If the AIB-8 and ACB-8 are installed,
you can use analog compressors on all sixteen channels of
analog input.
Installation and settings
For details on installing and setting up the ACB-8, please refer
to the owner’s manual of the device into which you are install-
ing the ACB-8. If you have any questions, please contact your
local Korg distributor.
DIB-8
Introduction
Thank you for purchasing the Korg AIB-8 ADAT I/O board . In
order to enjoy long and trouble-free use, please read this
owner's manual carefully.
Features
This board provides eight channels of ADAT input/output and
word clock input/output.
ADAT input/output supports 48 kHz/44.1 kHz sampling
frequencies and 24/16-bit depths.
1. ADAT inputs and outputs jack
This jack inputs and outputs an
ADAT format (ADAT Type I/II
format) digital signal of the same
sampling frequency and bit depth as
the current song.
2.Word clock inputs and outputs jack
This outputs the internal clock as a word clock signal.
This inputs a word clock signal from an external device.
To make connections, you will need to obtain an BNC coax
cable manufactured by the Alesis corporation or a video BNC
cable.
3. 75Ωswitch
This switches the 75Ωword clock terminator on/off. Turn the
switch On if this is the end of the connection, or Off if the
connection is branched.
Installation and settings
For details on installing and setting up the DIB-8, please refer
to the owner’s manual of the device into which you are install-
ing the DIB-8. If you have any questions, please contact your
local Korg distributor.
*ADAT and Alesis are the trademarks or registered trademarks of Alesis Inc.
31 2
警告
●本製品を取り付ける前に、取り付ける機器の電源プラグと、周辺機
器との接続コードを必ず抜く。
感電や機器の破損の原因になります。
●本製品の取り付け、修理、部品の交換などで、取扱説明書に記載さ
れている以外のことは絶対にしない。
●本製品の基板上の電子部品やコネクタには無理な力を加えたり、
分解したりしない。
感電、火災、故障の原因になります。
注意
●本製品を触る前に、取り付ける機器の金属部に触れ、静電気を取り
除く。
静電気により電子部品を破損する恐れがあります。
●本製品や取り付ける機器の金具等で手を切らないように注意して
作業する。
けがをする恐れがあります。
●基板の金属が露出している部分や、取り付けに必要のない部分に
は絶対に触れない。
けが、感電、故障の原因になります。
●本製品を扱うときは、基板裏側のリード(電子部品の足部)に触れ
ない。
けがをする恐れがあります。
●
本製品や取り付ける機器を液体でぬらしたり、異物をのせたりしない。
故障の原因になります。
●取り付ける機器の中にネジなどを落とさない。
故障の原因なります。
誤った使用や改造による故障、破損の保証はいたしません。また、データ
の消失、破損による損害についても、当社は一切の責任を負いかねます
のでご了承ください。
本製品の取り付け方
本製品の取り付け方法については、取り付ける機器の取扱説明書をご覧くだ
さい。ご不明な点はコルグお客様相談窓口へお問い合わせください。
オプション・ボード取り付け時の注意
正しく取り付けるときは、以下の項目に注意して作業を行ってください。
・静電気を発生させないように、取り付け作業をする前に塗装面以外の金
属部分に触れたり、アースがとれている機器のアース線に触れるなどし
て、体の静電気を逃がしておいてください。製品内部や本製品に影響を
およぼすことがあります。
・各取り付け手順に従い、部品や、部品の向きを間違えないように正しく取
り付けてください。
・オプション・ボードの取り扱いには十分に注意してください。ボードを落
としたり、強く押さえるなどの衝撃を与えると製品の故障や破壊の原因
になることがあります。
・基板の金属が露出している部分や、取り付けに必要のない部分には触れ
ないようにしてください。
・はずしたネジはすべて使用しますので、なくさないようにしてください。
・オプション・ボードおよび本体に取り付けられているネジ以外は使用しな
いでください。形や長さの違うネジを使用すると、製品の故障や破損の
原因になることがあります。
・取り付けたネジは、確実に締めて固定してください。
・
オプション・ボードは確実に取り付けてください。取り付け後も、必ず正し
く取り付けられていることを確認してください。取り付けが不十分だと、接
触不良や電源がショートをおこすなどの故障原因になることがあります。
・取り付けまたは取り外し時に、部品やオプション・ボードなどを本体内部
へ落とさないようにしてください。
落としたネジや部品がとれない場合は最寄りのコルグ営業所、またはお
客様相談窓口にお問い合わせください。
保証規定(必ずお読みください)
本保証書は、保証期間中に本製品を保証するもので、付属品類は保証の対象
になりません。保証期間内に本製品が故障した場合は、保証規定によって無
償修理いたします。
1.本保証書の有効期間はお買い上げ日より1ケ年です。
2.次の修理等は保証期間内であっても有料修理となります。
・消 耗 部 品(電池など)の交換。
・お 取扱い方法が不適当のために生じた故障。
・天 災(火災、浸水等)によって生じた故障。
・故 障の原因が本製品以外の他の機器にある場合。
・不 当 な 改造、調整、部品交換などにより生じた故障または損傷。
・保証書にお買い上げ日、販売店名が未記入の場合、または字句が書き替
えられている場合。
・本 保 証 書の提示がない場合。
尚、当社が修理した部分が再度故障した場合は、保証期間外であっても、
修理した日より3ケ月以内に限り無償修理いたします。
3.本保証書は日本国内においてのみ有効です。
ThiswarrantyisvalidonlyinJapan.
4.お客様が保証期間中に移転された場合でも、保証は引き続きお使いいた
だけます。最寄りのコルグ営業所、またはお客様相談窓口までお問い合わ
せください。
5.修理、運送費用が製品の価格より高くなることもありますので、あらかじめ
最寄りのコルグ営業所、またはサービス・センターへご相談ください。運送
にかかる往復の費用はお客様の負担とさせていただきます。
本製品の故障、または使用上生じたお客様の直接、間接の損傷につきまして
は、弊社はいっさいの責任を負いかねますのでご了承ください。
本保証書は、保証規定により無料修理をお約束するためのもので、これより
お客様の法律上の権利を制限するものではありません。
■お願い
1.保証書に販売年月日等の記入がない場合は無効となります。記入できな
いときは、お買い上げ年月日を証明できる領収書等と一緒に保管してくだ
さい。
2.保証書は再発行致しませんので、紛失しないように大切に保管してくださ
い。
アフターサービス
アフターサービスについてのご質問、ご相談は、お買い上げの販売店、最寄
りのコルグ営業所、またはサービス・センターへお問い合わせください。
商品のお取り扱いに関するご質問、ご相談は、お客様相談窓口へお問い合わ
せください。
お客様相談窓口 TEL03(3799)9086
●サービス・センター:〒143-0001東京都大田区東海5-4-1明正大井
5号営業所コルグ物流センター内
TEL03(3799)9085
●名古屋営業所:〒466-0825名古屋市昭和区八事本町100-51
TEL052(832)1419
●大阪営業所:〒531-0072大阪市北区豊崎3-2-1淀川5番館7F
TEL06(6374)0691
●福岡営業所:〒810-0012福岡市中央区白金1-3-25第2池田ビル1F
TEL092(531)0166
コルグ 
AIB-8/ACB-8/DIB-8 保証書
本保証書は上記の保証規定により無料修理を行うことをお約束するも
のです。お買い上げ日から満1年の間に万一故障が発生した場合は、お
買い上げの販売店に製品と本保証書をご持参の上、修理を依頼してく
ださい。
お買い上げ日 年  月   日
販売店名
AIB-8
はじめに
このたびは、コルグAIB-88チャンネル・アナログ・インプット・ボードをお買
い上げいただきまして、誠にありがとうございます。本製品を末永くご愛用い
ただくためにも、この取扱説明書をよくお読みになって正しい方法でご使用
ください。
特長
AIB-8を本体に追加することで、8つのアナログ入力が追加できます。
INPUT9...16端子
マイク/ライン(キーボードなど)を入力します。
Φ6.3mmTRSフォーン端子が使用できるバランス型入力です。アンバラン
ス型フォーン・プラグも接続できます。
GND
バランス型フォーン・プラグ アンバランス型フォーン・プラグ

COLD HOT GND HOT
PADキー
入力レベルを26dB落とします。押し込んだ状態がオンになります。
ライン入力時にオンにすることで、TRIMツマミで調整する範囲が広くとれ
ます。
マイクやギターのように低出力機器の場合はオフのまま使用してください。
TRIMツマミ
入力レベルを調整します。目盛は入力レベルを示します。
ツマミ右斜め上のLEDの点灯色によって入力レベルの確認が行えます。詳
しくは、本体の取扱説明書をご覧ください。
ACB-8
はじめに
このたびは、コルグACB-88チャンネル・アナログ・コンプレッサー・ボード
をお買い上げいただきまして、誠にありがとうございます。本製品を末永くご
愛用いただくためにも、この取扱説明書をよくお読みになって正しい方法で
ご使用ください。
特長
アナログ入力信号をデジタル・データに変換する前に、アナログ・コンプレッ
サーでダイナミクス処理を行います。デジタル変換時の過大入力による歪み
を抑えたり、アナログ・コンプレッサーの特性を生かして、味わいのある音に
するなど、デジタル・コンプレッサーには無いパフォーマンスを実現できま
す。
8チャンネル・アナログ・インプット・ボード(AIB-8:オプション)に、ACB-8を
搭載することで、16チャンネルのアナログ入力の全チャンネルに対して、ア
ナログ・コンプレッサーを使用することができます。
DIB-8
はじめに
このたびは、コルグDIB-8ADATI/Oボードをお買い上げいただきまして、
誠にありがとうございます。本製品を末永くご愛用いただくためにも、この取
扱説明書をよくお読みになって正しい方法でご使用ください。
特長
DIB-8は8チャンネルADAT入出力とワード・クロック入出力を装備していま
す。ADAT入出力はサンプリング周波数48kHz/44.1kHz、24/16bitに対
応しています。
1.ADAT入出力端子
ADATフォーマット(ADATTypeⅠ/Ⅱ
フォーマット)のデジタル信号を入出力しま
す。
2.ワード・クロック入出力端子
外部からワード・クロックを入力し、内部ク
ロックをワード・クロックとして出力します。接続には、Alesis社のBNC
CoaxCableやビデオ用のBNCケーブルを使用します。ケーブルはあらか
じめご用意ください。
3.75Ωスイッチ
75Ωのワード・クロックの終端のオン、オフを切り替えます。終端接続の場合
はオン、分岐接続の場合はオフにします。
*ADAT、Alesisはアレシス社の登録商標です。
31 2

This manual suits for next models

2

Other Korg Computer Hardware manuals

Korg EXBP-MP3 User manual

Korg

Korg EXBP-MP3 User manual

Korg EasyStart PX24D Owner's manual

Korg

Korg EasyStart PX24D Owner's manual

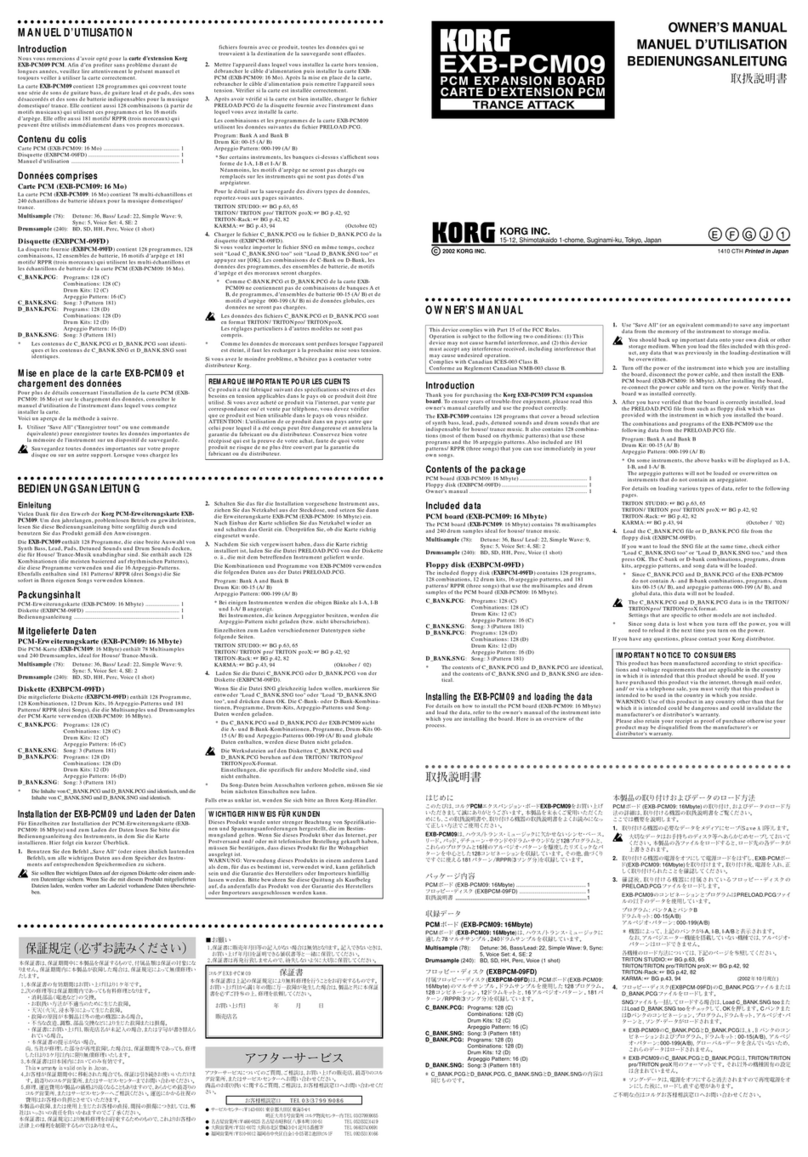
Korg EXB-PCM09 User manual

Korg

Korg EXB-PCM09 User manual

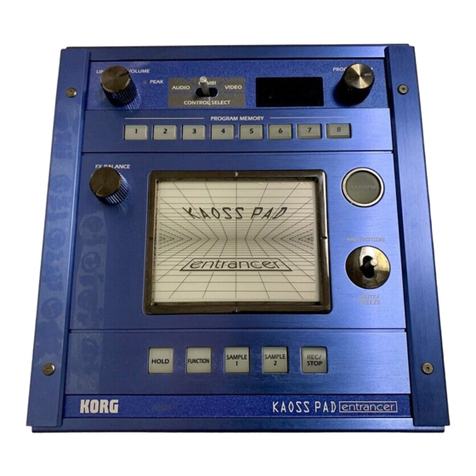
Korg EasyStart KAOSS PAD Entrancer User manual

Korg

Korg EasyStart KAOSS PAD Entrancer User manual

Korg EXB-FW User manual

Korg

Korg EXB-FW User manual

Korg Toneworks AX3G User manual

Korg

Korg Toneworks AX3G User manual

Korg EXB-PCM05 User manual

Korg

Korg EXB-PCM05 User manual

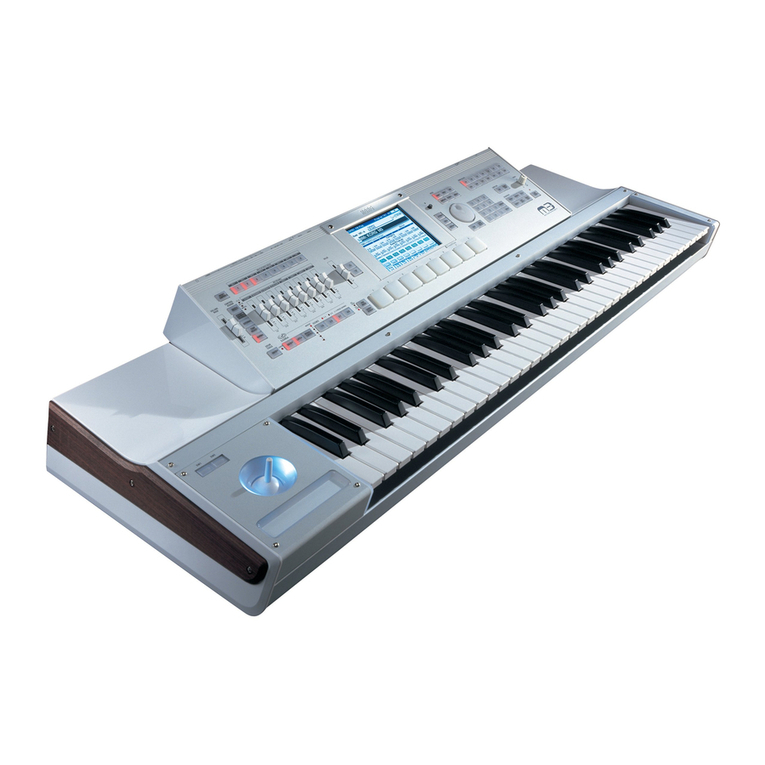
Korg M3 User manual

Korg

Korg M3 User manual

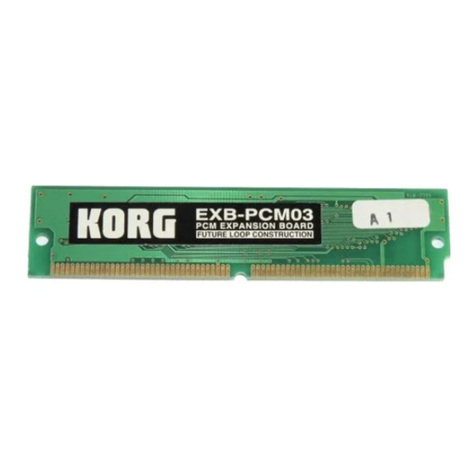
Korg EXB-PCM-03 User manual

Korg

Korg EXB-PCM-03 User manual

Korg PA1X User manual

Korg

Korg PA1X User manual

Korg A5 Guitar User manual

Korg

Korg A5 Guitar User manual

Korg EXB-PCM04 User manual

Korg

Korg EXB-PCM04 User manual

Popular Computer Hardware manuals by other brands

Grizzly PSJ-M3 GEN2 user manual

Grizzly

Grizzly PSJ-M3 GEN2 user manual

Inovonics 235 Operating and maintenance instruction manual

Inovonics

Inovonics 235 Operating and maintenance instruction manual

Fujitsu IdeaBoxx Jade quick start guide

Fujitsu

Fujitsu IdeaBoxx Jade quick start guide

IEI Technology WAFER-945GSE3 Quick installation guide

IEI Technology

IEI Technology WAFER-945GSE3 Quick installation guide

NPM G9004A-EX user manual

NPM

NPM G9004A-EX user manual

Pinnacle PCTV HYBRID PRO CARD user manual

Pinnacle

Pinnacle PCTV HYBRID PRO CARD user manual

Exsys EX-12003 manual

Exsys

Exsys EX-12003 manual

Alpine ERA-G320 owner's manual

Alpine

Alpine ERA-G320 owner's manual

Cypress Semiconductor NoBL CY7C1371D Specification sheet

Cypress Semiconductor

Cypress Semiconductor NoBL CY7C1371D Specification sheet

Asus TPM-M R2.0 quick start guide

Asus

Asus TPM-M R2.0 quick start guide

Apogee X-FireWire Card owner's guide

Apogee

Apogee X-FireWire Card owner's guide

Mr.Signal cAPPito instruction manual

Mr.Signal

Mr.Signal cAPPito instruction manual

ekwb EK-Quantum Vector2 Trio RTX 3080/90 ABP Set... manual

ekwb

ekwb EK-Quantum Vector2 Trio RTX 3080/90 ABP Set... manual

Nice DISCADOR SIM 1010GSM Instructions and warnings for installation and use

Nice

Nice DISCADOR SIM 1010GSM Instructions and warnings for installation and use

Portwell PMAT-03069 user manual

Portwell

Portwell PMAT-03069 user manual

Renesas M3A-HS19G50 installation manual

Renesas

Renesas M3A-HS19G50 installation manual

Alpha Data ADA-VPX3-7V1 user manual

Alpha Data

Alpha Data ADA-VPX3-7V1 user manual

JL Audio ClenSweep CL441 dsp owner's manual

JL Audio

JL Audio ClenSweep CL441 dsp owner's manual

manuals.online logo
manuals.online logoBrands
  • About & Mission
  • Contact us
  • Privacy Policy
  • Terms and Conditions

Copyright 2025 Manuals.Online. All Rights Reserved.