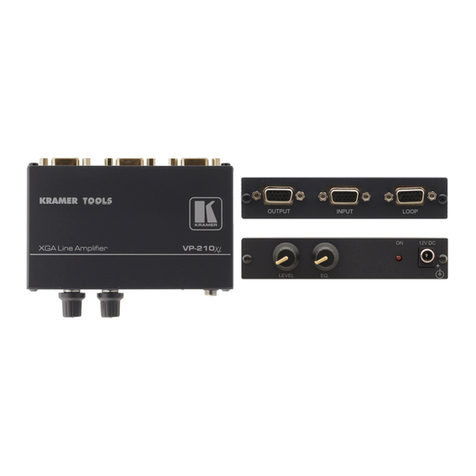
4 912 - Overview
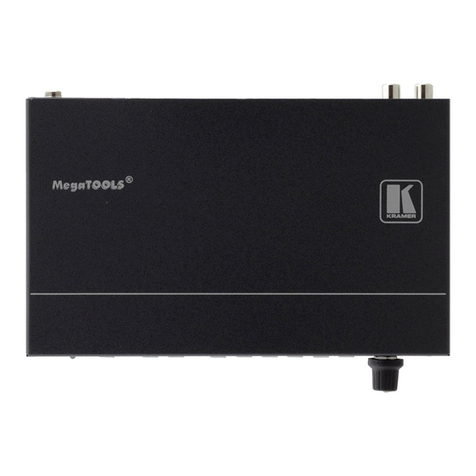
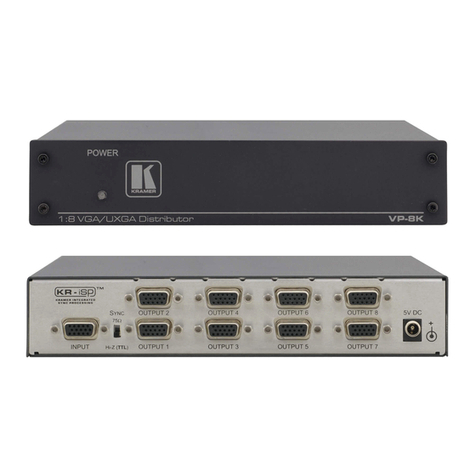
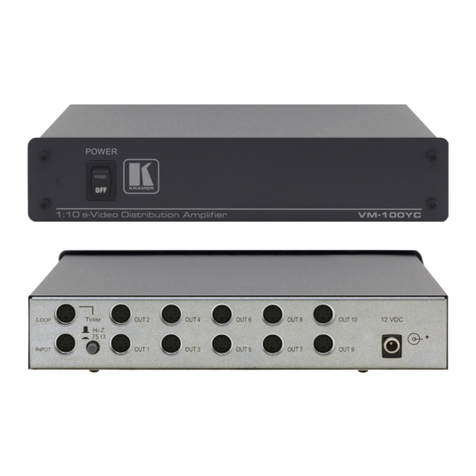
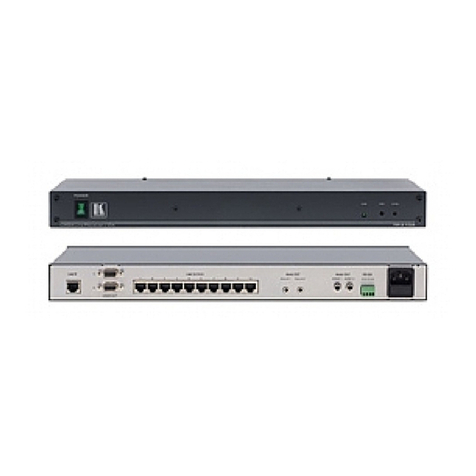
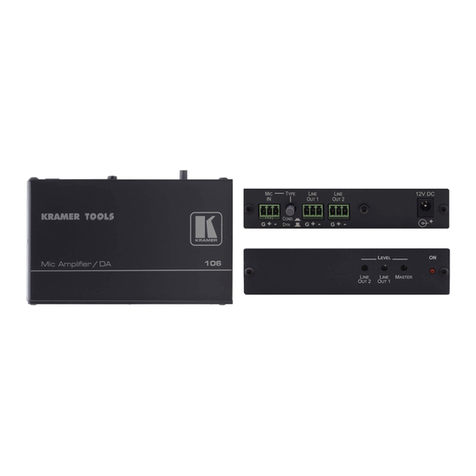
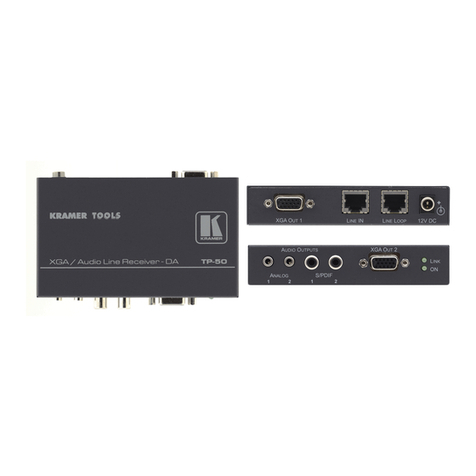
Figure 1: 912 Power Amplifier Front and Rear Panels
Front and Rear Panel Features
# Feature Function
1 CONTROL Button Press in for remote volume control using the 10V
Control connection, release to control the volume
using the front panel Volume knob (see item 2).
Warning: When a remote volume control is
connected, switching between the volume controls
may cause a sudden, large volume level change
2 VOLUME Control Knob Turn clockwise to increase the volume,
anticlockwise to decrease the volume
3 OVER LED Lights red when the amplifier overheats
Overheating causes the amplifier to automatically
reduce power to protect the unit from damage. Once
the unit cools down, full power is restored
4 ON LED Lights green when the unit receives power
5 IN 1
Unbalanced
Stereo Audio
Input
LEFT RCA
Connector
Connect to the unbalanced stereo audio source
You can connect both the unbalanced and the
balanced inputs simultaneously—the inputs will be
mixed
RIGHT RCA
Connector
6 IN 2 (L+ L- G R+ R-) Balanced
Stereo Audio Input Removable
Terminal Block
Connect to the balanced stereo audio source
You can connect both the unbalanced and the
balanced inputs simultaneously—the inputs will be
mixed
7 OUT (L+ L- R+ R-)Stereo
Output Terminal Block
Connector
Connect to the speakers
8 10V CONTROL (GND VOL V+)
Control Removable Terminal
Block
Connect to a remote 10V volume control (see
Section 4). Connect G to one end of the
potentiometer, VOL to the wiper, V+ to the
opposite end of the potentiometer
9 12V DC Connect to the supplied power adapter, center pin
positive
