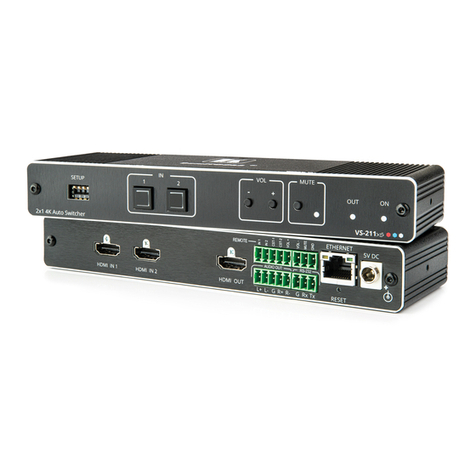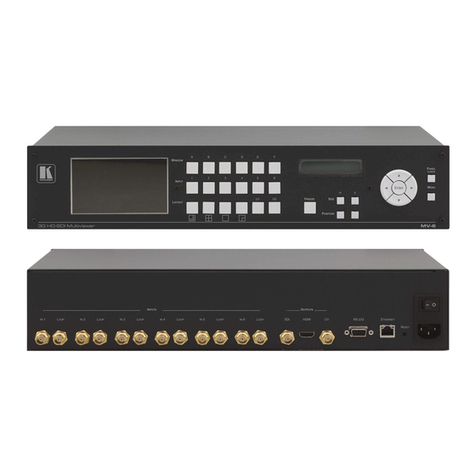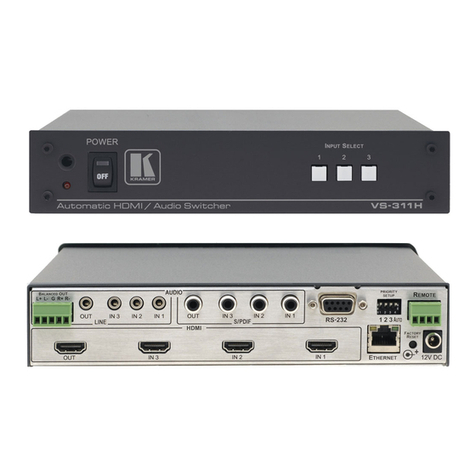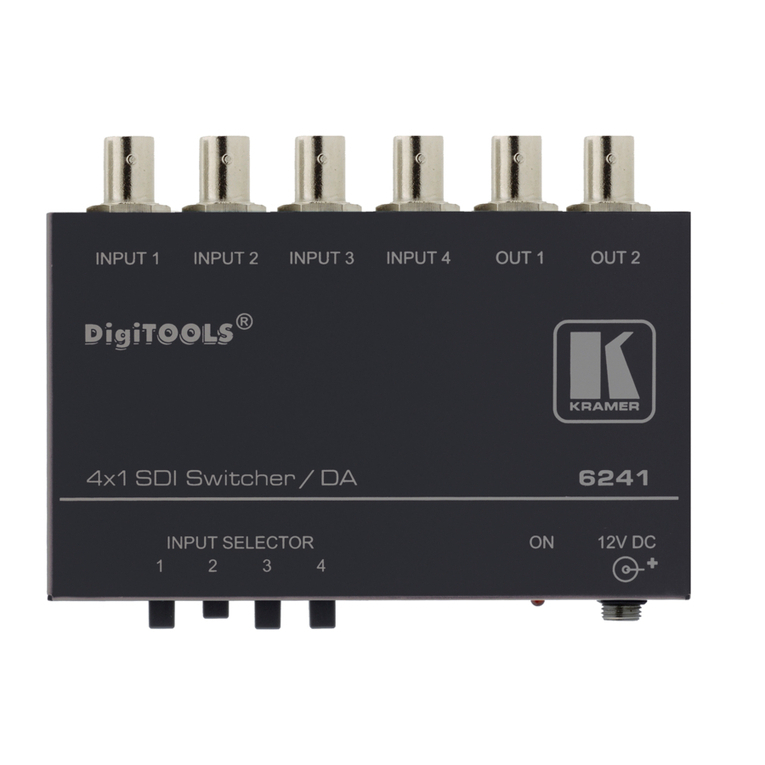
AUDIO OUT 3.5mm Mini Jack
Connect to the unbalanced, stereo audio acceptor, (for example, active speakers)
Connect to the LAN, (Ethernet traffic or PC controller)
RS-232 CONTROL 3-pin Terminal
Block
Connect to a serial controller or PC
RS-232 DATA 3-pin Terminal Block
Connect to a serial data source or acceptor
PC/HDMI Remote Toggle Switch
Terminal Block
Connect to a remote switch to toggle between the PC graphics and HDMI inputs
Remote Contact-closure 4-pin
Terminal Block
Connect to remote momentary switches to control step-in and audio volume
Short press to reboot, long press to reset the device to factory default parameters
Switches for setting the device behavior (see Step 5)
Connect to a PC to perform a firmware upgrade
Connect to a compatible HDMI display
Connect to the supplied power adapter
The terms HDMI, HDMI High-Definition Multimedia Interface, and the HDMI Logo are trademarks or registered trademarks of HDMI Licensing Administrator, Inc.
Step 3: Mount DIP-31
Install DIP-31 using one of the following methods:
•Attach the rubber feet and place the unit on a flat surface.
•Fasten a bracket (included) on each side of the unit and attach it to a flat surface
(see www.kramerav.com/downloads/DIP-31).
•Mount the unit in a rack using the recommended rack adapter
(see www.kramerav.com/product/DIP-31).
•Ensure that the environment (e.g., maximum ambient temperature &
air flow) is compatible for the device.
•Avoid uneven mechanical loading.
•Appropriate consideration of equipment nameplate ratings should be
used for avoiding overloading of the circuits.
•Reliable earthing of rack-mounted equipment should be maintained.
•Maximum mounting height for the device is 2 meters.
Step 4: Connect inputs and outputs
Always switch OFF the power on each device before connecting it to your DIP-31. For best results, we recommend that you
always use Kramer high-performance cables to connect AV equipment to the DIP-31.
