Figures
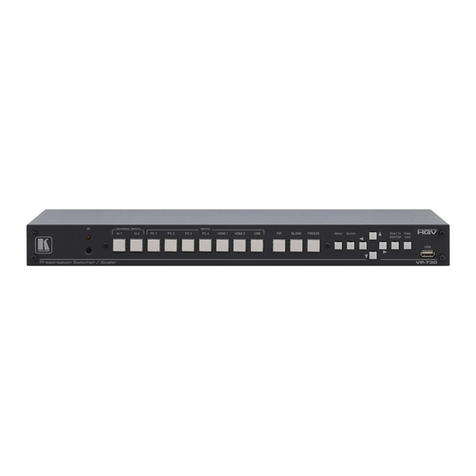
Figure 1: VP-732 Presentation Switcher/Dual Scaler Front Panel 7
Figure 2: VP-732 Presentation Switcher/Dual Scaler Rear Panel 9
Figure 3: Connecting to the VP-732 Rear Panel 13
Figure 4: UNIV 15-pin HD Connector Pinout 14
Figure 5: Local Area Connection Properties Window 16
Figure 6: Internet Protocol Version 4 Properties Window 17
Figure 7: Internet Protocol Version 6 Properties Window 17
Figure 8: Internet Protocol Properties Window 18
Figure 9: Connecting the Balanced Stereo Audio Output 19
Figure 10: Connecting an Unbalanced Stereo Audio Acceptor to the Balanced Output 19
Figure 11: PIP Source over Background 23
Figure 12: IR Remote Control Transmitter 24
Figure 13: MENU Items 25
Figure 14: Input Screen 26
Figure 15: Picture Screen 27
Figure 16: Output Screen 28
Figure 17: PIP Screen 31
Figure 18: Audio Screen 32
Figure 19: Setup Screen 33
Figure 20: Text Overlay Application Screen 37
Figure 21: Active Video Functions 40
Figure 22: Information Screen 41
Figure 23: Firmware Upgrade –the VP Download Tool 42
Figure 24: The Routing & Scaling Page with Web page list on the left 45
Figure 25: The Routing & Scaling Page –Program Window 46
Figure 26: The Routing & Scaling Page –Main and PIP Windows 47
Figure 27: The Preview Routing & Scaling Page –Disabled in PIP Mode 48
Figure 28: The Preview Routing & Scaling Page –Preview Mode 48
Figure 29: The Routing & Scaling Page –Single Program/Preview Window 50
Figure 30: The Routing & Scaling Page –Moving the PIP Window 50
Figure 31: The Routing & Scaling Page –Selecting the output Resolution 51
Figure 32: The Routing & Scaling Page –Swapping Inputs 52
Figure 33: The Routing & Scaling Page –Program Lower Buttons Bar 53
Figure 34: The Routing & Scaling Page –Preview Lower Buttons Bar 53
Figure 35: The Routing & Scaling Page –Storing and Recalling a Preset 54
Figure 36: The Routing & Scaling Page –Muting the Audio Level 54
Figure 37: The Routing & Scaling Page –Editing an Input 54
Figure 38: The Device Settings Page 55
Figure 39: The Device Settings Page –the Information Window 56
Figure 40: The Device Settings Page –Factory Reset 56
Figure 41: The Input Settings Page 57
Figure 42: The Output Settings Page 59
Figure 43: The Audio Settings Page 60
Figure 44: The Audio Settings Page (PIP Mode) 60
Figure 45: The Miscellaneous Video Settings Page 61
Figure 46: The EDID Page 62
Figure 47: The EDID Page –Selecting a Resolution to copy to an Input 63
Figure 48: The EDID Page –Copying the EDID 63
Figure 49: The EDID Page –Copying from an output 64
Figure 50: The Advanced Settings Page 65
Figure 51: The Custom Resolutions Page 66
Figure 52: The Custom Resolutions Page –Current Parameters 66
