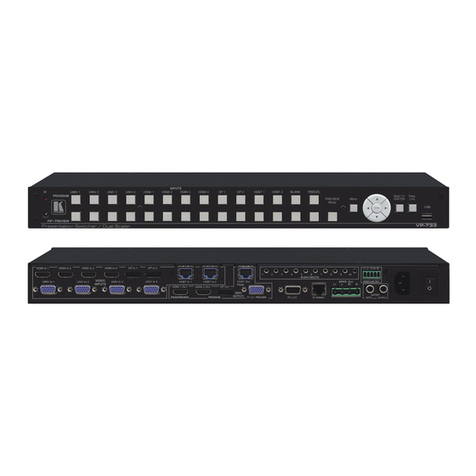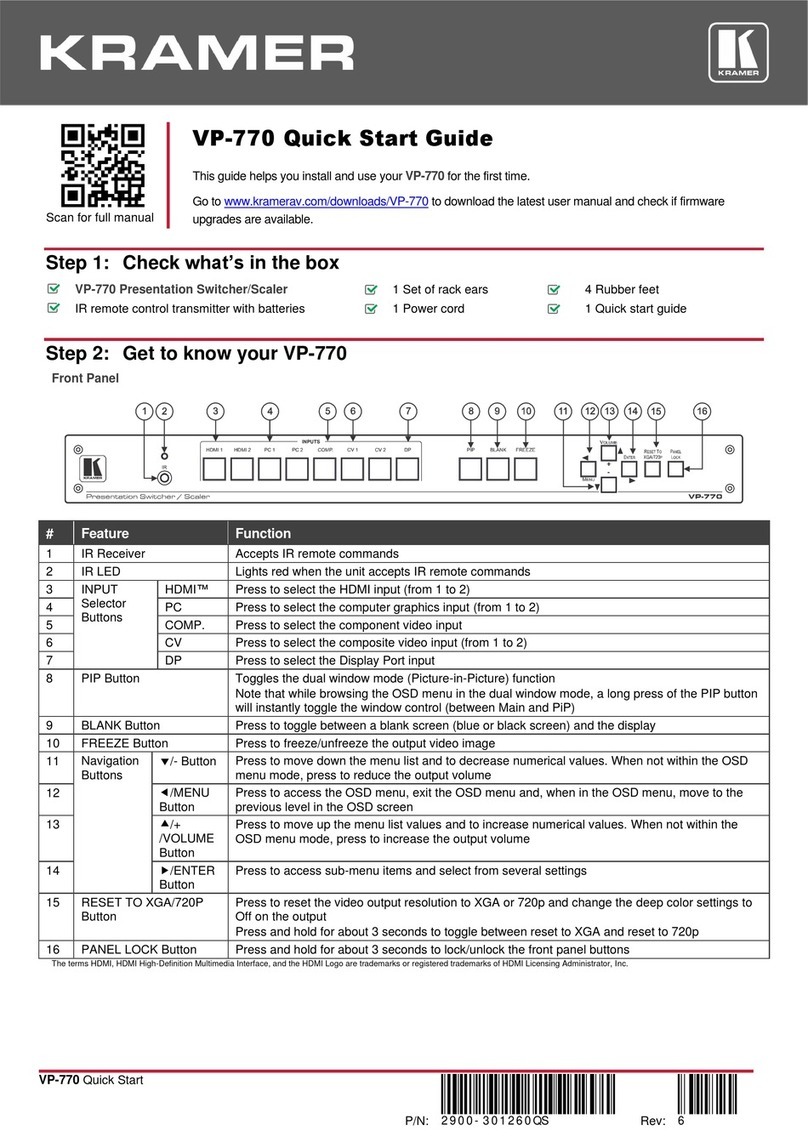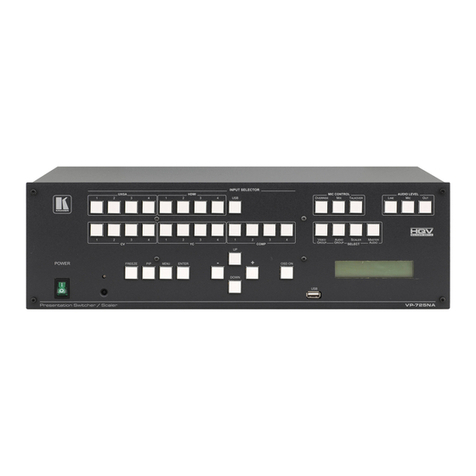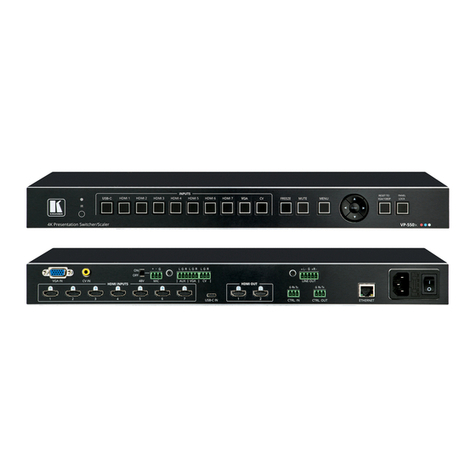
Press to move to the next level in the OSD menu or to accept a new parameter.
Decreases the range by one step in the OSD menu or moves to the previous level in the OSD.
Decreases the volume level when not in the OSD menu.
Moves up one step (in the same level) in the OSD menu
Moves to the previous slide when running a slideshow.
Increases the range by one step in the OSD menu.
Increases the volume level when not in the OSD menu.
Moves down one step (in the same level) in the OSD menu.
Moves to the next slide when running a slideshow.
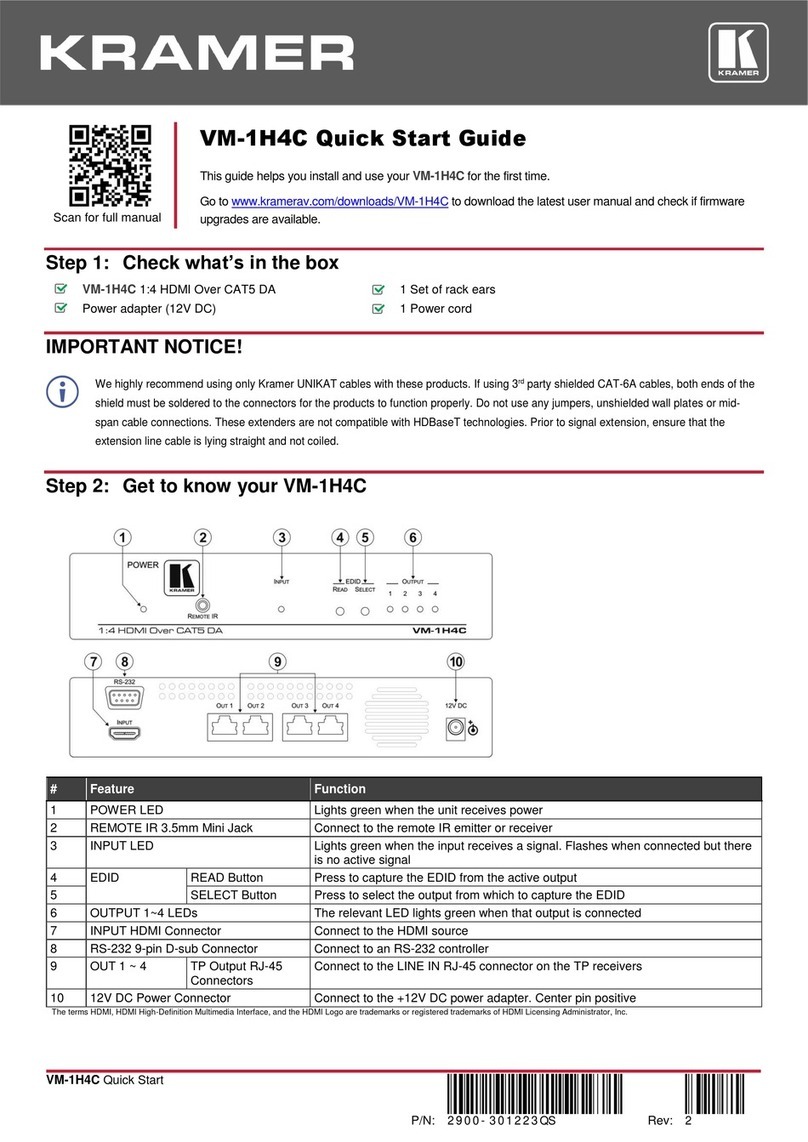
Press and hold to resetto the default resolution (toggles between RESET TO XGA and 720p).
Press and hold to lock/unlock the front panel buttons to prevent unintentional operation.
Connects to a USBdrive to download a logo and save settings.
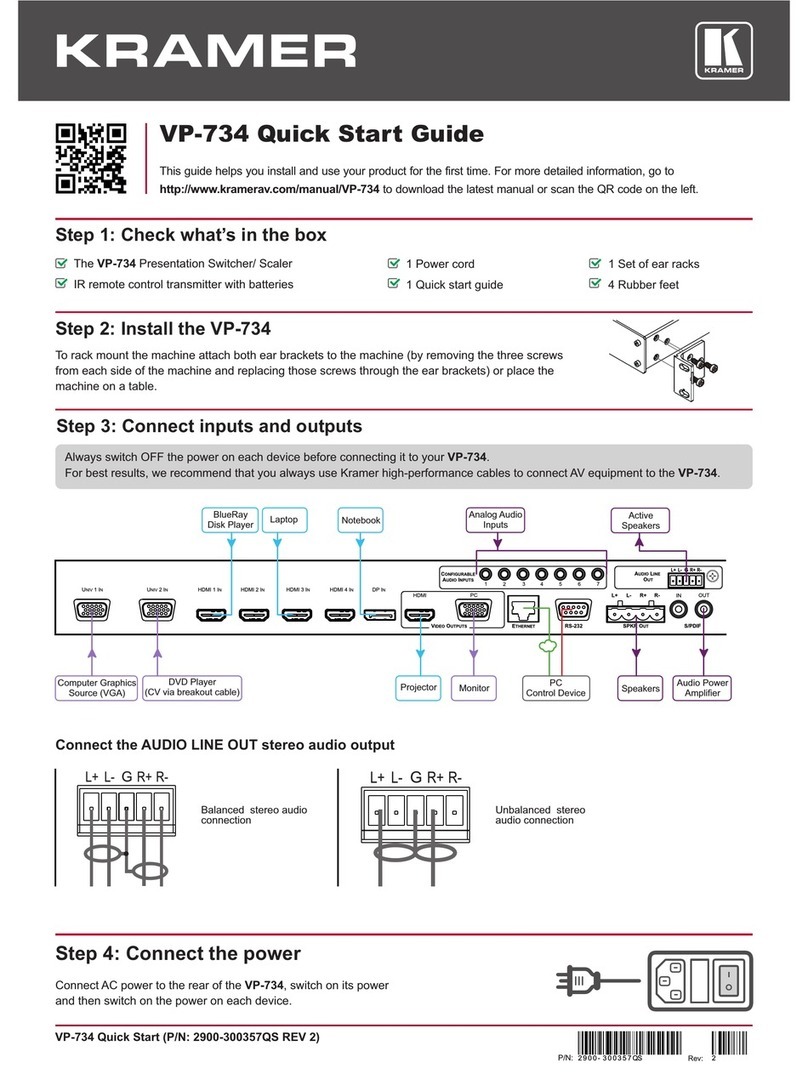
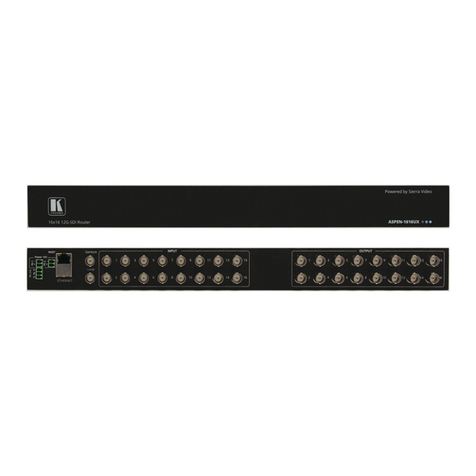
Connect to an HDMI source (from 1 to 4).
UNIVIN 1 15-pin HD Connector
Connect to a computer graphics/composite video/s-Video (Y/C)/component
video source (from 1 to 4).
DP IN 1 DisplayPort Connector
Connect to a DP source (from 1 to 2).
Connect to an HDBT transmitter (for example, the Kramer TP-580Txr) to
pass audio and video signals as well as serial commands (from 1 to 2).
Connect to an HDBT receiver (for example, the Kramer TP-580Rxr).
PROG/PREVIEW HDMI 1 OUT Connector
Connect to an HDMI acceptor (selectable PREVIEW or PROGRAM).
PROGRAM HDMI 2 OUT Connector
Connect to an HDMI acceptor.
Connect to a DP acceptor.
PREVIEW PC OUT 15-pin HD Connector
Connect to a computer graphics acceptor.
AUDIO INPUTS 3.5 Mini Jack Connectors
Connect to the unbalanced stereo analog audio sources from 1 to 10.
AUDIO LINE OUT 5-pin Terminal Block
Connect to a balanced stereo analog audio acceptor.
RS-232 9-pin D-sub Connector
Connect to a PC or serial controller.
Connect to your Local Area Network.
SPKR OUT 4-pin Terminal Block
Connect to a pair of loudspeakers.
S/PDIF INPUT 3.5 Mini Jack Connector
Connect to a digital audio source.
S/PDIF OUTPUT 3.5 Mini Jack Connector
Connect to a digital audio acceptor.
Connect to the mains power.
Fuse for protecting the device.
Switch for turning the unit ON or OFF.
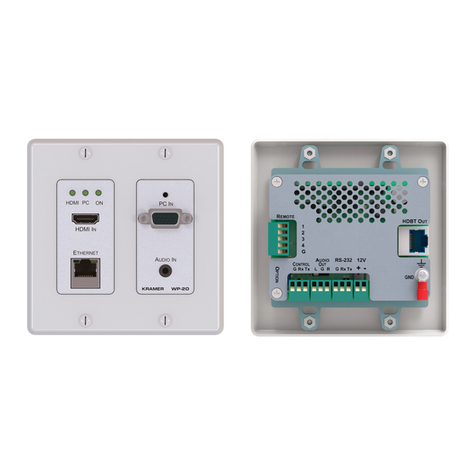
Install VP-733 using one of the following methods:
Remove the three screws from each side of the unit, reinsert those screws through the
rack ears and mount on a 19" rack.
Attach the rubber feet and place the unit on a flat surface.
