manuals.online logo
Brands
  1. Home
  2. •
  3. Brands
  4. •
  5. Kramer
  6. •
  7. Transmitter
  8. •
  9. Kramer SID-X1N User manual

Kramer SID-X1N User manual

SID-X1N Quick Start
P/N:
2900- 301222QS
Rev:
5
Scan for full manual
SID-X1N Quick Start Guide
This guide helps you install and use your SID-X1N for the first time.
Go to www.kramerav.com/downloads/SID-X1N to download the latest user manual and check if firmware
upgrades are available.
Step 1: Check what’s in the box
SID-X1N Step-in Commander
1 Set of rack ears
1 Power adapter (12V DC output)
1 Power cord
IMPORTANT NOTICE!
We highly recommend using only Kramer UNIKAT cables with these products. If using 3rd party shielded CAT-6A cables, both ends of the
shield must be soldered to the connectors for the products to function properly. Do not use any jumpers, unshielded wall plates or mid-
span cable connections. These extenders are not compatible with HDBaseT technologies. Prior to signal extension, ensure that the
extension line cable is lying straight and not coiled.
Step 2: Get to know your SID-X1N
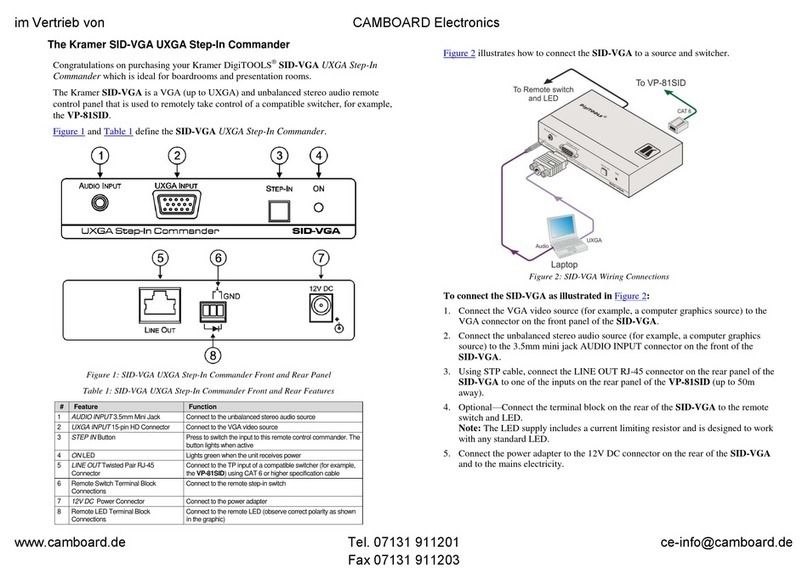
#
Feature
Function
1
AUDIO IN 3.5mm Mini Jack
Connect to an unbalanced stereo audio source
2
HDMI
LED
Lights green when the HDMI input is selected
3
HDMI Connector
Connect to an HDMI source
4
DisplayPort
LED
Lights green when the DisplayPort input is selected
5
DP Connector
Connect to a DisplayPort source
6
DVI
LED
Lights green when the DVI input is selected
7
DVI Connector
Connect to a DVI source
8
PC-UXGA
LED
Lights green when the PC-UXGA input is selected
9
PC-UXGA 15-pin HD
Connector (F)
Connect to a PC graphics source
10
INPUT SELECT Button
Press repeatedly to cycle through the inputs manually to select an input, (overrides
automatic selection).
Note: When the button is lit it is inactive and pressing the button will not activate the
input
11
STEP-IN Button
Press to activate the input on the switcher that the
SID-X1N is connected to
12
ON LED
Lights green when the device is powered on
The terms HDMI, HDMI High-Definition Multimedia Interface, and the HDMI Logo are trademarks or registered trademarks of HDMI Licensing Administrator, Inc.
Step 3: Mount SID-X1N
Install SID-X1N using one of the following methods:
•Attach the rubber feet and place the unit on a flat surface.
•Fasten a bracket (included) on each side of the unit and attach it to a flat surface
(see www.kramerav.com/downloads/SID-X1N).
•Mount the unit in a rack using the recommended rack adapter
(see www.kramerav.com/product/SID-X1N).
•Ensure that the environment (e.g., maximum ambient temperature &
air flow) is compatible for the device.
•Avoid uneven mechanical loading.
•Appropriate consideration of equipment nameplate ratings should be
used for avoiding overloading of the circuits.
•Reliable earthing of rack-mounted equipment should be maintained.
Step 4: Connect inputs and outputs
Always switch OFF the power on each device before connecting it to your SID-X1N.
To achieve specified extension distances, use the recommended Kramer cables available at www.kramerav.com/product/SID-X1N.
Using third-party cables may cause damage!
Step 5: Connect power
Connect the power cord to SID-X1N and plug it into the mains electricity.
Safety Instructions (See www.kramerav.com for updated safety information)
Caution:
•For products with relay terminals and GPI\O ports, please refer to the permitted rating for an external connection, located next to the
terminal or in the User Manual.
•There are no operator serviceable parts inside the unit.
Warning:
•Use only the power cord that is supplied with the unit.
•Disconnect the power and unplug the unit from the wall before installing.
Step 6: Set DIP-switches
#
Feature
Function
DIP-switch
1
Program
Enables firmware updates
On—Enable updating
Off—Disable updating
2
General audio control
Selects whether the analog audio is
embedded in the outputs
On—Use embedded audio for HDMI and DP; the
audio selection for DVI is selected by DIP-switch 3
Off—The HDMI, DVI and DP inputs use the analog
audio signal if a 3.5mm audio jack is inserted into
the analog audio input. If no jack is inserted, they
use their embedded audio signals
3
DVI audio control
(active only when DIP-
switch 2 is on)
Selects whether the analog audio is
embedded in the DVI signal
On—When switch #2 is on, the analog audio signal
is used with the DVI input
Off—When switch #2 is off, the embedded audio
signal is used in the DVI input
4
Video mode input
selection
Sets the video input selection mode to
either last connected or manual
On—Last connected
Off—Manual
5
Lock EDID
Locks the current EDID
On—Locked EDID
Off—Automatic EDID selection
6
Switching delay
Selects the time delay before switching
occurs when an input signal is lost.
Note: The delay is independent of the
input switching mode
When the input signal is lost but the cable is not
removed:
On—0.5 seconds
Off—10 seconds
When the cable is removed:
On—0.5 seconds
Off—3 seconds
7
Output disable delay
Sets the delay time between loss of the
input signal and output/PowerConnect
shutdown
On—1 minute
Off—15 minutes
8
Output Power Control
Enables/disables the output power when
the input signal is lost
On—Power is always on
Off—Power is disabled when input signal is lost
after delay set by DIP-switch 7
DIP-switch 2 must be set to ON to enable DIP-switch 3 to control the DVI audio mode selection.
Step 7: Operate SID-X1N
Optional: Lock the current EDID if required.
Step 8: Technical Specifications
INPUTS:
Video:
1 HDMI on an HDMI connector
1 DP on a DisplayPort connector
1 DVI-D on a DVI-I connector
1 VGA on a 15-pin HD (F) connector
Audio:
1 Unbalanced stereo audio on a 3.5mm mini jack
OUTPUTS:
1 TP on an RJ-45
1 Unbalanced stereo audio in a 3.5mm mini jack
PORTS:
1 RS-232 3-pin terminal block for programming
CONTROLS:
Front panel buttons, remote step-in switch, remote input selection switches, RS-232
ANALOG AUDIO INPUT:
Maximum level—3Vpp
REMOTE LED IMPEDANCE:
5V, 300Ω approx.
STANDARDS:
HDMI with x.v.Color™ and 3D
HDCP: Works with sources that support HDCP repeater mode
MAXIMUM DATA RATE:
4.95Gbps (1.65Gb per graphics channel)
MAXIMUM STEP-IN DISTANCE:
50m (164ft) up to 1080p @60Hz @24bpp
POWER CONSUMPTION:
12V DC, 1.1A
COMPLIANCE STANDARDS:
CE, UL
OPERATING TEMPERATURE:
0° to +40°C (32° to 104°F)
STORAGE TEMPERATURE:
–40° to +70°C (–40° to 158°F)
HUMIDITY:
10% to 90%, RHL non-condensing
COOLING:
Convection, vents
ENCLOSURE TYPE:
Aluminum
DIMENSIONS:
18.8cm x 11.3cm x 2.5cm (7.4” x 4.5” x 1”) W, D, H rack-mountable
WEIGHT:
0.48kg (1.1lbs) approx.
INCLUDED ACCESSORIES:
Power adapter
Specifications are subject to change without notice
For the most updated resolution list, go to our Web site at www.kramerav.com

Other manuals for SID-X1N

1

Other Kramer Transmitter manuals

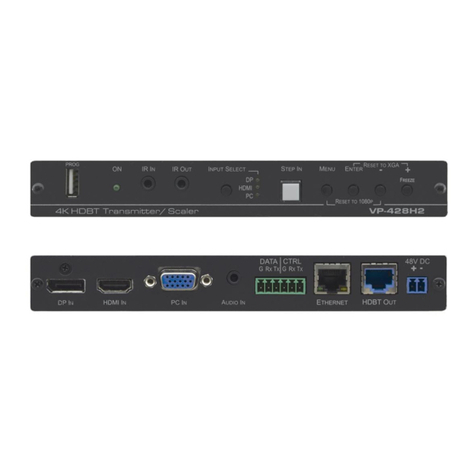
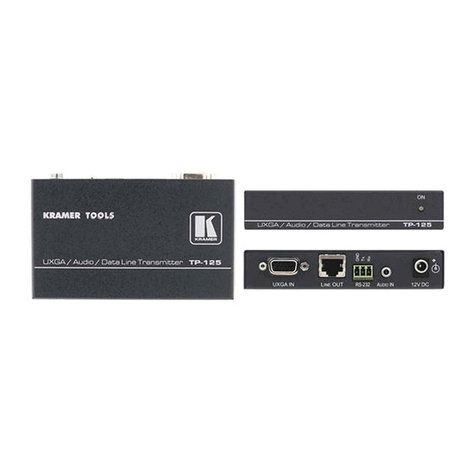
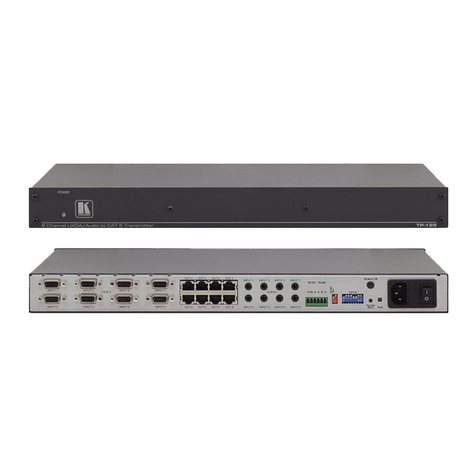
Kramer TP-125 User manual

Kramer

Kramer TP-125 User manual

Kramer WP-871xr User manual

Kramer

Kramer WP-871xr User manual

Kramer VP-5R User manual

Kramer

Kramer VP-5R User manual

Kramer TP-121EDID User manual

Kramer

Kramer TP-121EDID User manual
Kramer TP-210 User manual

Kramer

Kramer TP-210 User manual

Kramer 610T User manual

Kramer

Kramer 610T User manual

Kramer TP-210 User manual

Kramer

Kramer TP-210 User manual

Kramer WP-110xl User manual

Kramer

Kramer WP-110xl User manual

Kramer 691 User manual

Kramer

Kramer 691 User manual

Kramer F-121 User manual

Kramer

Kramer F-121 User manual

Kramer TP-581T User manual

Kramer

Kramer TP-581T User manual

Kramer TP-583Txr User manual

Kramer

Kramer TP-583Txr User manual

Kramer WP-110 User manual

Kramer

Kramer WP-110 User manual

Kramer TP-185 User manual

Kramer

Kramer TP-185 User manual

Kramer 611T User manual

Kramer

Kramer 611T User manual

Kramer 610T User manual

Kramer

Kramer 610T User manual

Kramer TP-112HD User manual

Kramer

Kramer TP-112HD User manual
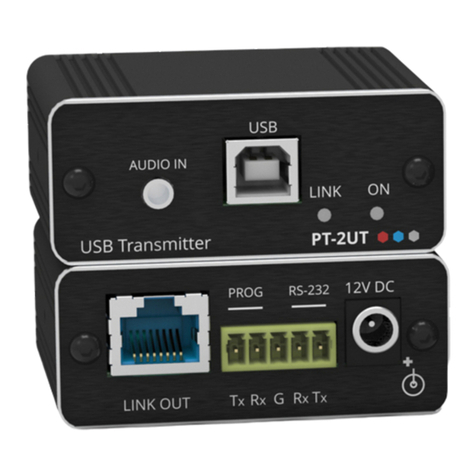
Kramer PT-2UT/R-KIT User manual

Kramer

Kramer PT-2UT/R-KIT User manual

Kramer TP-45EDID User manual

Kramer

Kramer TP-45EDID User manual

Kramer TP-114 User manual

Kramer

Kramer TP-114 User manual
Kramer TP-590Txr User manual

Kramer

Kramer TP-590Txr User manual

Kramer TP-121EDID User manual

Kramer

Kramer TP-121EDID User manual

Kramer EXT3-C-WP-XR-T User manual

Kramer

Kramer EXT3-C-WP-XR-T User manual

Kramer WP-580Txr User manual

Kramer

Kramer WP-580Txr User manual

Popular Transmitter manuals by other brands

Ecreso HELIOS Series user manual

Ecreso

Ecreso HELIOS Series user manual

AMX TX-MLCD Dimensional drawing

AMX

AMX TX-MLCD Dimensional drawing

RKI Instruments 65-2645RK-05-04 Operator's manual

RKI Instruments

RKI Instruments 65-2645RK-05-04 Operator's manual

YOKOGAWA YTA110 user manual

YOKOGAWA

YOKOGAWA YTA110 user manual

Digi Connect WS Hardware reference manual

Digi

Digi Connect WS Hardware reference manual

ADEMCO 5716 installation instructions

ADEMCO

ADEMCO 5716 installation instructions

Spektrum IX20SE quick start guide

Spektrum

Spektrum IX20SE quick start guide

Caliber PMT 556BT manual

Caliber

Caliber PMT 556BT manual

ACS Hydrocont HP4SC operating manual

ACS

ACS Hydrocont HP4SC operating manual

Extron electronics XTP T HDMI Setup guide

Extron electronics

Extron electronics XTP T HDMI Setup guide

Emerson Liebert SL-31080 user manual

Emerson

Emerson Liebert SL-31080 user manual

ENMET EX-5165 Operation and maintenance manual

ENMET

ENMET EX-5165 Operation and maintenance manual

Honeywell 5834-4 Series Installation and setup guide

Honeywell

Honeywell 5834-4 Series Installation and setup guide

CYP PU-507TX-CVGA Operation manuals

CYP

CYP PU-507TX-CVGA Operation manuals

Keller-druck 41 X Ei Series manual

Keller-druck

Keller-druck 41 X Ei Series manual

Scosche BTFREQ BTFM4 quick start guide

Scosche

Scosche BTFREQ BTFM4 quick start guide

Cygnett CY-A-GSP quick start guide

Cygnett

Cygnett CY-A-GSP quick start guide

Zaxcom ZMT4 user manual

Zaxcom

Zaxcom ZMT4 user manual

manuals.online logo
manuals.online logoBrands
  • About & Mission
  • Contact us
  • Privacy Policy
  • Terms and Conditions

Copyright 2025 Manuals.Online. All Rights Reserved.