1
Keep your struts clean! Just like your shifters and derailleurs,
dirt, dust, and grime can work themselves into the
mechanism resulting in sub-par peformance. Periodically
run a cloth around each Piston Pro X tube to keep your rack
looking good and functioning smoothly.
2
Ensure tire cradles make contact with tires. Insufficient
contact could result in bicycles becoming loose during travel.
Each arm requires at least 1 click of engagement to ensure
safe transport.
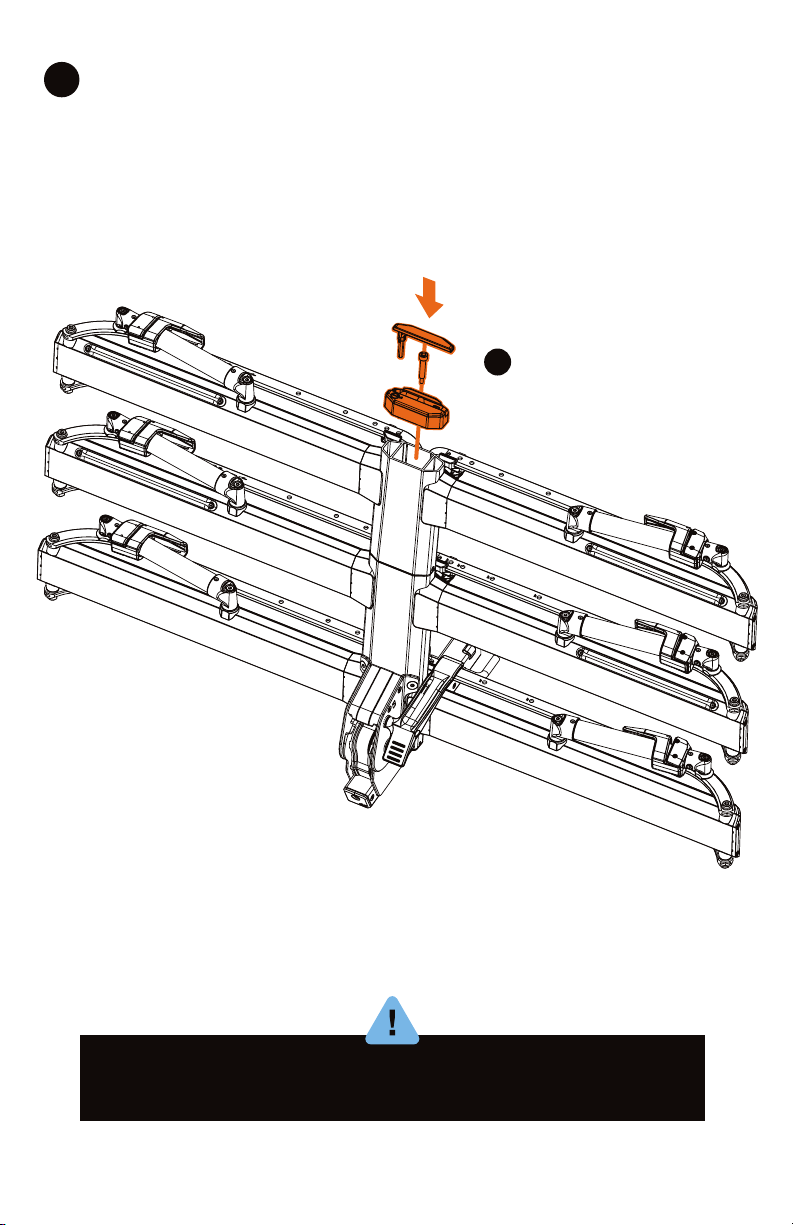
3
To solve any interference issues, bikes can be loaded
in the same direction, or asymmetrically, as well adjusted
left and right on their individual trays.
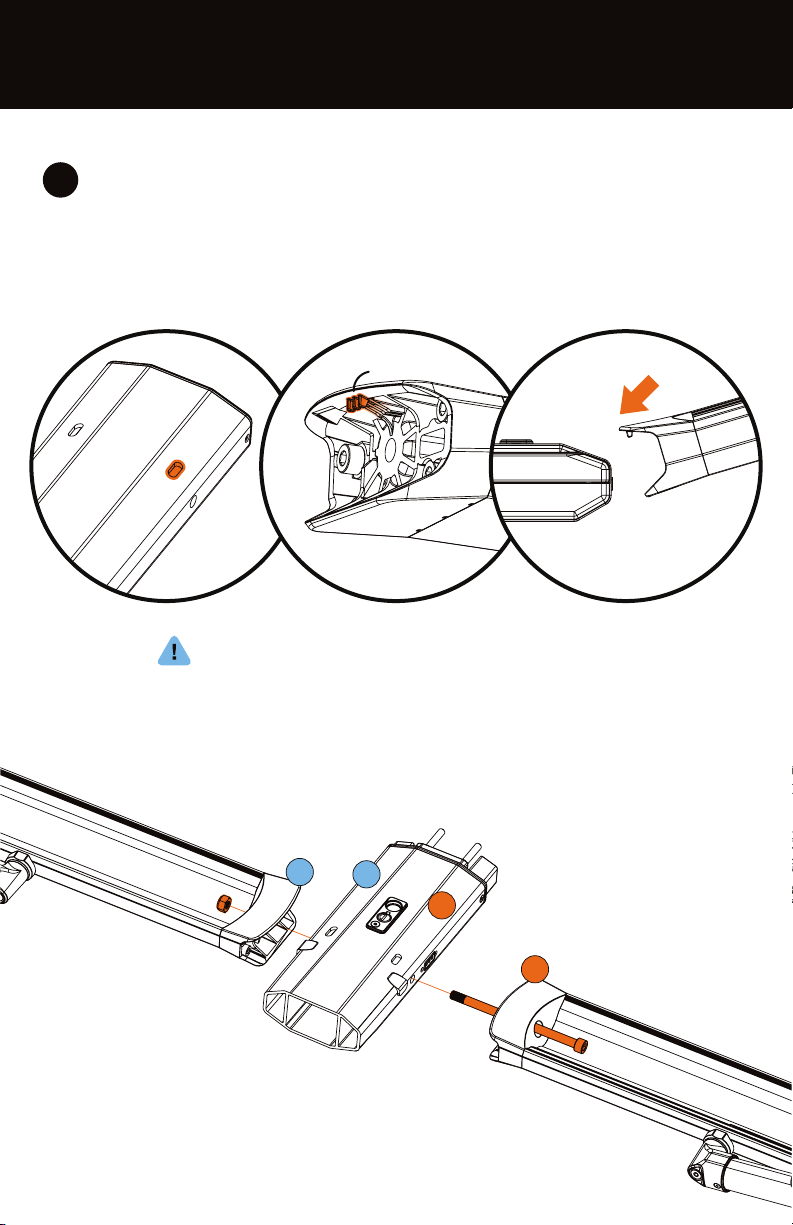
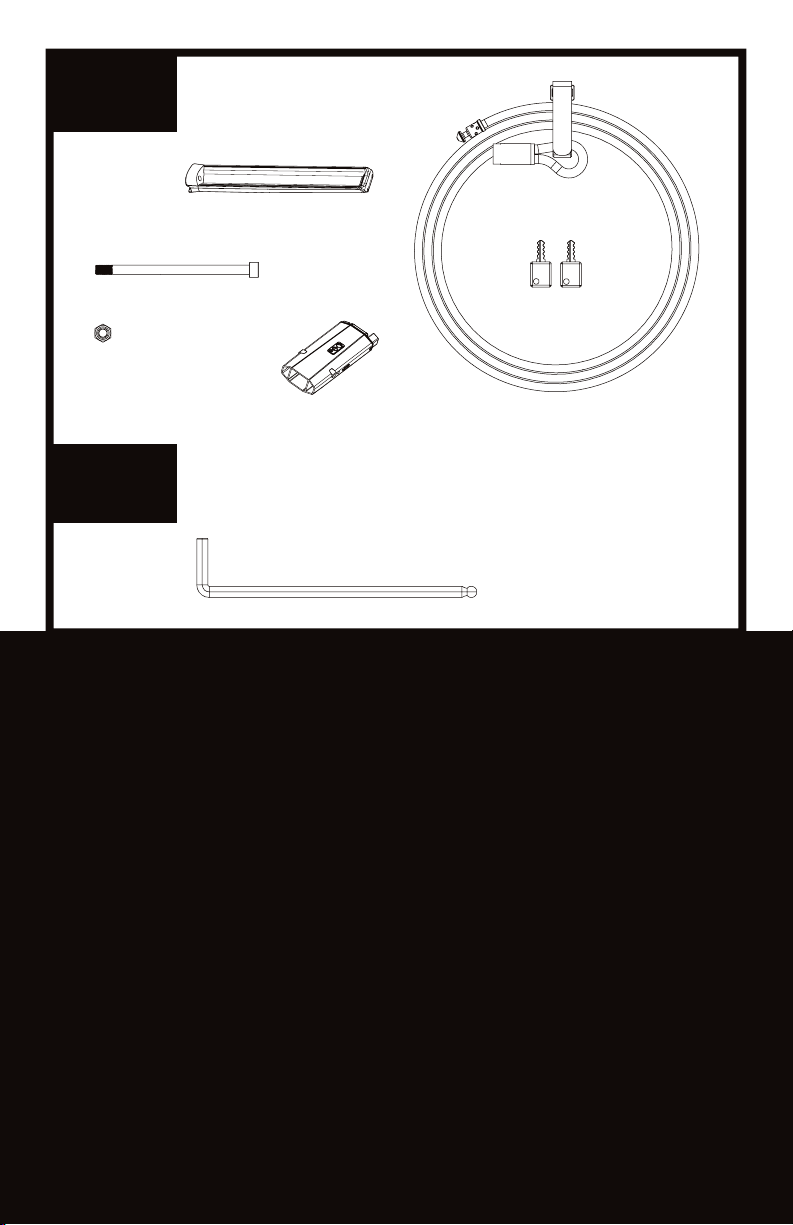
Parts
Tools
(1) M10 x 165 Bolt
(1) M10 Nut
8mm Hex Key
(1) Cable Lock
(2) Key
TM
(2) Tray
(1) Centerbeam Add-On