manuals.online logo
Brands
  1. Home
  2. •
  3. Brands
  4. •
  5. KVH Industries
  6. •
  7. Antenna
  8. •
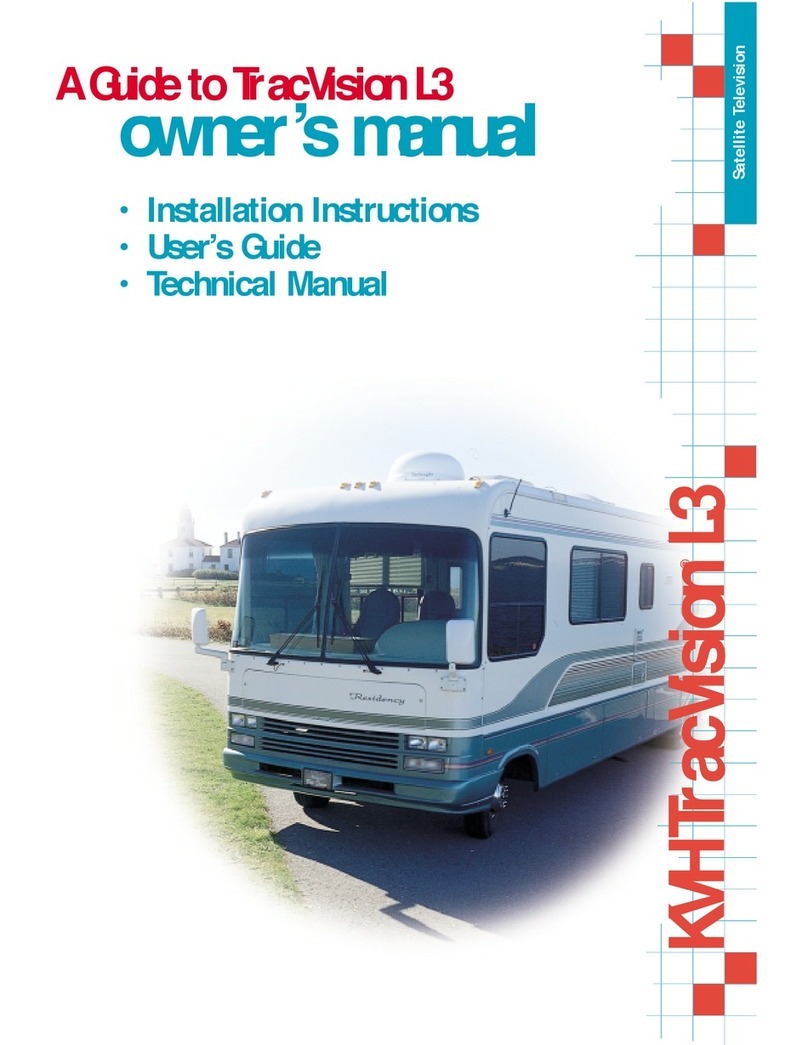
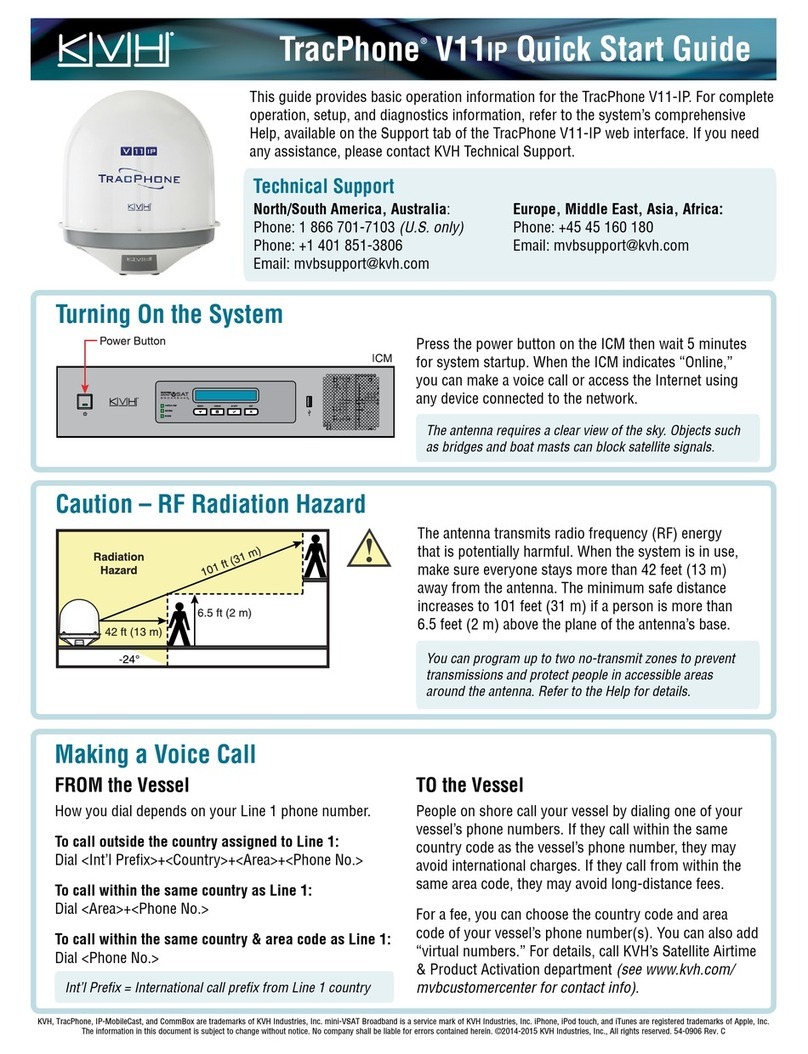
  9. KVH Industries TracVision A9 User manual

KVH Industries TracVision A9 User manual

KVH and TracVision are registered trademarks of KVH Industries, Inc. All other trademarks are property of their respective companies.
The information in this document is subject to change without notice. No company shall be liable for errors contained herein.
© 2015 KVH Industries, Inc., All rights reserved. 54-1122 Rev. A 1
TracVision A9 Antenna
Reshipping Instructions
Technical Support
If you need technical assistance, please contact KVH Technical Support:
Phone: +1 401 847-3327
Email: [email protected]
(Mon.-Fri., 9 am-6 pm; Sat., 9 am-2 pm ET, -5 GMT)
The following pages explain how to prepare a
TracVision®A9 antenna for reshipping.
Tools Required
This procedure requires the following tools:
• Phillips screwdrivers
• #2 Phillips torque screwdriver set to 21 in.-lbs
•1/4"driver
• 1/4" hex bit, if necessary
• 5/32" torque hex driver set to 21 in-lbs
Step 1 - Remove the Mounting Brackets
a. Power off and disconnect power from the
TV-Hub to remove power from the antenna.
b. Disconnect the RF cable from the antenna.
c. Remove the antenna from the vehicle and bring it
to a workbench suitable for service.
Important!
Be sure to install the tie-wrap shipping restraints
and pack the antenna in its original packaging, as
explained in these instructions, to ensure a safe
shipment. Without the restraints, the antenna will
become damaged. Shipping damage will not be
covered under KVH’s warranty policy.
CAUTION
To prevent injury, be sure to disconnect all power
from the antenna before proceeding. Power must
remain disconnected for the duration of this
procedure.
Figure 1: A9 Antenna
2
d. Disconnect the four mounting brackets from the
antenna by removing the two 1/4"-20 x 3/4" hex
socket screws at each mounting bracket (see
Figure 2). Save the mounting brackets and
hardware for later.
NOTE: The factory-installed bolts, in the base of the
antenna between the bracket holes, do not need to be
removed.
Step 2 - Remove the Trim Ring and Radome
a. Remove the sixteen #8-32 screws securing the
trim ring (see Figure 3). Carefully lift the trim
ring straight up until clear of the antenna
assembly and set it aside in a safe place.
b. Remove the four 1/4"-20 screws and washers
securing the radome to the baseplate (see
Figure 3). Set the radome aside with the trim
ring.
Step 3 - Attach the Shipping Restraints
Attach the six tie-wraps (supplied in kit) in the key
locations shown in Figure 4 and in detailed photos
on the following page (the photos show the original
factory-installed wire restraints).
Insert the tie-wraps from below, through the
appropriate holes in the antenna’s base, so that the
tie-wraps’ buckles will rest on the bottom of the
antenna. Be sure to pass the tie-wraps underneath
any cables, to prevent the tie-wraps and cables from
being pinched.
Important!
Always lift the antenna by the baseplate and never
by the radome or any portion of the internal
antenna assembly.
Important!
Rotate the antenna assembly by hand to line up the
holes in the assembly with the holes in the base (see
Figure 4).
Figure 2: Removing the Mounting Brackets
Factory-installed bolt
Bracket
1/4"-20 x 3/4" Hex Socket
Screws (with Nylok patch)
Figure 3: Removing the Trim Ring and Radome
Trim Ring
#8-32 Screw (x16)
Radome
1/4"-20 Screw
and Washer (x4)
Figure 4: Shipping Restraint Locations
3
Figure 5: Shipping Restraints #1 and #2
Figure 6: Shipping Restraint #3
Figure 7: Shipping Restraint #4
Figure 8: Shipping Restraint #5
Figure 9: Shipping Restraint #6
4
Step 4 - Reattach the Radome and Trim Ring
a. Inspect the inside of the antenna to make sure
you have not left any tools or debris inside.
b. Reinstall the radome onto the antenna, securing
it with the four 1/4"-20 screws and washers you
removed earlier. Then tighten the screws to
21 in.-lbs of torque (see Figure 10).
c. Reinstall the trim ring with the sixteen #8-32
screws you removed earlier. Then tighten the
screws to 21 in.-lbs of torque (see Figure 10).
Step 5 - Pack the Antenna
Pack the antenna in its original shipping box using
the original packaging materials (if you don’t have the
original box, please request one from KVH Technical
Support). The “FWD” indicator on all four corner
inserts should point in the same direction, toward
the forward end of the antenna, opposite the cable
connector.
The antenna is now ready for shipping!
Figure 10: Reattach the Trim Ring and Radome
Trim Ring
#8-32 Screw (x16)
Radome
1/4"-20 Screw
and Washer (x4)
Figure 11: Forward Indicators Pointing Away From Cable Connector
Cable
Connector
Rear inserts
have flat end at
Forward indicator
Front inserts have
pointed end at
Forward indicator

Other KVH Industries Antenna manuals

KVH Industries TracPhone V7 Guide

KVH Industries

KVH Industries TracPhone V7 Guide

KVH Industries TracPhone V3HTS User manual

KVH Industries

KVH Industries TracPhone V3HTS User manual

KVH Industries 5616 User manual

KVH Industries

KVH Industries 5616 User manual

KVH Industries TracVision HDTV Converter User manual

KVH Industries

KVH Industries TracVision HDTV Converter User manual

KVH Industries FB250 User manual

KVH Industries

KVH Industries FB250 User manual

KVH Industries TracVision HD11 Guide

KVH Industries

KVH Industries TracVision HD11 Guide

KVH Industries TracPhone V3HTS User manual

KVH Industries

KVH Industries TracPhone V3HTS User manual

KVH Industries TracPhone V7-HTS Guide

KVH Industries

KVH Industries TracPhone V7-HTS Guide

KVH Industries TracVision TV6 User manual

KVH Industries

KVH Industries TracVision TV6 User manual

KVH Industries TracVision R5 User manual

KVH Industries

KVH Industries TracVision R5 User manual

KVH Industries SAILOR 4300 Quick guide

KVH Industries

KVH Industries SAILOR 4300 Quick guide

KVH Industries TracPhone V11IP User manual
KVH Industries

KVH Industries TracPhone V11IP User manual

KVH Industries TracVision M5 User manual

KVH Industries

KVH Industries TracVision M5 User manual

KVH Industries TracPhone V11IP User manual

KVH Industries

KVH Industries TracPhone V11IP User manual

KVH Industries TracVision 6 User manual

KVH Industries

KVH Industries TracVision 6 User manual

KVH Industries TracNet H30 User manual

KVH Industries

KVH Industries TracNet H30 User manual

KVH Industries TracVision TV1/RV1 Guide

KVH Industries

KVH Industries TracVision TV1/RV1 Guide

KVH Industries TracVision A5 Install guide

KVH Industries

KVH Industries TracVision A5 Install guide

KVH Industries TracPhone V11 hts User manual

KVH Industries

KVH Industries TracPhone V11 hts User manual

KVH Industries TracVision R6 DX User manual

KVH Industries

KVH Industries TracVision R6 DX User manual

KVH Industries TracVision HD7 User manual

KVH Industries

KVH Industries TracVision HD7 User manual

KVH Industries TracPhone V11 hts User manual

KVH Industries

KVH Industries TracPhone V11 hts User manual

KVH Industries TracVision R6 DX Guide

KVH Industries

KVH Industries TracVision R6 DX Guide

KVH Industries TracNet H30 User manual

KVH Industries

KVH Industries TracNet H30 User manual

Popular Antenna manuals by other brands

Nexus NX2 installation manual

Nexus

Nexus NX2 installation manual

GSSI LineTrac Assembly instructions

GSSI

GSSI LineTrac Assembly instructions

Sony SAN-18D1 installation manual

Sony

Sony SAN-18D1 installation manual

Novatel L1/L2 GPSAntenna 503 User information

Novatel

Novatel L1/L2 GPSAntenna 503 User information

stellar labs 30-2447 user manual

stellar labs

stellar labs 30-2447 user manual

Grundfos GSM antenna for desk instructions

Grundfos

Grundfos GSM antenna for desk instructions

Nera WorldCommunicator Getting started guide

Nera

Nera WorldCommunicator Getting started guide

Redpoint Positioning V7 user manual

Redpoint Positioning

Redpoint Positioning V7 user manual

DirecTV TRKS26 installation manual

DirecTV

DirecTV TRKS26 installation manual

COBHAM Sea Tel 9711-56 IMA C Band installation manual

COBHAM

COBHAM Sea Tel 9711-56 IMA C Band installation manual

Dielectric TFU instruction manual

Dielectric

Dielectric TFU instruction manual

CommScope ValuLine VHLP3 Series installation instructions

CommScope

CommScope ValuLine VHLP3 Series installation instructions

Ubiquiti airMAX airGrid M5HP quick start guide

Ubiquiti

Ubiquiti airMAX airGrid M5HP quick start guide

JRC JLN-720 instruction manual

JRC

JRC JLN-720 instruction manual

TechniSat SKYRIDER DOME instruction manual

TechniSat

TechniSat SKYRIDER DOME instruction manual

EPAK Premium Line TV61TV90 manual

EPAK

EPAK Premium Line TV61TV90 manual

TERTEC Evolution LTE Antenna installation instructions

TERTEC Evolution

TERTEC Evolution LTE Antenna installation instructions

Patriot Antenna 1.8m Offset TxRx Installation & assembly instructions

Patriot Antenna

Patriot Antenna 1.8m Offset TxRx Installation & assembly instructions

manuals.online logo
manuals.online logoBrands
  • About & Mission
  • Contact us
  • Privacy Policy
  • Terms and Conditions

Copyright 2025 Manuals.Online. All Rights Reserved.