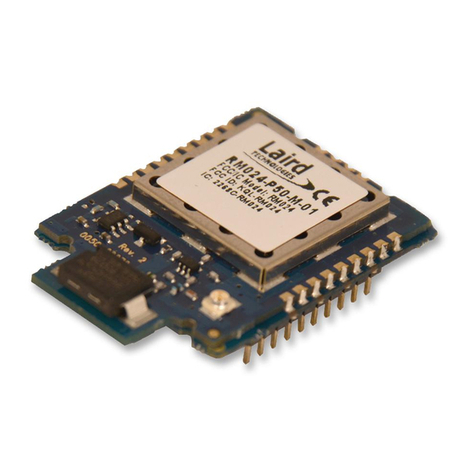
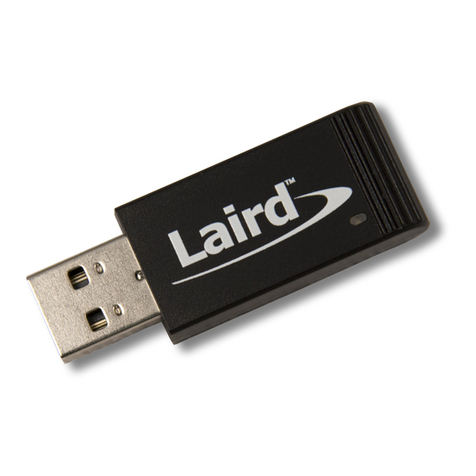
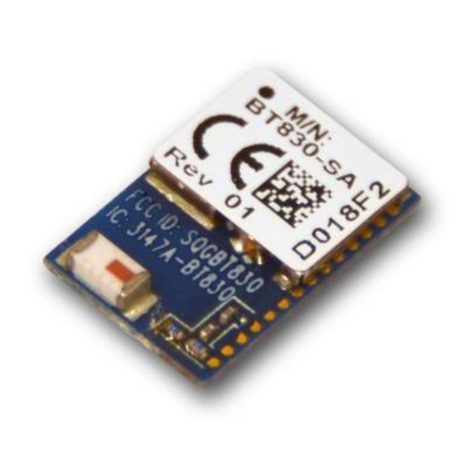
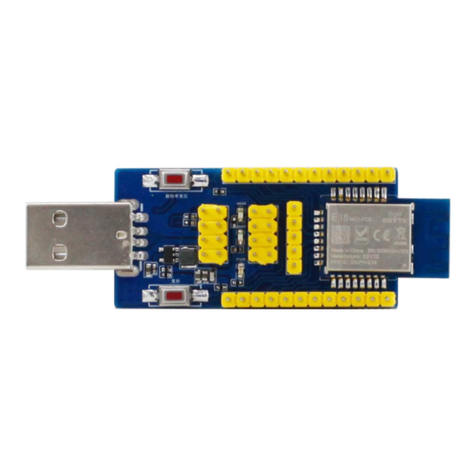
Once you are successfully connected to the DVK-BL652, DVK-BL654, or BL654 USB dongle over UwTerminalX, you may
compile, load, and run the ATinterface application.
Note: For cross-compiling smartBASIC applications, UwTerminalX must use a version-specific XCompiler that matches
the firmware of your module. UwTerminalX, however, provides the option for using an online XCompiler. For
supported firmware versions, this means that UwTerminalX finds the correct XCompiler over the Internet so that
you don’t need to maintain the XCompiler on your machine. This is enabled by default and can be disabled in the
Config tab.
For this quick start guide, we use the ATinterface application in the BL652 or BL654 applications GitHub library. To compile,
load, and run this application, complete the steps below.
If you are using the BL652, then the application to download is called $autorun$.AT.interface.BL652.sb and if you are using
the BL654, then the application to download is called $autorun$.AT.interface.BL654.sb. For convenience, given that the
behavior is the same for both module types, we will just refer to the application as the ATinterface autorun application.
1. Download the ATinterface autorun application from the appropriate applications library
(https://github.com/LairdCP/BL652-Applications/tree/master/ATinterface or https://github.com/LairdCP/BL654-
Applications/tree/master/ATinterface) to a directory on your PC. The application is located in the ATinterface
subfolder of your local repository folder.
2. If you are not already, connect to the BL652 or BL654 in UwTerminalX.
3. Right-click in the terminal window and, in the context menu, click XCompile + Load.
4. Depending on the type of module to which you are downloading, in the file selector window, select
$autorun$.AT.interface.BL652.sb or $autorun$.AT.interface.BL654.sb and click Open.
5. When the terminal displays 00, the compiler has finished successfully.
6. Type at+dir and press Enter. You should see $autorun$ in the file list.
7. Perform steps 1 to 6 again but on the second device so that you have both modules loaded with the ATinterface
application.
8. To run the script, type $autorun$ and press Enter or reset the module by ticking and unticking the BREAK checkbox.
The latter which results in a reset of the module will mean that on startup it will find the specially named $autorun$
application and automatically run it.
9. Press Enter in the terminal. If the terminal returns OK, the module is now running the ATinterface application and
will process AT commands sent to it.
If the terminal returns 00, if you started the application by using the BREAK checkbox, ensure that the DTR checkbox
is ticked and then tick/untick BREAK again.
10. In UWTerminalX, type AT,press Enter, and confirm that you see the following:
11. Type ATI0, press Enter and confirm you see the following:
The returned module type could be the BL652 or the BL654.
