SMxTAT2SA Quick Start Guide
33715 Rev. H https://www.lantronix.com Page 2of 2
Initial Switch Setup via Web Browser
For the initial configuration stage, you must reconfigure your PC’s IP address and subnet mask so as to make sure the PC
can communicate with the switch. After changing PC’s IP address (for example, 192.168.1.250), you can access the
switch Web UI using the switch default IP address. The initial switch setup via web browser is as follows:
Note: The factory default IP address = 192.168.1.77, default Subnet Mask = 255.255.255.0, Default Gateway =
192.168.1.254, default Username = admin, and default Password = admin.
1. Power up the PC that you will use for the initial configuration. Make sure the PC has an Ethernet RJ45 connector to
be connected to the switch via standard Ethernet LAN cable.
2. Reconfigure the PC’s IP address and Subnet Mask as below, so that it can communicate with the switch.
3. Power up the switch to be initially configured and wait until it has finished its start-up processes.
4. Connect the PC to any port on the switch using a standard Ethernet cable, and check the port LED on the
switch to make sure the link status of the PC is OK.
5. Run a Web browser on the PC; enter the factory default IP address, to access the switch
Web UI. If your PC is configured correctly, you will see the switch login page as shown.
6. Enter the factory default username (admin) and password (admin) in login page.
7. Click “Login” to log into the switch. See the Web User Guide for more information.
Initial Switch Setup via CLI
The Command Line Interface can be accessed via telnet or SSH. The RJ-45 cable is used for connecting a terminal or
PC/terminal emulator to the Switch’s RJ-45 port to access the CLI.
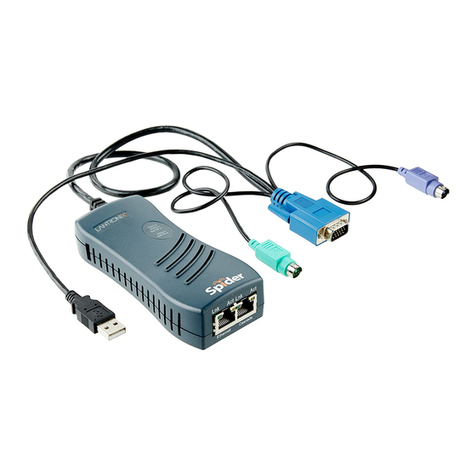
1. Attach the RJ-45 serial port on the switch’s front panel which used to connect to the switch for console configuration.
2. Attach the other end of the DB-9 cable to an ASCII terminal emulator or PC Com port (e.g., a PC running
HyperTerminal for Windows 10, HyperACCESS (successor to HyperTerminal), or PuTTY).
3. At the “Com Port Properties” Menu, set Baud rate=115200, Stop bits=1, Data bits=8, Parity=N, Flow control=none.
For CLI management of other switch features, see the SMxTAT2SA CLI Reference for details.
Specifications
8.66” x 9.53” x 1.73”
220mm x 242mm x 44mm
17.4” x 8.3” x 1.73”
442mm x 211mm x 44mm
17.4” x 8.3” x 1.73”
442mm x 211mm x 44mm
Input Power
50-60Hz
50-60Hz
50-60Hz
147 Watts (full load with PoE)
296 Watts (full load with PoE)
438 Watts (full load with PoE)
Power over Ethernet
30 Watts for 4 ports
simultaneously or
15.4 Watts for 8 ports
30 Watts for 4 ports
simultaneously or
15.4 Watts for 8 ports
30 Watts for 4 ports
simultaneously or
15.4 Watts for 8 ports
Related Documents: SMxTAT2SA Install Guide 33716, Web User Guide 33717, CLI Reference 33718. Release Notes
(version specific).
Contact Us: 48 Discovery, Suite 250, Irvine, CA 92618, USA. Toll Free: 800-526-8766. Phone: 949-453-3990.
Fax: 949-453-3995. Tech Support: https://www.lantronix.com/technical-support/.
Sales Offices: www.lantronix.com/about/contact.
