manuals.online logo
Brands
  1. Home
  2. •
  3. Brands
  4. •
  5. Larson Electronics
  6. •
  7. Spotlight
  8. •
  9. Larson Electronics GL-9951 Manual

Larson Electronics GL-9951 Manual

Wireless Remote Controlled
LED Spotlight - Magnet Mount
INSTRUCTION GUIDE
Part# GL-9951
Congratulations
You are now the owner of one of the finest remote control searchlights available today. Thank you for
letting Larson Electronics assist you in your lighting application needs. We're proud of our products and
the technology that we've developed to ensure our customers the most durable, versatile and powerful
searchlights in the lighting industry.
Please read these instructions before using your new Remote Control Spotlight from Larson Electronics.
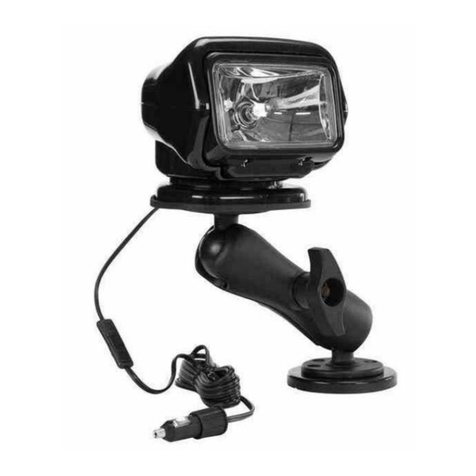
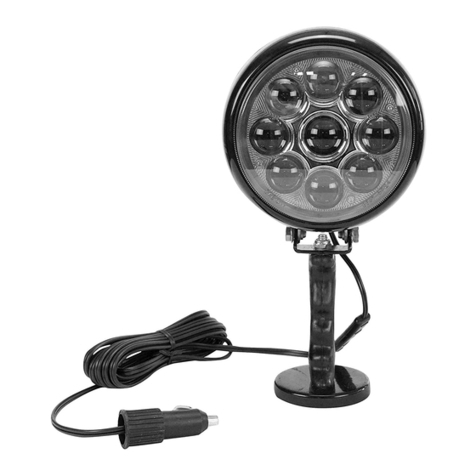
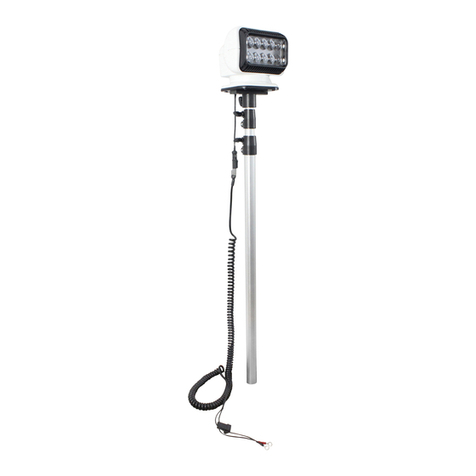
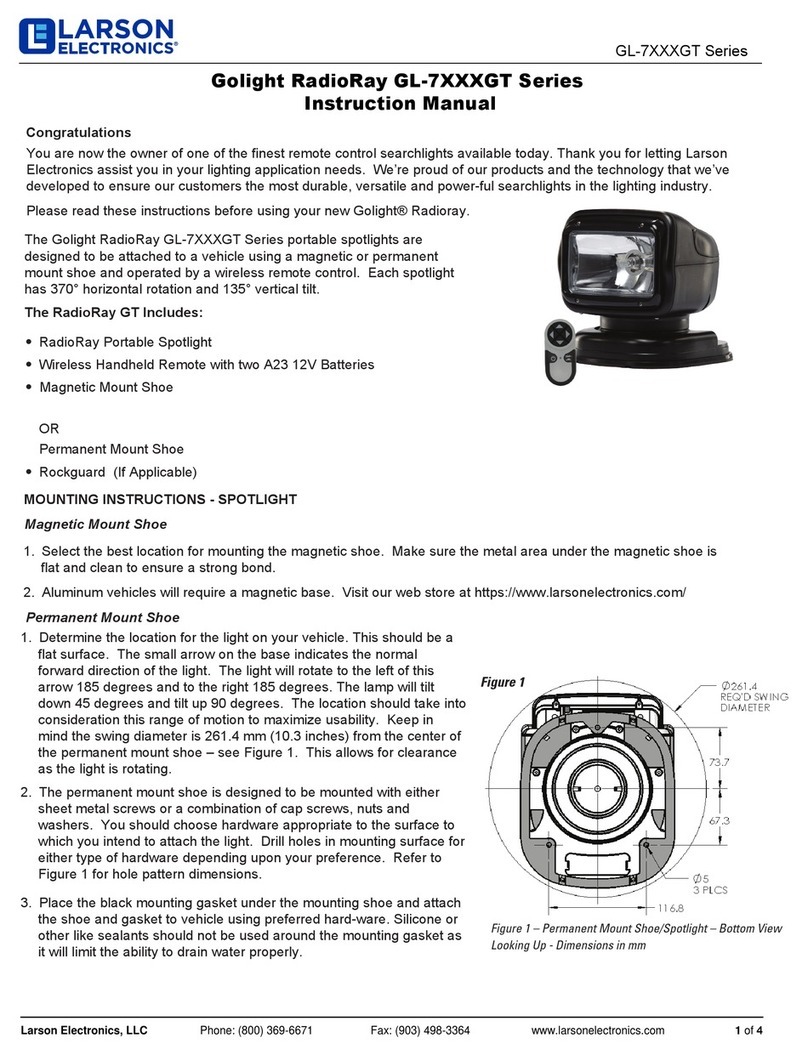
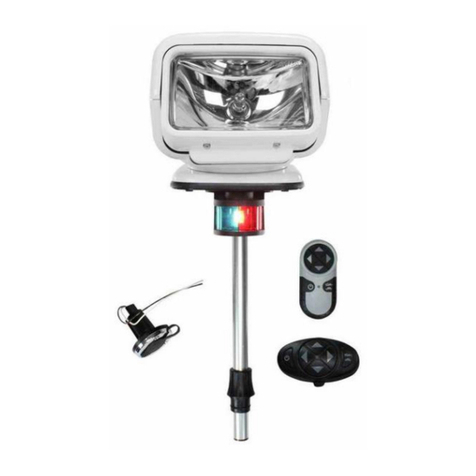
The GL-9951 is a Portable Searchlight designed to
be permanently or temporarily attached to a vehicle
for your specific use. The 2-Speed Searchlight with
Directional Flexibility is controlled by a wireless
remote, which gives the operator a full 370°
horizontal rotation and a 135° vertical tilt with
fingertip control. The GL-9951 provides superior light
penetration with state of the art LED technology.
MOUNTING INSTRUCTIONS
Temporary (Suction/Magnet):
1. Always clean mounting surface with a clean
cloth.
3.Remove light from permanent mount shoe by
depressing spring-loaded lock and sliding light
out.
4.Place suction base on clean, dry surface and
move side lever into the locked position.
WARNING: Check the suction cup frequently to
ensure that suction strength is maintained.
Temperature variations, rough terrain, grease and
dirt affect the length of time that the suction cup will
remain in place. Suction mounting is not
recommended for road use.
Permanent:
1. On clean, dry surface, place gasket and shoe
in desired location. Using 3/16” screws, attach
shoe to vehicle.
2. Slip the Golight into the shoe. Verify that the
spring lock secures the Golight into the shoe.
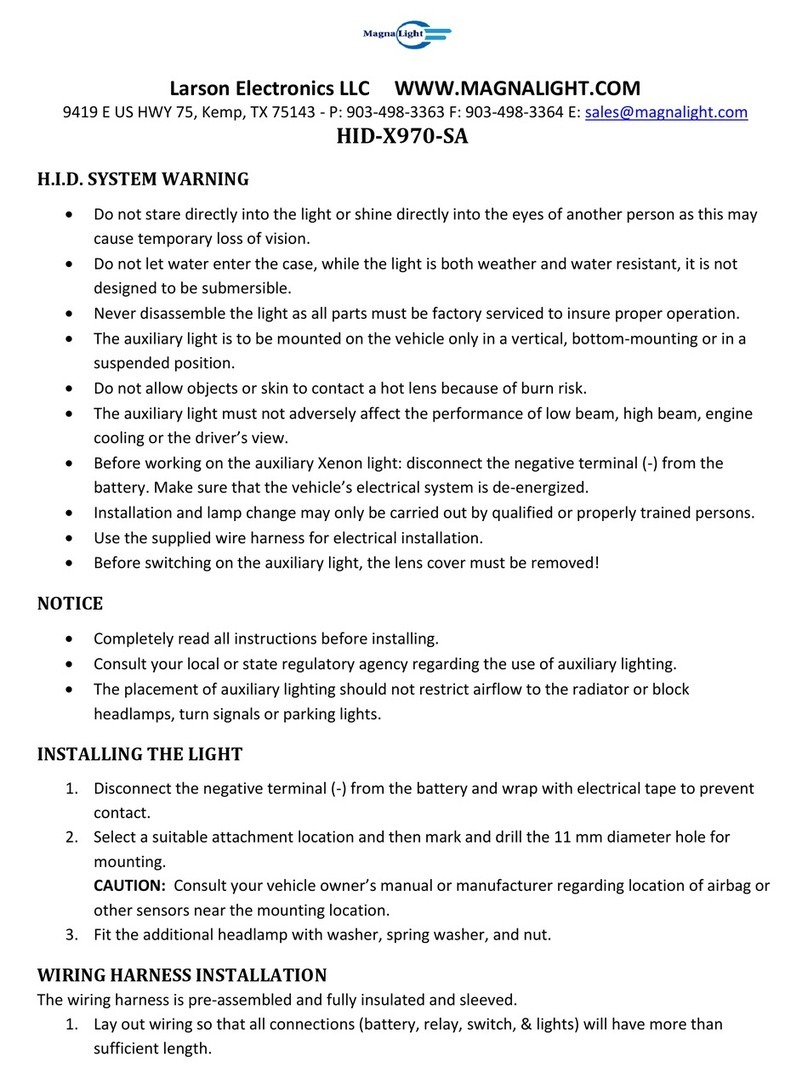
An optional magnetic mounting shoe is
available (see web store).
Route thepower cord into thevehicle through a
door frame and connect to 12V power outlet.
PROGRAMMING THE TRANSMITTER.
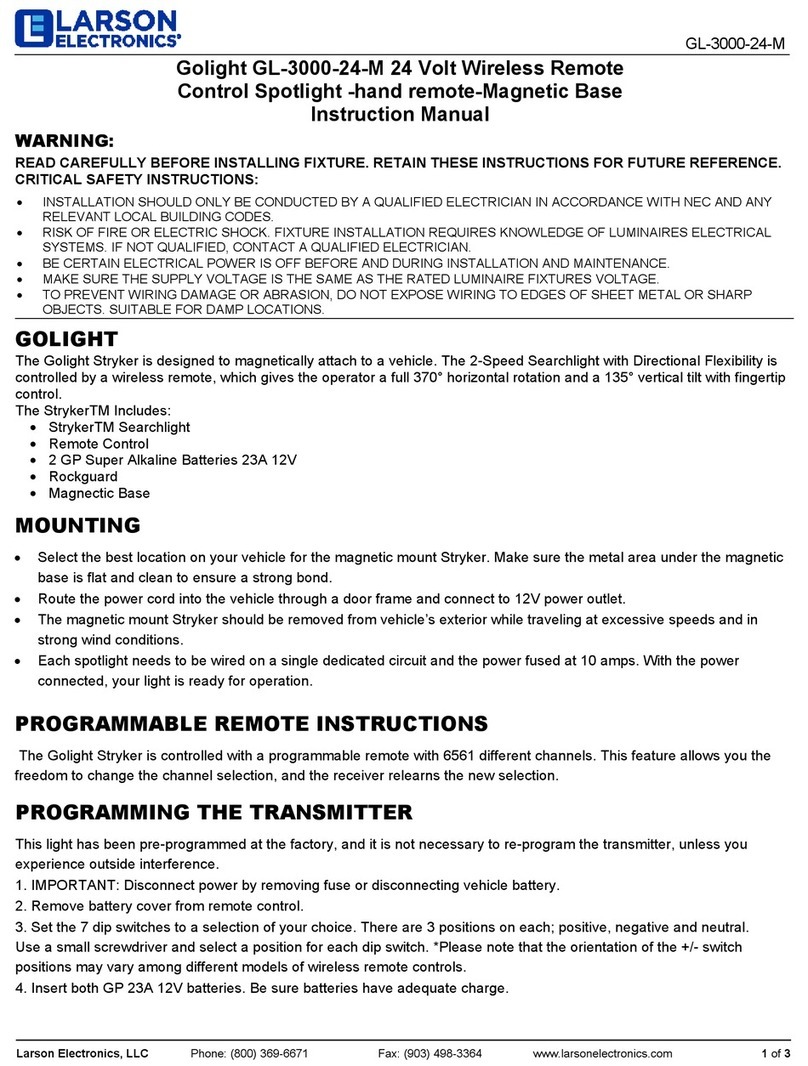
This light has been pre-programmed at the factory, it
is not necessary to re-program the transmitter, but is
recommended.
PROGRAMMABLE REMOTE INSTRUCTIONS The
GL-9951 Light is controlled with a programmable
remote with 2187 different channels. This feature
allows you the freedom to change the channel
selection, and the receiver re- learns the new
selection. This light has been pre-programmed at the
factory, and itis notnecessary tore-program the
transmitter, unless you experience outside
interference. To program transmitter:
1.IMPORTANT Disconnect power.
2.Remove battery cover from remote control.
3.Set the 7 dip switches to a selection of your
choice. There are 3 positions on each; positive,
negative and neutral. Use a small screwdriver and
select a position for each dip switch. *Please note
that the orientation of the +/- switch positions may
vary among different models of wireless remote
controls.
4.Insert both GP 23A 12V batteries. Be sure
batteries have adequate charge.
5.Replace battery cover.
a. Depress the on/off button and hold it down.
Red LED will light.
b. While holding the on/off button down,
reinstall the power (replace fuse or connect
vehicle battery).
c. Keep on/off button depressed for 5-6
seconds, and then release. The light should
now be programmed.
BATTERY INSTALLATION AND REMOVAL FOR
TRANSMITTER
Remove Battery Cover: remove the Phillips head
screw securing the battery cover then remove the
cover. With the battery compartment now exposed,
insert batteries according to correct polarity.
Remove the batteries by gripping the positive end of
each battery and lifting.
Use only 12v-A23 batteries in the Golight remote
control
OPERATION OF GL-9951
1.Place your light into the mounting shoe or attach
to the outside of your vehicle (see mounting
instructions).
2.Mount light w/ shoe to ferrous metal surface.
Do not exceed 35 MPH with magnet mount
Magnet mount
Suction Cup mount
2.Plug light into your vehicle’s cigarette lighter outlet
or 12 Volt direct battery hookup.
3.Using the remote control, turn on the light by
depressing the on/off button.
4.
5.
With the 4-way arrows on the remote control,
rotate your light to the desired location.
Depending upon conditions, the wireless remote
may be used up to 80 feet from the GL-9951. The
speed of the light rotation can be controlled by
depressing the tortoise/hare button one time
and by depressing it again to restore the original
speed.
6.Unplug and remove light from vehicle. Store the
light and remote control in optional carrying case
when not in use to extend the life of your
GL-9951.
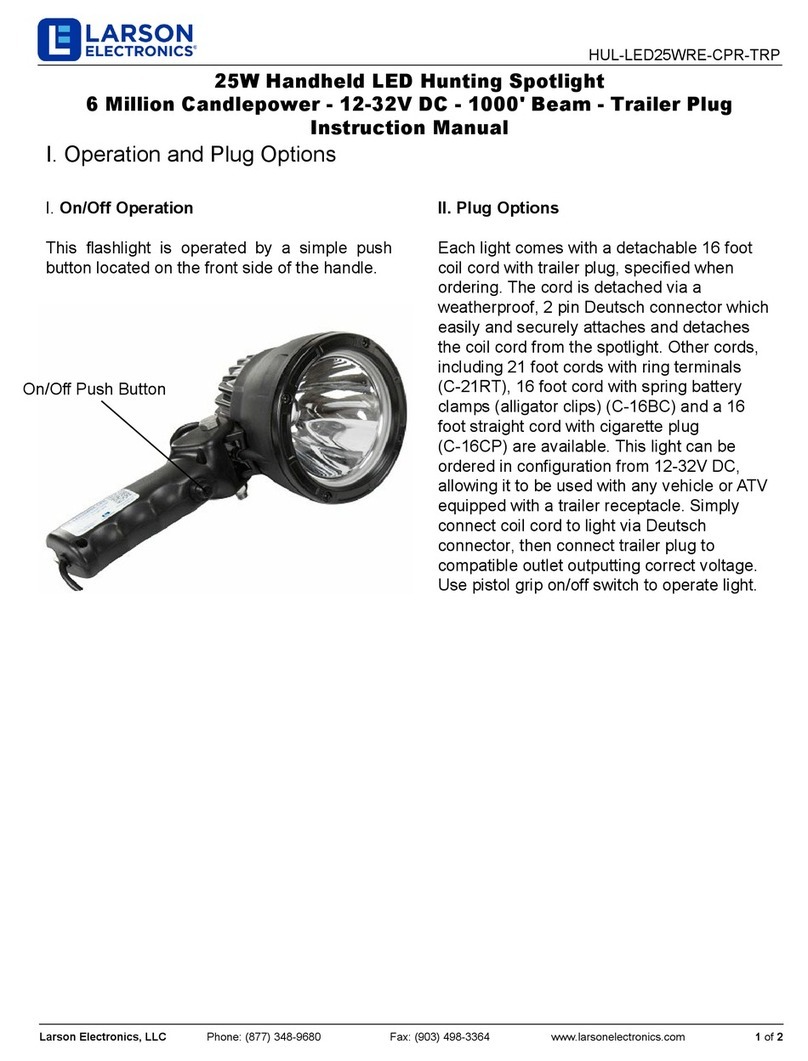
USAGE:
» This light is intended for off-road and utility use only
» This light is intended to be mounted outside the
vehicle while in use
» This light may only be disassembled and repaired
by an authorized representative
MISUSE:
» This light is not approved for road or highway use
» This light is not approved for underwater use
» This light is not approved for inverted mounting
» This light is not approved for use inside a vehicle or
enclosure and power should be disconnected prior to
placing the light in such circumstance
» This light may be damaged if operated in icing
conditions
» This light may only be dismantled by an authorized
Larson Electronics representative.
» Any violation of the above referenced misuses
will be considered grounds for warranty refusal
IMPORTANT SAFETY INFORMATION
This symbol is to alert you to important operating
or servicing instructions that appear in your
instructions.
Always follow basic safety
precautions when using
this product to reduce the
risk of injury, fire or electric shock.
This light is for off road and utility use only. It
is not designed for road use asa driving light.
The GL-9951 complies with Part. 15.105 of the
FCC Rules. This equipment has been tested and
found to comply with the limits for a Class B
digital device. These limits are designed to
provide reasonable protection against harmful
interference in a residential installation. This
equipment generates, uses, and can radiate
radio frequency energy and, if not installed and
used in accordance with the instructions, may
cause harmful interference to radio
communications. However, there is no
guarantee that interference will not occur in a
particular installation. If this equipment does
cause harmful interference to radio or television
reception, which can be determined by turning
the equipment off and on, the user is encouraged
to try to correct the interference by one or more
of the following measures:
•Reorient or relocate the receiving antenna.
•Increase the separation between the equipment
and receiver.
•Connect the equipment into an outlet on a
circuit different from that to which the
receiver is connected.
•Consult the dealer or an experienced
radio/TV technician for help.
FCC RULE Part. 15.21 - Changes or
modifications made by the user not expressly
approved by Larson Electronics, LLC. for
compliance could void the user’s authority to
operate the equipment.
PARTS /ACCESSORIES
Contact manufacturer for GL-9951 parts and
accessories.
Should further information not covered by these
instructions be required, please contact Larson
Electronics at 1-800-369-6671 or
[email protected] for further assistance.
Please visit LarsonElectronics.com for Warranty
and Return information.

Other Larson Electronics Spotlight manuals
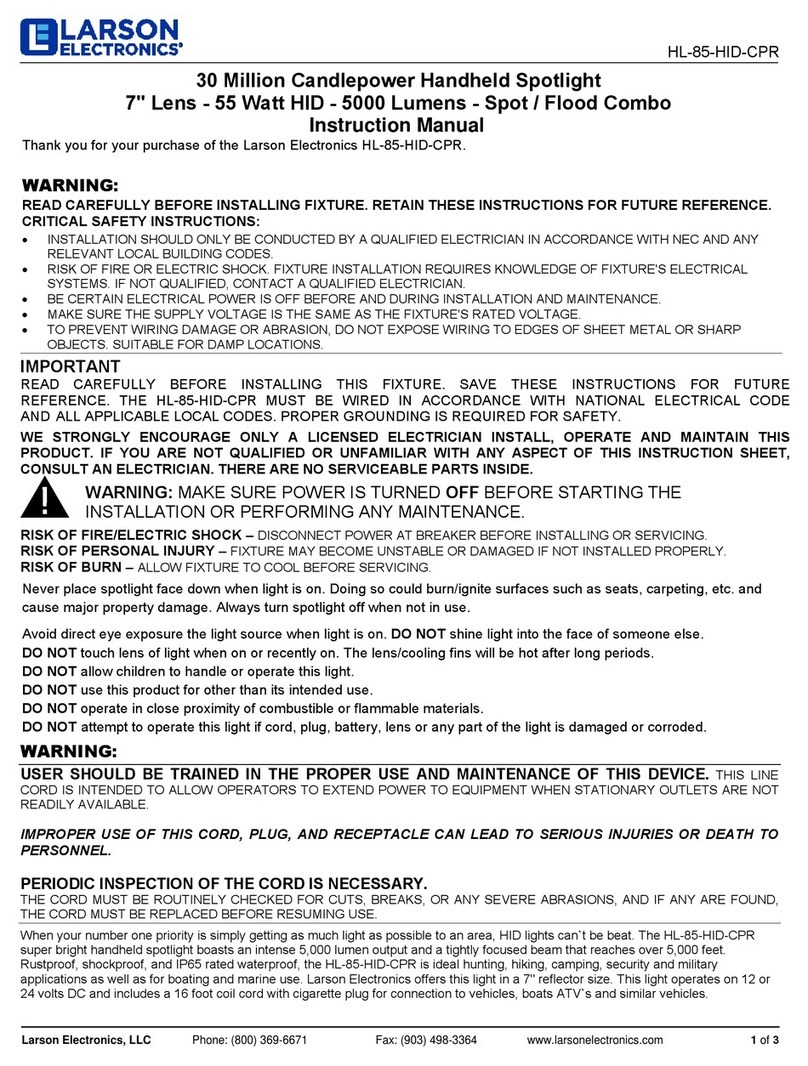
Larson Electronics GL-52893 Manual

Larson Electronics

Larson Electronics GL-52893 Manual

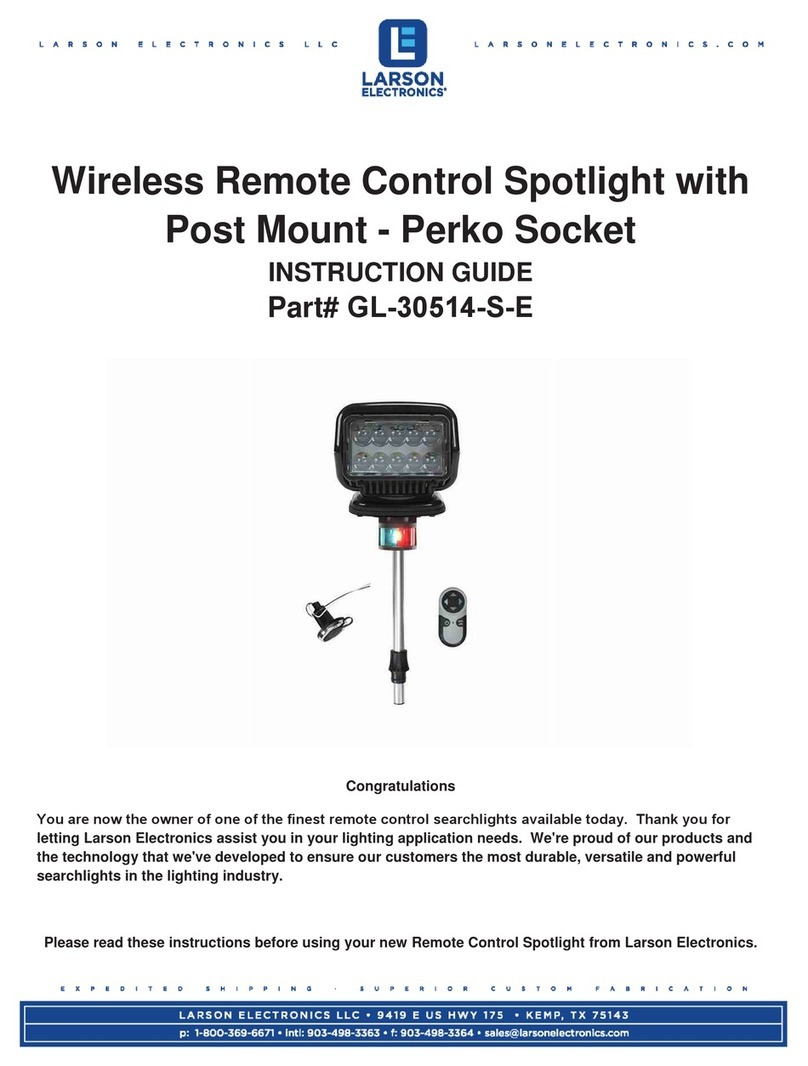
Larson Electronics GL-30514-S-E Manual
Larson Electronics

Larson Electronics GL-30514-S-E Manual

Larson Electronics MUL-30-LED User manual

Larson Electronics

Larson Electronics MUL-30-LED User manual

Larson Electronics HAL-RA-48-6L-LED User manual

Larson Electronics

Larson Electronics HAL-RA-48-6L-LED User manual

Larson Electronics LE Series User manual

Larson Electronics

Larson Electronics LE Series User manual

Larson Electronics GL-2110-F Manual

Larson Electronics

Larson Electronics GL-2110-F Manual

Larson Electronics HL-85-CPR-MS User manual

Larson Electronics

Larson Electronics HL-85-CPR-MS User manual

Larson Electronics GL-30004-S-E Manual

Larson Electronics

Larson Electronics GL-30004-S-E Manual

Larson Electronics HID-A1830-WA User manual

Larson Electronics

Larson Electronics HID-A1830-WA User manual

Larson Electronics HL-85-HID User manual
Larson Electronics

Larson Electronics HL-85-HID User manual

Larson Electronics Golight Radioray GL-2051GT User manual

Larson Electronics

Larson Electronics Golight Radioray GL-2051GT User manual

Larson Electronics RML-8 User manual

Larson Electronics

Larson Electronics RML-8 User manual

Larson Electronics GL-3610-S-E Manual

Larson Electronics

Larson Electronics GL-3610-S-E Manual

Larson Electronics WALTP-Q500 User manual

Larson Electronics

Larson Electronics WALTP-Q500 User manual

Larson Electronics GL-9100H-S Manual

Larson Electronics

Larson Electronics GL-9100H-S Manual

Larson Electronics HML-5M-RC User manual

Larson Electronics

Larson Electronics HML-5M-RC User manual

Larson Electronics Golight Radioray GL-2081-M Manual

Larson Electronics

Larson Electronics Golight Radioray GL-2081-M Manual

Larson Electronics PTB-1 User manual

Larson Electronics

Larson Electronics PTB-1 User manual

Larson Electronics The LE-9 Series User manual

Larson Electronics

Larson Electronics The LE-9 Series User manual

Larson Electronics GL-9901 Manual

Larson Electronics

Larson Electronics GL-9901 Manual

Larson Electronics PML-90LED-DP-120 User manual

Larson Electronics

Larson Electronics PML-90LED-DP-120 User manual

Larson Electronics LEDWL 1227 Series Manual

Larson Electronics

Larson Electronics LEDWL 1227 Series Manual

Larson Electronics LE-4100-6-A User manual

Larson Electronics

Larson Electronics LE-4100-6-A User manual

Larson Electronics GAU-LTL-500W-LED-IR User manual

Larson Electronics

Larson Electronics GAU-LTL-500W-LED-IR User manual

Popular Spotlight manuals by other brands

Beyond Lighting BY-F600 user manual

Beyond Lighting

Beyond Lighting BY-F600 user manual

Wetelux 84 28 91 instruction manual

Wetelux

Wetelux 84 28 91 instruction manual

Wagan 4313 user manual

Wagan

Wagan 4313 user manual

Vector 3 Owner's manual & warranty information

Vector

Vector 3 Owner's manual & warranty information

winees WP280013267 manual

winees

winees WP280013267 manual

Philips Ledino 57903/87/16 Specifications

Philips

Philips Ledino 57903/87/16 Specifications

Simon IL416109 quick start guide

Simon

Simon IL416109 quick start guide

Sealey AK437.V2 instructions

Sealey

Sealey AK437.V2 instructions

Wibre 4.0072 installation manual

Wibre

Wibre 4.0072 installation manual

Beamz 151.242 user manual

Beamz

Beamz 151.242 user manual

Wagan 2404 user manual

Wagan

Wagan 2404 user manual

Starway Baracca 360 quick start

Starway

Starway Baracca 360 quick start

RASHA PROFESSIONAL Bullet Zoom Quick user manual

RASHA PROFESSIONAL

RASHA PROFESSIONAL Bullet Zoom Quick user manual

LIVARNO home 898-S-2 Operating instructions and safety guide

LIVARNO home

LIVARNO home 898-S-2 Operating instructions and safety guide

Miboxer SL212 instructions

Miboxer

Miboxer SL212 instructions

Theben theLeda E30 WH manual

Theben

Theben theLeda E30 WH manual

ChiliTec 22940 Operation manual

ChiliTec

ChiliTec 22940 Operation manual

LIVARNO home 898-S-2 manual

LIVARNO home

LIVARNO home 898-S-2 manual

manuals.online logo
manuals.online logoBrands
  • About & Mission
  • Contact us
  • Privacy Policy
  • Terms and Conditions

Copyright 2025 Manuals.Online. All Rights Reserved.