Lasonic MP-5K User manual

0
User Manual
MP3PLAYER/USB-Disk/
Voice Recorder

1
Trademark
Windows is a registered trademark of Microsoft Corporation. Macintosh is a registered
trademark of Apple Computer, Inc. All other brands or product names mentioned in this
manual are trademarks or registered trademarks of their respective companies.
Disclaimer
Lasonic shall not be liable for any errors contained herein or for incidental consequential
damages in connection with the furnishing, performance, or use of this material. This
document contains proprietary information, which is protected by copyright laws. All rights are
reserved. No part of this document may be photocopied, reproduced, or digitally stored on or
transferred through any medium without prior written permission by Lasonic. We reserve the
rights to make changes from time to time in the contents hereof without further obligation to
notify any person of such revision or changes. We also reserve the right to change the
specification without notice and may therefore not coincide with the contents of this document.
Lasonic assumes no responsibilities with regard to the performance or use of third party
products.

2
Health and Safety Precautions
•This device is an electronic device. It needs careful handling and use.
•Do not drop the device. You might damage the device.
•Observe the local law regarding using earphones while driving a motor vehicle. Some
locale allows only one ear to be covered by an earphone.
•Do not operate the control while driving a motor vehicle, you might be distracted and
cause an accident.
•Follow the instructions regarding the use of electronic equipment while on a
commercial airplane. If you have question, please ask the flight crew.
•Do not turn up the volume on the device too loud. You might damage your hearing from
extended period of excessive volume.
•Do not expose the device to direct sunlight. Keep away from extreme heat or cold
environment.
•Keep the device free from dust and other contaminant.
•Keep liquid and moisture away from the device. Cleaning agent could damage the
surface of your device.
•Clean the exterior by wiping with soft dry cloth, do not use any cleaning liquid on it. Do
not uses lens cleaner; they might cause damage to your device.
•Remove the battery when unused for a long period of time.
•Do not attempt to service the product yourself. Removing the cover can expose you to
high voltage and other dangerous conditions. You will also break the seal and void the
warranty. Request qualified service personnel to perform servicing.
•Please dispose of the device or the battery properly. Do not put in the trash with your
regular household waste. Contact the local authority on how to recycle them.

3
Foreword
Please read this manual carefully before using the player to ensure a trouble-free experience.
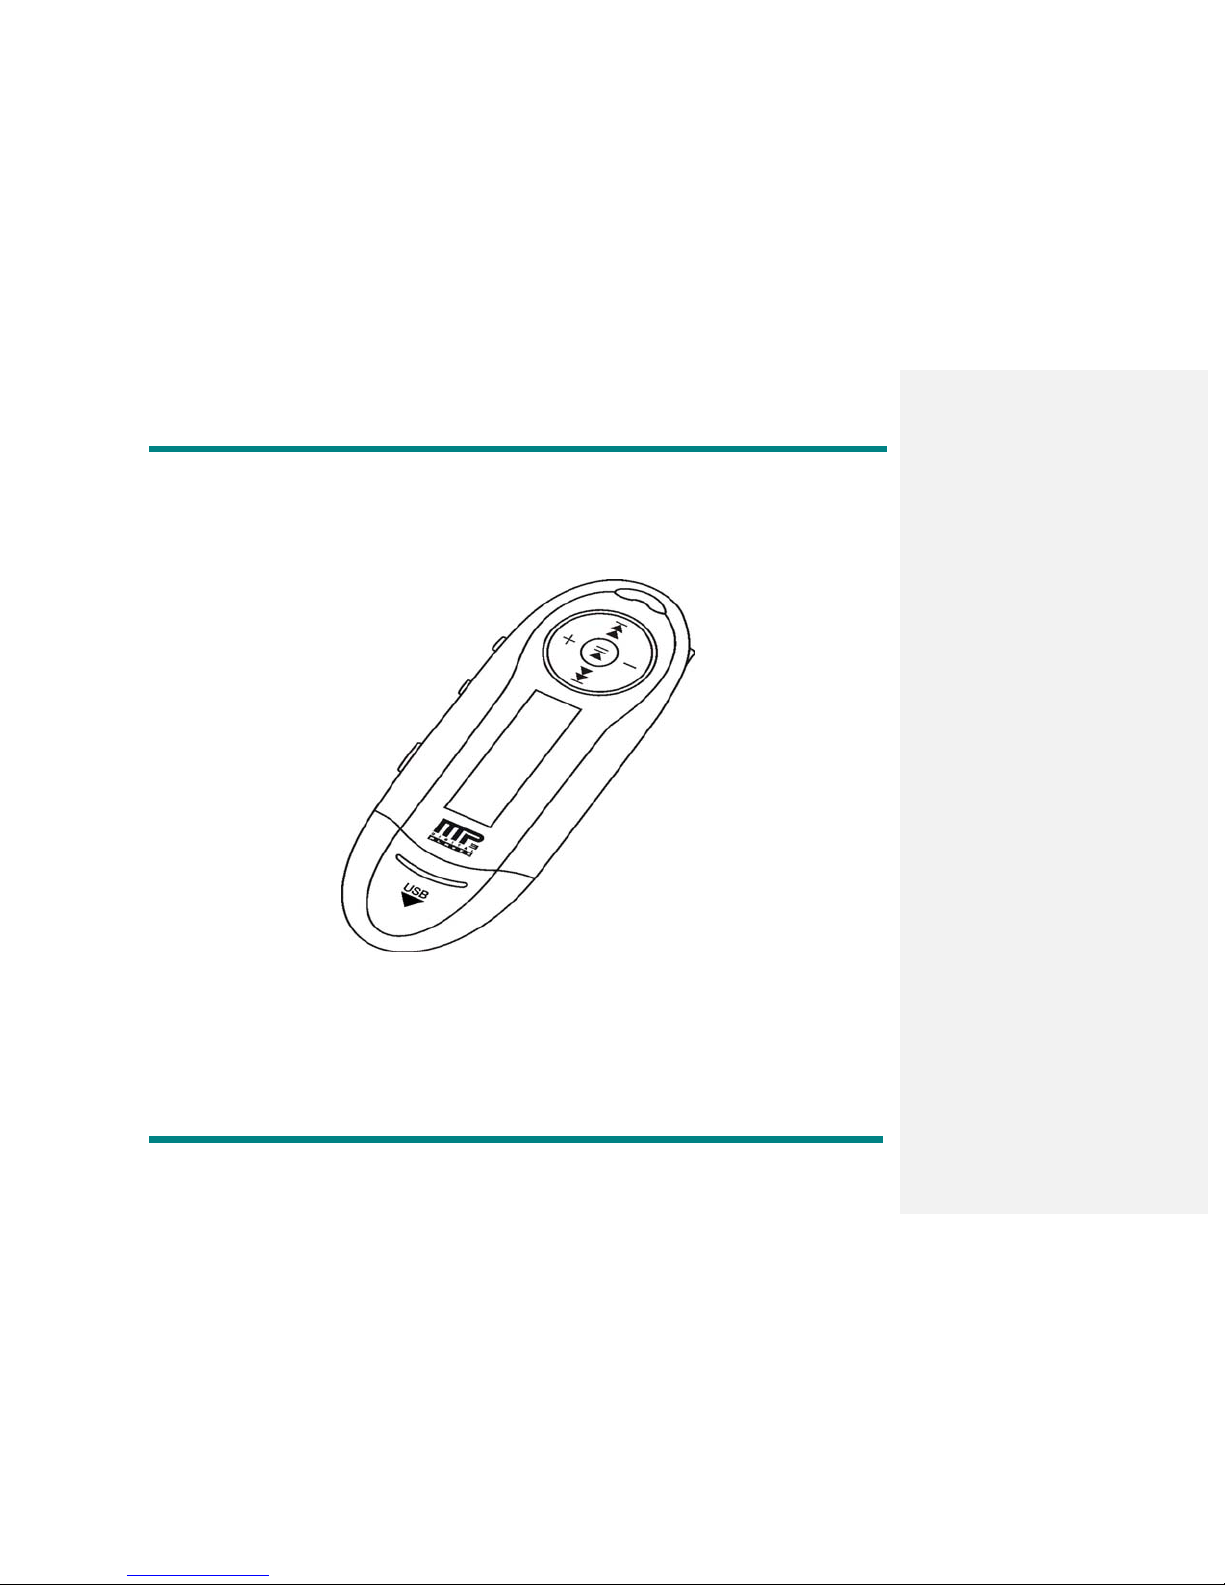
This product is a flash based digital music player capable of playing MP1, MP2, MP3, WMA,
WMV, ASF, and WAV music file formats.
Features
•Compact size
•USB connection to computer for music download
•Also operates as a USB flash drive for data storage
•Plays virtually all music file formats such as: MP1, MP2, MP3, WMA, WMV, ASF, and WAV
•Driver-free installation for Windows 2000 or higher. Windows 98 requires installation of
driver from CD.
•Digital voice recording
•6 mode Equalizer: Normal, Pop, Classical, Jazz, Bass and Rock
•Extensive Music repeat modes: Normal, Repeat one, Repeat all, Shuffle Repeat, Dir
Normal, Dir Repeat one, Dir Repeat all, and Dir Shuffle Repeat
Technical Specifications
Specifications
•USB interface
•USB Mass Storage Class, Bulk-only Transport standard
•Flash memory based for music storage
•Operates on 1 AAA battery
•MP3, WMA, and WAV
•Stores 500 Songs per 1GB
Note: 1GB = 1 billion bytes; actual formatted capacity less. Song capacity is based on 4
minutes per song and 64-Kbps wma encoding; actual capacity varies by content.

4
PC system requirements
•PC with USB port
•500MHz processor or faster
•64MB RAM, 128MB or higher recommended
•Windows 98SE, 2000, ME, XP, Vista, or later
•CD/DVD-ROM drive for driver installation in Windows 98SE only
Macintosh system requirements
•Macintosh computer with USB port
•G4, G5, or Intel processor with 500MHz processor or faster
•64MB RAM, 128MB or higher recommended
•Mac OS 9.2.2 or OS X 10.2.8 or higher
Environmental requirements
•Operating Temperature: 32°~95° F (0°~35°C)
•Operating Humidity: 10%~70% noncondensing
•Storage Temperature: -4°~113° F (-20°C~45°C)
•Storage Humidity: 20%~90% noncondensing
Package contents
•Digital music player
•Earphone
•Manual
•Windows 98 Driver CD
•AAA battery

5
Location of Control:
1. Headphone jack:
Plug the earphone into the jack and listen to your player.
2. USB connector:
You can upload/ download files via this port when connected to your computer.

6
3. MENU
Press to enter menu or sub-menus to configure difference settings of the player.
Press to confirm the selected menu option
4. A-B/ REC
Repeat between Section A and B during music mode.
Press to start or stop voice recording.
5. Backward
Press to skip to previous track.
Press and hold to fast reverse within the current track.
6. Forward:
Press to skip to next track.
Press and hold to fast forward within the current track.
7. Vol+
Press to increase the volume level.
8. Vol-
Press to decrease the volume level.
9. Power On/ Play/ Pause/ Stop/ Power Off
Press the button to power on the player.
Playback or pause player of music or voice file.
Press and hold to power off the player.
10. Hold
11. LCD
12. Microphone
Buttons used for “Mode” and “Play / Pause button” can each be controlled in 3
different ways:
1. Press - press the button then release it immediately.
2. Long press - press and hold the button for about 2 seconds then release it.
3. Press & Hold - press and keep holding the button.

7
Installing Battery
Before you can use the player, you need to install the battery into the unit. The unit operates
on 1 AAA battery. Please use high quality Alkaline or Ultra Alkaline for longer music playing
time.
1. Look at the bottom of the player. Place your thumb on the battery cover and slide out.
Lift out the cover.
2. Insert an AAA battery into the player in the direction shown inside the battery
compartment.
3. Place the battery cover on top of the battery and slide it back to close.
Note: If the battery is left inside this unit after they become drained they may leak and cause damage to
the battery compartment terminals - please remove exhausted batteries promptly.
Installing Earphones
Be sure the device is powered off before inserting the earphone. Insert the earphone plug into
the jack on the side of the player.
Connecting to Computer
Note: Before plugging into the USB port in the computer, be sure to remove the cap. Put back
the cap after you done to help protect the USB connector. To connect the device to your
computer, plug in the device into the USB socket on your computer. The player will power on
automatically. When “Ready” appears on the LCD of the player, the connection with the
computer has completed successfully.
Overview
Before plugging in the device, make sure your computer system have a USB port available.
You need to download MP3 or WMA music files into the player before you can play back
music. This player only supports unprotected music files. It does not play back music file with
DRM copy protection. Most online music selling site supports DRM music files only. Those

8
protected music files will not play back in this device. You need to transfer music files without
DRM protection into the player. You can do this by encoding music file from your music CD
without selecting the copy protection option. You can use Windows Media Player that comes
with Windows to rip music into wma/mp3 format.
Caution: It is illegal to distribute or share MP3 and WMA songs. You are only allowed to rip
music CD that you own and the resulting MP3 and WMA files are for personal use only.
Windows ME, 2000, XP, and Vista Setup
1. Start up the computer and boot into Windows.
2. Normally your machine will be ready to install new hardware. However, if you are using
Windows 2000 or XP and are unable to install new hardware, you might not have
Administrator privilege. Check with your computer manufacturer or your computer
administrator to receive advice on how to install new hardware device.
3. Plug in the device into the USB port on your computer. Windows will start searching for
driver.
4. If Windows ask you to reboot, click on yes to reboot.
Windows 98SE Setup
For Windows 98 user, please install the driver from the bundled CD and restart your computer
to take effect.
Mac Setup
1. Start up the computer and boot into Mac OS.
2. Plug in the device into the USB port on your computer.
3. The drive icon will show up on the desktop.
4. Now you can transfer your music files to the device.
5. Before removing the device, you have to drag its icon to the trash to unmount it.

9
When your MD217 is connected to your computer, it starts working as a removable hard disk
(external drive) on your computer. You can transfer, copy, paste, and delete the data (audio
files, voice recording files, etc.), which stored on your player into your computer very
conveniently. It can also be used for storage of non-music files.
! Attention:
The removable drive (MD217) can be found under “My computer” or “Windows Explorer”. Also,
open the “Device Manager” of your Windows and you will see the player is recognized as
“USB mass Storage Device”’ which becomes one of the disk drives in your computer observe
the diagrams for illustration.

10
Downloading music to your MD217
The player can be used as a mobile data storage device. No special software is required to
upload, download and manage the music and data files. All you need is using the copy, paste,
delete and other commands of your operation system and it is very easy and efficient by just
clicking on the mouse.
To download music to the player, connect the player with PC first, then:
Step 1.
Select the track you want to download to the player by clicking on the icon
(If you want to choose more than one music, press and hold the Ctrl or Shift key of the
computer keyboard when you clicking)
Step 2.
Right-click on the files, a menu appears. Click Copy
Step 3.
Under My Computer or Windows Explorer, double-click Removable Disk to open the drive.
The Removable Disk window appears
Step 4.
Right-click on the Removable Disk windows and click Paste in the menu
Step 5.
Start copying the files. The LCD of the player displays
The above message and diagram represent the USB connection in-between the player and
your PC is currently busy in transferring data. Please do not disconnect your player until you
see “Ready” comes up on the LCD again, or else it may cause severe damage to the player,
and the data being transferred will be lost too.

11
For users of Windows Me / 2000 / XP, please follow the instruction below prior disconnecting
the player from your computer.
a. Double-click on the “Safely Remove Hardware” icon (green arrow) on the system tray of
your Windows (see diagrams below for illustration).
b. Click stop in the “Remove Hardware Device” dialog window.
c. You will be asked about which device to stop. Click OK to continue.
d. The “Safely Remove Hardware” window appears to confirm that it safe to remove the
player. Click OK to continue.
e. Now you can disconnect the player from the computer.

12
MD217 Function & Keys Instructions
a. Power On/ Play / Pause / Stop/ Power Off
Press shortly
>Power on the player
>Start / Resume playback, when the player is in status of pause or stop
>Pause playback, when the player is in status of play
Press and hold
>Stop playback, when the player is in status of play.
>Power off the play
b / c. forward / backward
Forward
Press shortly
>Skip to next track during playback of music or voice file
>Search forward for next track when the player is in status of stop
>Move forward to next available options within MENU or sub-menu
Press and hold
>Fast forward within the current track during playback of music or voice file
>Search forward within the current track when player is in status of stop
>Fast forward to next available options within MENU or sub-menu
Backward
Press shortly
>Skip to previous track during playback of music or voice file
>Search backward for previous track when the player is in status of stop
>Move backward to previous available options within MENU or sub-menu
Press and hold
>Fast reverse within the current track during playback of music or voice file
Comment [11]: 仅在播放状态长按 PLAY 键会
停止。

13
>Search backward within the current track when player is in status of stop
>Fast reverse to previous available options within MENU or sub-menu
d / e. Volume+ / Volume -
Volume+
Press shortly
>Increase the volume by one level up
Press and hold
>Increase the volume continuously to the loudest level
Volume –
Press shortly
>Decrease the volume with one level down
Press and hold
>Decrease the volume continuously to the mute level
f. MODE
Press shortly
>Enter main-menu
>Confirm your selected setting / option under menu or sub-menu
>When using voice recording mode, this will save your recording

14
g. A-B A-B
Press shortly
>Loop Function – Playback any selected segment of current track
*Only works when player is in status of playback for MP3 / WMA or voice recording file.
1, Press MODE to set the start point (A- appears and flashes)
2, Press MODE again to set the end point (A-B appears)
3. Press MODE again to cancel the loop function
>Recording
*Works when player is in voice mode
Voice recording in voice mode
This feature offers high quality, one-touch voice recording. You can use the player to record
lectures, interviews or meetings.
Under voice mode, press MODE to start recording.
During recording, a “ “ will be shown on the LCD.

15
The Recorded files will be named and saved automatically to a Voice folder at root directory
as MIC00001.WAV, MIC00002.WAV, MIC00003.WAV, etc. in to the player memory, according
to the sequence of voice recording taking place.
h. Key Lock (Hold) Hold
You may lock the buttons on the player to prevent buttons being pressed during playback. As
shown below:
i. ID3 Tag Display
MD-217 is able to display the name of the current track, artist, album, etc. during playback.
In case if the MP3 tag information is too much and exceeds the specifying display area of the
LCD, the rest of the information will be display in dynamic scrolling, from right to left across
the LCD.
k. Power off
Press and hold for 3 seconds, the player will power off.
Overall view of LCD

16
Indications
1. Battery Power Indicator
2. Play Mode
3. A-B looping function
4. ID3 tag
5. Current / Total Track Number
6. Mode Indicator (Music / Voice)
7. EQ Mode
8. Volume
9. Time Elapsed
10.Hold
11.Repeat Mode

17
Menu settings
While your player is in playback or status (idle), you may press “Mode” at anytime to enter
MENU, it allows you to change different settings of the player according to your own
preferences.
Inside MENU, you may press / to move to the next or previous MENU setting. Press
“Mode” again to enter sub-menu (if any).
Again, you may press / to move to the next or previous available options inside
sub-menu(s). Press “Mode” to confirm with your selected options inside MENU or
sub-menu(s).
Remark
Play Music Go to Play Music
Voice GotoPlayVoice
Setting EQ Normal Normal effect
Pop Pop music effect
Rock Rockmusiceffect
Classic Classic music effect
Jazz Jazz music effect
Bass Bassmusiceffect
Play Mode Normal No repeat
Repeat One. Play current music repeatedly
Repeat All Play all music file repeatedly
Shuffle Repeat Random play music repeatedly
Dir Normal. Play music file in directory.
Dir All Repeat. Play all music files repeatedly in directory.
Dir Shuffle Repeat. Randomised play music repeatedly in directory.

18
Contrast Adjust the contrast value of the screen.
Backlight Setting backlight time
Power Set Disable. The player no shut off, while no power.
2 min. The player shuts off time (How long the player is idle)
10 min. The player shuts off time (How long the player is idle)
30 min. The player shuts off time (How long the player is idle)
Record Set: 32Kbps. The player recording coding
44Kbps. The player recording coding
64Kbps. The player recording coding
88Kbps. The player recording coding
Language Setting language: English. France, German. Spanish. Italian. Portugal.
Exit Exit to Menu Screen
About Display capacity and free space
Folder Enter listed files
Play now Play selective file
Delete? deleting?
Yes deleting
No cancel, return to file list.
Exit Gotoplaymusic/Voice
Menu-1 Play Music
Choose Music from menu will return to music mode (playback of MP3 / WMA).
As shown below:

19
Menu-2 Voice
Choose Voice from menu to enter voice play and recording voice mode. You may browse your
voice files, playback voice files, or start voice recording. Please note that the way to playback
voice files is exactly the same as playback music files. As shown below:
Menu-3 Setting
Choose Settings from menu to enter and configure different settings for the player. Press
“Mode” again to enter sub-menu.
>>MENU-3-1 EQ
There are 6 audio output effects available:
Normal – Pop –Rock– Classic – Jazz – Bass
>>MENU-3-2 Play mode
There are 7 play modes available:
Normal – Repeat one –Repeat All –Shuffle Repeat–Dir Normal–Dir All Repeat–Dir Shuffle
Other manuals for MP-5K
1
This manual suits for next models
1
Table of contents
Other Lasonic MP3 Player manuals

Lasonic
Lasonic MPS-01G User manual

Lasonic
Lasonic MP-1GS User manual

Lasonic
Lasonic VP-02GL Instruction Manual

Lasonic
Lasonic VP-01GK User manual

Lasonic
Lasonic MPS-01G User manual

Lasonic
Lasonic VP-01GK User manual

Lasonic
Lasonic VP-02GL User manual

Lasonic
Lasonic VP-02GRB User manual

Lasonic
Lasonic MP-5K User manual

Lasonic
Lasonic VP-GC User manual