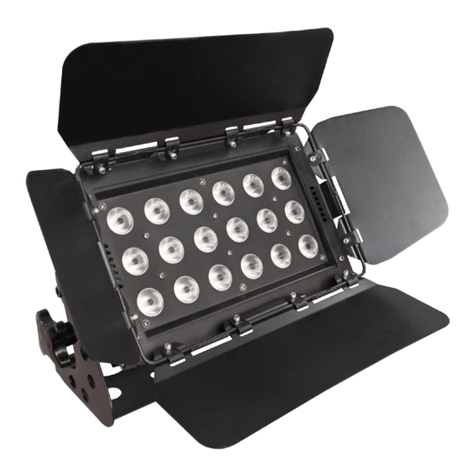
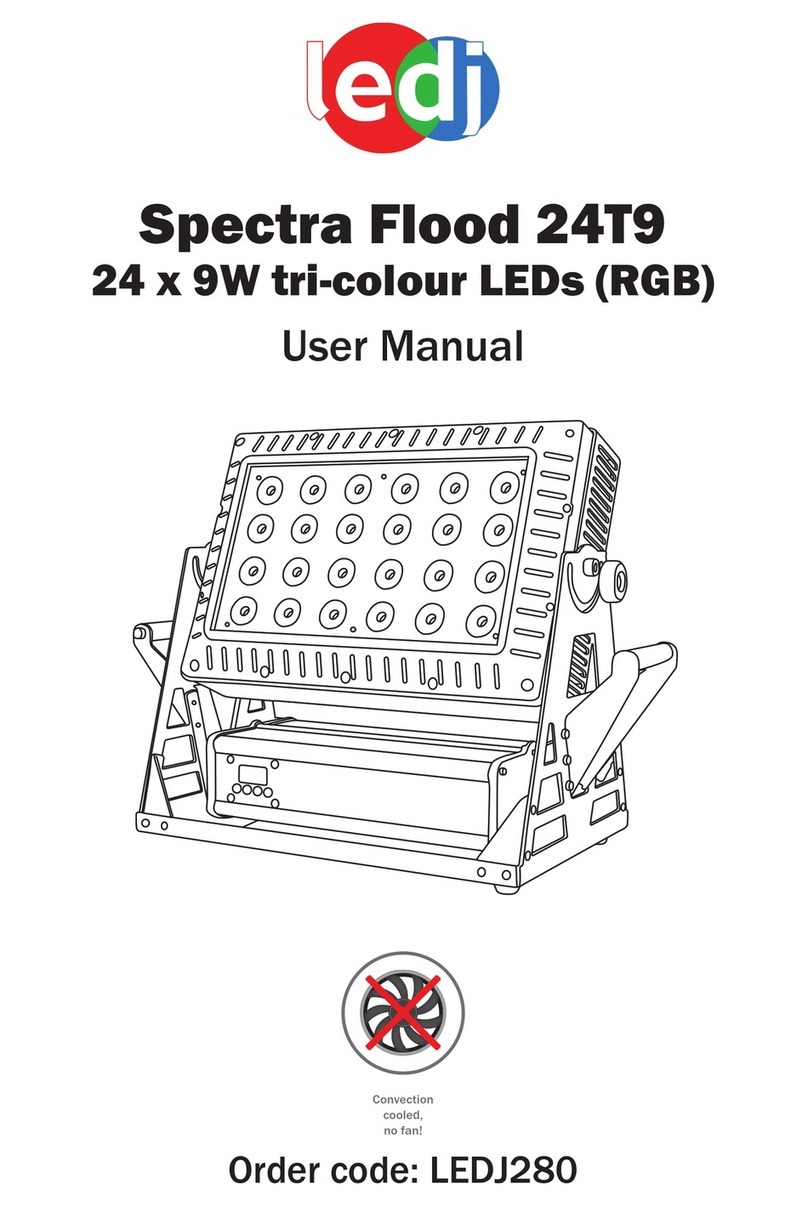
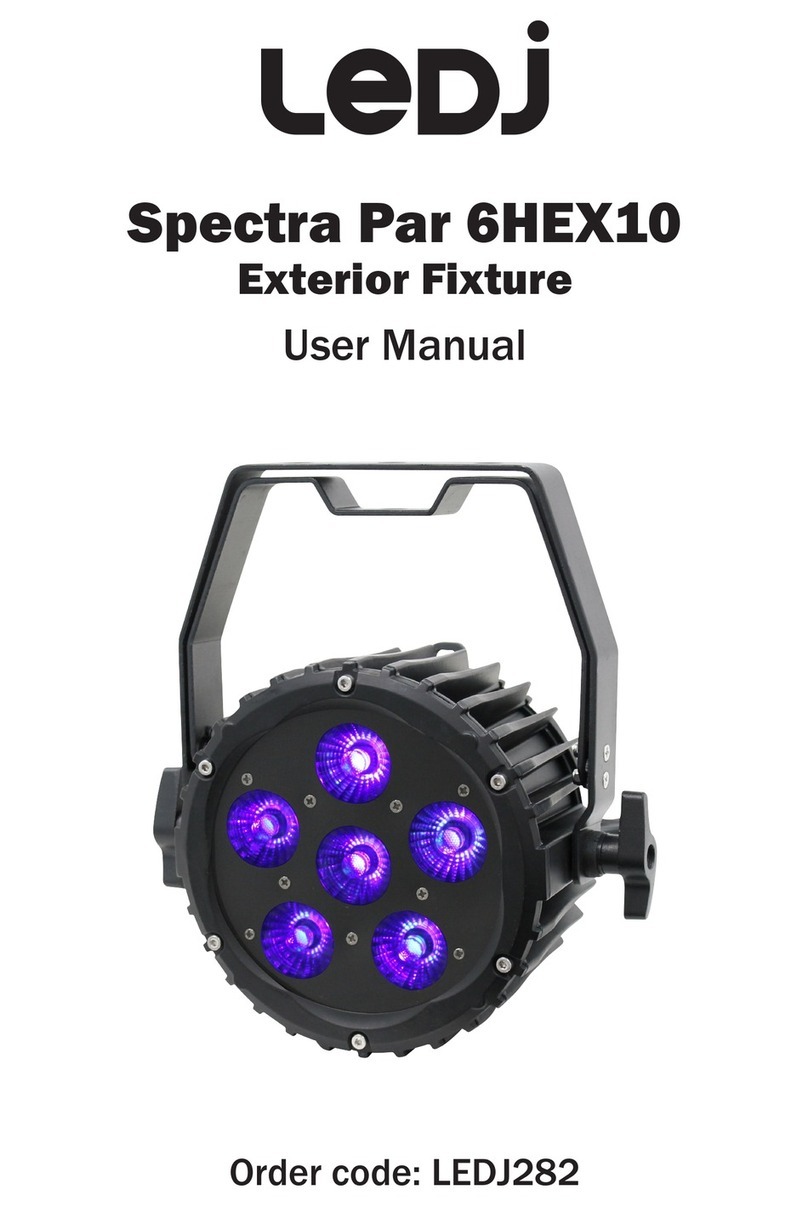
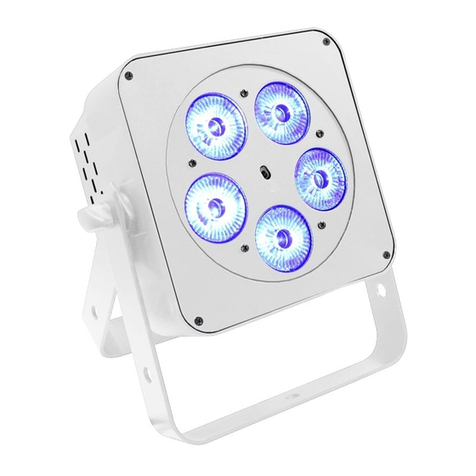
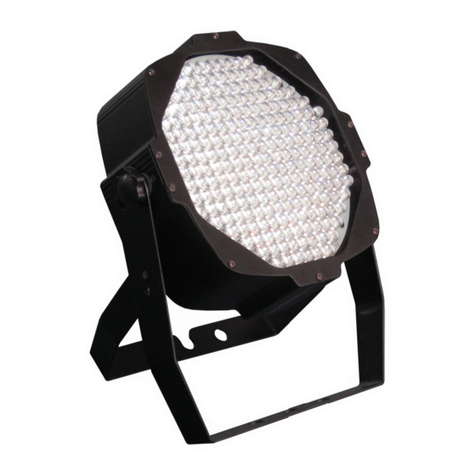
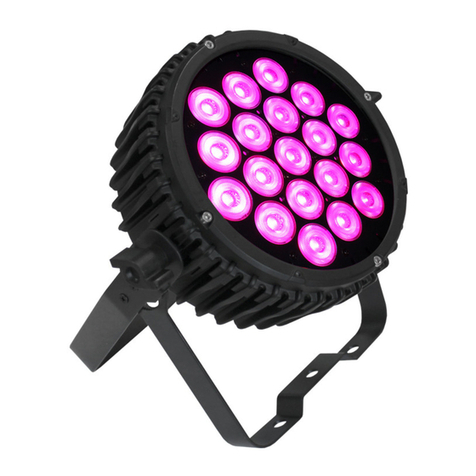
LEDJ Exterior Spectra Led Flood I.R. Remote
I.R Remote (purchased separately: LEDJ90B)
Functions:
The “BLACKOUT” button is used to set the LED’s into the power on or off modes.
The “AR” button is used to set the LED’s into the auto run mode.
The “S PR” button is used to set the LED’s to run the built-in programmes
Built-in programme selection: 7 colour selection, colour changing and colour fade.
Choose between the 9 built-in programmes by
pressing the “+” and “-” buttons.
The “FL” button is used to set the LED’s to ash on and off, to change the ash frequency use the “+”
and “-” buttons.
The “SP” button is used to set the run speed, this button is available only in the colour change or colour
fade modes. To change the speed use the “+” and “-” buttons.
The “D” button is used to set the LED’s into DMX mode. (See DMX value table)
The “SA” button is used to set the LED’s into sound activated mode. This function is
unavailable on the Exterior Spectra Series.
The “SL” button is used to set the LED’s into slave mode.
The “S”, “0”, “1”, “2”, “3”, “4”, “5”, “6”, “7”, “8” and “9” buttons are used to set the DMX
address for the LED’s. (see example below)
The “R”, “G”, and “B” buttons are used to set the brightness for the LEDs, to change the
brightness use the “+” and “-” buttons.
DMX Address Examples:
To set the DMX address “245”;
1) Press the “S” button, so the red LED’s come on, this means you can now start
to set the DMX address.
2) Press the “2” button, so the green LED’s come on, this means the rst digit
“2” (the hundreds place) setting is successful.
3) Now Press the “4” button, and the blue LED’s will come on, this now means
that the second digit “4” (tens place) setting is successful.
4) Now Press the “5” button, and all of the R/G/B LED’s will come on, this
means that the nal digit “5” (units place) setting is successful and the full
DMX address setting has been changed.
5) Now press the “DMX MODE” button to save the new address into memory.
To set the DMX address “002”;
1) Press the “S” button, so the red LED’s come on, this means you can now start
to set the DMX address.
2) Press the “0” button, so the green LED’s come on, this means the rst digit
“0” (the hundreds place) setting is successful.
3) Now Press the “0” button, and the blue LED’s will come on, this now means
that the second digit “0” (tens place) setting is successful.
4) Now Press the “2” button, and all of the R/G/B LED’s will come on, this
means that the nal digit “2” (units place) setting is successful and the full
DMX address setting has been changed.
5) Now press the “DMX MODE” button to save the new address into memory.
Important notes:
• Set the DMX address on each xture before plugging into the DMX controller.
• The I.R Remote is not usable when the xture(s) are being controlled by a DMX controller.
• The maximum transmitter distance is 10M. Please make sure that you have the I.R remote aimed
directly at each xture to be programmed,
• If you do not press the “DMX MODE” button after you have changed the DMX address,
when you power down the xture it will lose the address you have set.
