manuals.online logo
Brands
  1. Home
  2. •
  3. Brands
  4. •
  5. LEGRAND
  6. •
  7. Receiver
  8. •
  9. LEGRAND 5739 00 Instruction Manual

LEGRAND 5739 00 Instruction Manual

SCS BUS SyStem
1
teCHNICAL SHeet
PL1/PF1
A
PL2/PF2
PL3/PF3
PL4/PF4
M
LG00043-b-UK
5739 00
5739 01IR receiver
Description
The receiver can add the remote control by means of infrared ray controls 882 31/
882 32 to the manual control or replace the manual control by the remote control.
It is possible to associate to the remote control pushbuttons the controls intended
for 1-relay actuators for single loads and 2-relay actuators for double loads (rolling
shutter motor etc.), the scenario management, and the control of sound systems and
video door entry systems. In addition to the IR receiving lens, the front of the device
shows a programming pushbutton and a notification LED, for notification that the IR
signal sent by the remote control has been received, and notification of the program-
ming procedure.
2
4
5
6
3
1
Receiving lens1.
Programming/reset pushbutton2.
LED3.
Configurator housing4.
BUS5.
Switch for programming lock/unlock6.
Legend
Technical data
Power supply from SCS BUS: 18 – 27 Vdc
Consumption : 8.5 mA
Operating temperature: 5 – 35 °C
Dimensional data
Size: 2 flush-mounting modules
Depth: 20.7 mm
2
LG00043-b-UK
It is possible to set 5 different operating modes in the IR receiver according to the configuration of the A, PL1, PL2, PL3, PL4 and M positions.
Mode M Functions which can be performed
A - remote control 1 – 4 Repeating of 4 generic controls (ON/OFF, UP/DOWN) with the 4 remote control keys. The receiver saves the controls required in the installation
phase, by inserting configurators in positions A, PL 1 to 4 and M. Changing the pre-set functions involves the reconfiguration of the IR receiver.
B - advanced scenarios CEN Activation of scenarios managed by the scenario programmer 035 65.
C - remote self-learning none Repeating of generic controls (ON/OFF, UP/DOWN) with the remote control keys. In this case the receiver saves the controls with a self-learning
procedure. The customer can change the succession and the controls saved to be recalled with the remote control at any time.
Scenario module control 6 Management with the remote control of a maximum of 16 recorded scenarios in the scenario module 035 51.
E - sound system 9 Management using the remote control of the amplifier to be controlled.
Configuration
This mode lets the user associate generic controls (ON/OFF, UP/DOWN) intended for
single loads or double loads with the remote control keys.
The correspondence between the remote control keys and the loads controlled is
determined in the installation phase by the configuration of positions A and PL 1 to PL
4 of the IR receiver, as shown in the table below.
The following can be associated with the remote control pushbuttons:
- Point-point controls, i.e. intended for single or double loads (rolling shutter motor)
whose address is specified by configurator 1 to 9 in positions PL 1 to PL 4. The
various operating modes are determined by the association of the configurators with
the PL positions.
- Controls intended for actuators for single and double loads belonging to the room
defined with configurator 1 to 9 in position A. In this case the operating modes are
defined by the configurators marked by the graphics of the function performed,
inserted in positions PL 1 to 4.
1) Mode “A” (remote control) M = 1 – 4
5739 00
5739 01
SCS BUS SyStem
3
teCHNICAL SHeet
LG00043-b-UK
Function Type of control Position A Position PL1/
PF1
Position PL2/
PF2
Position PL3/
PF3
Position PL4/
PF4
Cyclic ON/OFF functioning for short pres-
sure + adjustment (dimmer) Light point in the room indicated in R 1 – 9 1 – 9 1 – 9 1 – 9 1 – 9
Cyclic ON-OFF Room control 2) 1 – 9 AMB AMB AMB AMB
Rolling shutter up-down 1) Light point in the room indicated in R
1 – 9 1 – 9 1 – 9
1 – 9 1 – 9
1 – 9 1 – 9
1 – 9 1 – 9
1 – 9 1 – 9
1 – 9 1 – 9
Monostablerolling shutter up-down 1) Room control 2)
1 – 9  M  M
 M  M
 M  M
 M  M
 M M
 M  M
Rolling shutter up-down to end of stroke1) Room control 2)
1 – 9  
 
 
 
 
 
ON control Room control 2) 1 – 9 ON ON ON ON
OFF control Room control 2) 1 – 9 OFF OFF OFF OFF
1) The two PL positions must have the same configurator. The UP control is associated with the
first PL position and the DOWN control with the second PL position.
Example 1: If on the receiver positions PL2 and PL3 have configurator 7, the remote control
operates double actuator 7 of the room indicated in A, raising the rolling shutters with pushbut-
ton 2 and lowering them with pushbutton 3.
2) The control is intended for devices belonging to the room indicated in A.
Example 2: If on the receiver positions PL2 and PL3 have configurator  and position A has
configurator 2, the remote control operates all the actuators in room 2, raising the rolling shut-
ters with pushbutton 2 and lowering them with pushbutton 3.
5739 00
5739 01
4
LG00043-b-UK
With this mode, the remote control, 882 31 is used as "scenario control" for the
activation of one or more advanced scenarios saved in the Programmer, 035 65. The IR
receiver must be also configured in positions A and PL with the numeric configurators
for the definition of the address in the system.
This mode enables you to associate a single control with any key of the remote
control. It is possible to associate up to 4 controls with a remote control using only
one receiver. Configure the receiver with address A=0 and PL=1 – 9 which cannot be
used by actuators.
Controls that the receiver can “learn”:
- ON/OFF actuator (cyclic ON/OFF functioning for short pressure and adjustment for
long pressure)
- Timed ON
- Flashing
- UP-DOWN rolling shutter (up-down until end of stroke)
- Lock/Unlock actuator
- ON/OFF, lights – auxiliary (cyclic ON/OFF functioning)
- UP-DOWN rolling shutter auxiliary (up-down until end of stroke)
- Video door entry system (door lock and staircase lights)
- Sound system (management of the amplifier to be controlled)
To associate a different control with each of the remote control channels, follow the
procedure below:
1) press the programming pushbutton on the control for 3 seconds: the LED will turn
on steadily;
2) within 20 seconds press the key of the channel you want to program on the remote
control: the LED will begin to flash, hence indicating the activation of the program-
ming mode;
2) Mode “B” (advanced scenarios) M= CEN
3) Mode “C” (self-learning - remote) M= 0
3) set up the control you want to associate with the remote control key using the
controls and/or corresponding actuator: the LED will turn on steadily
4) you can now repeat 2) and 3) for all keys, even for a key that has already been
associated, in case you want to change it;
5) press the pushbutton to exit programming: the LED will turn off.
To cancel the programming of one of the remote control channels, follow the proce-
dure below:
1) press the programming pushbutton for at least 8 seconds: the LED will turn on
steadily after 3 seconds; it will turn off after another 5 seconds; release the key
within 4 seconds: the LED will turn on steadily;
2) within 20 seconds press on the remote control the key of the channel you want to
cancel: the LED will start flashing quickly for about 4 seconds, thus confirming the
cancellation;
3) from now on, the cancelled key will no longer activate any control until it is
re-programmed. To cancel the programming of all remote control channels
simultaneously, press the programming pushbutton for about 12 seconds: the LED
will turn on steadily after 3 seconds; it will turn off after another 5 seconds; after
another 4 seconds, it will start flashing quickly for about 4 seconds, thus confirm-
ing the cancellation of all programming conditions.
NOTE: with the Two-way switch in the "closed padlock" position programming and delet-
ing of the IR receiver are disabled.
The association between one or more remote control pushbuttons with the scenarios
created and saved in the Programmer 035 65 is performed when creating the scenario
itself using the supplied software.
5739 00
5739 01
SCS BUS SyStem
5
teCHNICAL SHeet
This mode enables creating, deleting or changing the scenarios contained in the
scenario module, 035 51, and to recall them using the remote control. With this
procedure it is possible to save up to 4 scenarios using all 4 channels of the remote
control.
To program, change or delete a scenario, the programming of Module 031 51 must
be enabled, confirmed by the programming status LED turning green (press the lock/
unlock key for at least 0.5 seconds), and the two-way switch on the back of the IR
receiver must be in the "lock open" position.
The procedure is as follows:
1) press the programming pushbutton on the receiver for 3 seconds: the LED will turn
on steadily; release the pushbutton;
2) press the remote control pushbutton of the scenario to program within 20 seconds:
the LED will start flashing, confirming that the programming mode is active;
3) set the scenario using the corresponding controls and/or actuators;
4) press the pushbutton to exit programming: the LED switches off;
5) repeat the procedure from 1 to 4 for all scenarios to be programmed.
In the Sound system, the IR receiver can control an amplifier.
The control is always in “follow me (*)” mode, and the functions that can be
performed are:
- Key A: with a quick pressure, the "On" control is sent. An extended pressure will
increase the volume
- Key B: with a quick pressure, the "Off" control is sent. An extended pressure will
decrease the volume
- Key C: cycling of the radio stations saved, or CD track change
- Key D: cycling of the sources
Where:
- PF1 = 0 – 9 address of the amplifier to control
- PF2 = 0
- PF3 = 0
- PF4 = 0
- A = 1 – 9 room receiving the control
NOTE (*): the Follow Me mode allows to have the same music in another room after
switching off the amplifier of the room previously occupied, and switching on the one
in the current room.
4) Mode “D” (scenario module control) M= 6
5) Mode “E” (sound system) M= 9
To delete a scenario, proceed as follows:
1) press the programming pushbutton on the receiver for 8 seconds: after 3 seconds
the LED will turn on steadily; after 5 seconds it will turn off again; release the key
within 4 seconds: the LED will turn on steadily;
2) press the remote control pushbutton of the scenario to be deleted within 20 sec-
onds; when the scenario module sends the deleting confirmation, the LED flashes
quickly for about 2 seconds and turns off;
3) repeat the procedure from 1 to 2 for all scenarios to be deleted.
The entire memory can only be reset from the scenario module. To prevent the
possibility of programming or deleting the scenarios from the IR receiver, move the
two-way switch on the back to the "lock closed" position.
NOTE: configure the device with address A=0 and PL=1 – 9 which cannot be used by
actuators.
For example, if the scenario module is configured with A=0 and PL=3, the IR receiver
must be configured with A=0; PL=3 and M=6.
Key A Key B Key C Key D
PF1 Ch 1 Ch 2 Ch 3 Ch 4
The association of the A-B-C-D keys with those of the remote control is performed as
shown in the table:
5739 00
5739 01
LG00043-b-UK
This manual suits for next models

1

Other LEGRAND Receiver manuals

LEGRAND 0 942 19 Operating and installation instructions

LEGRAND

LEGRAND 0 942 19 Operating and installation instructions

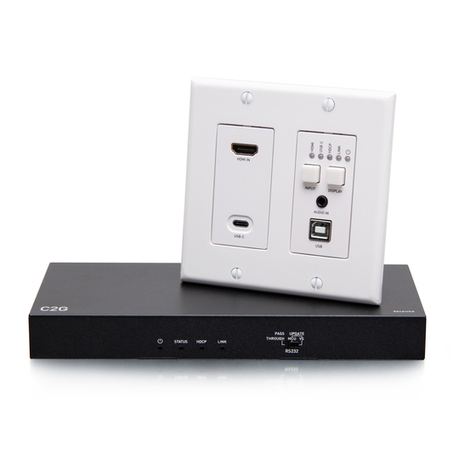
LEGRAND C2G30020 User manual

LEGRAND

LEGRAND C2G30020 User manual

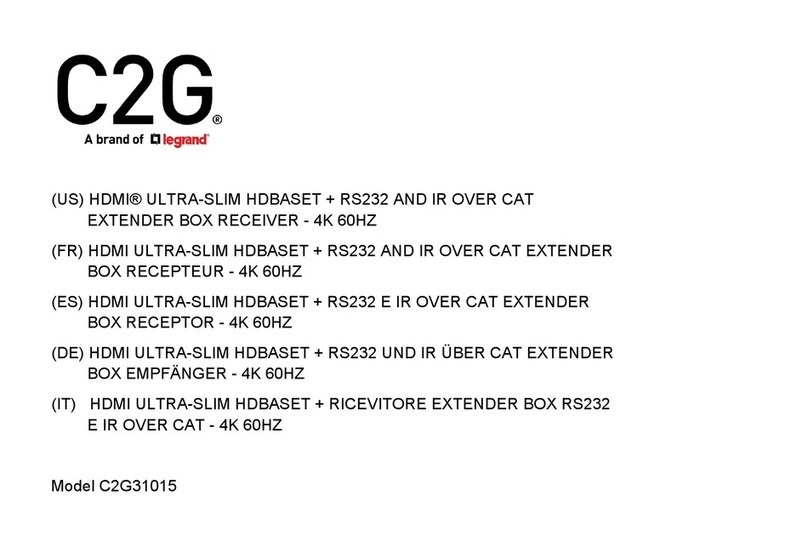
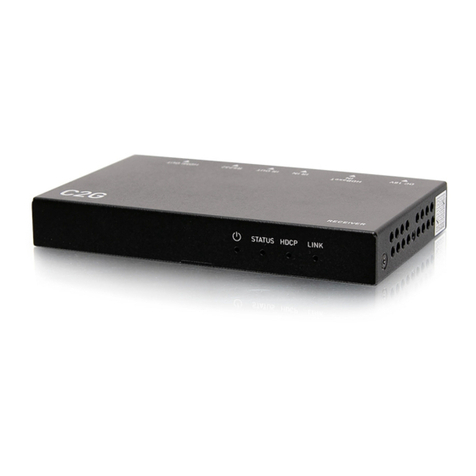
LEGRAND C2G31015 User manual

LEGRAND

LEGRAND C2G31015 User manual

LEGRAND Plexo 55 User manual

LEGRAND

LEGRAND Plexo 55 User manual

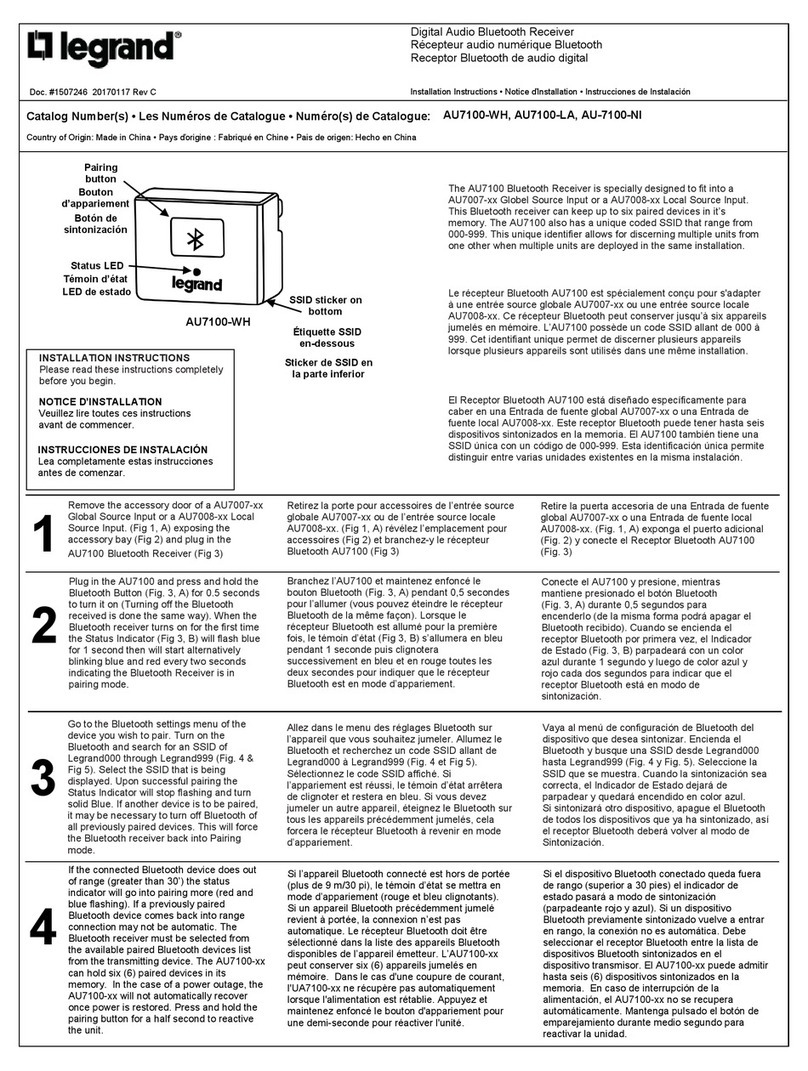
LEGRAND AU7100-WH User manual

LEGRAND

LEGRAND AU7100-WH User manual

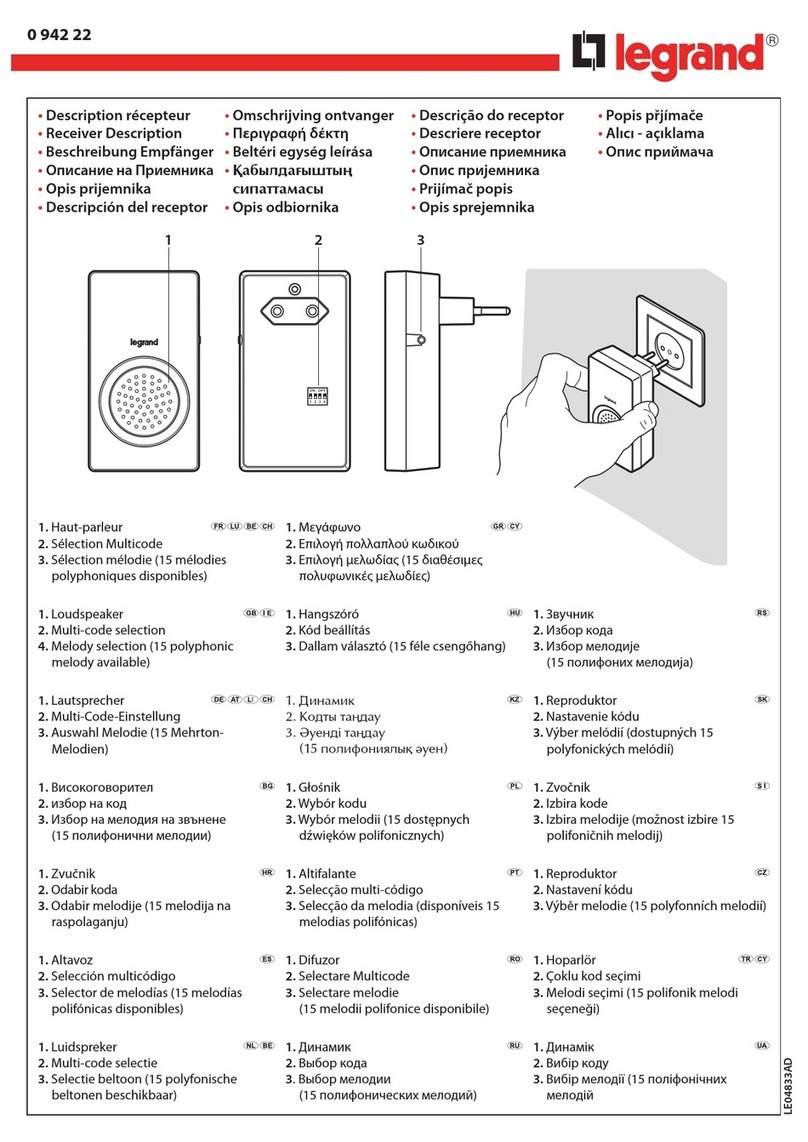
LEGRAND 0 942 22 User manual

LEGRAND

LEGRAND 0 942 22 User manual

LEGRAND C2G 30011 User manual

LEGRAND

LEGRAND C2G 30011 User manual

LEGRAND C2G31011 User manual

LEGRAND

LEGRAND C2G31011 User manual

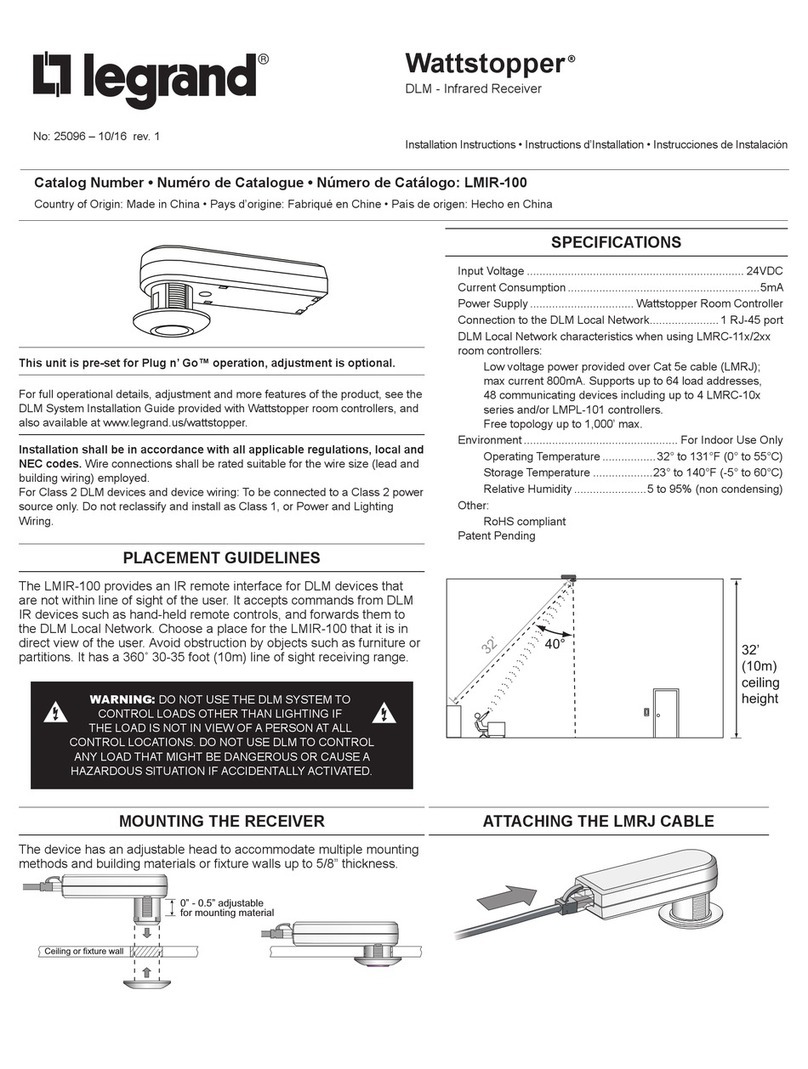
LEGRAND Wattstopper LMIR-100 Service manual

LEGRAND

LEGRAND Wattstopper LMIR-100 Service manual

LEGRAND C2G 30016 User manual

LEGRAND

LEGRAND C2G 30016 User manual

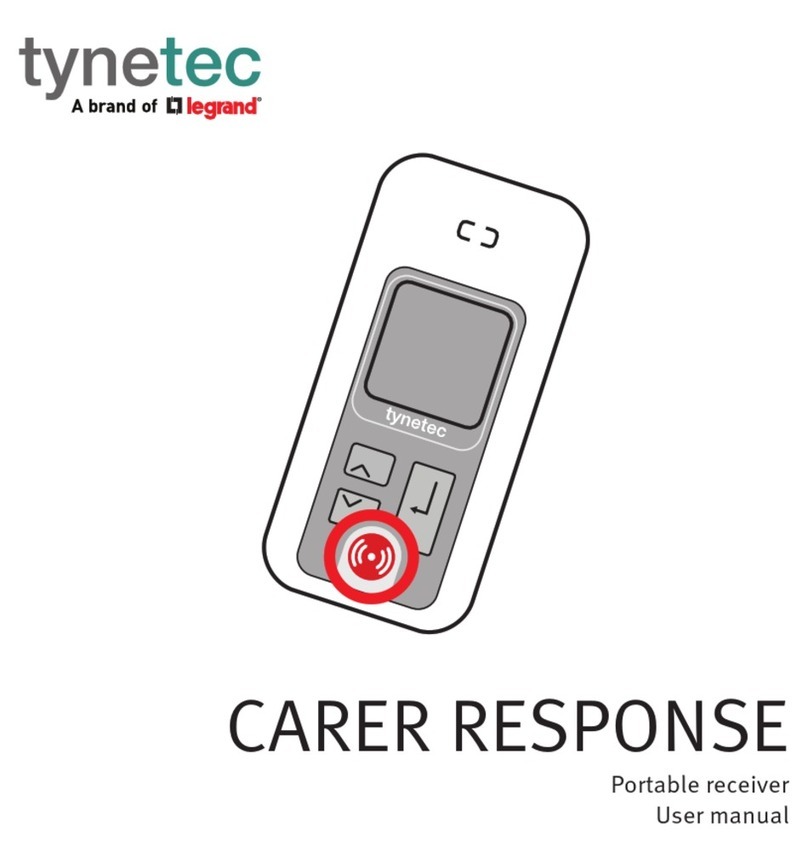
LEGRAND Tynetec CARER RESPONSE User manual

LEGRAND

LEGRAND Tynetec CARER RESPONSE User manual

LEGRAND Plexo 695 81 User manual

LEGRAND

LEGRAND Plexo 695 81 User manual

LEGRAND AU8001-V1 User manual

LEGRAND

LEGRAND AU8001-V1 User manual

LEGRAND C2G C2G30015 User manual

LEGRAND

LEGRAND C2G C2G30015 User manual

Popular Receiver manuals by other brands

Integra DTR-4.9 Service manual

Integra

Integra DTR-4.9 Service manual

Holatron RAPID-FIRE 6 RFLS-96HSRCBL Operation & maintenance guide

Holatron

Holatron RAPID-FIRE 6 RFLS-96HSRCBL Operation & maintenance guide

Marmitek iParty user manual

Marmitek

Marmitek iParty user manual

Javad ALPHA Operator's manual

Javad

Javad ALPHA Operator's manual

Parkside PWCA 20-Li A1 operating instructions

Parkside

Parkside PWCA 20-Li A1 operating instructions

SEPTENTRIO AsteRx SB ProDirect user manual

SEPTENTRIO

SEPTENTRIO AsteRx SB ProDirect user manual

Bosch BLE 130 Professional operating instructions

Bosch

Bosch BLE 130 Professional operating instructions

Kenwood KMM-BT358 instruction manual

Kenwood

Kenwood KMM-BT358 instruction manual

Onkyo TX-SR703 instruction manual

Onkyo

Onkyo TX-SR703 instruction manual

CYP CH-107RXN Operation manual

CYP

CYP CH-107RXN Operation manual

Bearcat BC-210 Service manual

Bearcat

Bearcat BC-210 Service manual

HAMTRONICS R301 Installation operation & maintenance

HAMTRONICS

HAMTRONICS R301 Installation operation & maintenance

Steren ELI-850 user manual

Steren

Steren ELI-850 user manual

Navilock NL-82022MU Operation manual

Navilock

Navilock NL-82022MU Operation manual

Niles ZR-8630AV Specification sheet

Niles

Niles ZR-8630AV Specification sheet

Onkyo TX-NR808 Quick setup

Onkyo

Onkyo TX-NR808 Quick setup

BWI Eagle AIR-EAGLE SR 38-20100-AC Product information bulletin

BWI Eagle

BWI Eagle AIR-EAGLE SR 38-20100-AC Product information bulletin

Pioneer DMH-ZS9350BT Operation manual

Pioneer

Pioneer DMH-ZS9350BT Operation manual

manuals.online logo
manuals.online logoBrands
  • About & Mission
  • Contact us
  • Privacy Policy
  • Terms and Conditions

Copyright 2025 Manuals.Online. All Rights Reserved.