3
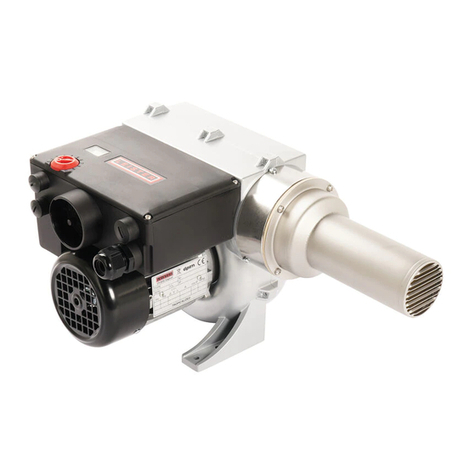
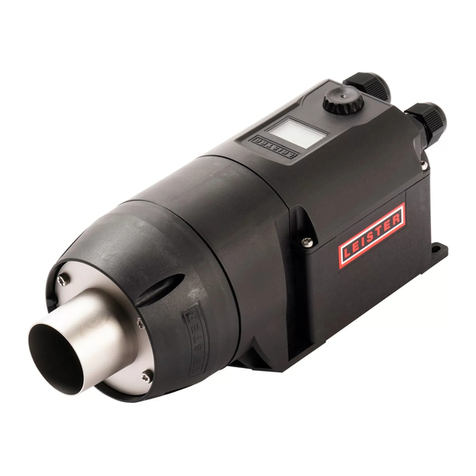
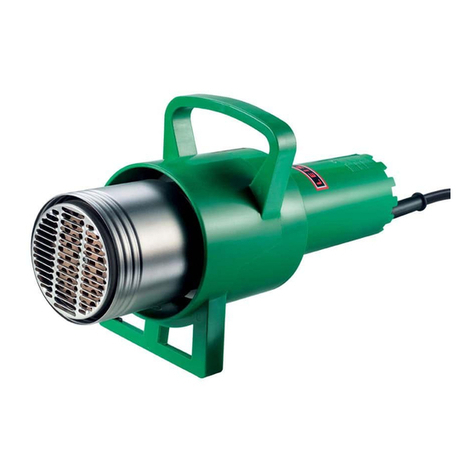
Description of the tool
Digital
display (9)
1. Power supply cord
2. Main switch
3. Potentiometer for
temperature adjustment
4. Handle
5. Air filter
6. Rubber stand
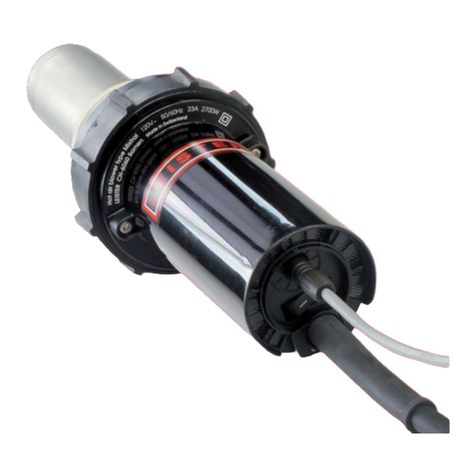
7. Heater tube
Readiness for working
• Fit appropriate nozzle as required.
• Connect tool to the line/mains.
• Switch on main switch (2).
• Adjust the hot air temperature by using the potentiometer (3) and heat up the
tool for approximately 5 minutes.
The themperature can be checked with a thermocouple about 5 mm inside the nozzle, when using round
nozzles in the centre of the nozzle, when using draw nozzles in the main nozzle opening. The diameter of
the thermocouple must not be more than 1 mm max. (in accordance with DVS 2208 part II).
Operation
• LEISTER Process Technologies as well as the Service Centres offer free training
courses for all applications (see page 1).
• Carry out a test weld with the material according to the manufacturer’s welding
instructions and national guidelines or regulations.
• Check the test weld.
• Set welding temperature (welding parameter) as required.
• Allow tool to cool down after use.
Measures to be taken during Error warning
•
Set potentiometer (3) to position 0 or unplug tool from the line/mains for 5 seconds
(automatic electronic circuit reset).
• Allow tool to cool down.
• Check air flow and line/mains supply.
• Set potentiometer (3) back to desired position and/or plug tool to the line/mains.
If the unit is still not functioning, contact a LEISTER service centre and provide details
of the fault.
Change of nozzles
•
Let tool cool down. Change nozzle using multi-purpose pliers/screwdriver/spanner.
• Do not touch hot nozzle (10) and make sure to place it on a heat resistant sur-
face, because of fire hazard.
• Slide the nozzle (10) on the heater tube (7) and fix the nozzle by the screw
on the clamp (11).
Screw on the nozzle (10) and secure using a spanner.
• Use only LEISTER nozzles.
46
23
8
7
1
USAGE LEISTER Triac PID
95
ACTUAL value
SET value
Resolution 5°C, 10°F
8. Coold protection tube
9. Digital display
10. Nozzle (not included)
11. Screw on the clamp
Error
L1... L99
10 11


