LEITZ 2415112UK User manual

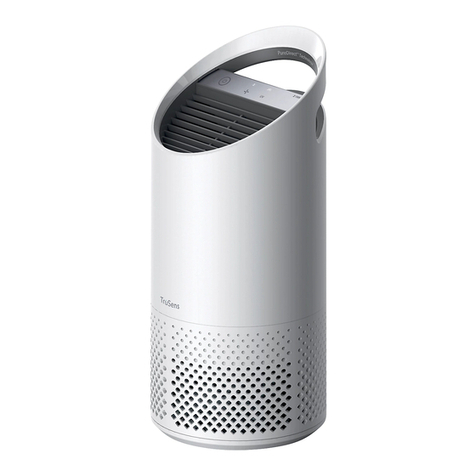
TruSens™Z-1000

Welcome to clean air with TruSens. Thank you for allowing
us to join you on your journey towards wellness.
Enjoy cleaner air in your home with PureDirect™
Technology & 360 degree filtration that ensure the whole
room benefits from cleaner air.

4
SAFETY INFORMATION
• Remove all packaging, including the filter bag,
before use.
•Appliances that are obviously damaged must not be
operated.
•This appliance must only be connected to a wall
socket outlet matching the supply plug type and
rating stated on the rating plate.
•Locate air purifier near the outlet wall socket and do
not use extension cords.
•This appliance can be used by children aged from 8
years and above and persons with reduced physical,
sensory or mental capabilities or lack of experience
and knowledge if they have been given supervision
or instruction concerning use of the appliance in a
safe way and understand the hazards involved.
•Children shall not play with, clean, or try to maintain
the appliance.
•Replace the UV-C emitter with the model specified
within this manual.
•Do not attempt to service or repair this product
yourself.
•Only use the purifier with the power cable provided.
•Only clean this machine with a damp cloth, do not
use solvents or bleach.
•Ensure appliance is always placed on firm level
surface before operation.
•Do not block or obstruct the air intake or outlet vents.
•Do not insert fingers or other items into the air intake
or outlet vents.
SAFETY INFORMATION
PLEASE READ AND SAVE THESE INSTRUCTIONS
Unplug or disconnect the appliance from the power
supply before replacing filters or UV-C emitter, or when
appliance is not in use.
WARNING:
To reduce the risk of fire or electric shock, do not use
this fan with any solid-state speed control device.
Do not operate any purifier with a damaged cord or
plug, or if the wall socket is loose. If the supply cord is
damaged, it must be replaced by the manufacturer, its
service agent or similarly qualified persons in order to
avoid a hazard.
Do not run cord under carpeting, throw rugs, runners,
or similar coverings. Do not run cord under furniture
or appliances. Arrange cord away from traffic area and
where it will not be tripped over.
WARNING: Skin or eye damage may result from
directly viewing the light produced by the UV-C
emitter in this apparatus. Unintended use of the
appliance or damage to the housing may result in the
escape of dangerous UV-C radiation. UV-C radiation
may, even in little doses, cause harm to the eyes and
skin. Always disconnect power before relamping or
servicing. Replace UV-C emitter with item 2415105,
Manufactured by ACCO Brands.
5
FEATURE HIGHLIGHTS
PureDirect™ Technology
Independent lab testing confirms that two airflow streams are
better than one, moving air effectively and more comfortably
throughout the room.
360° Purification
A Particulate Air filter captures pollutants and VOC
gases/odours from all directions. UV-C light kills germs
and bacteria that can get trapped in the filter.
Thoughtful Execution
Exceptional functionality wrapped in a contemporary
design that fits any environment.

6
CONTROL PANEL
Fan Speed Settings
Select fan speed: 1, 2, or Turbo.
UV Mode
UV-C lamp within the purifier’s filter chamber is on when
the symbol is white. The symbol will glow red
when it is time to replace the UV-C lamp.
Filter and UV Indicator Reset
HEPA, Carbon and UV indicators glow red when it is
time for each to be replaced.
When 1 indicator is on, simply hold Reset button for 3
seconds to reset that indicator.
When 2+ indicators are on, tap the Reset button to
select the correct indicator (selected indicator will blink)
before holding 3 seconds to reset that indicator.
Power Button
(See page 13 for replacement instructions)
(See pages 11-13 for replacement instructions. Follow above Reset
button instructions aer replacing filter.)

7
PRODUCT OVERVIEW
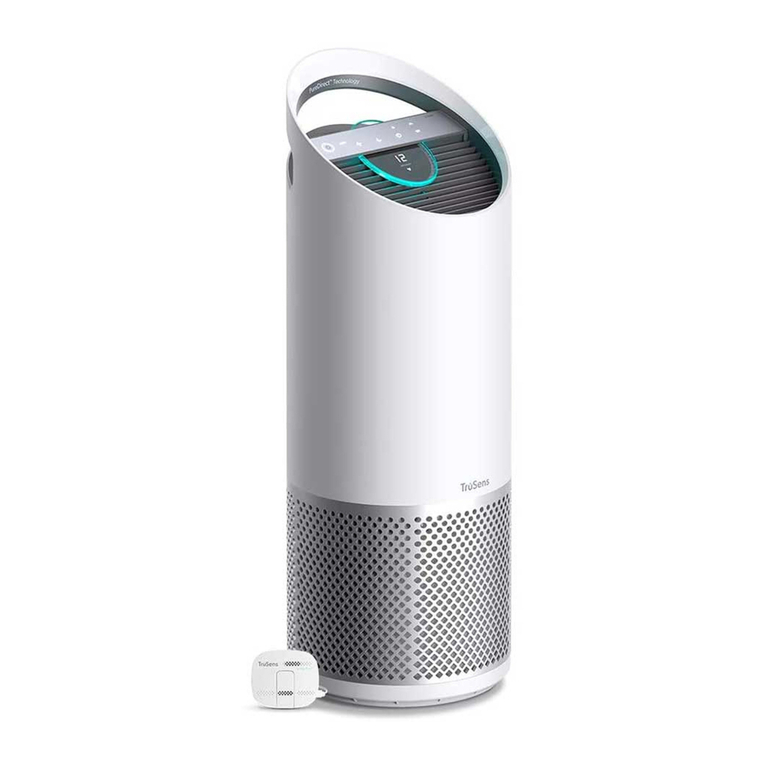
Air Purifier Easy-carry handle
Simple touch control panel
360° air intake
Filter cover & knob (underneath)
Carbon PreFilter
Particulate Air Filter
UV-C Lamp
Filter & UV-C Lamp

8
GETTING STARTED
1. Remove plastic bag from filter
Unscrew the bottom cover and remove the plastic bag from the filter.
2. Re-attach filter
Secure filter on the bottom cover and replace inside the purifier.

9
3. Set up
Plug-in your air purifier unit and power on.
Place the purifier on a flat surface, free from obstructions:
- where air can flow freely into the purifier from all sides
- avoiding furnishings like bedding and curtains, as well as sources of
heat or moisture
4. Start living with cleaner air!
Select your preferred fan speed and proprietary PureDirect™ technology will
deliver purified air throughout the room!

10
Air Inlet 360°
Air changed 2 times per hr 23 m²
Air Delivery Type PureDirect™
Fan Speed Settings 1, 2, Turbo
Purification Levels Carbon Prefilter, Particulate Air Filter, UV-C Lamp
Filter Change Indicators Carbon, HEPA, UV
Noise 39 - 65 dB
Dimensions 195 x 195 x 451 mm
Weight 3.5 kg
Motor Type AC motor
Power Requirements 220-240v 50/60Hz 0.3A
Power Consumption 40 W
Warranty 2 years
Replacement Filters & UV-C Lamp
2-in-1 Particulate Air drum filter 2415104
Carbon Prefilter (3-pack) 2415103
UV-C Lamp 2415105
SPECIFICATIONS

11
CARE & MAINTENANCE
REPLACING PARTICULATE AIR FILTER
Accessing the filter chamber
1. Always power off the purifier by pressing the Power
Button and unplugging the power cord.
2. Gently place the unit on its side on the floor so that
the filter chamber cover and knob are exposed.
3. Turn the knob counter-clockwise and remove the
filter cover and 360° filter drum (Fig. A).
1. The HEPA indicator will glow red when it is time to
change the entire drum filter.
2. Gently pull the drum filter away from its place
secured to the filter cover (Fig. B).
3. Secure the replacement filter onto the filter cover
(Fig. C).
4. Gently replace the filter cover with filter drum into
the filter chamber and onto the threading, and turn
the knob clockwise until the knob and filter chamber
cover are securely tightened (Fig. D).
5. Plug-in and power on your purifier, and hold the
Reset button until the red HEPA indicator turns off.
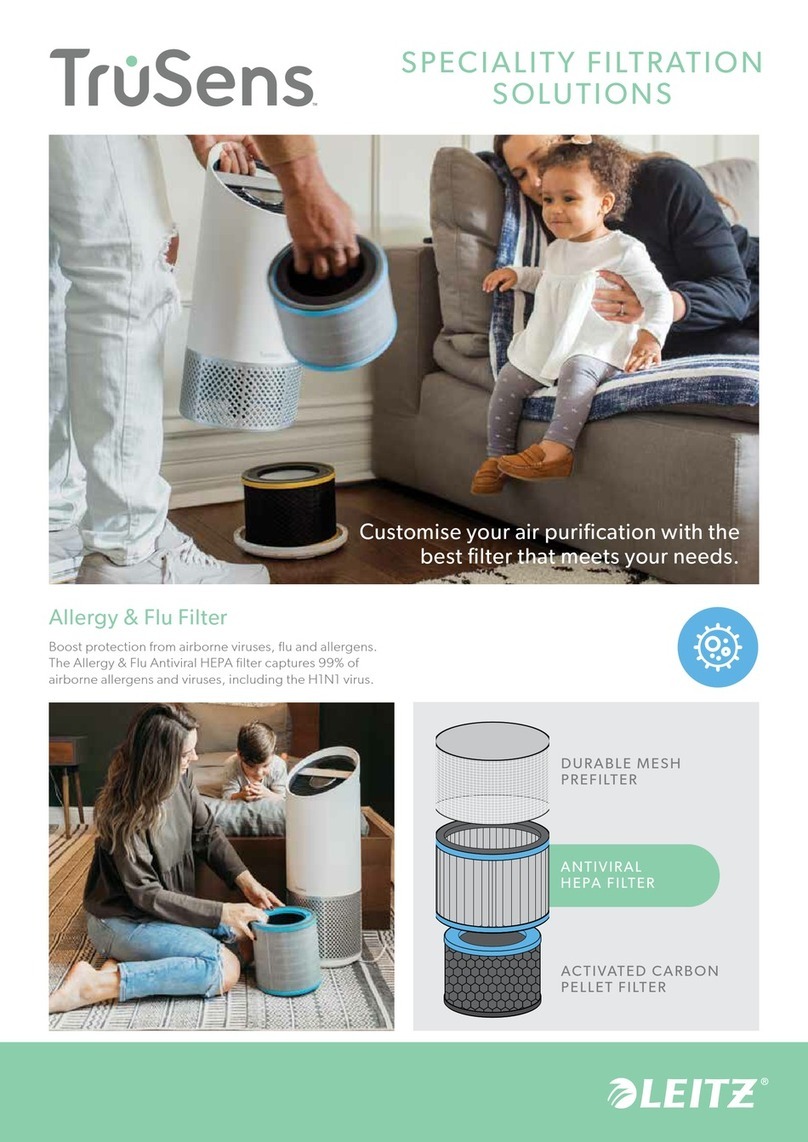
Note: Particulate air drum filter (on page 10) will include 2 layers:
Carbon Prefilter and particulate layer
Fig. A
Fig. B
Fig. C
Fig. D

12
1. The Carbon indicator will glow red when it is time to replace
the Carbon layer.
2. Gently peel away the used Carbon layer from the fastener
strips (Fig. E).
3. Wrap a new Carbon layer around the filter drum and attach
to the same fastener strips (Fig. F).
4. Once the purifier is powered-on, hold the Reset button until
the red Carbon indicator turns off.
Note: Carbon Prefilter 3-pack (on page 10) will cover 3 Carbon
changes between replacing the entire drum filter assembly
(on page 11).
Fig. E
Fig. F
REPLACING CARBON PREFILTER

13
REPLACING UV-C LAMP
1. The indicator will glow red when it is time to
replace the UV-C lamp.
2. Remove filter drum (Fig. A), and use a screwdriver
to remove the screw securing the UV housing
(Fig. G).
3. Gently remove the UV housing (Fig. H) and
disconnect the UV-C lamp from the socket (Fig. I).
4. Release carriage from the UV-C lamp (Fig. J).
5. Secure carriage to new UV-C lamp (on page 10)
(Fig. K) and connect UV-C lamp into purifier (Fig L).
6. Replace the UV housing and use a screwdriver to
tighten the fastening screw.
7. Once the purifier is powered-on, hold the Reset
button until the indicator turns white.
Note: Upon replacement of the UV-C emitter please dispose of at your local WEEE collection facility.
Fig. G
Fig. J
Fig. H Fig. I
Fig. K Fig. L

14
How oen do I need to change the
filters? That’s easy! The purifier’s replacement indicators will notify you when it is
time to replace the filters, or the UV-C lamp.
Plan on replacing the Carbon every 3-4 months, Particulate Air Filter every
12-15 months, and UV-C lamp every 1-3 years.
Purifier won’t turn on. Check that the power cord is connected securely to both the wall outlet and
the purifier. Check if there is a power outage in the outlet by trying a nearby
light or device, or by trying a working device in the same outlet.
Check that the filter is fitted properly into filter chamber.
Please contact us if you’re still having a problem! (page 15)
FAQ & TROUBLESHOOTING

15
GUARANTEE
Operation of this machine is guaranteed for two years from date of purchase, subject to normal use.
Within the guarantee period, ACCO will at its own discretion either repair or replace the defective
machine free of charge. Defects due to misuse or use for inappropriate purposes are not covered
under the guarantee. Proof of date of purchase will be required. Repairs or alterations made by
persons not authorized by ACCO will invalidate the guarantee. It is our aim to ensure that our products
perform to the specifications stated. This guarantee does not affect the legal rights which consumers
have under applicable national legislation governing the sale of goods.
SUPPORT
Thank you for welcoming TruSens™ into your home. Our customers
are at the heart of what we do, and we strive to design products that fit
your lifestyle. If you have any questions or feedback, please reach out!
To register and activate your warranty go to www.leitz.com/register
Visit our website at www.leitz.com/trusens
Email us at service.uk@acco.com
Call us at 0800 279 5102
Ireland: (01) 6038010
M-Th 09:00 - 16:30
F 09:00-16:00

Willkommen in sauberer Lu mit TruSens. Vielen
Dank, dass wir Sie auf Ihrem Weg zum Wohlbefinden
begleiten dürfen.
Saubere Lu für zu Hause: PureDirect™-Technik und
360°-Filter sorgen für saubere Lu im gesamten Raum.

17
SICHERHEITSINFORMATION
DIESE ANWEISUNGEN BITTE DURCHLESEN UND
AUFBEWAHREN
Vor dem Auswechseln der UV-Lampe sowie bei
Nichtverwendung des Lureinigers, ist das Gerät vom
Stromnetz zu trennen.
WARNUNG:
Zur Verringerung der Brand- und Stromschlaggefahr das
Gerät nicht mit einem variablen Drehzahlregler verwenden.
Das Gerät nicht mit einem beschädigten Netzkabel/-
stecker oder einer losen Wandsteckdose verwenden.
Ein beschädigtes Netzkabel darf aus Sicherheitsgründen
nur vom Hersteller, dessen Servicebeauragten oder
entsprechend qualifizierten Personen ersetzt werden. Das
Netzkabel nicht unter Teppichen, Läufern oder ähnlichen
Belägen verlegen. Das Netzkabel nicht unter Möbeln
oder Geräten verlegen. Das Kabel zur Vermeidung von
Stolpergefahr außerhalb regelmäßig frequentierter
Bereiche verlegen.
WARNUNG:
Eine direkte Einwirkung der von der UV-Lampe erzeugten
UV-Strahlung auf Haut und Augen kann zu Verletzungen
führen. Schäden am Gehäuse und ein unzweckmäßiger
Einsatz des Geräts können zum Austreten gefährlicher UV-
C-Strahlung führen. UV-C-Strahlung kann schon in geringen
Mengen zu Schäden an Augen und Haut führen. Vor dem
Austausch der Lampe und jeglichen Wartungsarbeiten das
Gerät vom Stromnetz trennen. Die UV-Lampe durch eine
Ersatzlampe mit Artikelnummer 2415105 von ACCO
Brands ersetzen.
•Vor Gebrauch sämtliche Verpackungen einschließlich
Filterbeutel entfernen.
•Weist das Gerät sichtbare Schäden auf, darf es nicht
betrieben werden.
•Das Gerät darf nur an eine für den Netzstecker
geeignete Steckdose angeschlossen werden, die
den Angaben auf dem Typenschild des Geräts
entspricht.
•Das Gerät in Steckdosennähe aufstellen. Keine
Verlängerungskabel verwenden.
•Das Gerät darf von Kindern ab 8 Jahren und Personen
mit eingeschränkten physischen, sensorischen oder
geistigen Fähigkeiten oder ohne ausreichende
Erfahrung und ausreichendes Wissen verwendet
werden, sofern sie beaufsichtigt werden oder über
die sichere Verwendung des Geräts und alle Risiken
und Gefahren aufgeklärt wurden.
•Kinder dürfen nicht mit dem Gerät spielen, es
reinigen oder warten.
•Bei Austausch der UV-Lampe die in der vorliegenden
Anleitung genannte Ersatzlampe verwenden.
•Das Gerät nicht selbst warten oder instandsetzen.
•Das Gerät nur mit dem mitgelieferten Netzkabel
verwenden.
•Das Gerät nur mit einem feuchten Tuch abwischen.
Keine Lösungsmittel oder Bleiche verwenden.
•Vor Einschalten des Geräts immer sicherstellen, dass
dieses auf einer stabilen, ebenen Fläche steht.
•Die Lueinlass- und Luauslassschlitze nicht
blockieren.
•Nicht in die Lueinlass- und Luauslassschlitze fassen
und keine Gegenstände hineinstecken.

18
TECHNIK
PureDirect™-Technologie
Unabhängige Labortests bestätigen: Zwei Luströme
sind besser als einer und gewährleisten eine effektive und
komfortablere Luverteilung im Raum.
360 Grad Filtersystem
Ein Partikelfilter saugt Lu aus allen Richtungen an
und filtert Schadstoffe und VOC-Gase. Keime und
Bakterien, die sich im Filter absetzen können, werden
durch UV-C-Licht vernichtet.
Durchdachte Ausführung
Erstklassige Funktionen, verpackt in einem
zeitgemäßen Design, das in jede Umgebung passt.

19
BEDIENFELD
Einstellung der Gebläsegeschwindigkeit
Die Gebläsegeschwindigkeit wählen: 1, 2 oder Turbo.
UV-Modus
Die UV-C-Lampe in der Filterkammer ist eingeschaltet,
wenn die Anzeige weiß leuchtet.
Die Anzeige leuchtet rot, wenn die UV-C-Lampe
ausgetauscht werden muss.
Zurücksetzen der Wechselanzeige
Die Anzeigen „HEPA“ (Partikelfilter), „Carbon“
(Aktivkohlefilter) und „UV“ leuchten rot, wenn ein
Austausch der jeweiligen Komponente erforderlich ist.
Leuchtet eine Anzeige, die Reset-Taste drei Sekunden
lang gedrückt halten, um die Anzeige zurückzusetzen.
Leuchten zwei oder alle drei Anzeigen, durch Antippen
der Reset-Taste die gewünschte Anzeige auswählen
(die ausgewählte Anzeige blinkt) und die Reset-Taste
dann drei 3 Sekunden gedrückt halten, um die Anzeige
zurückzusetzen.
Betriebsschalter
(Anweisungen siehe Seite 26)
(Anweisungen zum Austausch sind Seite 24-26 zu entnehmen. Nach
Austausch eines Filters die Anzeige gemäß den Anweisungen oben
zurücksetzen.)

20
PRODUKT
Lureiniger Bequemer Tragegriff
Einfaches Touch-Bedienfeld
360 Grad Lueinlass
Filterabdeckung & Knopf (Unterseite)
Aktivkohle-Vorfilter
Partikelfilter
UV-C-Lampe
Filter & UV-C-Lampe
This manual suits for next models
2
Table of contents
Languages:
Other LEITZ Air Cleaner manuals

LEITZ
LEITZ TruSens Z-1000 User manual

LEITZ
LEITZ TruSens Z-3000 User manual

LEITZ
LEITZ TruSens User manual

LEITZ
LEITZ TruSens Z-1000 User manual

LEITZ
LEITZ 2415102EU User manual

LEITZ
LEITZ TruSens Z-3000 User manual

LEITZ
LEITZ TruSens Z-6000 User manual

LEITZ
LEITZ TruSens Z-1000 User manual

LEITZ
LEITZ TruSens Z-3000 User manual