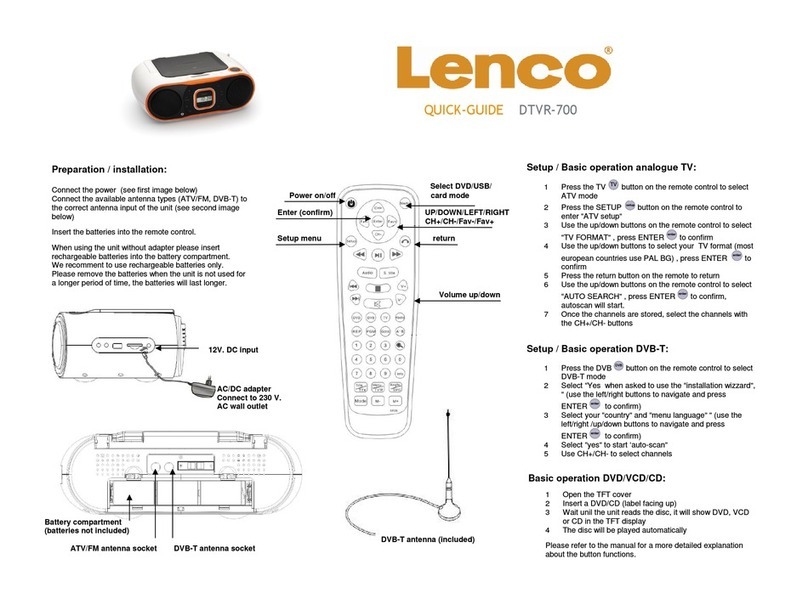
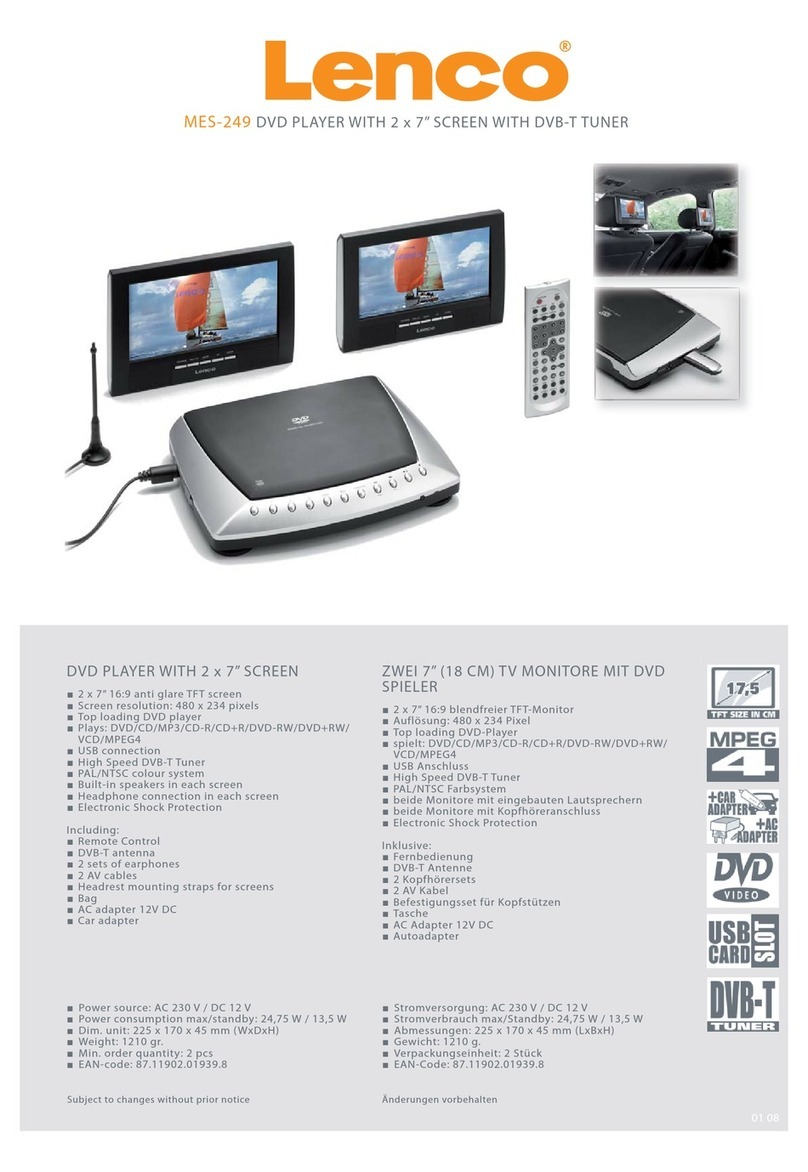
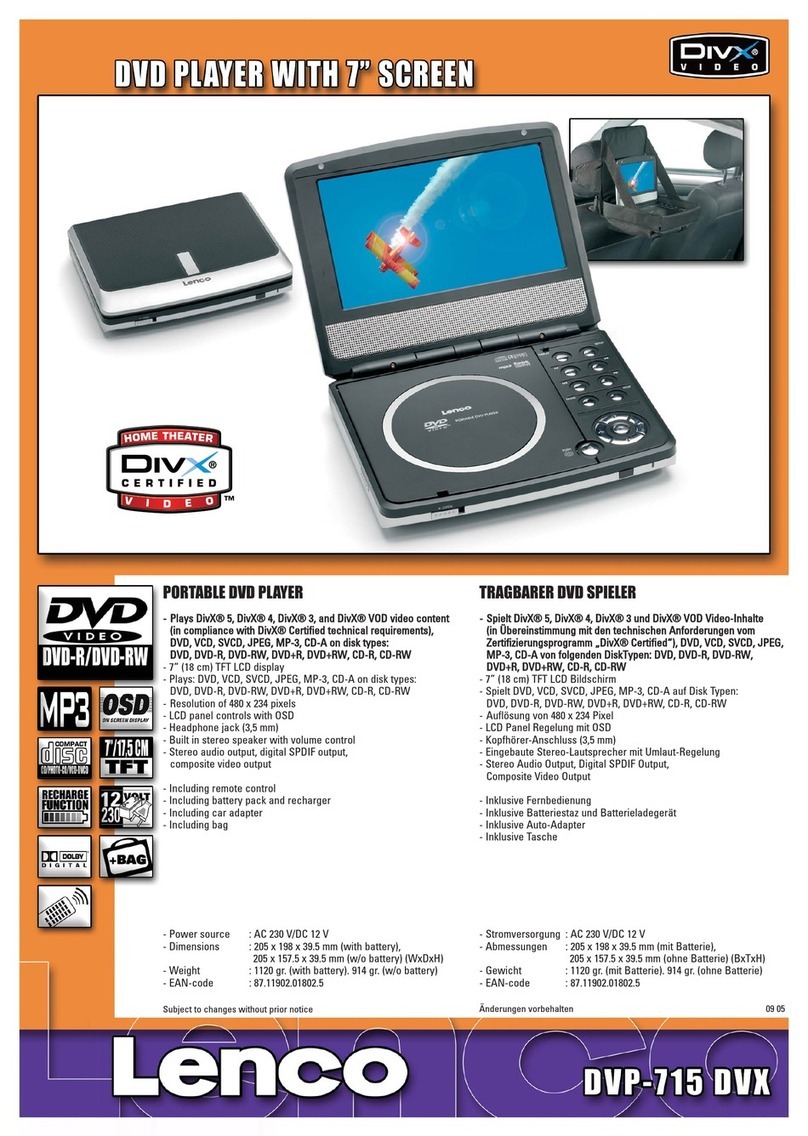
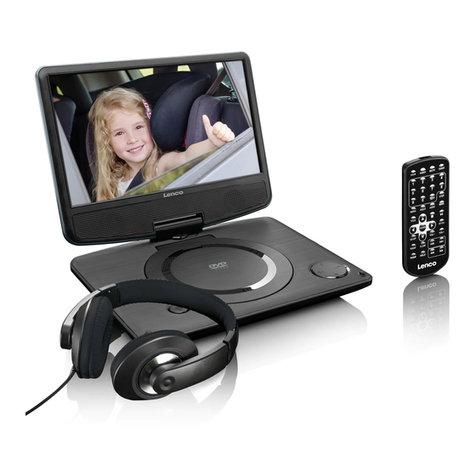
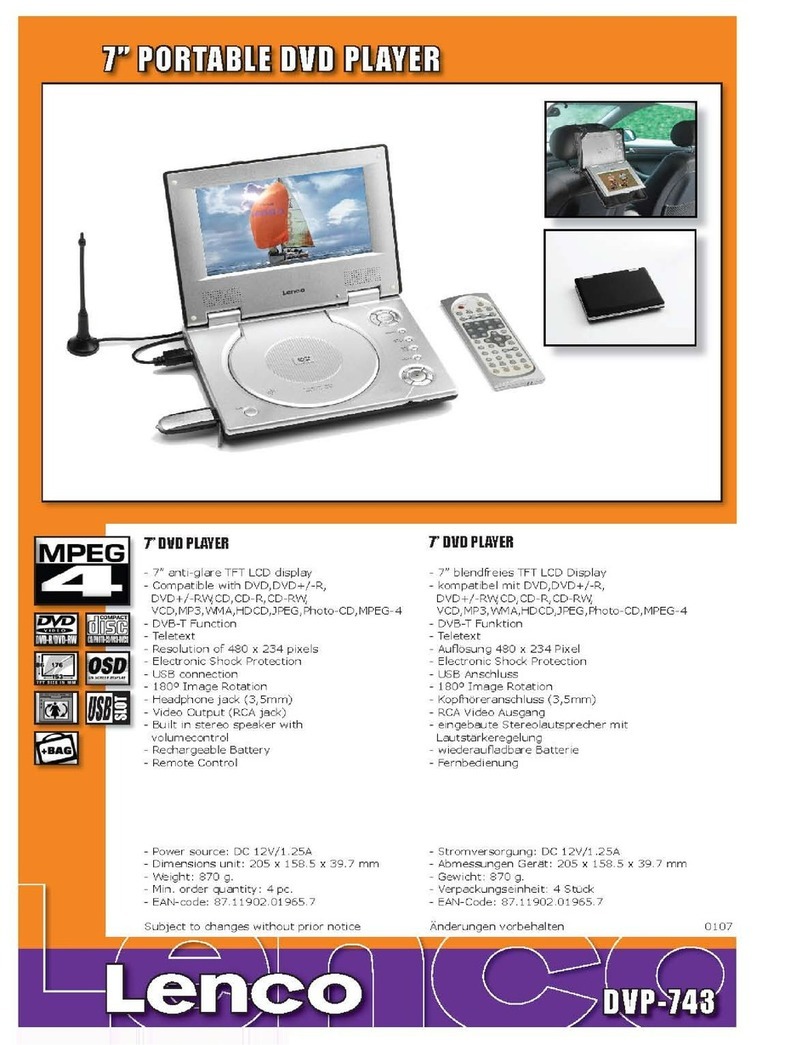
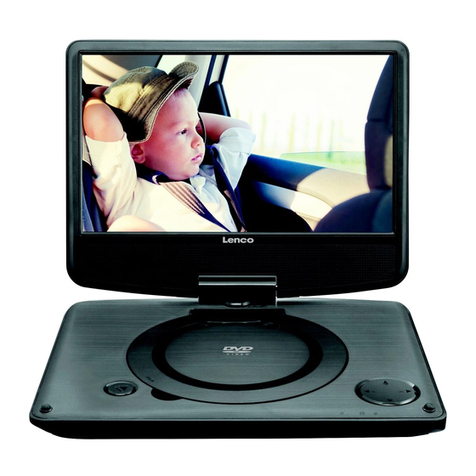
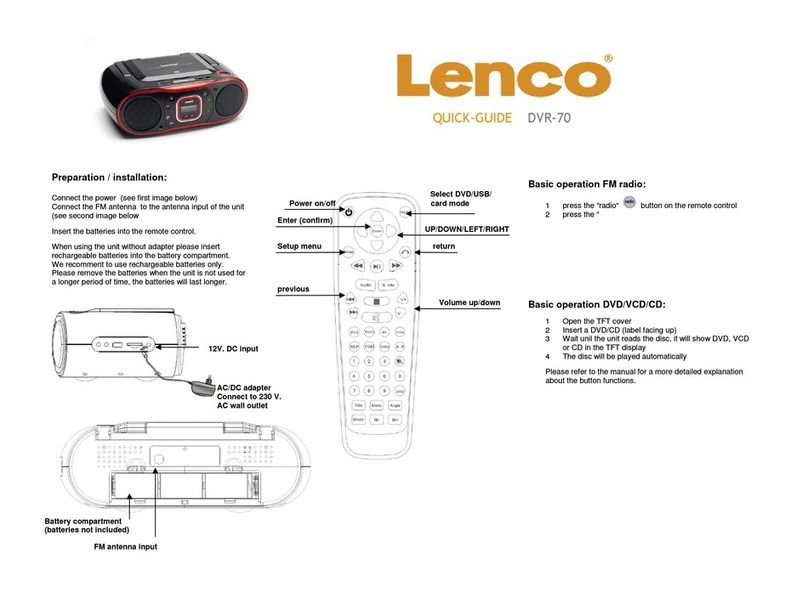
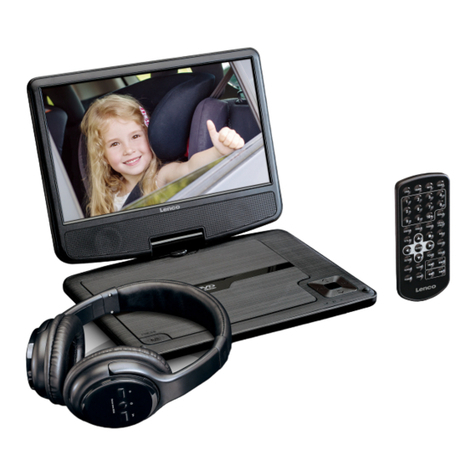
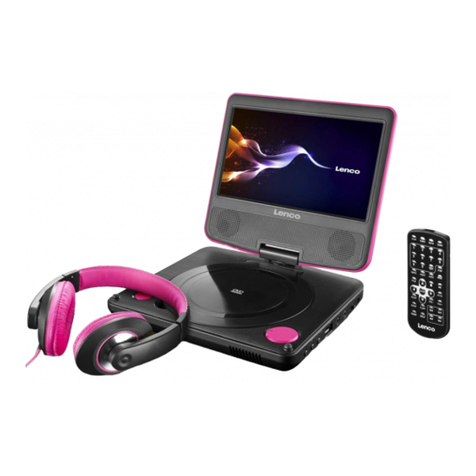
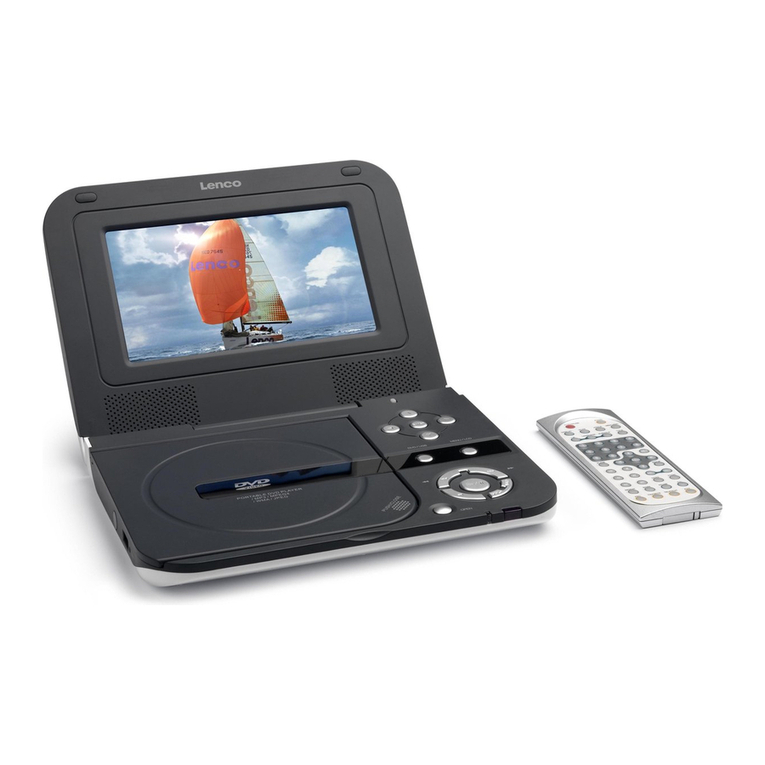
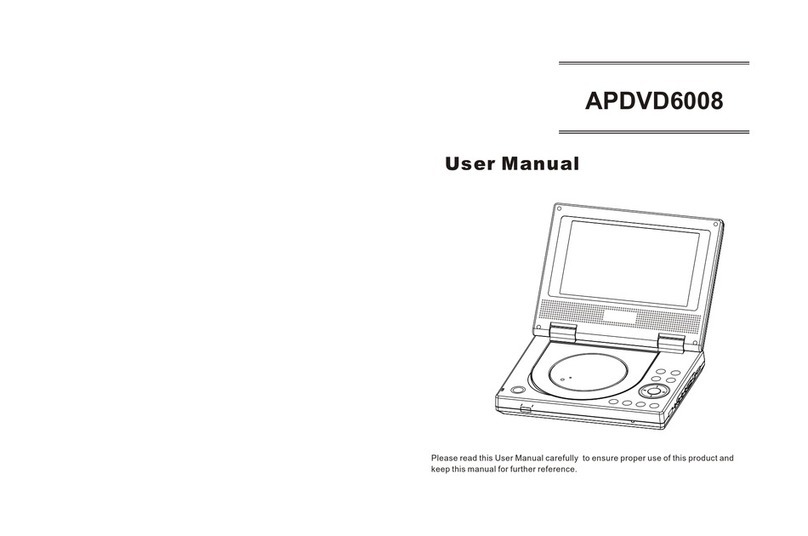
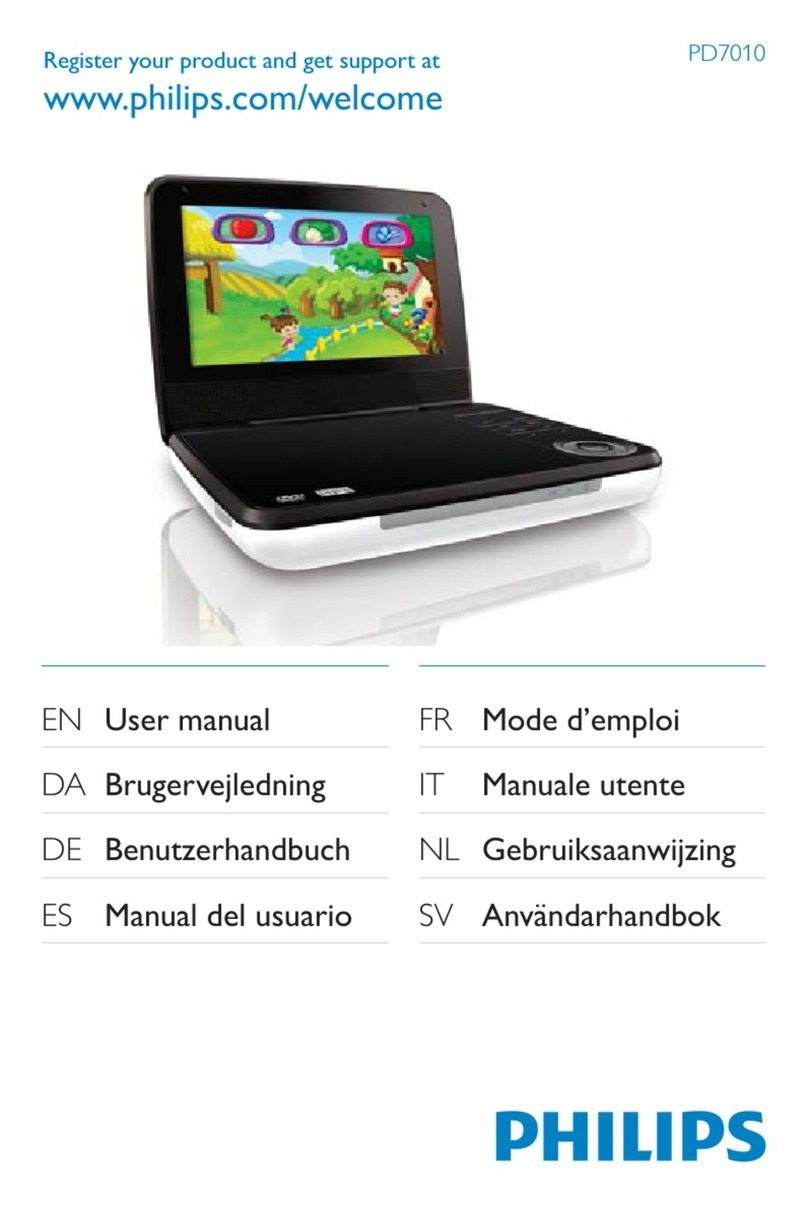
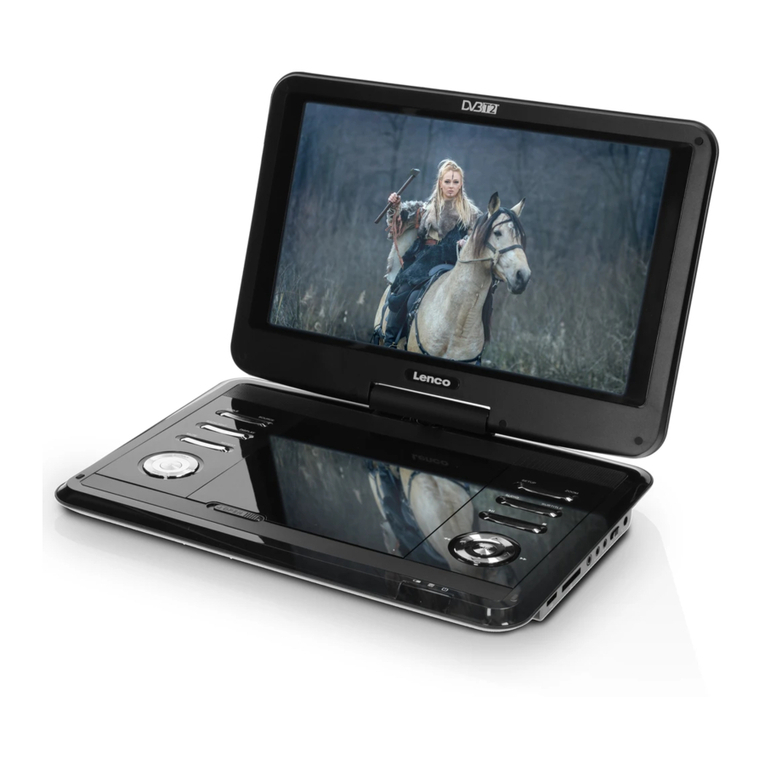
LENCO DVP-705 User manual

DVP705
PORTABLE DVD PLAYER

2
INSTRUCTION MANUAL

3
Safety Precautions
WARNING
: TO REDUCE THE RISK OF FIRE OR ELECTRIC SHOCK, DO NOT EXPOSE THIS
PRODUCT TO RAIN OR MOISTURE.
CAUTION
: THIS DVD RECEIVED EMPLOYSA LASER SYSTEM.
TO ENSURE PROPER USE OF THIS PRODUCT, PLEASE REAR THIS OWNER S
MANUAL CAREFULLY AND RETAIN FOR FUTURE REFERENCE, SHOULD THE UNIT
REQUIRE MAINTENANCE, CONTACT AUTHORIZED SERVICE LOCATION
-
SEE SERVICE
PROCEDURE.
USE OF CONTROLS, ADJUSTMENTS OR THE PERFORMANCE OF PROCE
DURES
OTHER THAN THOSE SPECIFIED MAY RESULT IN HAZARDOUS RADIATION
EXPOSURE.
TO PREVENT DIRECT EXPOSURE TO LASER BEAM, DO NOT TRY TO OPEN THE
ENCLOSURE.
VISIBLE LASER RADIATION WHEN OPEN THE ENCLOSURE.
DO NOT STARE INTO BEAM.
THE APPARATUS SHALL NOT BE EXPOSED TO DRIPPING OR SPLASHING AND THAT
NO OBJECTS FILLED WITH LIQUIDS, SUCH AS VASES, SHALL BE PLACED ON THE
APPARATUS.
WARNING
: CHANGES OR MODIFICATIONS NOT EXPRESSLY APPROVED BY THE PARTY
RESPONSIBLE FOR COMPLIANCE COULD VOID THE USERS AUTHORITY TO
OP
ERATE THE EQUIPMENT.

4
Precautions
Note
on
handling
When shipping the DVD player, always use the original
shipping carton and packing materials.
For maximum protection, repack the unit as it was originally
packed at the factory.
Do not use volatile liquids, such as insect spray, near the
DVD player. Do not leaver rubber or plastic products in
contact with the DVD player for a long time. They will leaver
marks on the finish.
The top and rear panels of the DVD player may become
warm after a long period of use. This is normal and not a
malfunction.
When the DVD player is not in use, be sure to remove the
disc and turn off the power.
If you do not use the DVD player for a long period, the unit
may not function properly in the future. Turn on and use the
DVD player occasionally.
Note
on
Locating
When you place near a TV, Radio, or VCR, the playback
picture may become poor and the sound may be distorted.
In this case, move the DVD player away form the TV, Radio,
or VCR.
Note
on
Cleaning
Use a soft, dry
cloth for cleaning.
For stubborn dirt, soak the cloth in a weak detergent
solution, wring well and wipe. Use a dry cloth to wipe it dry.
Do not use any type of solvent, such as thinner and
benzene, as they may damage the surface of DVD player.
If you use a chemical saturated cloth to clean the unit,
follow that product s instructions.
Warning: Cleaning and adjustment of lenses and /or other
components of playback mechanism should be
performed by a qualified service technician.
To
Obtain
a
Clear
Picture
Th
e DVD player is a high technology, precision device. If
the optical pick up lens and disc drive parts are dirty or
worn down, the picture quality becomes poor. To obtain a
clear picture, we recommend regular inspection and
maintenance (cleaning or parts replacement) every 1,000
hours of use depending on the operating environment. For
details, contact your nearest dealer.
Note
on
Moisture
Condensation
Moisture condensation damages the DVD player. Please
read the following carefully.
Moisture condensation occurs, for example, when you pour a
cold drink into a glass on a warm day. Drops of water form on the
outsider of the glass, in the same way, moisture may condense
on the optical pick
-
up lens inside this unit, one of the most crucial
internal parts of the
DVD player.
Moisture condensation occurs during the following cases.
When you bring the DVD player directly from a cold place
to a warm place.
When you use the DVD player in a room where you just
turned in the heater, or a place where the cold wind from
th
e air conditioner directly hits the unit.
In summer, when you use the DVD player in a hot and
humid place just after you move the unit from an air
conditioned room.
When you use the DVD player in a humid place.
Do not use the DVD player when moisture conde
nsation may
occur.
If you use the DVD player in such a situation, it may damage
discs and internal parts. Remove the disc, connect the power
cord of the DVD player to the wall outlet, turn on the DVD player
and leaver it ON for two or three hours. After
two or three hours,
the DVD player will have warmed up and evaporated any
moisture. Keep the DVD player connected to the wall outlet and
moisture condensation will seldom occur.
5
Table of contents
Introductions
Safety Precautions ..
.2
Precau
tions . ..3
Table of Contents .....4
Note on Discs . 5
Identification of Controls ....................
.6
-9
Main Unit . .. ..6-7
Remote Control ..................
.8
-9
Power C
onnections ... .10-12
AC Adapter . . 10
Battery Pack .. . 11-12
Basic Operations
Playing a Disc .13-15
Basic Playback .. . ....
.....13
Stopping Play .. ..14
Resume Play .. . ..14
Screen Saver .. . ..14
Still Picture .. . ..14
Frame Advance .. . ..14
Skipping Chapters and Tracks Forward or Back .........14
To Scan at Fast Forward or Fast Reverse Playback . ..15
Pl
aying in Slow
-Motion .. . ..15
Advanced Operations
Using a Display . .. ..
16
Using a Title Menu . ...
17
Using a DVD Menu .. .. . ..
17
Changing Subtitle .. ...
18
Changing Audio Soundtrack Langu
age
19
Viewing from another Angle . ..
20
Repeat Play .. .21
Search a Specific Title, Chapter. ..22
Zoom Feature .. .22
Program Play .. ..23
Playback with MP3 ..
.24
Initial Settings
Selection of Initial settings .. ...25-
26
General Setup Page .. ..25
Audio Setup Page .. .. 25
Video Quality Page .. .. ..
25
Preference Page .. . .. .25
Password Setup Page .. 26
Connections
Connecting to a TV .. ....27
Connecting to an amplifier equipped with a Dolby Pro Logic
Surround .. ..28
Reference
Copyright Information .. . ...29
Before Calling Service Personnel .. ...30-31
Specifications .. .. . ...32

6
Note on Disc
This section shows you how to handle, clear, and store discs.
On Handling Discs
Do not touch the playback side of the disc.
Do not attach paper or tape to discs.
On Clearing Discs
Fi
ngerprints and dust on the disc cause picture
and sound deterioration. Wipe the disc from the
center outward with a soft cloth. Always keep the
disc clear.
If you cannot wipe off the dust with a soft cloth,
wipe the disc lightly with a slightly moistened s
oft
cloth and finish with a dry cloth.
Do not use any type of solvents such as thinner,
benzene, commercially available cleaners or
anti
-
static spray for vinyl LPs. They may damage
the disc.
On Storing Discs
Do not store discs in a place subject to d
irect
sunlight or near heat sources.
Do not store discs in places subject to moisture
and dust such as a bathroom or near a humidifier.
Store discs vertically in a case. Stacking or placing
objects on discs outside of their case may cause
warping.
About This Owner s Manual
This owner s manual explains the basic
instructions of this DVD player.
Some DVD video discs have functions that may
not be explained in this owner s manual.
Therefore, some instructions may differ from this
owner s manual and th
ere may be extra
instructions. In this case, follow the instructions
displayed on the TV screen or package.
may appear on the TV screen during
operation. This icon means the function
explained in this owner s manual is not available
on that specific
DVD video disc.

7
Identification of Controls
Main Unit

8
Identification of Controls
Place a disc with the playback side down on the spindle, and push gently on the center of the disc so it goes into position.
You can press ENTER bu
tton on the main unit to achieve the PLAY effect.
Main Unit

9
Identification of Controls
* TITLE button
Use the TITLE button to display the title screen included on DVD
video discs. To operate a menu screen, follow the instructions in
Using a Title Menu
** MENU button
Use the MENU button to display the menu screen included on a
DVD disc. To operate a menu screen, follow the instructions in
Using a DVD Menu .
*** CURSOR button
(up, down, left, right) for use i
n highlighting a selection on a menu
screen, TITLE and MENU screen.
Remote Control

10
Identification of Controls
Insert the battery (Lithium battery)
Do not expose the remote control sensor to bright light.
Do not place obstacles between the remote control sensor
and the remote control.
Replacing the button
-
type battery
The battery normally lasts for about a year. Replace the battery if
the remote control fails to operate the unit when used within the
operation range.
Button
-
type battery (Lithiu
m battery)
1.
Pinch the battery holder clip together then pull the tab to
remote the battery holder.
2.
Insert the battery with the + facing in the same direction as
the + on the battery holder.
3.
Replace the battery holder with battery into the remote
control uni
t making sure that it is fully inserted.
Replace remote control unit battery with 3V micro lithium
cells.
Dispose of battery safety in accordance with local laws. Do
not dispose of in fire.
Warning : The battery used in this device may present a fire or
chemical burn hazard if mistreated. Do not recharge,
disassemble, incinerate, or heat about 100
C (212 F)
Use of another battery may present a risk of fire or explosion.
Dispose of used batteries. Keep batteries away from children. Do
not disassemble o
r dispose of fire

11
Power Connections
Caution
Do not connect the power plug to a power outlet other than
that indicated on the label, as this can result in a risk of fire
or electric shock.
Do not connect or disconnect the power plug with wet
hands. Doing so may cause electric shock.
Do not use an AC adapter other than one specified, as it
can cause a fire or damage to the player.
AC
adapter
This AC adapter operates on 100
-
240V~~1.5A~~50/60Hz
DC OUT :
8.8
V~~9.8V
DC c
urrent : 2.5A Min
Contact an electrical parts distributor for assistance in
selecting a suitable AC plug adapter or AC cord set.
AC Adapter

12
Power Connections
Charge the battery pack before using it for the first time.
Attaching the batte
ry pack
1.
Make sure the unit is powered off and unplugged.
2.
Please align this portable DVD player s battery connectors
with the battery packs battery connectors. Slide the
UNLOCK/LOCK button to UNLOCK. Then attach the battery
pack to this portable DVD player
.
Detaching the battery pack
1.
Make sure the unit is powered off and unplugged.
2.
Slide the UNLOCK/LOCK button to UNLOCK. Then slowly
remove it from the portable DVD player in reverse direction.
Battery Pack
ATTENTION
The product that you have purchased contains a
rechargeable. At the end of it s useful life
, under various
state and local laws, it may be illegal to dispose of this
battery into the municipal waste stream. Check with your
local solid waste/ officials for details in your area for
recycling options or proper disposal.

13
Power Conn
ections
Charging the battery pack
1.
Connect the supplied AC adapter to the DC IN jack on the
right side of the battery pack and a household power outlet.
(As shown in figure)
2.
The battery charge indicator will turn red and start charging.
3.
When the battery pack is fully charged, the batery charge
indicator will turn green and flash
NOTE:
We recommend you to charge the batery pack without the
portable DVD player.
CAUTION:
Take the following precautions to avoid liquid leakage,
overheating, etc.
Do
not use any unauthorized parts.
Use the authorized AC adapter when recharging battery.
Do not expose to high temperature above 60
C (140 F).
Do not attempt to dismantle or modify the unit.
Excessive impact may cause the unit to malfunction.
Do not incinerate.
Do not disassemble; dispose of properly.
Recharging times
Recharging
times
with
out player
with player
Approx.
2.0
hour
Approx.
4.0
-
5.0
hour
Times shown above depend on operating conditions.
Confirm the battery change on the unit s screen.
The screen will appear BATTERY LOW when the battery is low.
If play time dramatical
ly reduces after recharging
The battery pack has reached the end of its service life (it can be
recharged about 300 times.)
If the unit is not to be used for a long time
Detach the battery pack. (Even if the unit is off, it still uses some
power. This can lead to over discharging of battery and
malfunction.)
Recharge the battery pack when you are ready to use it again.

14
Playing a Disc
Prepare the power supply.
1.
Open the outer cover and slide the
POWER ON/OFF
switch to
ON.
2.
Press OPEN
/PUSH
to open the disc lid and insert a
disc with the side you want to play label up. Close the
disc lid by hand.
If the disc is placed in upside down (and it is a
single
-sided disc), NO Disc or Bad DISC appear
on the TV screen.
After playing back all of the chapters in the title, the
DVD player automatically stops and to the menu
screen.
3.
Press PLAY to start Play.(Some disc may play
automatically.)
4.
Adjust the volume.
Place a disc with the playback side down on the spindle,
and push gently on the center of the disc so it goes into
position.
When a menu screen appears on the TV screen.
In case of interactive DVDs with control, a menu screen appears
on the TV screen.
Example of interactive
DVD
On
-
screen Menu
Press / / / and press ENTER, or press the numeric
button(s), to select the desired item.
Play of the selected item now begins.
For further information, also refer to the jacket or case of the disc
you are playing.
After operation
When the unit is not in use, remove the disc and slide POWER
ON/OFF to OFF to turn off the DVD player.
When appear on the TV screen while a button is
pressed, it means that this function is not available on the
disc you are playing.
Depen
ding on the DVD disc, some operations may be
different or restricted. Refer to the jacket or case of the disc
you are playing.
Basic Playback

15
Playing a Disc
Stopping Play
Press STOP during playback.
Resume Play
When play is stopped, the unit records the point where
STOP
was pressed (RESUME function).
Press PLAY and play will resume from this point.
Resume function will be cleared when the STOP is pressed
in the STOP mode.
The resume function may not be available on some DVD
disc
Screen Saver
The screen saver
is useful to prevent your display from becoming
damaged.
The screen saver picture appears when you leave the DVD
player in stop mode for about a few minutes.
Automatic power off function
After the Screen Saver has been engaged for about a few
minutes
, the DVD player will automatically turn itself off, except
playback CD.
NOTE:
When you playback CD and if you want to select song in the
screen saver mode, you can push the screen saver switch to
return to normal playback mode.
Still picture
Press PAUSE du
ring playback.
DVD
The player will be placed in the still picture mode
CD
The player will be placed in the pause mode.
Frame Advance (DVD only)
Press PAUSE during still playback.
(Each time you press PAUSE, the picture advances one frame)
To resume normal
playback, press PLAY.
Skipping Chapters and Tracks Forward or Back
Skipping forward
Press NEXT on the remote control during playback.
A chapter (DVD) or a track (CD) is skipped each time the
button is pressed.
Skipping back
Press PREV on the re
mote control during playback.
A chapter (DVD) or a track (CD) is skipped each time the
button is pressed.

16
Playing a Disc
To Scan at Fast Forward or Fast Reverse playback
You can press or button on the remote control
during playback.
[TV scre
en ]
The speed of advance (reverse) is relatively slow at first. When
the button is pressed again, the speed becomes faster. (Each
time the button is pressed, the disc will be played forward or
backward at double (×2) speed. With each subsequent press,
the disc will be played back at ×2, ×4, ×8, ×
16
or ×32 speed
and PLAY. Press PLAY button to return to normal play
).
The speed will be retained even after the button is released.
To return to normal playback, press PLAY, or ENTER on the
main unit.
The DVD player does not play back sound during fast forward or
fast reverse playback.
Playing in Slow
-
Motion (DVD only)
Press SLOW during playback.
The playback speed becomes 1/2 of the normal speed.
[TV screen]
1/2
1/4
1/8 1/
16
1/16
1/
8 1/4 1/2
To return to normal playback, press PLAY, or ENTER button
on the main unit.
The sound is muted during slow
-
motion playback.
Subtitles do not appear on the screen during slow motion
playback.
The S
LOW button does not work with Audio CDs.
X2
X2

17
Use a Display button
DVD
With this function you can view on your TV the following:
-
Current title
-
Track number
-
Total playing time
Current Title
Current Chapt
er
Title Elapsed
TT 01/12
CH 006/039 0:02:20 P
laying time
Total Chapter
Total Title
Title Remain
TT 01/12
CH 006/039 0:18:50
Chapter Elapsed
TT 01/12
CH 006/039 0:03:50
Chapter Remain
TT 01/12
CH 006/039 0:10:40
Display Off
Note :
The different disc has different display.
CD
With this function you can view on your TV the following:
-
Current title
-
Track number
-
Total playing time
Current Title
Total Elapsed
Track 0
3/18
0:09:20 P
laying time
Total Title
Total Remain
Track 03/18
0:50:36
Single Elapsed
Track 03/18
0:01:54
Single Remain
Track 03/18
0:01:14
Note :
Th
e different disc has different display.

18
Using a Title / DVD Menu
Using a Title Menu
Some movie discs may contain two or more titles. If the disc has
a title menu recorded on it, the TITLE button can be used to
select the movie title. (The details of operation differ depending
on the disc used.)
Select a title may not be possible on certain DVD disc.
1.
Press TITLE
A list of the title on the disc is displayed.
2.
Press / / / and press ENTER or PLAY, or
press the numeric button(s), to select
desired title.
The selected title now starts playing.
Using a DVD Menu
Some DVD have unique menu structures called DVD menus. For
example, DVD programmed with complex contents provide guide
menus, and those recorded with various languages pro
vide
menus for audio and subtitle language. Although the DVD menu s
contents and operation differ from disc to disc, the following
explains the basic operation when feature is used.
1. Press MENU during play.
The DVD menu available on the disc is now d
isplayed.
2. Press / / / and press ENTER, or press the
numeric button(s), to select desired item.
The selected item is now executed.
1
2
3
4

19
Changing Subtitle Language
It is possible to change the subtitle language to a different
language
from the one selected at the initial settings.
This operation works only with discs on which multiple subtitle
languages are recorded.
In some cases, the subtitle language is not changed to the
selected one immediately.
When a disc supporting the closed caption is played, the
subtitle and the closed caption may overlap each other on
the TV screen. In this case, turn the subtitle off.
When the desired language is not selected even after
pressing the button several times, it means that the
language is
not available on the disc.
When the power is turned on or the disc is removed,
subtitles appear in the language selected at the initial
settings. If this language is not recorded on the disc, the
disc s priority language appears.
1.
Press SUBTI
TLE during playback.
When no subtitles are recorded, will be displayed on
the TV screen.
2.
Press SUBTITLE repeatedly until the desired language
is selected.
The alternative language subtitle will appear with each
press, <SUBTILE 1>, <SUBTILE 2>, <SUBTILE 3>
<SUBTILE OFF> (The different disc has different display.)
SUBTITLE 1
1/03
SUBTITLE
2 2/03
SUBTITLE
3 3/03
SUBTITLE OFF
For your reference:
If the power is reset or the disc is removed, subtitles will appear
in the default language set by the DVD player. If this language
is not recorded on the disc, they will appear in the disc s default
language.

20
Changing Audio Soundtrack Language
It is possible to change the audio soundtrack language to a
different language from the one selected at the initial setting in
case of DVD disc. This operation works only with disc on which
multiple audio soundtrack languages are recorded.
And it is possible to change the audio channel in case of audio
CD.
When the desired language is not selected even after
pressing the button several times, it means that the
language is not available on the disc.
When the power is turned on or the disc is removed, the
language heard is the one selected at the initial settings.
If this language is not recorded on the disc, only the
available language on the disc will be heard.
Some discs may not respond to Audio feature.
DVD
1.
Press AUDIO during play.
Audio 1/
2
: AC 3
2CH
Audio 2/
2
: AC 3
5.1CH
2.
Press AUDIO repeatedly until the desired language is
selected.
CD
1.
Press AUDIO during play.
MONO
LEFT
MONO
RIGHT
MONO
-
MIX
STEREO
2.
Press AUDIO repeatedly until the desired sound is
selected.
Note :
The different disc may has different display.
Other manuals for DVP-705
1
Table of contents
Other LENCO Portable DVD Player manuals

LENCO
LENCO DVP-1027 User manual

LENCO
LENCO DVP-938 User manual

LENCO
LENCO MES-230 - MANUEL 2 User manual

LENCO
LENCO DVP-747 User manual

LENCO
LENCO DVP-715 User manual

LENCO
LENCO DVP-840 User manual

LENCO
LENCO DVP-846 User manual

LENCO
LENCO DVP-743 User manual

LENCO
LENCO BRP-1150 User manual

LENCO
LENCO DVP-744 User manual

LENCO
LENCO DVP-1047 User manual

LENCO
LENCO DVP-911 User manual

LENCO
LENCO DVP-722 - User manual

LENCO
LENCO MES-219 MPEG4 - User manual

LENCO
LENCO TDV-900 User manual

LENCO
LENCO DVP-1022 User manual

LENCO
LENCO DVP-735 User manual

LENCO
LENCO MES-212 User manual

LENCO
LENCO DVP-733 User manual

LENCO
LENCO TFT-726 User manual