1
0 DB (A) SELF NOISE
SHHH ...
THE WORLD‘S QUIETEST STUDIO CONDENSER MICROPHONE
// LCT 550
QUICKSTART GUIDE
// User Interface
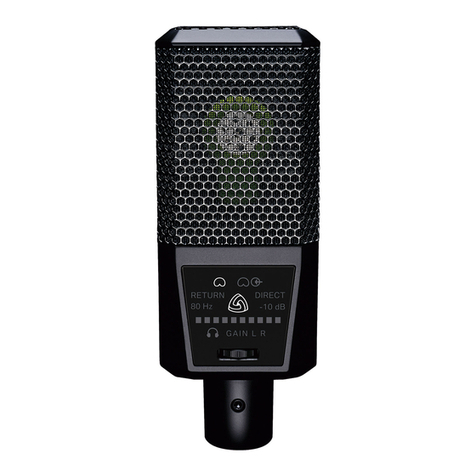
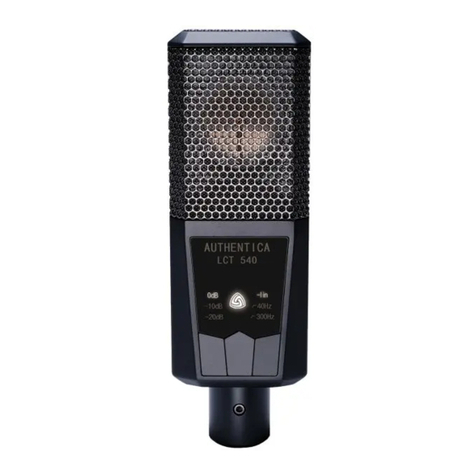
1Status Indicator // Indicates different active settings such as key
lock, automatic attenuation, clipping history ... see below for details
2Pre-Attenuation // Use to prevent clipping when recording very
loud sources. Change settings with the right pushbutton (6)
3 Low-cut fi lter // Use to reduce unwanted low frequency noise
caused by wind, footsteps, structure-borne noise or likewise. Change
settings with the left pushbutton (4)
4 Left push button // Push to change low-cut settings. Also activates
Clipping History.
Clipping History // Pressing the left pushbutton for more than
two seconds activates and deactivates the Clipping History. If
clipping occurred since last time you have entered the Clipping
History, the Status Indicator (1) blinks red, the manually set
level of pre-attenuation blinks and the suggested attenuation
setting is illuminated. The history will be cleared after leaving the
Clipping History mode
5Center pushbutton // Pressing the center pushbutton for more
than two seconds activates (Status Indicator (1) not illuminated) and
deactivates (Status Indicator (1) turns white) the key lock.
6 Right pushbutton // Push to change attenuation settings. Also
activates Automatic Attenuation.
Automatic Attenuation // Pressing the right push button for
more than two seconds activates (Status Indicator (1) turns red)
and deactivates (Status Indicator (1) turns white) Automatic
Attenutation. In this mode the microphone adjusts the
attenuation setting automatically when clipping has occurred.
VISIT OUR
WEBSITE!
READ THE
FULL MANUAL!
WATCH VIDEOS, READ REVIEWS AND LEARN
HOW TO GETTHE MOST OUT OF YOUR LCT 550
www.lewitt-audio.com/LCT-Series/LCT-550
LEARN EVERYTHING ABOUTYOUR LCT 550
www.lewitt-audio.com/resources/manuals/LCT-550.pdf
