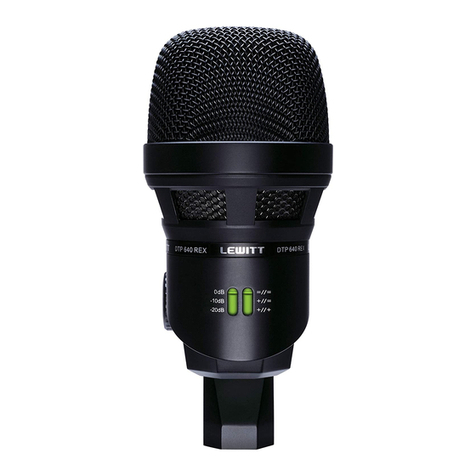
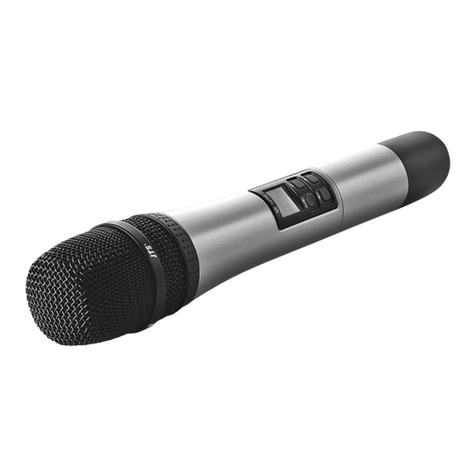
// Operating the microphone
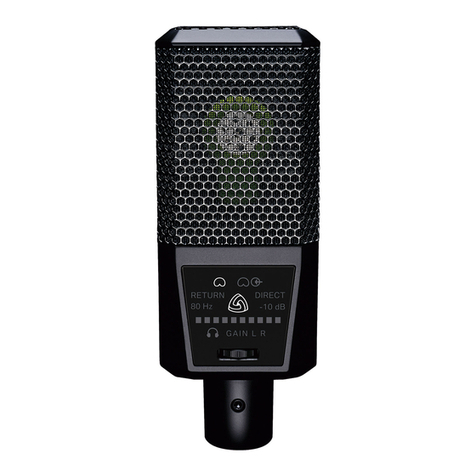
Status indicator ring 10
Illuminated in white: The microphone is in normal working mode.
Illumination is off: Key-lock active.
Illumination ashes in red: The microphone is experiencing clipping due to high SPL.
Illumination in red: The microphone is in automatic attenuation mode.
Illumination ashes in white and red: The microphone indicates the clipping history.
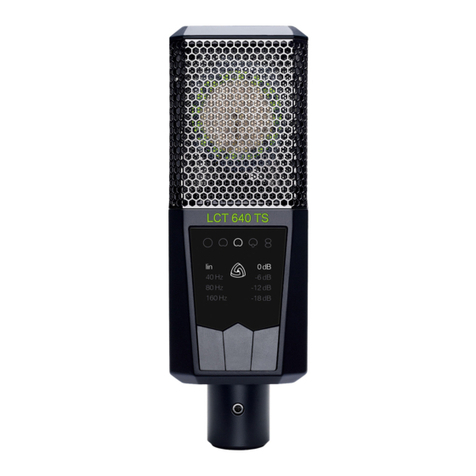
Polar pattern indicator // 5 different directivity characteristics omnidirectional, wide cardioid, cardioid, supercardioid, gure-8
can be set by briey turning the jog-dial to the right or left 9.
Setting an attenuation level // Attenuation levels can be set by briey pressing the left push button 8.
Settings are: 0 dB, -10 dB and -20 dB. Attenuation is used in high SPL environments in order to prevent clipping of the
microphone, mixer and other audio equipment.
Setting a low-cut lter // Low-cut lters can be set by pressing the right push button 12 .
Settings are: linear, 40 Hz (12 dB/oct), 150 Hz (6 dB/oct) and 300 Hz (6 dB/oct). Low-cut lters eliminate unwanted low-frequency
sounds, compensate the proximity effect and reduce structure-borne noise. Do not forget to use the supplied windshield if
necessary.
To learn about the key-lock function, automatic attenuation and clipping history please read the full manual following the
link at the bottom.
// Please Note
// The capsule is a sensitive, high precision component. Make sure you do not drop it from high heights and avoid strong mechanical
stress and force.
// To ensure high sensitivity and best sound reproduction of the microphone, avoid exposing it to moisture, dust or extreme
temperatures. Use supplied windshield if suitable.
// Do not apply excessive force on the buttons or the connected cable.
// When disconnecting the microphone cable, grasp the connector and do not pull the cable.
// Do not attempt to modify or x the microphone, as it would void your product warranty.
// The casing of the microphone can be cleaned easily using a wet cloth, never use alcohol or another solvent for cleaning.
// The windshield can be washed with soap water, if necessary.
// IMPORTANT NOTICE!
// Never remove the mains earth, doing so can have lethal consequences.
// Replace fuse only with the same type.
// Only use indoors, in safe and dry environments.
// There are no user-serviceable parts inside the power supply unit, but there
are potentially lethal voltages. If it does not work correctly, you should consult your dealer. Do not open the unit yourself.
// Do not disconnect the microphone cable while the system is powered as this may result in damage to the microphone.
// Do not use with damaged cables or after unit has fallen and loose parts or broken glass can be heard inside.
// Do not cover the power supply unit, always leave enough space around it for proper ventilation.
This device complies with Part 15 of the FCC Rules.
Operation is subject to the following two conditions:
(1) This device may not cause harmful interference, and
(2) This device must accept any interference received,
including interference that may cause undesired operation.
// Getting started
1Make sure that the mains voltage selection switch 4 is set to the correct position depending on the country´s specic
mains electricity.
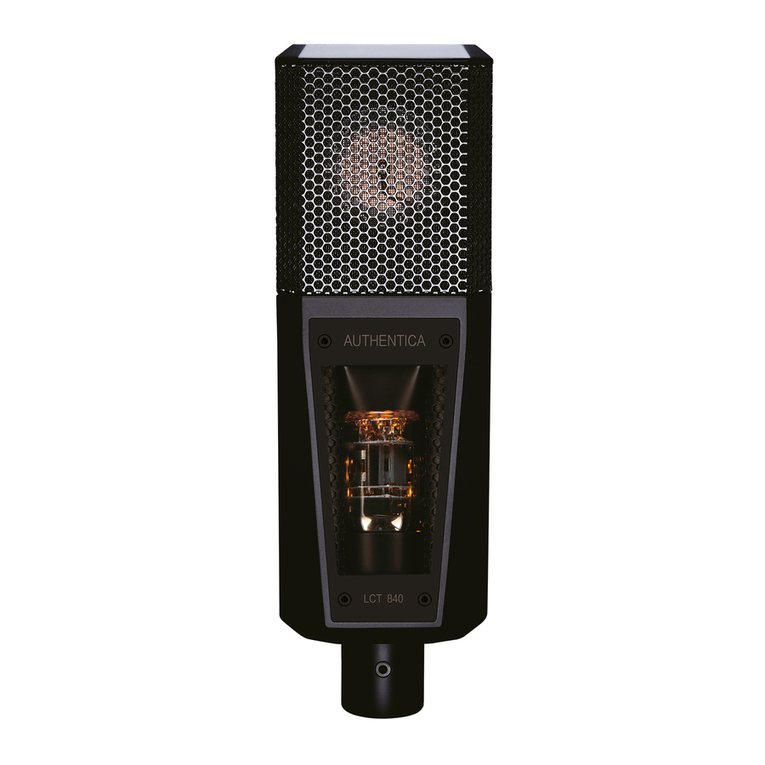
2Use the 11-pin audio cable to connect the microphone with the 11-pin XLR socket on the backside of the PSU.
3Use the 3-pin XLR cable to connect your mixer with the 3-pin XLR socket 5 on the backside of the PSU.
4 Put the LCT 840 into operation by activating the On/Off switch 1on the backside of the PSU.
5Let the tube warm up. Microphone reaches full sensitivity after 60 seconds.
6Choose your settings.
7You are ready to go!
LEWITT ®
Burggasse 79
1070 Vienna
Austria
www.lewitt-audio.com
