1. LUX value adjusting, press the 50 LUX button, the sensor will flicker twice, press again, and it will flicker twice
again. Press the third time; it indicates that the unit enters the rundle adjusting mode, then “10LUX” is used as
the DOWN key, “50LUX” the median key, “>1000”the UP key; There are seven gears below, press
the“10LUX”button, the indicator will flicker one time ( power off one time), when reaching the minimum value,
the indicator doesn’t flicker, remaining on all the time. If you don’t set the unit at this moment, it will enter the
detection state three seconds later (when the maximum also like this , set the valid time being ten seconds after
the last time); This is also applied to the “>1000”and “10LUX”buttons. If you are not satisfactory with the set
value or for other reasons, you can press the “50LUX”reverting to the median value, after the indicator flickers
three times, you can reset it; the rundle adjusting function can withdraw automatically, the set time is ten
seconds after the last time you input the button
①LUX:When luminance is less than 10 LUX, enable the
light to power on, for the use at night. When luminance
is less than 50 LUX, enable the light to power on, for the
use when ambient luminance is not enough. When
luminance is more than 1000 LUX, enable the light to
power on, for the use when it is in the daytime.
AUTO=“AUTO”mode, enable the sensor to detect
ON= Always on, about six hours later turn to “AUTO”mode
OFF= Always off, about six hours later turn to “AUTO”mode ①
SENS
Special function
SENS: Detection distance: two meters; it is an approximate value which will change according to detection
object’s size.Detection distance: six meters; it is an approximate value which will change according to
detection object’s size.Detection distance: maximum; it is an approximate value which will change according
to detection object’s size.
When the above button is input, the indication light will flicker twice.
The remote controller has the rundle adjusting function.
TIME: Adjust time-delay of load work.The time delay is about 8s when turn in to 8s.The time delay is about
12min when turn in to 12min.
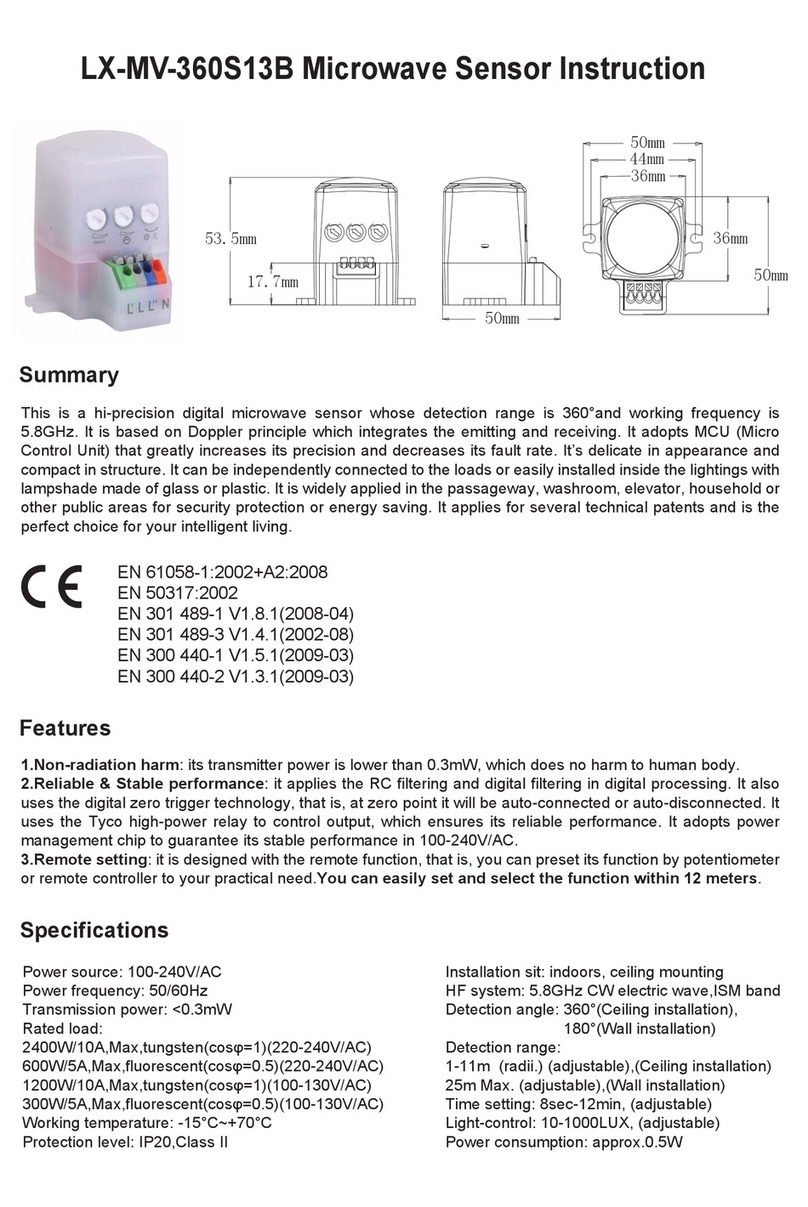
Note: please don’t adjust the three functional buttons to excess. That is because the three
functional buttons were connected to the components directly, there is a small stopper in
each of the three components, when you adjust the buttons from start to end, the excessive
turn will damage the stopper,and lead to the 360°non-stop turn around. The adjust range
limit is 270°, please do pay attention to this.
Remote control function
2. Time setting adjusting, the same as the adjustment above, the difference is that pressing the “5MIN”button
enters time setting, “8S”is used as DOWN key, “5M” as the median key, “12M”as Up key. When the time rundle
adjusting is used, the minimum time is eight seconds, the maximum time is 12 minutes, one gear equates to 30
seconds.
3. Distance adjusting, the same as the way listed 1, press the “6M”there times entering the distance adjusting
state, “2M”button is used for DOWN key, “6M”as reverting to median value button, “MAX”used as UP key, the
minimum value is two meters( approximate value).
Press any button on remote control panel to enter remote-control setting mode and all operation are based on
the presetted values. The LED indicator flashes three times when sensor receiving signal from the remote
control. If the load is on then, it would be off when sensor receiving signal.
Turn one quarter circle of any potentiometer on sensor to convert to potentiometer setting mode. (Friendly
reminder: make the load on then, and the load-off indicates entering potentiometer setting mode.) Then turn the
potentiometer to modify the values. If the load is on then, it would be off when turning the potentiometer.
Conversion between remote control and potentiometer.
