Revised 12/21/15
556-909C Instructions Continued…
*** IMPORTANT ***
Choose the shelf configuration you prefer prior to assembling the Deck to the Base, since the bolts that secure the
uprights supporting the removable shelf cannot be accessed after the deck has been attached to the base.
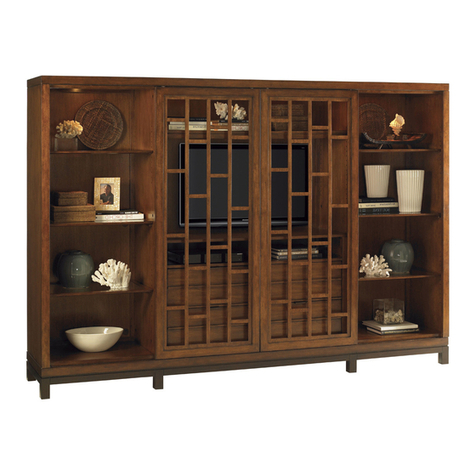
If Using Case as TV Option: Insert wood plug (F) in each open hole. Two holes are on bottom panel of deck and two
holes are on edge of lowest shelf. (Hardware pack includes (2) extra plugs.)
To Convert Entertainment Center from TV Option to Shelf Option:
1. Remove temporary shipping braces and temporary back panels from back of case.
2. With the help of at least one other person, lay the cabinet back-down on a flat, non-marring surface.
3. Diagram 4: If Wood Plugs (F) were previously installed, remove plugs in exposed holes on bottom of Deck and
on end of Fixed Shelf. *** Be sure to keep all loose wood plugs in case you ever want to convert from the Shelf
Option back to the TV Option. (Two extra plugs are included in hardware pack.)***
4. Diagram 1: Assemble each Post X to Short Shelf by aligning hole in bottom of post with hole in top of shelf.
Attach using Bolt (C); leave bolts finger-tight. Orient posts so that hole through top of post points front-to-back
on shelf.
5. Place Short Shelf into case so that holes in end of shelf align with holes in end panel. Holes in top of each Post X
should align with threaded holes inside apron rails of above shelf.
6. Diagram 2: Insert Bolt (B) thru each Post X into shelf apron rails. Tighten securely with Allen Wrench (E).
7. Diagram 3: Insert Bolt (B) thru end of Short Shelf into End Panel. Tighten securely with Allen Wrench (E).
8. Securely tighten bolts going through bottom of Short Shelf into each Post X.
9. Diagram 5: Assemble each Post Y to Long Shelf by aligning hole in bottom of post with hole in top of shelf.
Attach using Bolt (C); leave bolts finger-tight. Orient posts so that hole through top of post points front-to-back
on shelf.
10. Place Long Shelf into case so that holes in end of shelf align with holes in end of Fixed Shelf. Holes in top of each
Post Y should align with threaded holes inside apron rails of above shelf.
11. Diagram 2: Insert Bolt (B) through each Post Y into shelf apron rails. Tighten securely with Allen Wrench (E).
12. Diagram 7: Insert Bolt (B) through end of Fixed Shelf into Long Shelf. Tighten securely with Allen Wrench (E).
13. Securely tighten bolts going through bottom of Long Shelf into each Post Y.
14. Diagram 2: Align hole in top of each Post Z with holes inside aprons of Long Shelf. Insert Bolt (B) through each
Post Z into shelf apron rails. Tighten securely with Allen Wrench (E).
15. Insert Bolt (C) through bottom panel into bottom of each Post Z and tighten securely with Allen Wrench (E). (See
Diagram 1 or 5 for reference.)
To Assemble Deck to Base (Diagram 6):
1. Place Base in desired location. Place Deck on top of Base so that holes on bottom side of Deck are aligned with
holes on top side of Base.
2. Use Allen Wrench (E) to attach Deck to Base with (8) Lock Washers (D), (8) Flat Washers, and (8) Bolts (A).
Fully tighten all bolts.
For additional consumer assistance please contact your Lexington dealer or call our
Consumer Services Department at 1-336-474-5300, Monday-Friday, 8-5 Eastern Page 2 of 2

