manuals.online logo
Brands
  1. Home
  2. •
  3. Brands
  4. •
  5. Lexmark
  6. •
  7. Printer
  8. •
  9. Lexmark E240 User manual

Lexmark E240 User manual

Quick Reference
Loading paper or other print media
To help prevent jams:
•Flex all stacks of print media back and forth to loosen them, and
then fan them before loading. Do not fold or crease the print
media. Straighten the edges of the stack on a level surface.
•Do not exceed the maximum stack height.
•Never mix media types within a tray.
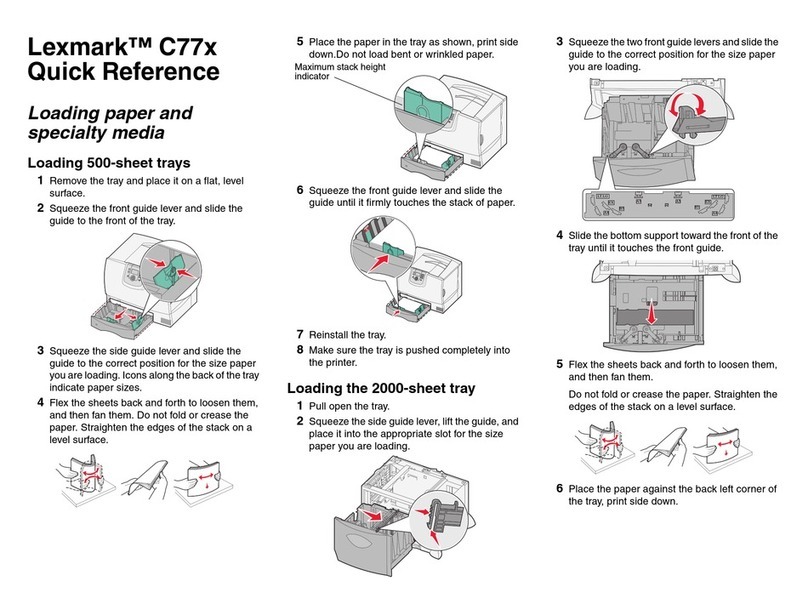
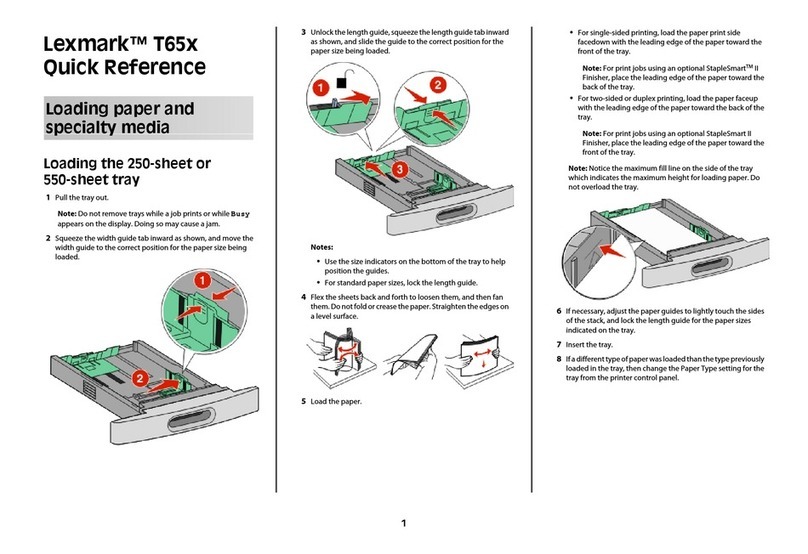
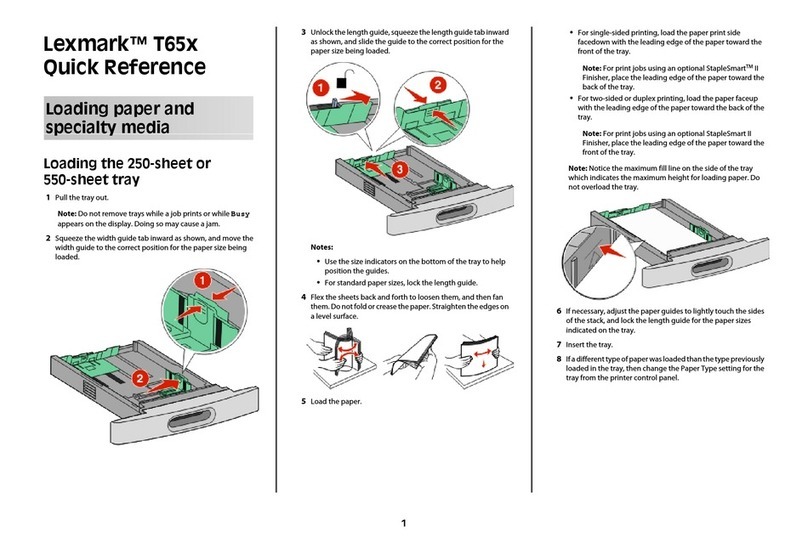
Loading the 250-sheet or 550-sheet tray
1Remove the tray.
Note: If you are going to load legal or folio size paper, you
have to extend the length of the paper tray. See
”Extending the tray for legal or folio size paper” for
instructions.
2Prepare a stack of paper for loading by flexing or fanning it back
and forth. Straighten the edges on a level surface.
3Load the paper in the tray with the print side facing down.
Note: Load letterhead paper with the design side facing
down. The top edge of the sheet with the logo should
be placed at the front of the tray.
Make sure the paper is below the maximum fill lines on the side
guides. Overloading may cause jams.
4Slide the two side guides and the back guide until they fit snugly
against the stack of paper.
5Insert the tray.
Extending the tray for legal or folio size paper
1Press down on the pressure point at the back of the tray.
2Expand the tray until the extender locks into place.
Using the manual feeder
The manual feeder can only feed one sheet of print media at a time.
1Send your print job to the printer (see to the User’s Reference on
the publications CD for help).
The printer Load Paper light blinks when it is ready for the
print media to be loaded.
2Place a sheet of the selected print media, print side facing up, at
the center of the manual feeder, but only to the point where its
leading edge can contact the paper guides.
3Adjust the paper guides to the print media width.
4Hold both sides of the print media close to the manual feeder and
push it into the printer until it automatically engages.
There is a brief pause between the time the printer engages the
print media and when it feeds into the printer.
Warning: Do not force the print media into the feeder. Forcing the
media causes jams.
•Insert envelopes with the flap side face down and with the stamp
area as shown.
•Hold transparencies by the edges, and avoid touching the print
side. Oils from your fingers that are deposited on the
transparency can affect print quality.
•Load letterhead face-up, with the top of the sheet first.
Using the rear exit
The single-sheet rear exit provides a straight-through paper path to
help reduce curling and potential jams. This is especially useful for
specialty media, such as transparencies, envelopes, labels, card
stock, or index cards.
When the rear exit door is open, all print media comes out the rear exit.
When closed, all media is sent to the output bin on top of the printer.
Printing on specialty media
Follow these instructions to print on media such as transparencies,
card stock, labels, or envelopes. The type of print media you want to
use determines which tray or feeder it should be fed from.
1Load the print media as specified for the tray you are using. See
Loading paper or other print media for help.
2From the computer software application, set the paper type, size,
and source according to the media you loaded.
aFrom the computer software application, select File ÆPrint.
bClick Properties (or Options, Printer, or Setup, depending on
the application) to view the printer driver settings.
cClick the Paper tab.
dSelect your media type (transparencies, envelopes, and so
on) from the Form Type list box.
eSelect the tray or feeder containing the specialty media from
the Form Source list box.
fSelect the size of the specialty media from the Form Size list
box.
gClick OK, and then send your print job as usual.
Canceling a print job
Press and release Cancel on the printer operator panel to cancel
the job currently printing. The Cancel job light sequence is displayed
on the operator panel while the job is being canceled.
Source Sizes Types Capacity1
(sheets)
Tray 1
(250-sheet tray)
A4, A5, JIS B5,
letter, legal,
executive, folio,
statement,
Universal2
Plain paper,
paper labels,
transparencies
250 paper;
50 labels;
50 transparencies
Tray 2*
(550-sheet tray)
Plain paper,
paper labels,
transparencies
550 paper;
50 labels;
50 transparencies
Manual feeder A4, A5, JIS B5,
letter, legal,
executive, folio,
statement,
Universal2
Plain paper,
paper labels,
transparencies,
card stock
1
7¾, 9, 10, DL,
C5, B5, other
Envelopes
* Tray 2 not available on all models.
1 Capacity for 20 lb print media, unless otherwise noted.
2 Universal size ranges:
– Tray 1: 89–216 x 210–356 mm (3.5–8.5 x 8.27–14.0 in.)
– Tray 2: 148–216 x 210–356 mm (5.83–8.5 x 8.27–14.0 in.)
– Manual feeder: 76–216 x 127–356 mm (3.0–8.5 x 5.0–14.0 in.) (includes
3 x 5 in. cards)
© 2005 Lexmark International, Inc., All rights reserved.
P/N 28S1821
E.C. 28S014 *28S1821* Printed in China
6/05
Clearing paper jams
When a paper jam occurs, the printer stops and the operator panel
Paper Jam and Continue lights come on. Press and release
Continue twice quickly to display the specific secondary error
paper jam light sequence. See Common operator panel light
sequences for more information.
We recommend that you clear the entire paper path when a paper jam
occurs.
To clear a paper jam:
1If you are feeding paper from a tray, remove the tray, and then
remove any jams.
2Open the front cover, and remove the print cartridge assembly.
3Remove any jams in the area behind the print cartridge
assembly.
4Lift the flap at the front of the printer, and remove any jams
beneath the flap.
5Open the rear exit, and remove any jams.
6After you have cleared the jams, reinstall the print cartridge
assembly, make sure all printer covers and trays are closed, and
then press Continue to resume printing.
If you need more information
•See the publications CD that came with your printer for helpful
information about using and maintaining your printer.
•Contact your administrator or Help desk if you have questions
about network printing.
Operator panel
The operator panel has 5 lights and 2 buttons. The Continue button
also has a light.
Common operator panel light sequences
The operator panel lights mean different things, depending on their
sequence. Lights that are off, on, and/or blinking indicate printer
conditions such as printer status, intervention, or service.
The table on the right shows the most common light sequences. For
more detailed information about the light sequences, see the
publications CD.
Press and release To
Continue Resume printing.
Continue twice quickly Display a secondary error code.
Cancel Cancel the job currently printing.
Light legend
Ready
Toner Low / Replace PC Kit
Load Paper
Paper Jam
Continue
Cancel
Error
= On = Blinking
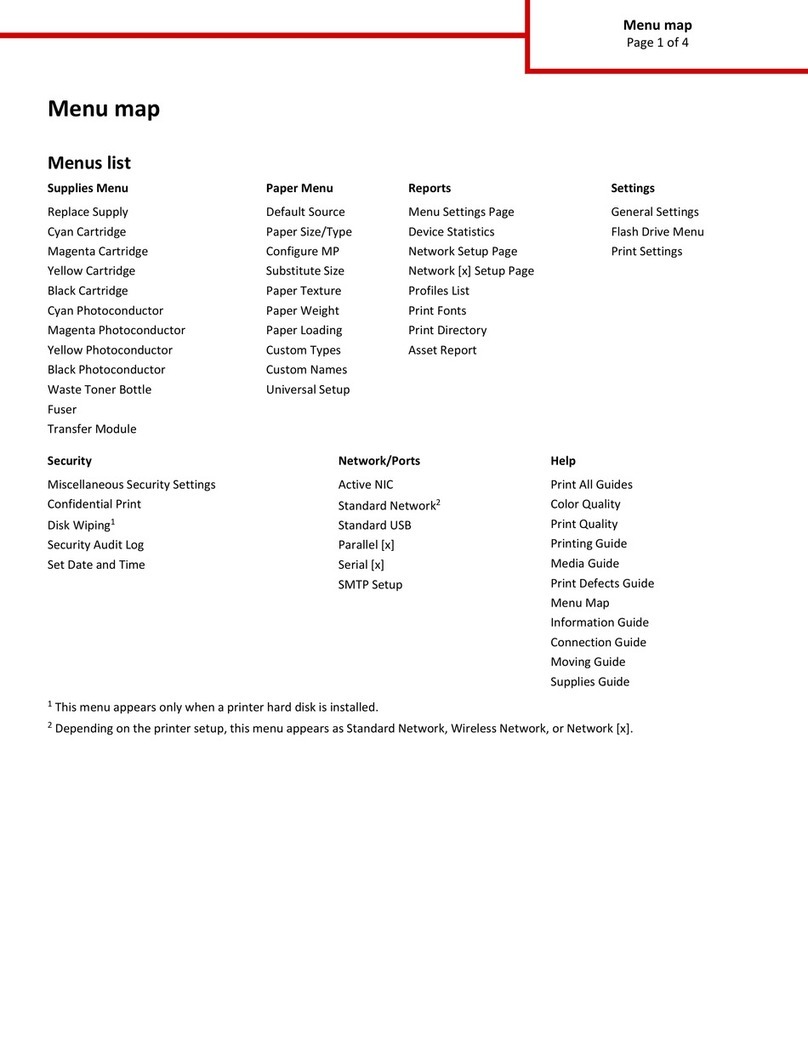
Common operator panel light sequences
Printer Condition
Ready /
Power Saver
Busy
Waiting
Flushing /
Resolution reduced
Not ready
(printer is offline)
Close door
Load media
Load manual feeder
Print side two of a duplex job
Tone r l o w
Photoconductor kit life warning
Replace photoconductor kit
(printer hard stop)
Unsupported print cartridge
Change cartridge invalid refill
Cancel job /
Reset printer
Service error
Printer error *
Paper jam printer error *
Paper jam secondary error codes*
Replace photoconductor
Cartridge region mismatch
Paper jam at the
input sensor †
Paper jam in the
manual feeder
Paper jam under
the toner cartridge
Paper jam as a printed
job exits the printer
Paper jam in Tray 1
Paper jam in Tray 2
Continue
Ready
Toner Low /
Replace PC Kit
Load Paper
Paper Jam
Error
*When the Error (or Paper Jam) and Continue lights are both on, a secondary error has occurred. Press and release Continue twice quickly to display the secondary error code light sequence.
†Paper jams at the input sensor can be either after the paper leaves the tray and enters the printer or in the manual feeder.

Other manuals for E240

2

This manual suits for next models

4

Other Lexmark Printer manuals

Lexmark C910 Finisher User manual

Lexmark

Lexmark C910 Finisher User manual

Lexmark MX710 Series User manual

Lexmark

Lexmark MX710 Series User manual

Lexmark PRO700 User manual

Lexmark

Lexmark PRO700 User manual

Lexmark 1200 - Optra Color LED Printer User manual

Lexmark

Lexmark 1200 - Optra Color LED Printer User manual

Lexmark E 330 User manual

Lexmark

Lexmark E 330 User manual

Lexmark 13P0150 - C 750dtn Color Laser Printer User manual

Lexmark

Lexmark 13P0150 - C 750dtn Color Laser Printer User manual

Lexmark C912 Product information sheet

Lexmark

Lexmark C912 Product information sheet

Lexmark 22L0176 - C 770dn Color Laser Printer User manual

Lexmark

Lexmark 22L0176 - C 770dn Color Laser Printer User manual

Lexmark M3250 User manual

Lexmark

Lexmark M3250 User manual

Lexmark MS812dn Service manual

Lexmark

Lexmark MS812dn Service manual

Lexmark 2400 User manual

Lexmark

Lexmark 2400 User manual

Lexmark B2338 User manual

Lexmark

Lexmark B2338 User manual

Lexmark Multifunction Laser User manual

Lexmark

Lexmark Multifunction Laser User manual

Lexmark MX6500e 6500e Use and care manual

Lexmark

Lexmark MX6500e 6500e Use and care manual

Lexmark M1145 User manual

Lexmark

Lexmark M1145 User manual

Lexmark 2480 - Forms Printer B/W Dot-matrix User manual

Lexmark

Lexmark 2480 - Forms Printer B/W Dot-matrix User manual

Lexmark E 330 User manual

Lexmark

Lexmark E 330 User manual

Lexmark 25A0450 - C 736N Color Laser Printer User manual

Lexmark

Lexmark 25A0450 - C 736N Color Laser Printer User manual

Lexmark T642dtn User manual

Lexmark

Lexmark T642dtn User manual

Lexmark S300 User manual

Lexmark

Lexmark S300 User manual

Lexmark C720 SERIES Manual

Lexmark

Lexmark C720 SERIES Manual

Lexmark Color Jetprinter 810 Series User manual

Lexmark

Lexmark Color Jetprinter 810 Series User manual

Lexmark 920dn - C Color LED Printer User manual

Lexmark

Lexmark 920dn - C Color LED Printer User manual

Lexmark MS410 series Manual

Lexmark

Lexmark MS410 series Manual

Popular Printer manuals by other brands

Oki B410D user guide

Oki

Oki B410D user guide

Kyocera FS-9530DN specification

Kyocera

Kyocera FS-9530DN specification

Epson Stylus Color 740i Start here

Epson

Epson Stylus Color 740i Start here

Reiner speed-i-Marker 940 Short Instruction

Reiner

Reiner speed-i-Marker 940 Short Instruction

Epson TM-P80 manual

Epson

Epson TM-P80 manual

Samsung SRP-350 Bixolon Operator's manual

Samsung

Samsung SRP-350 Bixolon Operator's manual

Epson Expression Photo XP-750 Basic guide

Epson

Epson Expression Photo XP-750 Basic guide

Axiohm A721 Setup guide

Axiohm

Axiohm A721 Setup guide

Posligne ODP-500 user manual

Posligne

Posligne ODP-500 user manual

Tektronix Phaser 780 Color supplementary guide

Tektronix

Tektronix Phaser 780 Color supplementary guide

Squid Ink CoPilot 500 user guide

Squid Ink

Squid Ink CoPilot 500 user guide

Canon Pixma iP6000 installation instructions

Canon

Canon Pixma iP6000 installation instructions

Godex EZ-4206 user manual

Godex

Godex EZ-4206 user manual

Epson SureColor F6470H user manual

Epson

Epson SureColor F6470H user manual

Brother RuggedJet RJ-4030 user guide

Brother

Brother RuggedJet RJ-4030 user guide

HPRT HM-T3 quick start guide

HPRT

HPRT HM-T3 quick start guide

Canon MG6800 Series Online manual

Canon

Canon MG6800 Series Online manual

Toshiba TEC B-850 Series Key Operation Specification

Toshiba

Toshiba TEC B-850 Series Key Operation Specification

manuals.online logo
manuals.online logoBrands
  • About & Mission
  • Contact us
  • Privacy Policy
  • Terms and Conditions

Copyright 2025 Manuals.Online. All Rights Reserved.