LG LG855 Specification sheet

Get started
All you need to know to get going.

Welcome
Get Up & Running – Fast
This guide gives you directions on the basics of getting started with
Boost Mobile and your new LG Marquee. Follow simple,
step-by-step instructions to learn how to:
+ Manage Your Account
+ Power Up Your Device
+ Enter Contacts
+ Send Text & Email
+ Browse & Download Apps from Android Market
™
+ Connect to Wi-Fi
+ Surf the Web
+ Share Pictures & Video
+ Personalize Your Device with Boost ID
If you have any questions, check out www.boostmobile.com/userguides
and download the full user guide for your device.
WARNING: This product contains chemicals known to the State of California to cause cancer and birth defects
or other reproductive harm.
Wash hands after handling
.

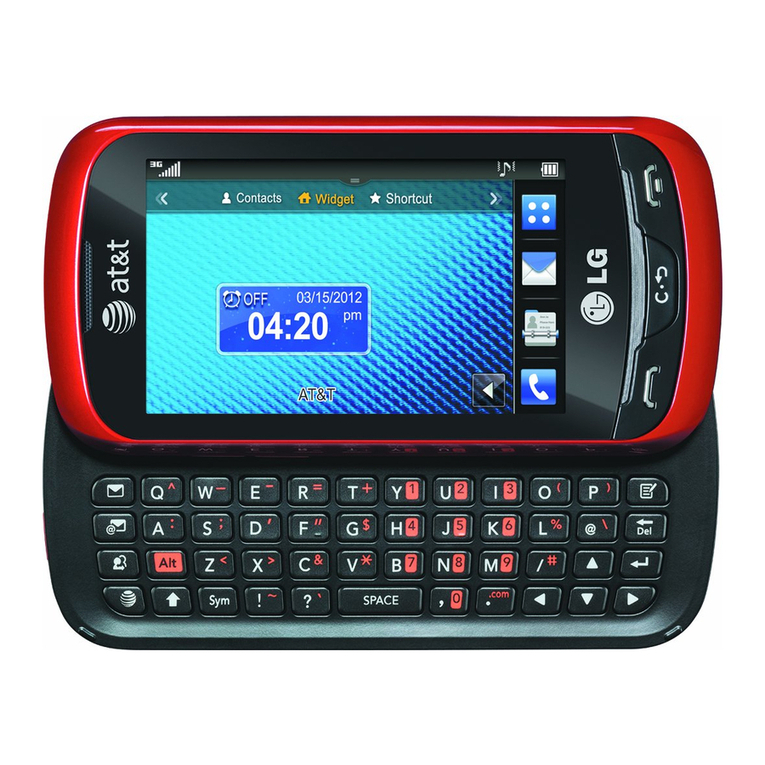
LG Marquee
+ Android
™
2.3 with Access to Android Market
™
+ 4” High Resolution NOVA Touchscreen
+ 5MP Camera with 3x Zoom & Video
+ GPS Enabled
+ Stereo Bluetooth
®
Technology
+ Easy Access to Gmail
™
and Google Talk
™
+ Wireless Web Enabled
+ Switch Between Portrait and Landscape
+ Speakerphone with Voice-Activated Dialing
+ Supports microSD
™
Cards up to 32GB
(2GB microSD
™
card included)
+ Voicemail, Caller ID, Call Waiting & 3-Way Calling

Your Device
Charger/
Accessory Port
Earpiece
Home Key Search Key
Back Key
Menu Key
Proximity Sensor
Touch Screen
Camera Lens
Power/Lock Key
Flash
Speaker
Fingertip Cutout
3.5mm
Headset Jack
Volume
Keys
Quick
Launch
Key

Access Your Account at
boostmobile.com to:
+ Access your account information.
+ View and add money to your account.
+ Enroll in Auto Re-BoostSM to make
automatic payments.
+ Purchase accessories.
+ View available Boost service plans and options.
+ Learn more about data services and other
products like games, ringtones, wallpapers,
and more.
From Your Boost Phone
+ Make a payment or sign up for Auto Re-BoostSM
by dialing #233
+ Check your account balance by dialing #225
From Any Other Phone
+ Call Boost Customer Care at 1-888-BOOST-4U
(1-888-266-7848)
Manage Your Account

You must first install and charge the battery to
begin setting up your device.
1. Install the battery.
+ Remove the battery from its packaging.
+ Insert the battery into the opening in the back
of the device, making sure the connectors
align (see step 1 in the following illustration).
Gently press down to secure the battery (see
step 2 in the following illustration).
+ Position the back cover over the battery
compartment and press down until you hear
a click (see step 3 in the following illustration).
2. Press and hold located on the top
right to turn the device on.
Setting Up Your Device
3

Turning Your Device On
1. Press and hold .
Turning Your Device Off
1. Press and hold for two seconds until
you see the Phone Options menu.
2. Press Power off and then tap OK to power off
the device.
+ Your screen remains blank while your phone
is off (unless the battery is charging).

Making & Answering Calls
Making Calls
There are several convenient ways to place calls
from your device.
1. Tap > .
2. Enter a phone number using the on-screen
dialpad and tap .
+ If you enter a wrong number, tap
to erase digits one by one.
+ To erase the entire number, touch and
hold .
Options during a call:
+ You can open other applications during a call.
The will appear in the Status Bar while the
call is underway.
+ Press the Up/Down Volume Keys to adjust the
call volume.
+ Use the on-screen buttons to add another call,
put a call on hold, to use the speakerphone,
and for other options, as described in In-Call
Options.
3. Tap to end the call.
Tip: To redial your last outgoing call, follow step 1 to
access the Dialer, tap the Call log tab, locate the
call entry and tap .
You can also make calls from your Contacts list,
from the Call log, and using Voice Dialer.
Answering Calls
When you receive a phone call, the Incoming Call
screen opens with the caller ID and any other
available information (such as the caller’s name,
if saved in the Contact’s list). The most recent
incoming calls are recorded in the Call log.

To answer a call:
+ Touch and drag to the right.
If you were already on a call, the first call is placed
on hold while you answer the new call. To silence
the ringer of an incoming call, press the down
Volume Key.
Your phone notifies you of incoming calls in the
following ways:
+ The phone rings or vibrates.
+ The backlight illuminates.
+ The screen displays an incoming call message.
To decline a call and divert it to voicemail:
+ Touch and drag to the left.
The caller is sent directly to your voicemail box to
leave a message.

Boost ID delivers the very best applications
for your phone, hand-picked by Boost, in one
easy-to-use pack. Facebook®, YouTube™,
GPS and more. Just tap “ID” on your phone’s
main screen.
1. From the main screen, tap > Get New ID Packs.
2. Tap on Boost ID.
3. Tap Install and agree to the Terms & Conditions.
4. Once your pack has completed downloading, it will
automatically install and appear as your current
Mobile ID.
5. You can switch between Mobile ID packs installed on
your phone by clicking on ID at the bottom of the
main screen.
Tip: Before you install Boost ID, make sure your device is
activated, your battery is fully charged, and you are in a
network coverage area.
Download Boost ID

Contacts
6. Tap a phone number field and enter a
phone number. Tap Email, Postal address,
Organization, or More to input additional
contact information.
7. When you’re finished, tap Done.
Creating a New Contacts Entry
You can add contacts on your phone and
synchronize them with the contacts in your
Google™ Account, Microsoft Exchange account, or
other accounts that support syncing contacts. The
Contacts application tries to join new addresses
with existing contacts, to create a single entry. You
can also manage that process manually.
1. Tap > > (Contacts).
2. Tap > New contact.
3. Tap the Picture Frame icon to select a picture to
display next to the name in your list of contacts
and in the Caller ID.
4. Tap the First name and Last name fields and
enter a name for the new entry.
5. Tap the label button (to the left of the Phone
number field) to select one of the following
categories: Mobile, Home, Work, Work Fax,
Home Fax, Pager, Other, Custom.

Your device is able to synchronize data from
a variety of different sources or sites. These
accounts can range from Google, a Microsoft
Exchange Server, and other social sites, including
Facebook, Twitter, and MySpace.
Microsoft Exchange Active Sync and Google
accounts are also able to synchronize
Calendar events and Contacts. To enable
the auto-sync feature:
1. Tap > > Settings > Accounts & sync.
2. Tap Auto-sync. A checkmark indicates the
feature is enabled.
+ Tap an account you’ve already set up to choose
the type of data you want to synchronize. For
example, you can choose to sync your Google
Calendar and/or Gmail data.
Synchronizing Your Google Account
By default, there are no accounts managed by
the device. These must be added manually. To
add an account (using a Google account type as
an example):
1. Tap > > Settings > Accounts & sync.
2. Tap Add account > Google.
3. Tap Next > Sign in.
Note: If you do not already have a Google account,
tap Create (instead of Sign in) follow the on-screen
prompts to create your new account.
4. Tap the Username and Password fields and
enter your information.
5. Tap Sign in. Your device communicates with
the Google servers to confirm your information.
Your existing Gmail account appears within the
Manage accounts area of the screen.
+ If Auto-sync is selected, changes or updates

to your Gmail account are then automatically
updated to your device.
To configure the Google sync settings:
1. Tap > > Settings > Accounts & sync.
2. Tap the Google account to reveal the account’s
synchronization settings screen.
3. Tap the type of data you wish to synchronize
(Sync Picasa Web Albums, Sync Contacts,
Sync Gmail, and Sync Calendar). Note that
Auto-sync must be selected (in the previous
screen) for these options to become available.
4. Tap to return to the previous screen and
click Sync now to sync your Google account to
your phone.

1. Tap > > (Email).
2. Enter your Email address and Password
information, then tap Next. Consult your
Network Administrator for further details.
+ Email address: Your Outlook work
email address.
+ Password: Typically your network access
password (case-sensitive).
3. Tap Exchange (from the add new email
account screen).
4. Enter a Domain\Username, Password, and
Server information and tap Next.
+ Domain\Username: Enter your network domain\
login username.
+ Password: Typically your network access
password (Case-sensitive).
Setting Up a Microsoft
Exchange Account
+ Server: Your exchange server remote email
address. Typically starts with mail.XXX.com.
Obtain this information from your company
network administrator.
+ If your network requires SSL encryption, tap
the Use secure connection (SSL) box to place
a checkmark and activate this additional level
of security.
+ If your exchange server requires this feature, leaving
this field unchecked can prevent connection.
Note: Signal interruptions or incorrect username or
password information can cause completion issues.
5. Read the on-screen activation disclaimer and, if
prompted, tap Next.

Messaging
Composing Text Messages
1. Tap > >(Messaging) > New message.
2. Tap the To field and enter the recipient’s phone
number or email information using the on-
screen keyboard.
Contacts: As you enter either a phone number
or email address, if the information matches
a current contact’s entry information, you will
see a match. When you see a match, tap the
associated name to complete the addressing.
Mobile: Tap =@# to use the keypad to enter a
wireless phone number directly.
Email: You can also enter the recipient’s
email address.
3. Tap a matching entry from the on-screen
dropdown list. This list is populated by matches
found from your managed accounts.
4. Tap the text field and enter your message.
5. Insert an Emoticon or a Smiley.
+ To enter an emoticon, touch and hold on
the Android keyboard or tap =@# and select
the smiley icon.
+ To enter a smiley from the menu options, tap
> Insert smiley. Make a selection from
the list to insert it into your current message.
6. Review your message and tap Send.
Composing an MMS Message
1. Tap > > Messaging > New message.
2. Tap the To field and enter the recipient’s phone
number or email information. As you enter the
phone number or email address, matching
contacts appear on-screen. Tap an available
matching recipient or continue entering the
phone number or email address.
3. Tap the text field and enter your message.
4. Tap > Attach.
5. Select a multimedia attachment type.
6. When you are finished creating your new MMS
message, tap Send MMS.

Create and Send Email
1. From the Inbox, tap > Compose.
2. Enter the recipient’s email address in the To field.
+ If you are sending the email to several
recipients, separate the email addresses with
a comma.
+ You can add as many message recipients as
you want.
Note: To send an additional carbon copy (Cc) or
a blind carbon copy (Bcc) of the current email to
other recipients, tap > Add Cc/Bcc.
3. Tap the Subject field and enter the email subject.
4. Tap the Body field and compose your email.
+ To add a picture attachment, tap >
Add attachment.
+ You can access the internal microSD card
and navigate to the file you wish to attach.
+ Tap the file you wish to attach.
5. Once complete tap Send.
Composing and Sending an Email

3. Read the application descriptions and comments.
4. Tap Install (for free applications) or the Price
button (for paid applications).
Note: Use caution with applications which request
access to any personal data, functions, or
significant amounts of data usage times.
5. Tap Accept & download (for free applications)
or follow the on-screen instructions to pay for
the application and tap Accept & buy.
6. Check the progress of the current download by
opening the Notifications Panel.
7. You will be notified when the item is
downloaded and installed on your device.
8. On the Android Market screen, tap >
Downloads, tap the installed application in
the list, and then tap Open.
Android™Market
Android Market provides direct access to
applications and games to download and install
on your device.
Accessing the Market
1. Tap > > Market.
2. If not already logged in with your Google
account, tap Next.
3. Tap Sign in and enter your Google account
information.
4. Touch Accept to agree to the Android Market
terms of service.
Note: Market options may vary depending on
the version installed in your device. Your Market
application will update automatically when available.
Selecting and Installing a
Google Application
1. Tap > > Market.
2. Browse for an application. Once you have
decided on one, tap it to view its details.

To turn Wi-Fi on and connect to a
Wi-Fi network:
1. Tap > .
2. Tap Settings > Wireless & networks >
Wi-Fi settings.
3. Tap Wi-Fi to turn Wi-Fi on and scan for available
Wi-Fi networks.
+ A list of available Wi-Fi networks will be displayed.
Secured networks are indicated by a lock icon.
+ If the device finds a network that you have connected
to previously, it automatically connects to it.
4. Tap a network to connect to it.
Wi-Fi Launching a Web
Connection
1. Tap > > Browser.
Note: You can connect to the Internet via Mobile
network or via Wi-Fi (access by tapping >
Settings > Wireless & networks).
Once the Browser loads, you are directed to the
home page.
Tip: To change the default home page, tap
> More > Settings > Set home page.
Note: The Browser automatically launches when
a Web link is touched from within an email or
text message.

To take a picture:
1. Tap > > Camera to activate
camera mode.
2. Frame your subject on the screen.
3. Tap until the shutter sounds. The camera
brings the image into focus. When the image
is in focus, the focus indicators in each corner
turn green and the camera takes a picture.
(Your device automatically saves the picture to
the microSD card.)
Viewing Your Pictures
The Gallery is where you can access the Gallery
of stored camera images. You can view them in
a slideshow, share them with your friends, and
delete and edit them.
1. Tap > > (Gallery).
2. Select a location and tap an image to view
your picture.
+ Tap an image to open it, and tap Menu or tap
for options, such as Share, Delete, and More.
+ Tap to return to the previous screen.
To record a video:
In addition to taking pictures, you can record, view,
and send videos with your device’s built-in video
camera.
1. Tap > > Camera and drag the camera
mode control to the Video position .
– or –
Tap > > Camcorder.
2. Select Video Mail to record a short video for
email or messaging or Long Video.
3. Point the lens to frame the scene where you
want to start.
4. Tap to start recording the video. The length
of the recording is displayed on the bottom left
part of the screen.
Pictures and Videos

5. Tap to stop recording. Your video will be
automatically saved to the Gallery.
To play a video:
1. Tap > > Gallery to view videos stored
on the microSD card.
+ Scroll left or right to view more albums.
2. Tap an album to open it and view its contents.
(The pictures and videos in the album are
displayed in chronological order.)
3. Tap a video in an album to play.
+ Tap the video to view the playback controls.
Pictures and Videos
This manual suits for next models
1
Table of contents
Other LG Cell Phone manuals