manuals.online logo
Brands
  1. Home
  2. •
  3. Brands
  4. •
  5. Lightmybricks
  6. •
  7. Light Fixture
  8. •
  9. Lightmybricks Palace Cinema User manual

Lightmybricks Palace Cinema User manual

lightmybricks
User Guides for Light My Bricks LED Lighting Kits for LEGO®
May 23, 2016 · 23 min read
Light My Bricks : Palace Cinema LED
Lighting Kit
Here is the instruction document for the Lego Palace Cinema LED lighting
kit. Please read and follow the steps carefully to ensure this lighting kit is
installed properly.
. . .
Package contents:
• 5x LED Strip Lights
• 15x Standard Bit Lights (warm white)
• 12x Flashing Bit Lights (white)
• 3x 12-Port Expansion boards
• Lamp Post with LED and cable attached
• 1x Battery Pack (3x AA batteries not included)
• 8x Adhesive squares
Connecting Cables
• 2x 5cm cables
• 3x 15cm cables
• 2x 30cm cables
. . .
Important things to note:
Laying cables in between and underneath bricks
Cables can fit in between and underneath LEGO® bricks, plates, and tiles
providing they are laid correctly between the LEGO® studs. Do NOT
forcefully join LEGO® together around cables; instead ensure they are laying
comfortably in between each stud.
CAUTION: Forcing LEGO® to connect over a cable
can result in damaging the cable and light.
Connecting cable connectors to Strip Lights
Take extra care when inserting connectors to ports on the Strip Lights.
Connectors can be inserted only one way. With the Strip Light facing up,
ensure the side of the connector with the wires exposed is facing down. If a
plug won’t fit easily into a port connector, don’t force it.
Doing so will damage the plug and the connector.
Connecting cable connectors to Expansion Boards
Take extra care when inserting connectors to ports of Expansion Boards.
Connectors can be inserted only one way. With the expansion board facing
up, look for the soldered “=” symbol on the left side of the port. The
connector side with the wires exposed should be facing toward the soldered
“=” symbol as you insert into the port. If a plug won’t fit easily into a port
connector, don’t force it. Doing so will damage the plug and the connector.
Installing Bit Lights under LEGO® bricks and plates.
When installing Bit Lights under LEGO® pieces, ensure they are placed the
correct way up (Yellow LED component exposed). You can either place them
directly on top of LEGO® studs or in between.
. . .
OK, Let’s Begin!
. . .
Instructions for installing this kit
1.) This lighting kit is installed from the bottom up. Start by removingthe
2nd and top levels of the modular building as well as the “Palace
Cinema Marquee”.
2.) To enable us to lay the cable for the lamp post underneath thebrick
tiles, remove the following tiles as per below.
3.) Replace the stock lamp post with the Light My Bricks lamp postensuring
that the cable is laid in the middle of the 2 studs facing the building.
4.) Gently bend the base plate down and lift the building of theground
floor up and thread the cable for the lamp post underneath the
building wall. Ensure that the cable is laid in between the Lego studs as
pictured below.
5.) Pull the cable up from underneath the wall and then reconnect
thebuilding to the base plate. Then connect the cable to the first
available port of a 12 port expansion board. This set has 3 expansion
boards so we will identify this one as “Expansion board#1”.
6.) We will now move on to installing the 8 lights above the ticketwindows.
In order to get to these light sections, please remove the following
pieces starting from left to right.
7.) Disassemble the clear yellow pieces from the grey bricks.
8.) Start installing the lights by taking a standard bit light (nonflashing) and
thread the connector end through the top of the first hole of one of the
grey bricks. Thread this through and then pull the cable from the
bottom of the grey brick all the way until the LED is sitting flat against
the top ensuring the LED component part is facing the correct way up.
Repeat this for all 4 lights of the first set of ticket window lights.
Ensure LED component is facing the correct way up
9.) Secure these LEDs in place by reconnecting the clear yellow Legopieces
over the top of them. Repeat the same process for the other 4 lights in
the second lot of ticket window lights.
10.) Reconnect these 2 section of lights in the original positionsensuring
that the cables for the lights are laying behind and underneath them
and in between Lego studs.
11.) Reconnect the other Lego pieces we removed earlier thatsurround the
window frames.
12.) Turn the building toward the back so we can easily access thecabling
for these lights. Group the left lot of 4 cables together by twisting them
around each other, then connect them to next lot of available ports on
Expansion board#1.
13.) To prevent all of the cables from hanging everywhere and
gettingtangled, (there will be a lot more to install) wind the excess
cables from the first group of ticket window lights as well as the lamp
post cable around the expansion board.
14.) Group the cables from the second lot of ticket window lightstogether
the same way as we did for the first lot and then connect them to
remaining ports of Expansion board#1. Then, wind the 4 cables around
the expansion board again, like we did for the first lot.
15.) You will notice that the cable from the lamp post is danglingdown
freely. This can probably be noticed from the front when looking
through the window. Use a little bit of tape to stick the cable against
the wall space between the 2 windows.
16.) We will now move on to installing the 4 building spot lights. Wewill
start with the 2 on the ticket window side. Remove them by pulling
them out at the following sections.
17.) Disconnect the grey brick from each section of the 2 buildingspotlights
then take a standard bit light (non flashing) and stick it to the light
section of the building spotlight using one of the provided double sided
adhesive squares. When doing so, ensure that the LED component
facing the correct way up.
18.) With the LED stuck down, thread the connector end of the
cablethrough the centre hole of one of the grey bricks. Wind the cable
around the black pole a few times at the LED part before connecting
the spotlight section back to the grey piece (with cable threaded
through).
Repeat this process for the second building spotlight.
19.) Connect the 2 building spotlights back to their original
positionsensuring that the cables are laying in between Lego studs.
20.) Connect the 2 cables from the building spotlights to the nextavailable
ports of Expansion board#1 and then wind the cables around the
expansion board.
21.) Take another 12-port expansion board and then connect a
5cmconnecting cable to the first port. Connect the other end of this
port into the last port on Expansion Board#1
22.) Secure Expansion board#1 to the top of the first floor using oneof the
provided self adhesive squares.
23.) Reconnect the Lego pieces we removed earlier surrounding thebuilding
spotlights on the other side of the building.
24.) Before we move onto installing the 2 building spot lights on theother
side, we need to install 3 bit lights to the top of the movie posters. Start
by removing the following pieces to allow us access.
Install a bit light underneath the brown 2x4 plate as shown. Place the bit
light in the middle facing down and then reconnect the Lego plate ensuring
the cable from the light is in the inside of the building.
Repeat this process to the top of the remaining 2 movie posters.
25.) Connect the 3 big light cables to the first available ports of
Expansion Board #2
26.) Let’s move on to connect the 2 building spot lights on the otherside.
Turn the building around and then remove the following Lego pieces to
allow us to then pull out the 2 building spotlights.
27.) Repeat steps 17–19 to connect another 2 standard bit lights tothese 2
building spotlights. Once these 2 remaining spotlights are wired up,
connect the left corner spotlight back to its original position ensuring
that the cable is laid in between Lego studs.
For the other building spotlight, reconnect this back to its original position
however this time lay the cable over the grey 2:1 Lego brick. This is
important because if we lay this underneath the other grey brick, it will cut
the cable when the Lego tile connects over it.
28.) Connect these 2 building spotlight cables to the next availableports on
Expansion board#2, then wind all the cables around the board.
27.) Tidy up the cabling from the building spot light in the middle bylaying it
underneath the grey Lego tiles.
This is a good time to test all our lights so far. Simply take the AA battery
pack, insert batteries, and then plug the connecting cable into one of the
spare ports of one of the expansion boards. Turn on the battery pack to test
the lighting circuit we have connected so far.
You can test your light circuit at any time
28.) We will now move on to lighting up the Palace Cinema
Marqueestarting from the base. Take the Marquee, turn it to the back
and then remove the main centre section from the base.
29.) Remove the following Lego pieces in the below order to allow usto get
to the 4 lights in the corners.
30.) Remove the 4 lights and then disassemble them.
31.) Take 1 flashing bit light and then using the connector end of thecable,
thread it through the small hole of the black Lego piece. Thread
through and then pull it all the way down from underneath the Lego
piece so that the LED is sitting flat against black hole. Ensure that the
LED component part is facing the correct way up, then secure it down
by connecting the clear yellow piece over the top.
Thread ashing bit lights through Lego piece.
Repeat this process for all 4 lights. Then connect 2 on top of each other in
original positions.
32.) Reconnect the 2 sections back to the Marquee base ensuring thatthe
cables are threaded through the back space, then reconnect the Lego
pieces that make up the base.
Turn the base over and lay the cables underneath the brown 2:1 pieces as
per below.
Ensure cables are laying in between studs.
33.) We will now begin installing lights to the main section of themarquee.
There are 16 lights in total in the main section however, we will only be
installing lights to every second light starting from the top down.
With the lights facing up, remove the bottom section from underneath as
well as the 2 gold pieces on top.

Other Lightmybricks Light Fixture manuals

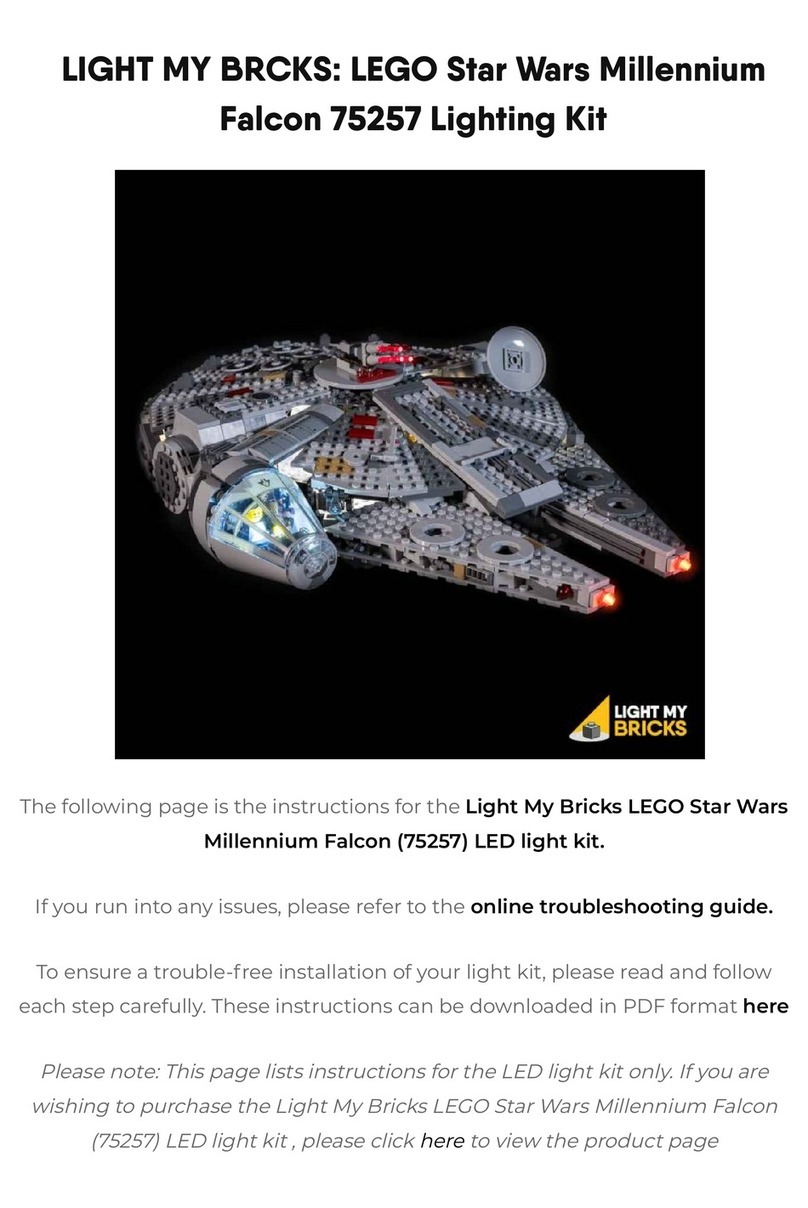
Lightmybricks 75257 User manual

Lightmybricks

Lightmybricks 75257 User manual

Lightmybricks 43197 User manual

Lightmybricks

Lightmybricks 43197 User manual

Lightmybricks 21339 User manual

Lightmybricks

Lightmybricks 21339 User manual

Lightmybricks 75953 User manual

Lightmybricks

Lightmybricks 75953 User manual

Lightmybricks LEGO UCS IMPERIAL SHUTTLE 10212 User manual

Lightmybricks

Lightmybricks LEGO UCS IMPERIAL SHUTTLE 10212 User manual

Lightmybricks LEGO LAMBORGHINI SIAN FKP 37 42115 User manual

Lightmybricks

Lightmybricks LEGO LAMBORGHINI SIAN FKP 37 42115 User manual

Lightmybricks 75351 User manual

Lightmybricks

Lightmybricks 75351 User manual

Lightmybricks 21325 User manual

Lightmybricks

Lightmybricks 21325 User manual

Lightmybricks 75257 User manual

Lightmybricks

Lightmybricks 75257 User manual

Lightmybricks LEGO R2-D2 75308 User manual

Lightmybricks

Lightmybricks LEGO R2-D2 75308 User manual

Lightmybricks 21321 User manual

Lightmybricks

Lightmybricks 21321 User manual

Lightmybricks LEGO Land Rover Defender 42110 User manual

Lightmybricks

Lightmybricks LEGO Land Rover Defender 42110 User manual

Lightmybricks 75181 User manual

Lightmybricks

Lightmybricks 75181 User manual
Lightmybricks LEGO Book Shop 10270 Lighting Kit User manual

Lightmybricks

Lightmybricks LEGO Book Shop 10270 Lighting Kit User manual

Lightmybricks 10273 User manual

Lightmybricks

Lightmybricks 10273 User manual

Lightmybricks 21322 User manual

Lightmybricks

Lightmybricks 21322 User manual

Lightmybricks The Louvre LED Lighting Kit User manual

Lightmybricks

Lightmybricks The Louvre LED Lighting Kit User manual

Lightmybricks LEGO NASA Apollo 11 Lunar Lander User manual

Lightmybricks

Lightmybricks LEGO NASA Apollo 11 Lunar Lander User manual

Lightmybricks 21335 User manual

Lightmybricks

Lightmybricks 21335 User manual

Popular Light Fixture manuals by other brands

Philips Vari-lite VL3500 Wash FX Luminaries user manual

Philips

Philips Vari-lite VL3500 Wash FX Luminaries user manual

Beamz Pro TIGER 18R user manual

Beamz Pro

Beamz Pro TIGER 18R user manual

BOSS ILLUMINATION ZETA product manual

BOSS ILLUMINATION

BOSS ILLUMINATION ZETA product manual

Melissa 637-006 user guide

Melissa

Melissa 637-006 user guide

DOMUS LINE APEX installation manual

DOMUS LINE

DOMUS LINE APEX installation manual

Lucci LEDlux 229150 installation instructions

Lucci LEDlux

Lucci LEDlux 229150 installation instructions

Lightolier Calculite ProSpec PB1A1175 specification

Lightolier

Lightolier Calculite ProSpec PB1A1175 specification

Cooper Lighting SURE-LITES UNH/PLX Specifications

Cooper Lighting

Cooper Lighting SURE-LITES UNH/PLX Specifications

ITC elio TPB Install instructions

ITC

ITC elio TPB Install instructions

Larson Electronics EPL-WPLED-100W-RT instruction manual

Larson Electronics

Larson Electronics EPL-WPLED-100W-RT instruction manual

Heitronic 29054 Installation and operating instructions

Heitronic

Heitronic 29054 Installation and operating instructions

Melissa 637-005 Specifications

Melissa

Melissa 637-005 Specifications

Cooper Lighting Quiet Ceiling Trimless QCT-1975 specification

Cooper Lighting

Cooper Lighting Quiet Ceiling Trimless QCT-1975 specification

BRE-Light Mirius HK17230 Series instruction manual

BRE-Light

BRE-Light Mirius HK17230 Series instruction manual

Rebel Light ZAR0477 Guide

Rebel Light

Rebel Light ZAR0477 Guide

Banner WLS27..0285 Series quick start guide

Banner

Banner WLS27..0285 Series quick start guide

Vertex SR Series owner's manual

Vertex

Vertex SR Series owner's manual

Qtx PB-7 user manual

Qtx

Qtx PB-7 user manual

manuals.online logo
manuals.online logoBrands
  • About & Mission
  • Contact us
  • Privacy Policy
  • Terms and Conditions

Copyright 2025 Manuals.Online. All Rights Reserved.