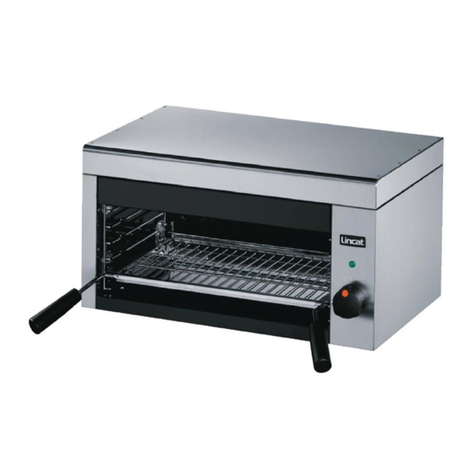
Lincat Opus 700 Series User manual
Other Lincat Grill manuals

Lincat
Lincat Opus 800 OG8410-A001 User manual
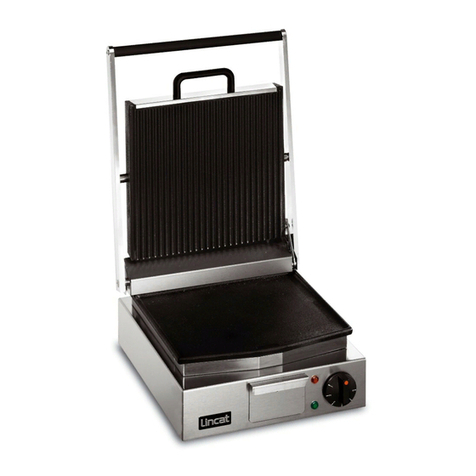
Lincat
Lincat LCG Operating instructions

Lincat
Lincat Opus 800 OE8413 Owner's manual
Lincat
Lincat Lynx 400 LSC User guide
Lincat
Lincat Q2PLGR User manual
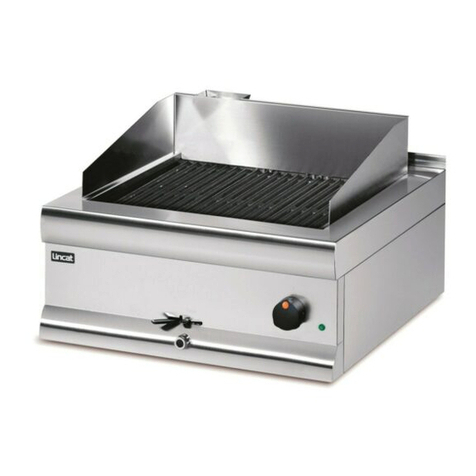
Lincat
Lincat Silverlink 600 Manual

Lincat
Lincat OE7303 User manual

Lincat
Lincat Opus 700 Series Operating instructions

Lincat
Lincat Silverlink 600 Manual
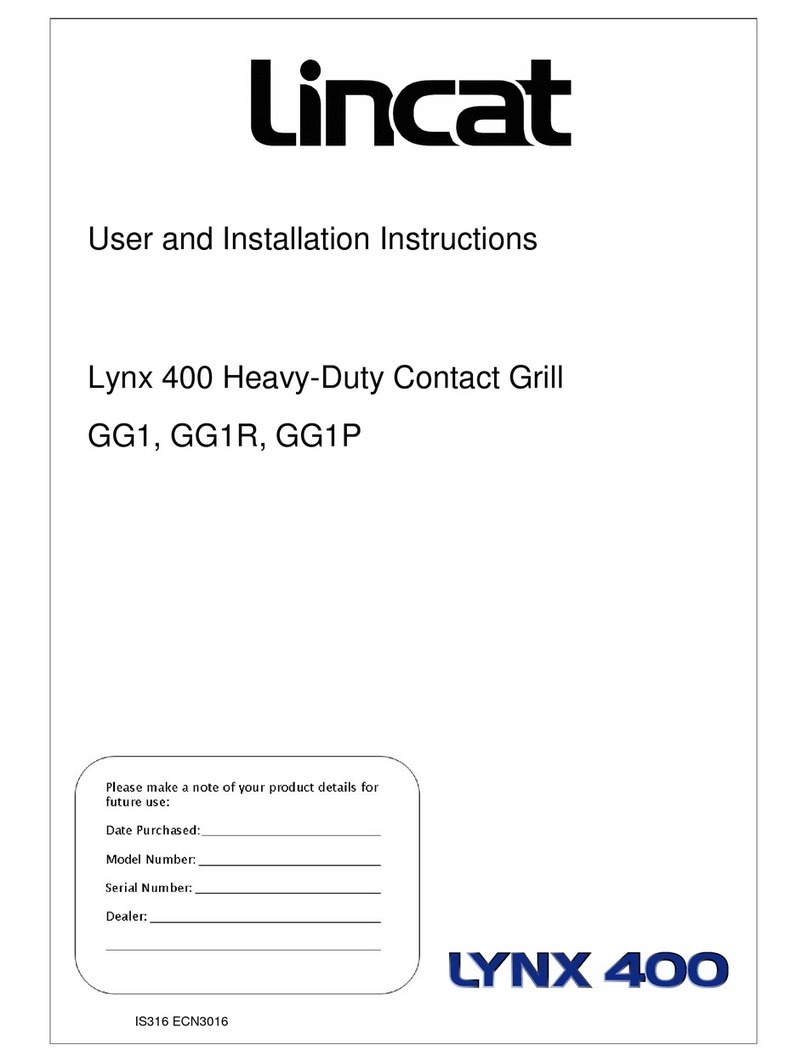
Lincat
Lincat Lynx 400 Operating instructions

Lincat
Lincat Opus 800 Salamander OG8301 User guide

Lincat
Lincat OG7401 User manual

Lincat
Lincat OG7402 User manual

Lincat
Lincat Silverlink 600 ECG6 Owner's manual

Lincat
Lincat GR3 Troubleshooting guide

Lincat
Lincat Opus 700 Series User manual

Lincat
Lincat OE7011 Manual

Lincat
Lincat Silverlink 600 GR3 Owner's manual
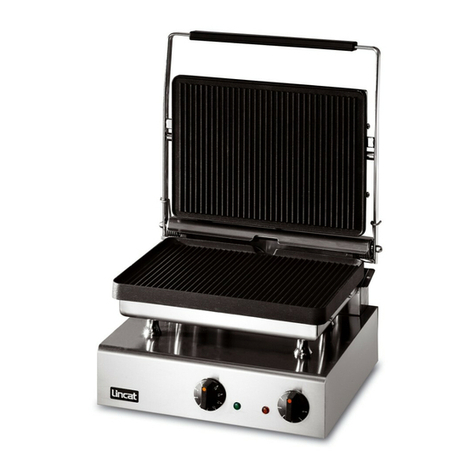
Lincat
Lincat Lynx 400 GG1R Owner's manual
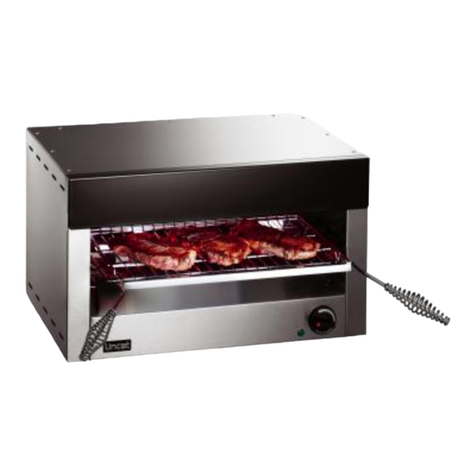
Lincat
Lincat Lynx 400 Operating instructions
Popular Grill manuals by other brands

Kenmore
Kenmore 415.16123800 Use and care guide

Tucker Barbecues
Tucker Barbecues GTR Series Assembly, installation and operating instructions

Monogram
Monogram ZGG540NCP1SS owner's manual

Equipex
Equipex Sodir Savoy Operation manual

Gaggenau
Gaggenau VR 414 610 use and care manual

Miele
Miele KM 408-1 operating instructions


