manuals.online logo
Brands
  1. Home
  2. •
  3. Brands
  4. •
  5. Lippert
  6. •
  7. Industrial Equipment
  8. •
  9. Lippert Curt 16564 User manual

Lippert Curt 16564 User manual

CURTMFG.COM •PRODUCT SUPPORT: 877.287.8634 •16564-INS-RB •07/19/2022 •ECN9834 •PAGE 1
Product Registration and Warranty
CURT stands behind our products with
industry-leading warranties. To get copies
of the product warranties, register your
purchase or provide feedback, visit:
warranty.curtgroup.com/surveys
Weight Carrying Capacity
Gross trailer weight (GTW) 20,000 lbs.
Vertical load 5,000 lbs.
INSTALLATION MANUAL 16564
Tools Required
Torque wrench Socket set
Level of Difficulty
Easy
Installation difficulty levels are based on time
and effort involved and may vary depending on
the installer level of expertise, condition of the
vehicle and proper tools and equipment.
NOTICE
Visit www.curtmfg.com for a full-color copy of this
instruction manual, as well as helpful videos, guides and much more!
Before you begin installation, read all instructions thoroughly.
Proper tools will improve the quality of installation and reduce the time required.
Periodic inspection of your product should be performed
to ensure all hardware and / or components remain secure.
To help prevent damage to the product or vehicle, refer to the specified
torque specifications when securing hardware during the installation process.
WARNING
Never exceed the vehicle manufacturer's recommended towing capacity. Trailer and
contents combined must not exceed tow vehicle, hitch and / or trailer tow ratings.
Exceeding rated capacity may result in separation. Exceeding rated capacity may result
in damage to 5th wheel hitch, towing vehicle, trailer and / or cause serious injury or death.
Fully instruct and demonstrate the operation of this 5th wheel slider to the end user. Include
the importance of observing all warnings contained herein. Provide this manual in its entirety
to the end user. Serious injury or death may result if all warnings are not observed.
To avoid serious injury, do not expose hands, body parts or clothing between
the truck and trailer or the truck's bed sides and trailer. Extreme care should
be observed to avoid serious injury to self, property and observers.
Improperly coupled trailers can separate and drop without notice. Never position
yourself or others under the trailer's kingpin area (danger zone) during coupling and
uncoupling. If for any reason you must position any part of your body under the trailer,
between the truck and the trailer or between the trailer's kingpin and 5th wheel hitch,
you must follow the steps in the 'Danger Zone Precautions' section above.
Parts List*
Item Qty Description
1 1 Slider assembly
2 4 Rail pin
3 4 Rail clip
4 4 Rubber spacer
* 5th wheel base rails are required
for installation (sold separately)
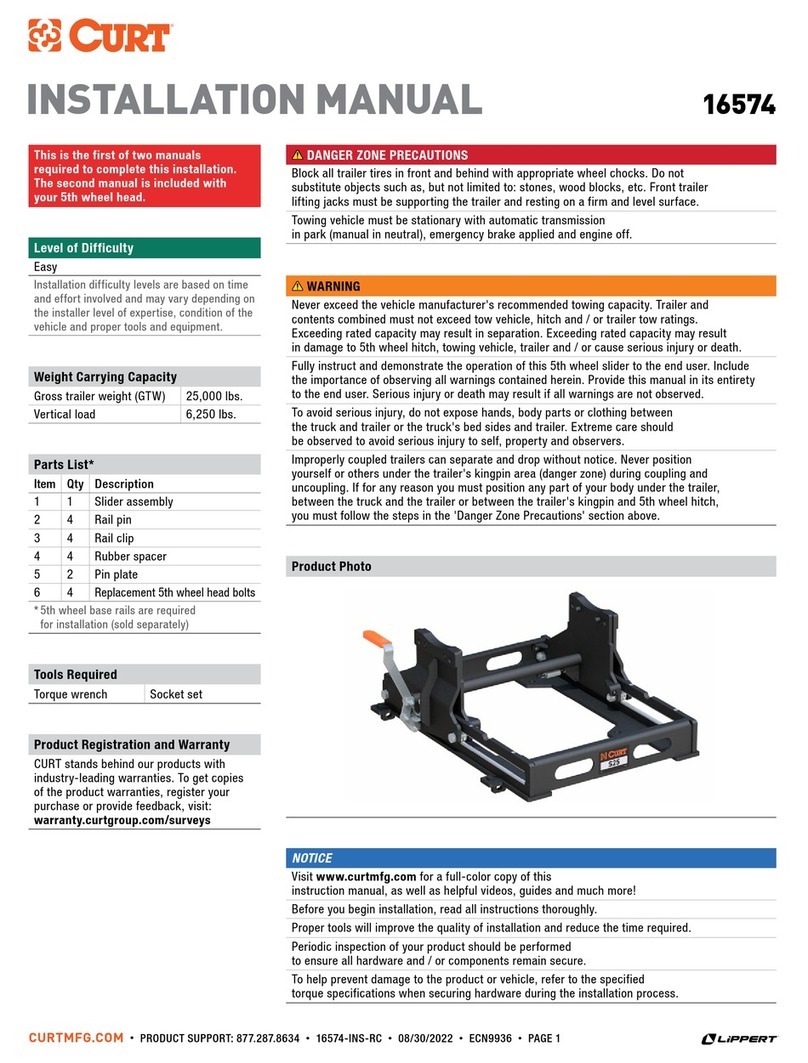
Product Photo
This is the first of two manuals
required to complete this installation.
The second manual is included with
your 5th wheel head.
DANGER ZONE PRECAUTIONS
Block all trailer tires in front and behind with appropriate wheel chocks. Do not
substitute objects such as, but not limited to: stones, wood blocks, etc. Front trailer
lifting jacks must be supporting the trailer and resting on a firm and level surface.
Towing vehicle must be stationary with automatic transmission
in park (manual in neutral), emergency brake applied and engine off.

CURTMFG.COM •PRODUCT SUPPORT: 877.287.8634 •16564-INS-RB •07/19/2022 •ECN9834 •PAGE 2
ASSEMBLY
INSTALL ATION
3
4
2
1
Base rails
sold separately
Before you begin
WARNING
The slider is to be used with 5th wheel trailers weighing
up to 20,000 lbs. Never use on trailers exceeding 20,000 lbs.
CAUTION
The slider will reposition your 5th wheel hitch 12" rearward. This will
not guarantee complete truck cab / trailer clearance when towing.
Step 3
Pull the slider handle out until it locks open. See below.
The slider should move smoothly fore and aft on the rails.
Note: When the slider is locked in its fore and aft positions,
the lock bar handle will return to the starting position.
Step 2
Place the slider into the base rail slots and secure
with the provided rail pins (#2) and clips (#3).
CAUTION
Be sure that all base rail pins are positioned as
shown below and all clips are secured before towing.
Front of
truck
Base rail
Step 1 - Check the base rails
Before installing the slider, check the base rails in your truck to be
sure they are properly installed and are parallel with each other.
The diagonal dimensions should be the same. See below.
Front of truck
Rear edge of truck bed
Parts List*
Item Qty Description
1 1 Slider assembly
2 4 Rail pin
3 4 Rail clip
4 4 Rubber spacer
* 5th wheel base rails are required for installation (sold separately)
Locked
Unlocked
CURTMFG.COM •PRODUCT SUPPORT: 877.287.8634 •16564-INS-RB •07/19/2022 •ECN9834 •PAGE 3
INSTALLING THE
5TH WHEEL HEAD
OPERATING
INSTRUCTIONS
Step 5 - Maneuvering
On a level surface, align the 5th wheel trailer and tow vehicle
in a straight line. Pull the slider handle out until the handle locks
open to place the lock bar in the maneuver position.
Set the trailer brakes and slowly drive the tow vehicle
forward until the slider stops. The locking bars will
automatically engage in the rear locking groove.
Step 4 - Installing the 5th wheel head
For instructions on calculating the proper height of your 5th wheel
head, refer to the installation manual included with your head unit.
Insert the bolts provided with your 5th wheel head through
the four mounting holes and secure them with nylock nuts.
Torque all hardware to the specification indicated in your
5th wheel head unit installation manual.
For operating instructions of the slider, see Step 5.
For operating instructions of your 5th wheel head unit, refer
to the installation manual included with your 5th wheel head.
Step 6 - Towing
On a level surface, align the 5th wheel trailer and tow vehicle in
a straight line. Pull the slider handle out and rotate it clockwise
to place the lock bar in the ready-to-lock position.
Set the trailer brakes and slowly back up the tow vehicle until
the slider stops. The locking bar will automatically return to the
locked position. Set the trailer brakes and move the tow vehicle
forward slightly to be sure the lock bar is fully engaged.
You are now ready to tow.
Front of truck Maneuver Position
Tow Position
Slider and 5th
wheel hitch will
move 12" rearward
5th wheel head
See torque
specifications
included with
your CURT
5th wheel head
Slider and 5th
wheel hitch will
move 12" forward
Front of truck
5th wheel head removal
To remove your 5th wheel head, repeat Step 4 in reverse. Note:
Depending on the model of your 5th wheel head, this step may differ.
Slider removal
To remove your slider from the base rails, remove the rail pins (#2)
and clips (#3) that were installed in Step 2 and lift the slider out.
TOWING BASICS & SAFETY INFORMATION
For information on safely towing your trailer,
visit curtmfg.com/understanding-towing.
CURTMFG.COM •PRODUCT SUPPORT: 877.287.8634 •16564-INS-RB •07/19/2022 •ECN9834 •PAGE 4
MAINTENANCE
Step 5 - Maneuvering
Incomplete carriage cycle:
Return the carriage back to the previous position and reset the
handle. Check the locking bar is free-moving and clear of any debris.
Attempt to maneuver the carriage to the opposing lock position,
ensuring the handle returns to the locked position.
If handle does not reset:
Ensure the carriage has travelled to the opposing lock
position and manually reset the handle to the lock position.
Visually inspect the spring located under the cross tube.
Check the locking bar is free-moving and clear of any debris.
Step 4 - Installing the 5th wheel head
Periodically apply a light coating of grease to the the
surface of the half-round rails and penetraiting oil to the
locking bar (using the access holes on to the top side
of the cross tube) and the four hex bolts and rollers.
Prior to towing, ensure all components and hardware
are structurally sound and secure. Periodically check
the torque to ensure no fasteners have become loose.

Other Lippert Industrial Equipment manuals

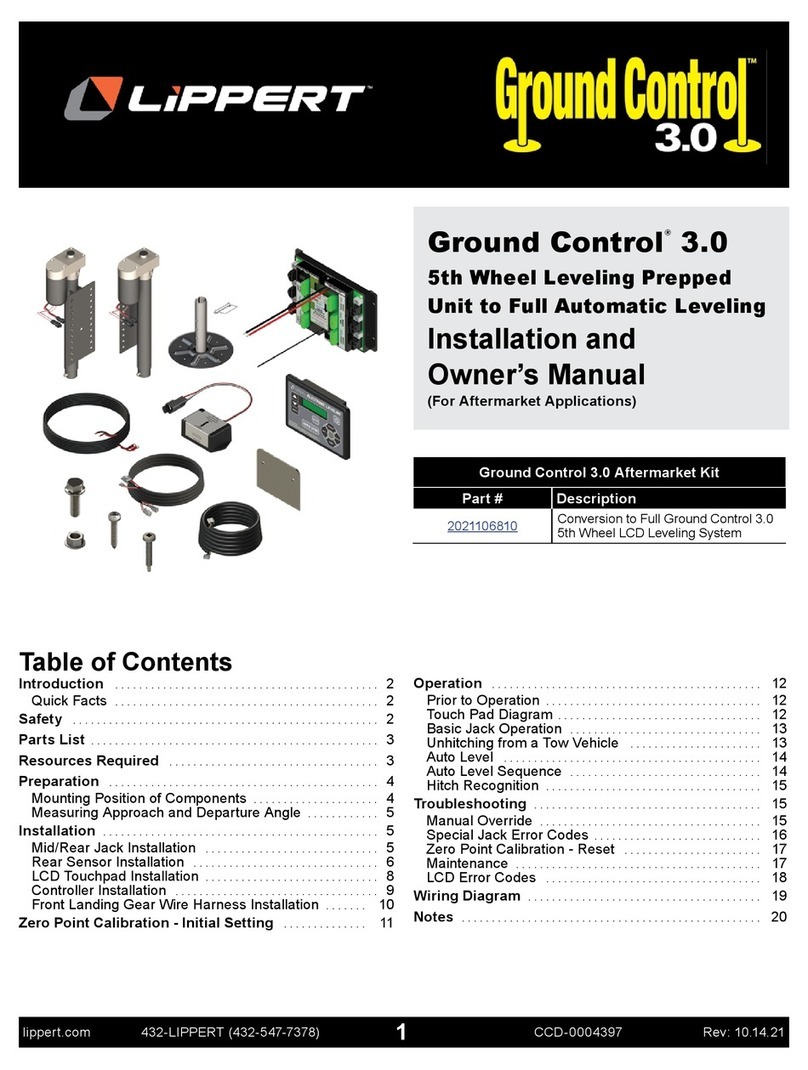
Lippert Ground Control 3.0 Installation instructions

Lippert

Lippert Ground Control 3.0 Installation instructions

Lippert JT's Strong Arm Travel Trailer Installation instructions

Lippert

Lippert JT's Strong Arm Travel Trailer Installation instructions

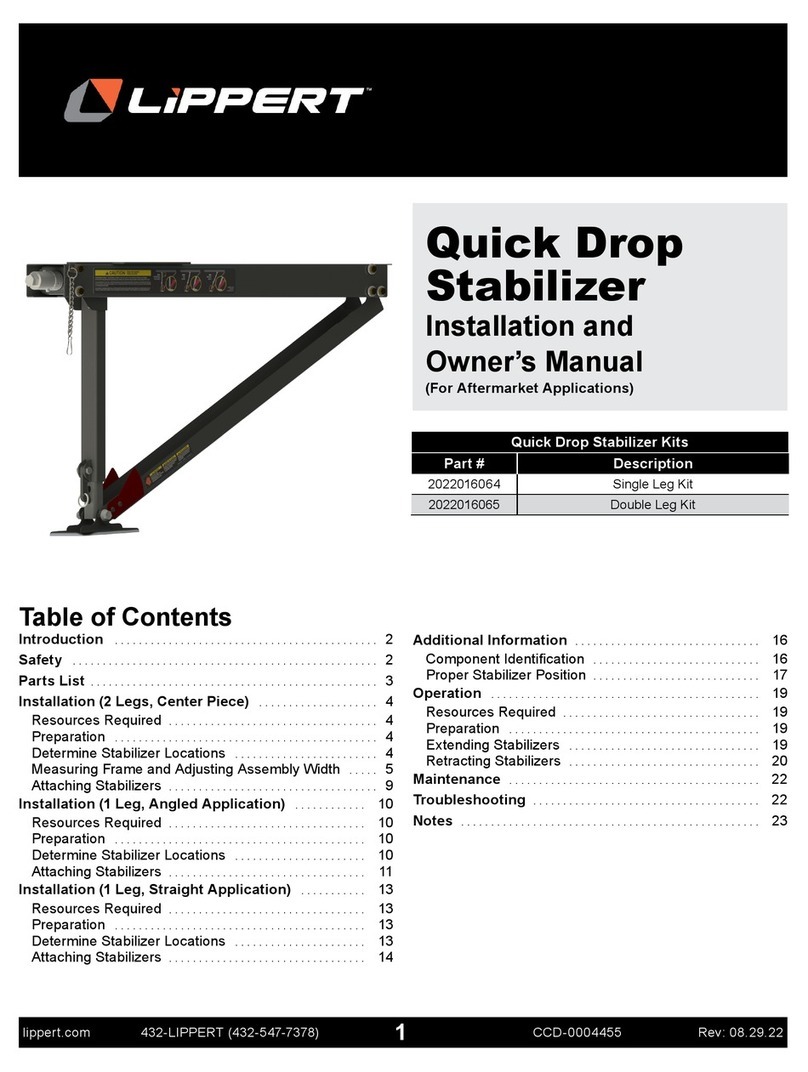
Lippert 2022016064 Installation instructions

Lippert

Lippert 2022016064 Installation instructions

Lippert Plant 310 User manual

Lippert

Lippert Plant 310 User manual

Lippert SlimRack User manual

Lippert

Lippert SlimRack User manual

Lippert Curt 16574 User manual

Lippert

Lippert Curt 16574 User manual

Lippert SureShade Power Bimini User manual

Lippert

Lippert SureShade Power Bimini User manual

Lippert Tiffin Through Frame Low profile Slide-out User manual

Lippert

Lippert Tiffin Through Frame Low profile Slide-out User manual

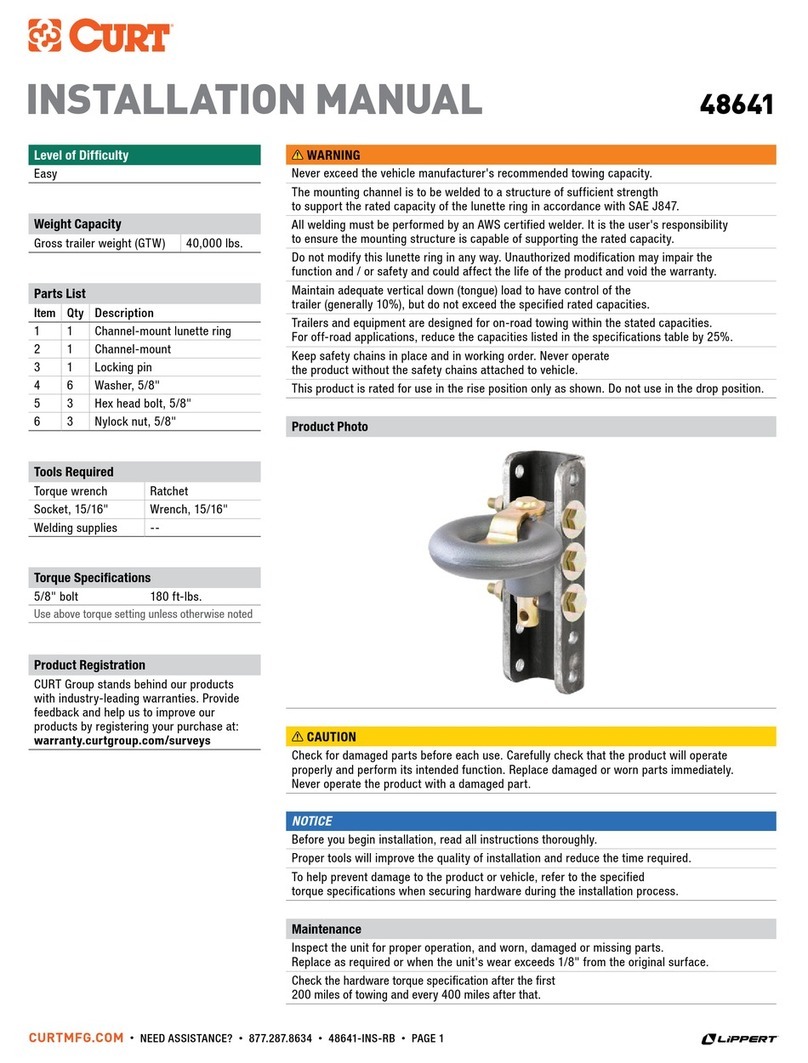
Lippert CURT 48641 User manual

Lippert

Lippert CURT 48641 User manual

Popular Industrial Equipment manuals by other brands

Rupes HE200K START-UP, OPERATING AND MAINTENANCE INSTRUCTIONS

Rupes

Rupes HE200K START-UP, OPERATING AND MAINTENANCE INSTRUCTIONS

SCHUNK iTENDO2 easy connect Assembly and operating manual

SCHUNK

SCHUNK iTENDO2 easy connect Assembly and operating manual

Automation Technology C5-2040CS18-38-2X user manual

Automation Technology

Automation Technology C5-2040CS18-38-2X user manual

ROBEL 13.45SKS Vers. 01 operating manual

ROBEL

ROBEL 13.45SKS Vers. 01 operating manual

Hubbell CHANCE PSC3090323CE manual

Hubbell

Hubbell CHANCE PSC3090323CE manual

laguna Plasma Level 2 CNC owner's manual

laguna

laguna Plasma Level 2 CNC owner's manual

Ace PMB703-7 manual

Ace

Ace PMB703-7 manual

stellar labs TireMan 12154 owner's manual

stellar labs

stellar labs TireMan 12154 owner's manual

entegris A192-81M-0215 Installation and use manual

entegris

entegris A192-81M-0215 Installation and use manual

WPC FLEXR Series operating instructions

WPC

WPC FLEXR Series operating instructions

Renishaw RenAM 500Q Original instructions

Renishaw

Renishaw RenAM 500Q Original instructions

Emerson PACSystems RX3i Important product information

Emerson

Emerson PACSystems RX3i Important product information

Keith CleenSweep Hydraulic - CSH Owner's manual & parts list

Keith

Keith CleenSweep Hydraulic - CSH Owner's manual & parts list

Siemens LDS 6 operating instructions

Siemens

Siemens LDS 6 operating instructions

Abe CraftCan 15 user guide

Abe

Abe CraftCan 15 user guide

Tormach 24R installation guide

Tormach

Tormach 24R installation guide

Vector OPT1-FC-HTNV-VC operating instructions

Vector

Vector OPT1-FC-HTNV-VC operating instructions

SDX Audio THERMOBOX quick start guide

SDX Audio

SDX Audio THERMOBOX quick start guide

manuals.online logo
manuals.online logoBrands
  • About & Mission
  • Contact us
  • Privacy Policy
  • Terms and Conditions

Copyright 2025 Manuals.Online. All Rights Reserved.