manuals.online logo
Brands
  1. Home
  2. •
  3. Brands
  4. •
  5. Little Giant
  6. •
  7. Water Pump
  8. •
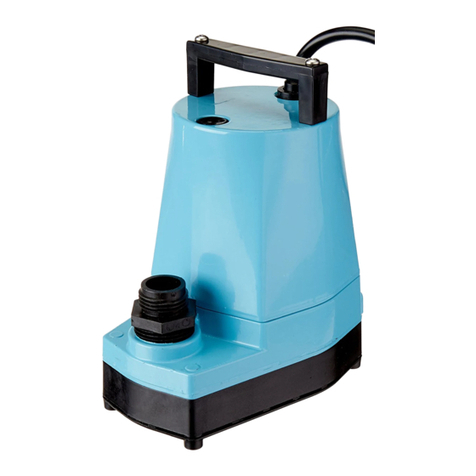
  9. Little Giant B-180 Series User manual

Little Giant B-180 Series User manual

Franklin Electric Co., Inc.
P. O. Box 12010
Oklahoma City, OK 73157-2010
405.947.2511 • Fax: 405.947.8720
www.LittleGiantPump.com
[email protected]
B-180
THROUGH B-500
SERIES
INTRODUCTION
This instruction sheet provides you with the information required to safely own and
operate your product. Retain these instructions for future reference.
The product you have purchased is of the highest quality workmanship and
material, and has been engineered to give you long and reliable service. These
products are carefully tested, inspected, and packaged to ensure safe delivery
and operation. Please examine your item(s) carefully to ensure that no damage
occurred during shipment. If damage has occurred, please contact the place of
purchase. They will assist you in replacement or repair, if required.
READ THESE INSTRUCTIONS CAREFULLY BEFORE ATTEMPTING TO
INSTALL, OPERATE, OR SERVICE YOUR LITTLE GIANT PRODUCT. KNOW
THE PRODUCT’S APPLICATION, LIMITATIONS, AND POTENTIAL HAZARDS.
PROTECT YOURSELF AND OTHERS BY OBSERVING ALL SAFETY
INFORMATION. FAILURE TO COMPLY WITH THESE INSTRUCTIONS COULD
RESULT IN PERSONAL INJURY AND/OR PROPERTY DAMAGE!
SAFETY GUIDELINES
Disconnected the pump from the power source before servicing or removing any
component.
Do not use to pump flammable or explosive fluids such as gasoline, fuel oil,
kerosene, etc. Do not use in explosive atmospheres. Pump should only be used
with liquids compatible with pump component materials.
Do not handle pump with wet hands or when standing on a wet or damp surface
or in water.
This pump is supplied with a grounding conductor and/or grounding type
attachment plug. To reduce the risk of electric shock, be certain that it is
connected to a properly grounded grounding type receptacle.
In any installation where property damage and/or personal injury might result from
an inoperative or leaking pump due to power outages, discharge line blockage,
or any other reason, a backup system(s) and/or alarm should be used.
Support pump and piping when assembling and when installed. Failure to do so
may cause piping to break, pump to fall, motor bearing failures, etc.
If pump is oil-filled, the motor housing is filled with a dielectric lubricant at the
factory for optimum motor heat transfer and lifetime lubrication of the bearings.
Use of any other lubricant could cause damage and void the warranty. This
lubricant is non-toxic; however, if it escapes the motor housing, it should be
removed from the surface quickly by placing newspapers or other absorbent
material on the water surface to soak it up, so aquatic life is undisturbed.
This pump has been tested using water only. The suitability of this pump for use
with liquids other than water is the responsibility of the end-user.
This pump is not intended for permanent mounting to a building structure by
bolting or similar means.
ELECTRICAL CONNECTIONS
1. Check the pump label for proper voltage required. Do not connect to voltage
other than that shown.
2. If pump is supplied with a 3-prong electrical plug, the third prong is to ground
the pump to prevent possible electrical shock hazard. DO NOT REMOVE the
third prong from the plug. A separate branch circuit is recommended. Do not
use an extension cord. Do not cut plug from the cord. If the plug is cut or the
cord is shortened, then this action will void the warranty.
3. If the cord is equipped with stripped lead wires, such as on 230v models,
be sure that the lead wires are connected to a power source correctly. The
green/yellow wire is the ground, and the blue (or white) and the brown (or
black) are live.
4. All wiring should be performed by a qualified electrician.
5. DO NOT use sheet metal screws to secure the equipment grounding
conductor.
CONSULT INSTRUCTION SHEET ILLUSTRATIONS FOR PROPER ASSEMBLY
AND DISASSEMBLY OF YOUR PUMP.
OPERATION
1. This pump is designed to operate submerged or in-line. It can be placed in
any position, but preferably the volute should be located to the side.
1
2. If the surface is dirt or sand, place pump on a flat surface such as a piece of
wood or metal to prevent it from being clogged.
3. The weight of the pump must be supported adequately. DO NOT support the
pump by the intake or discharge connections alone.
4. Do not attempt to restrict the intake side of these pumps. Restricting the
intake may cause damage to the seal and may starve the pump. If you
require reduced flow rates, then place a valve on the discharge side of the
pump or if flexible vinyl tubing is used, a clamp can be used on the tubing to
restrict the flow.
5. Do not let the pump operate dry. It is designed to be cooled by pumping
fluid. You may damage the seal and the motor may fail if the pump is allowed
to run dry.
6. If the pump is going to be idle for an extended period, follow the cleaning
instructions outlined in the next section. Do not let the pump freeze in the
wintertime. This may cause cracking or distortion that may destroy the
pump.
7. If fused type plug is used on 230V units, a 2.0 amp fuse is recommended.
MAINTENANCE
DISCONNECT THE PUMP FROM THE POWER SOURCE BEFORE SERVICING
OR REMOVING ANY COMPONENT!
1. This pump is permanently lubricated. Oiling is not required. DO NOT open
the sealed portion of the pump or remove housing screws. The power cord
cannot be replaced. In case of damage the entire pump must be replaced.
2. Periodic cleaning of the pump parts will prolong the life and efficiency of the
pump. Refer to the assembly and disassembly of the pumping head.
3. First remove the intake screen from the pump. Then remove the volute
mounting screws. (DO NOT remove any other screws.)
4. Lightly clean any corrosion or debris which may clog the impeller. Use a
brush and penetrating oil and lightly scrape to remove encrusted material.
5. Turn the impeller by hand to make sure it turns freely. Set pump down so
the pump and impeller are not touching anything. Plug the unit into GFCI
circuit for 10 seconds to see if the impeller turns; a) If it is rotating and GFCI
did not trip, unplug unit and install parts in reverse order in which they were
removed. b) If it does not rotate, if pump is tripping circuit breakers, or not
operating properly after cleaning, return to Proven Pump or its authorized
service center. DO NOT attempt repairs yourself.
6. Be certain power cord is in good condition and contains no nicks or cuts.
7. The motor is a continuous-duty type, sealed in oil with an automatic thermal
overload protector device.
WARNING: THE PUMP MOTOR IS EQUIPPED WITH AN
AUTOMATIC RESETTING THERMAL PROTECTOR AND MAY RESTART
UNEXPECTEDLY. PROTECTOR TRIPPING IS AN INDICATION OF
MOTOR OVERLOADING AS A RESULT OF OPERATING THE PUMP
AT LOW HEADS (LOW DISCHARGE RESTRICTION), EXCESSIVELY
HIGH OR LOW VOLTAGE, INADEQUATE WIRING, INCORRECT MOTOR
CONNECTIONS, OR A DEFECTIVE MOTOR OR PUMP.
8. The pump can run against a restricted discharge such as a fountain without
damage to the pump.
Figure 1
PUMP
SERIES
REPAIR
KIT
IMPELLER
SPACING DESCRIPTION
B-180 556704 .125" Repair kit contains screen, screws,
volute, gasket, and impeller.
B-240
B-300 556706 .045"
B-500 556705 .145"
2
TROUBLESHOOTING
PROBLEM PROBABLE CAUSES CORRECTIVE ACTION
Pump fails to run.
No electricity or low voltage. Be sure correct voltage is available.
Impeller clogged. Clean impeller.
Motor has open circuit. Replace pump.
Pump runs but no fluid flows.
Discharge height too great. Lower the height.
Inlet screen clogged. Clean or replace.
Discharge valve closed. Open the valve.
Air trapped in pump. Purge to eliminate air.
No water in reservoir. Refill.
Pump inlet located above liquid level. Pump inlet must be below liquid level (flooded).
Flow rate is low.
Low voltage. Be sure correct voltage is available.
Impeller clogged. Clean impeller.
Inlet or discharge plumbing restricted. Clean plumbing.
Discharge plumbing undersized. Replace with larger plumbing.
Discharge height too great. Lower the height.
Pump starts and stops
pumping.
Impeller or inlet screen clogged. Clean impeller and screen.
Defect in motor. Replace pump.
Incorrect voltage or frequency. Be sure correct voltage and frequency is supplied to pump.
Your product is guaranteed to be in perfect condition when it leaves our factory. It is
warranted against defective materials and workmanship for a period of 12 months
from date of purchase by the user.
Any product that should fail for either of the above two reasons and is still within the
warranty period will be repaired or replaced at the option of Little Giant Pump Company,
Inc. dba Franklin Electric Water Transfer Systems (hereafter “the manufacturer”) as the
sole remedy of buyer. For our customers in the continental United States: Please
return the defective product, postage paid, to the factory at 301 North MacArthur Blvd.,
Oklahoma City, OK 73127-6616. All defective products returned under warranty will be
fully inspected to determine the cause of failure before warranty is approved.
For our customers located elsewhere: It is not economical, due to duties and freight,
to return the product to the factory for inspection. Please return the defective product
to any authorized distributor or dealer with a brief written explanation of the problem.
If there are no apparent signs of customer abuse, the product will be repaired or
replaced. If dispute arises over replacement of the product, the distributor or dealer is
to segregate such items and hold for inspection by a representative of the manufacturer
or notify factory with details of the problem for factory disposition and settlement of
warranty claim.
DISCLAIMER: THE FOREGOING WARRANTY IS AN EXCLUSIVE WARRANTY IN LIEU
OF ANY OTHER EXPRESS WARRANTIES. ANY IMPLIED WARRANTIES (INCLUDING,
BUT NOT LIMITED TO ANY IMPLIED WARRANTY OF MERCHANTABILITY OR FITNESS
FOR A PARTICULAR PURPOSE) TO THE EXTENT EITHER APPLIES TO A PRODUCT
SHALL BE LIMITED IN DURATION TO THE PERIODS OF THE EXPRESS WARRANTIES
GIVEN ABOVE.
Warranty will be VOID if any of the following conditions are found:
1. Sealed motor housing opened.
2. Product connected to voltage other than indicated on nameplate.
3. Cord cut off to a length less than three feet.
4. Pump allowed to operate dry (fluid supply cut off).
5. Pump used to circulate anything other than fresh water, light oils, or other mild
liquids at approximately room temperature.
6. Product abuse by customer.
Any oral statements about the product made by the seller, the manufacturer, the
representatives or any other parties, do not constitute warranties, shall not be
relied upon by the user, and are not part of the contract for sale. Seller’s and
manufacturer’s only obligation, and buyer’s only remedy, shall be the replacement
and/or repair by the manufacturer of the product as described above. NEITHER
SELLER NOR THE MANUFACTURER SHALL BE LIABLE FOR ANY INJURY, LOSS
OR DAMAGE, DIRECT, INCIDENTAL OR CONSEQUENTIAL (INCLUDING, BUT NOT
LIMITED TO INCIDENTAL OR CONSEQUENTIAL DAMAGES FOR LOST PROFITS,
LOST SALES, INJURY TO PERSON OR PROPERTY, OR ANY OTHER INCIDENTAL
OR CONSEQUENTIAL LOSS), ARISING OUT OF THE USE OR THE INABILITY TO
USE THE PRODUCT AND THE USER AGREES THAT NO OTHER REMEDY SHALL BE
AVAILABLE TO IT. Before using, the user shall determine the suitability of the product
for the intended use, and user assumes all risk and liability whatsoever in connection
therewith.
Some states and countries do not allow limitations on how long an implied warranty
lasts or the exclusion or limitation of incidental or consequential damages, so the
above limitations or exclusions may not apply to you. This warranty gives you specific
legal rights, and you may also have other rights which vary from state to state and
country to country.
The National Electric Code (in the USA) and similar codes in other countries
require a Ground Fault Circuit Interrupter (GFCI) to be installed in the branch
circuit supplying fountain equipment rated above 15 volts. We recommend each
pump be used with a GFCI.
LIMITED WARRANTY
Form 998234 - 03/25/2009
©2009 Franklin Electric Co., Inc.
Little Giant® is a registered trademark of Franklin Electric Co., Inc.
For parts or repair, please contact . . . . . . . . . . . . . . . . . . . . 1.888.572.9933
For technical assistance, please contact . . . . . . . . . . . . . . . 1.888.956.0000
www.LittleGiantPump.com
[email protected]

This manual suits for next models

3

Other Little Giant Water Pump manuals

Little Giant PES Series User manual

Little Giant

Little Giant PES Series User manual

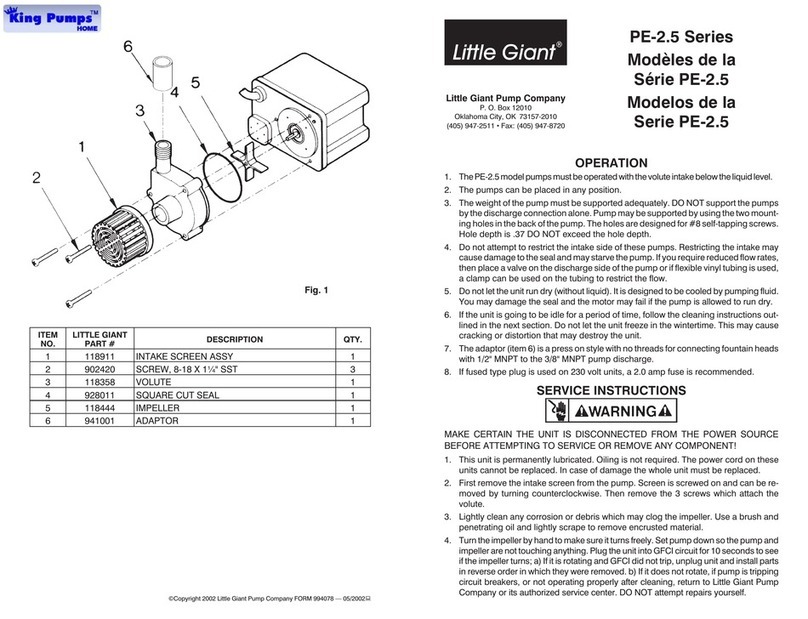
Little Giant PE-2.5 Series User manual

Little Giant

Little Giant PE-2.5 Series User manual

Little Giant WGP-65-PW User manual

Little Giant

Little Giant WGP-65-PW User manual

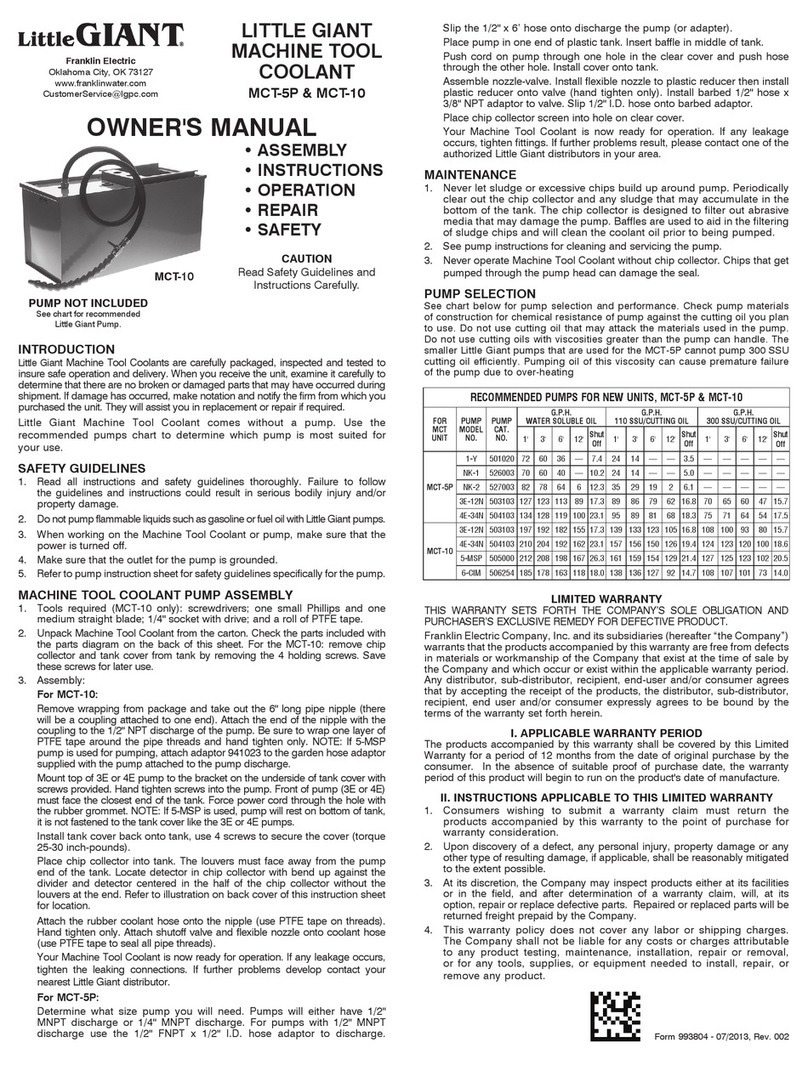
Little Giant MCT-5P User manual

Little Giant

Little Giant MCT-5P User manual

Little Giant WCR-9SP User manual

Little Giant

Little Giant WCR-9SP User manual

Little Giant B-1000 Series User manual

Little Giant

Little Giant B-1000 Series User manual

Little Giant WGP-55 User manual

Little Giant

Little Giant WGP-55 User manual

Little Giant 1 Series User manual

Little Giant

Little Giant 1 Series User manual

Little Giant 5-ASP-FS User manual

Little Giant

Little Giant 5-ASP-FS User manual

Little Giant 8-CBM User manual

Little Giant

Little Giant 8-CBM User manual

Little Giant Eliminator Series User manual

Little Giant

Little Giant Eliminator Series User manual

Little Giant 5-ASP-LL User manual

Little Giant

Little Giant 5-ASP-LL User manual

Little Giant 15EC-CIA-SFS User manual

Little Giant

Little Giant 15EC-CIA-SFS User manual

Little Giant BIOVORT FILTER Series User manual

Little Giant

Little Giant BIOVORT FILTER Series User manual

Little Giant UPSP-5 User manual

Little Giant

Little Giant UPSP-5 User manual

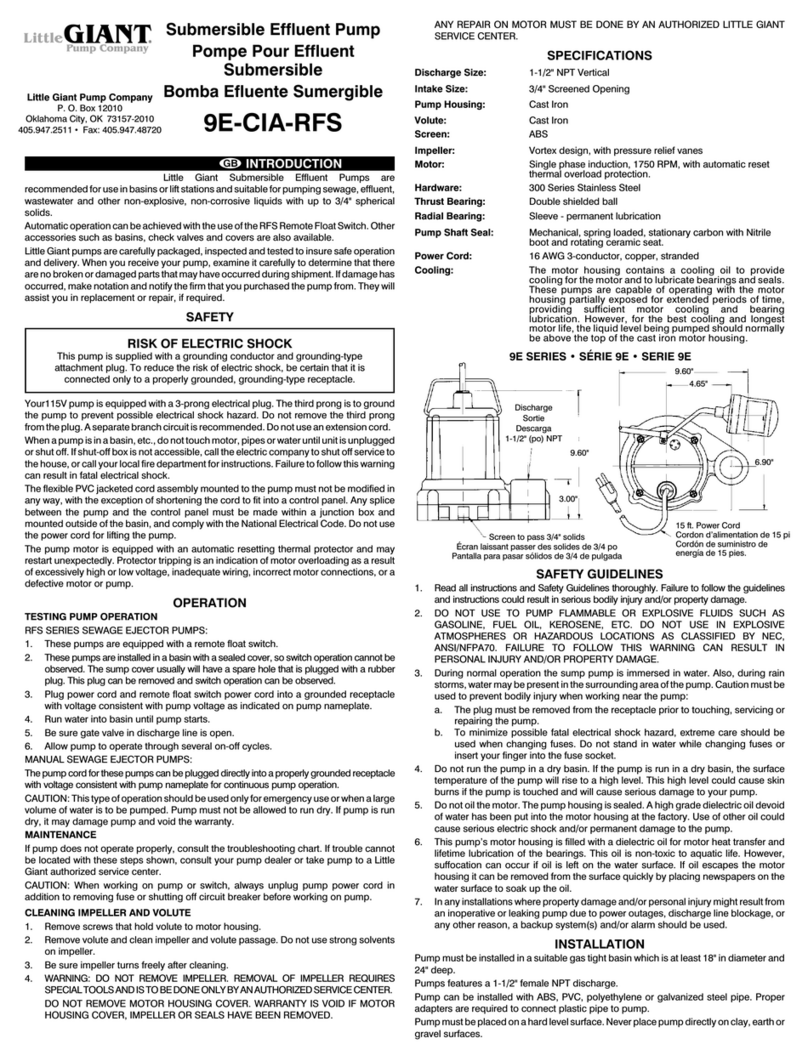
Little Giant 9E-CIA-RFS User manual

Little Giant

Little Giant 9E-CIA-RFS User manual

Little Giant BSWC50 User manual

Little Giant

Little Giant BSWC50 User manual

Little Giant 5-MSP User manual

Little Giant

Little Giant 5-MSP User manual

Little Giant 2E-38NY User manual

Little Giant

Little Giant 2E-38NY User manual

Little Giant 3-MDX Use and care manual

Little Giant

Little Giant 3-MDX Use and care manual

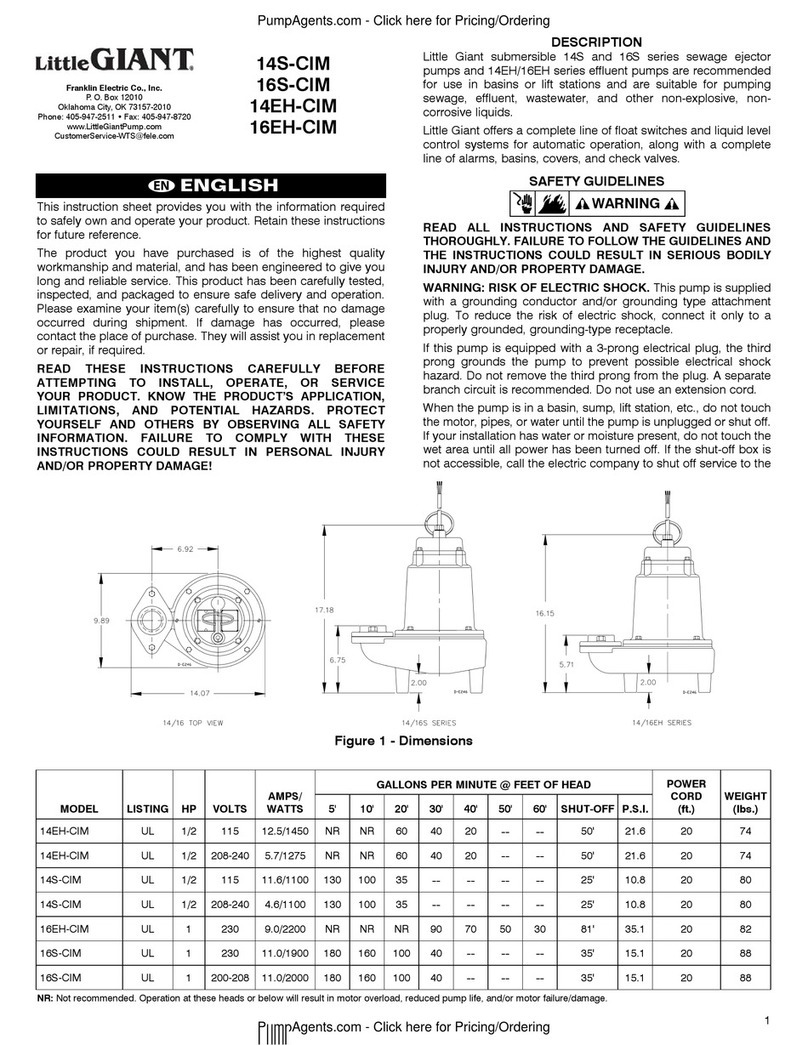
Little Giant 14S-CIM User manual

Little Giant

Little Giant 14S-CIM User manual

Little Giant VCMX-20 User manual

Little Giant

Little Giant VCMX-20 User manual

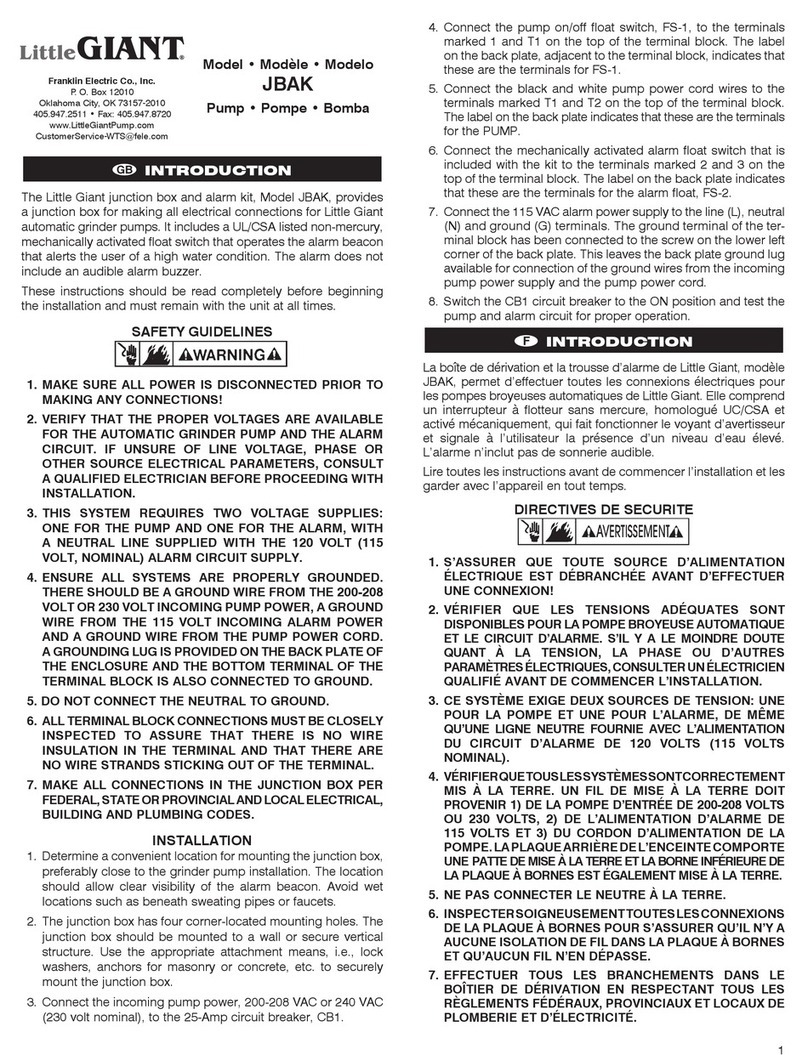
Little Giant JBAK User manual

Little Giant

Little Giant JBAK User manual

Little Giant WRS-5 User manual

Little Giant

Little Giant WRS-5 User manual

Popular Water Pump manuals by other brands

iPA 9070 Operator's manual

iPA

iPA 9070 Operator's manual

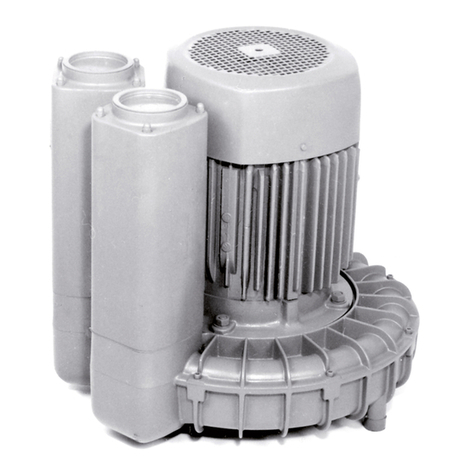
Becker SV 5.490 operating instructions

Becker

Becker SV 5.490 operating instructions

Tuthill KINNEY KVA12 Installation, operation & maintenance instructions

Tuthill

Tuthill KINNEY KVA12 Installation, operation & maintenance instructions

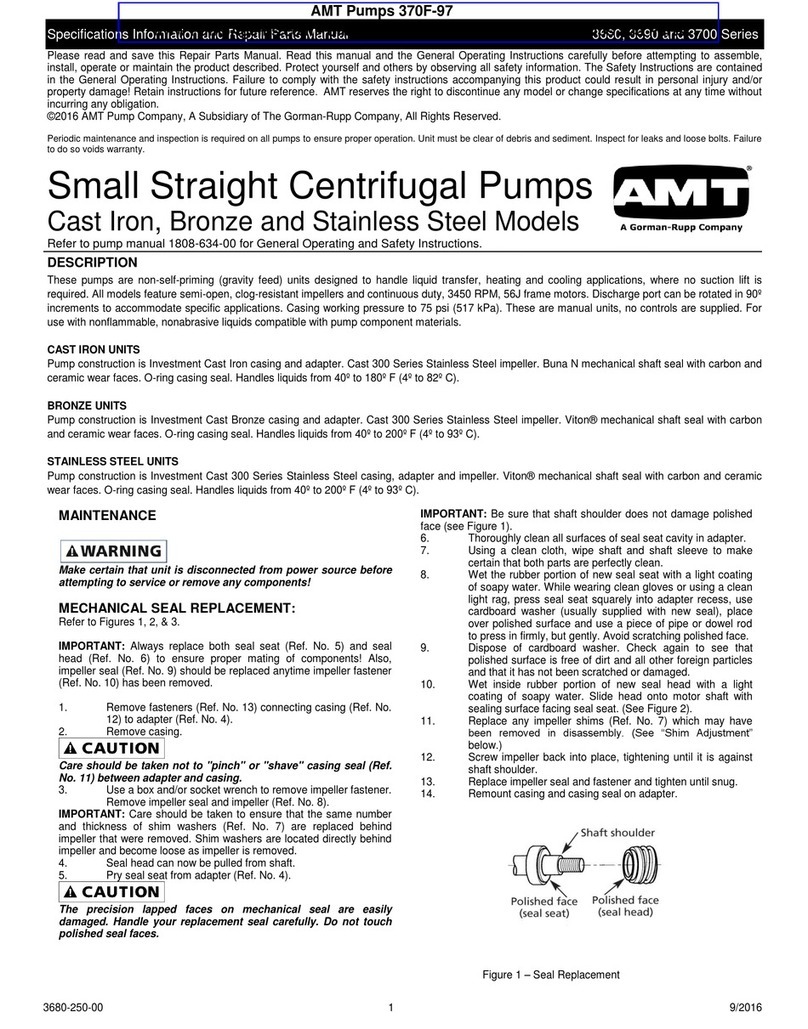
GORMAN-RUPP AMT 370F-97 Specifications information and repair parts manual

GORMAN-RUPP

GORMAN-RUPP AMT 370F-97 Specifications information and repair parts manual

Simson AHP 2500 instructions

Simson

Simson AHP 2500 instructions

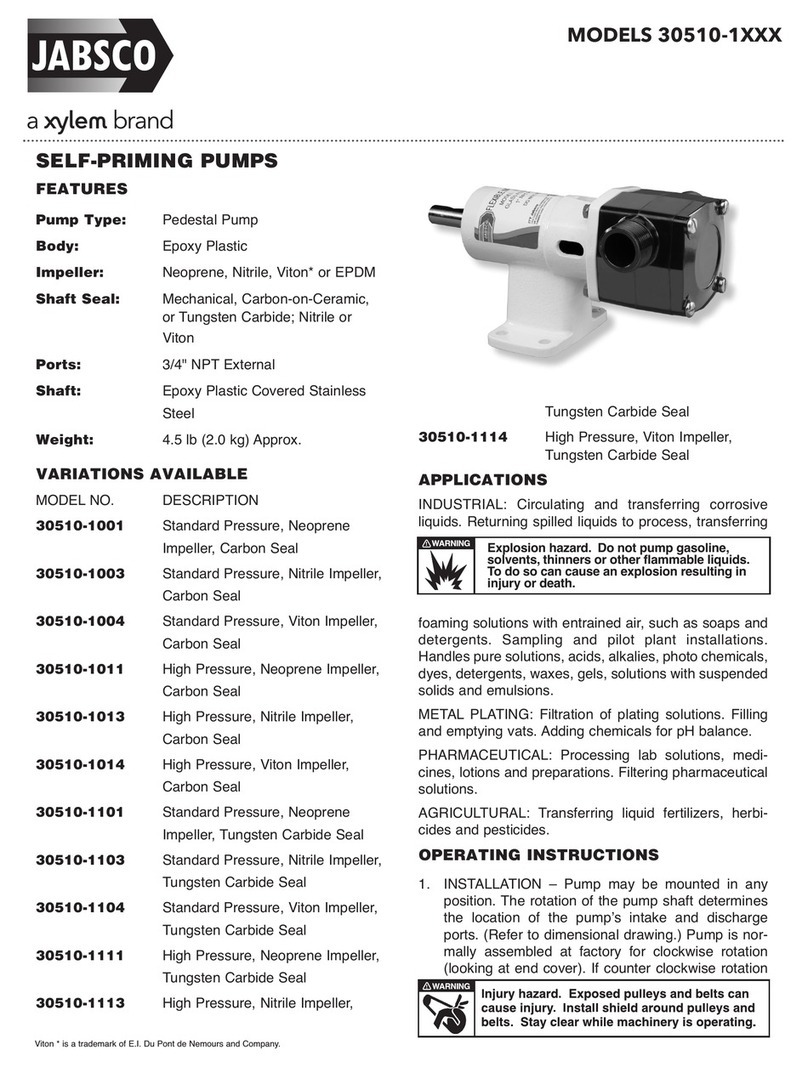
JABSCO 30510-1003 manual

JABSCO

JABSCO 30510-1003 manual

Giant P400-5100 Series Operating instructions/ repair and service manual

Giant

Giant P400-5100 Series Operating instructions/ repair and service manual

Dover PSG Wilden PS1500 Operation & maintenance manual

Dover

Dover PSG Wilden PS1500 Operation & maintenance manual

Pentair AERMOTOR HNAS Series owner's manual

Pentair

Pentair AERMOTOR HNAS Series owner's manual

M Pumps SCE Series user manual

M Pumps

M Pumps SCE Series user manual

Baron BA-2620RD instructions

Baron

Baron BA-2620RD instructions

Becker SV 5.90 operating instructions

Becker

Becker SV 5.90 operating instructions

VERDER VERDERAIR VA 40 Instructions-parts list

VERDER

VERDER VERDERAIR VA 40 Instructions-parts list

BJM Pumps FAHRENHEIT SK-F Series Installation, operation & maintenance manual

BJM Pumps

BJM Pumps FAHRENHEIT SK-F Series Installation, operation & maintenance manual

salmson CXL Installation and starting instructions

salmson

salmson CXL Installation and starting instructions

PHCC S2033 Instruction manual & safety warnings

PHCC

PHCC S2033 Instruction manual & safety warnings

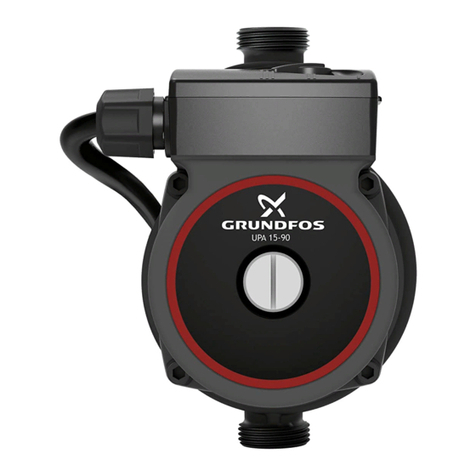
Grundfos UPA 15-90 instructions

Grundfos

Grundfos UPA 15-90 instructions

Grundfos Unilift KP 150 Installation and operating instructions

Grundfos

Grundfos Unilift KP 150 Installation and operating instructions

manuals.online logo
manuals.online logoBrands
  • About & Mission
  • Contact us
  • Privacy Policy
  • Terms and Conditions

Copyright 2025 Manuals.Online. All Rights Reserved.