manuals.online logo
Brands
  1. Home
  2. •
  3. Brands
  4. •
  5. LockTech
  6. •
  7. Tools
  8. •
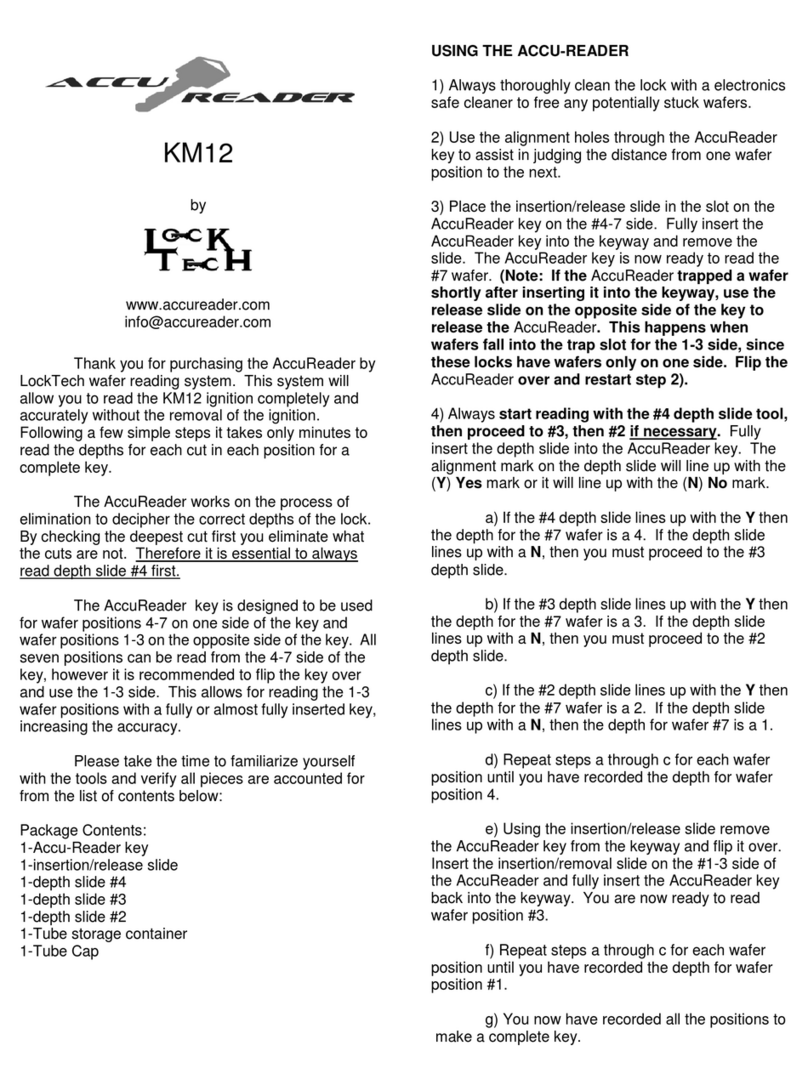
  9. LockTech AccuReader GM10 User manual

LockTech AccuReader GM10 User manual

GM10
by
www.accureader.com
[email protected]
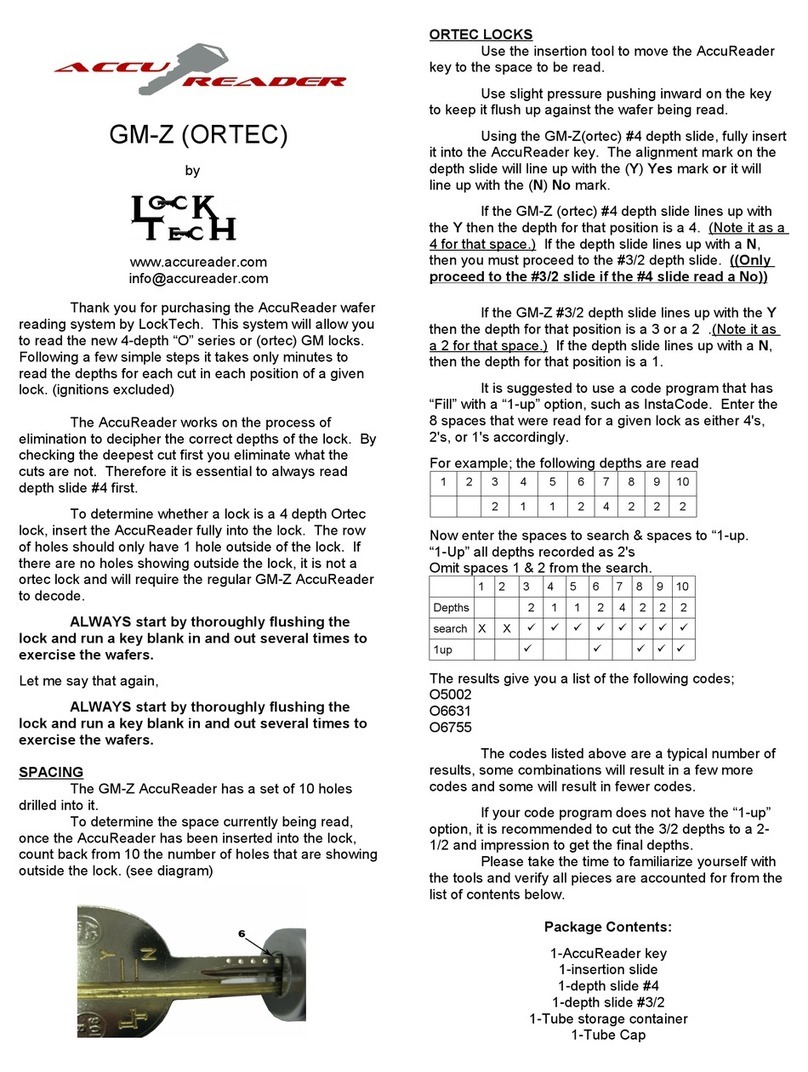
Thank you for purchasing the Accu eader
wafer reading system by LockTech. This system will
allow you to read the door/trunk wafers in GM10 cut
vehicles. Following a few simple steps it takes only
minutes to read the depths for each cut in each. The
GM10 Accu eader is not designed to be used on the
newer GM10 cut key commonly referred to as a Z
key.
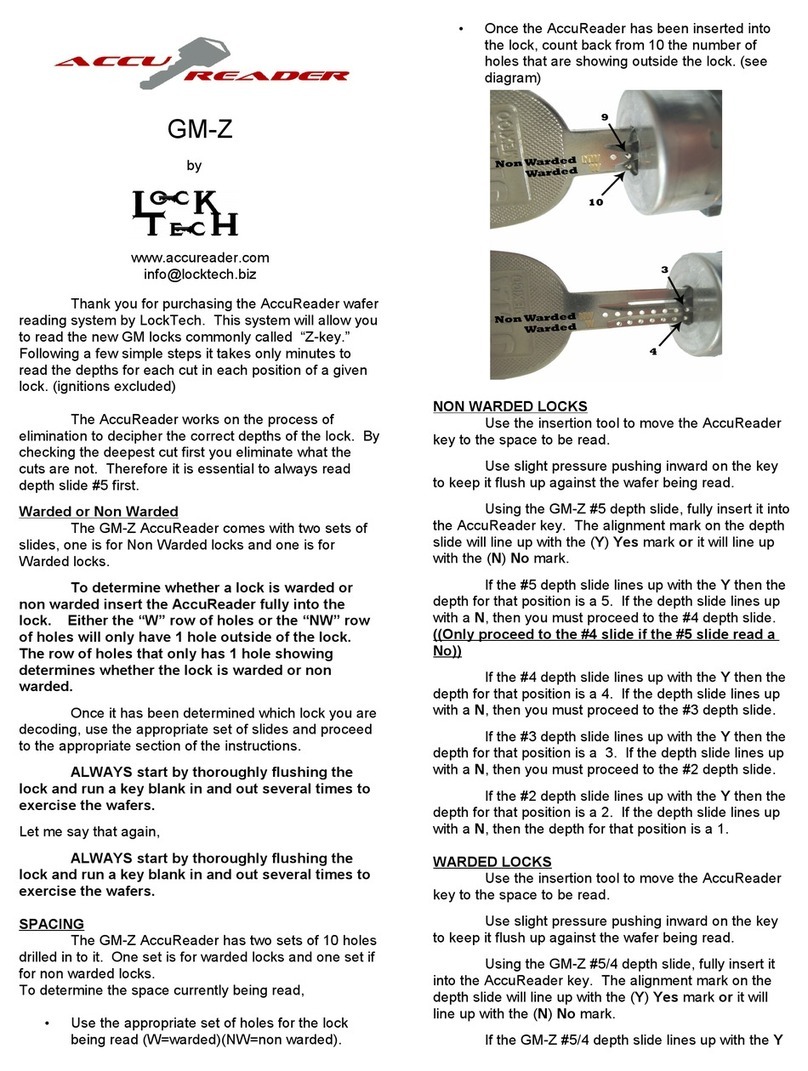
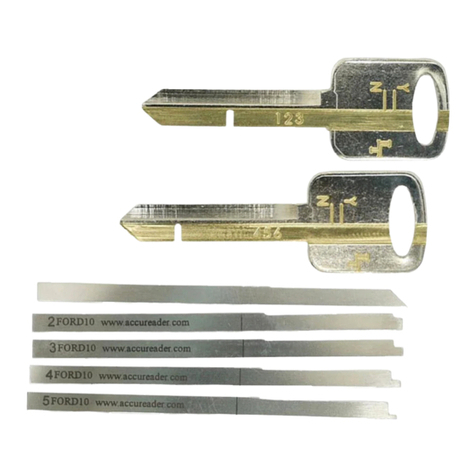
The GM10 Accu eader comes with 2 keys.
One is designed to read any wafers in positions 1-5
and the other key is designed to read any wafers
found in positions 6-10. Using both keys allows for
reading the more shallow wafer positions with a fully
or almost fully inserted key, increasing the accuracy.
The Accu eader works on the process of
elimination to decipher the correct depths of the lock.
By checking the deepest cut first you eliminate what
the cuts are not. Therefore it is essential to always
read depth slide #4 first.
Please take the time to familiarize yourself
with the tools and verify all pieces are accounted for
from the list of contents below:
Package Contents:
2-Accu eader keys
1-insertion/release slide
1-GM10 depth slide #4
1-GM10 depth slide #3
1-GM10 depth slide #2
1-Tube storage container
1-Tube Cap
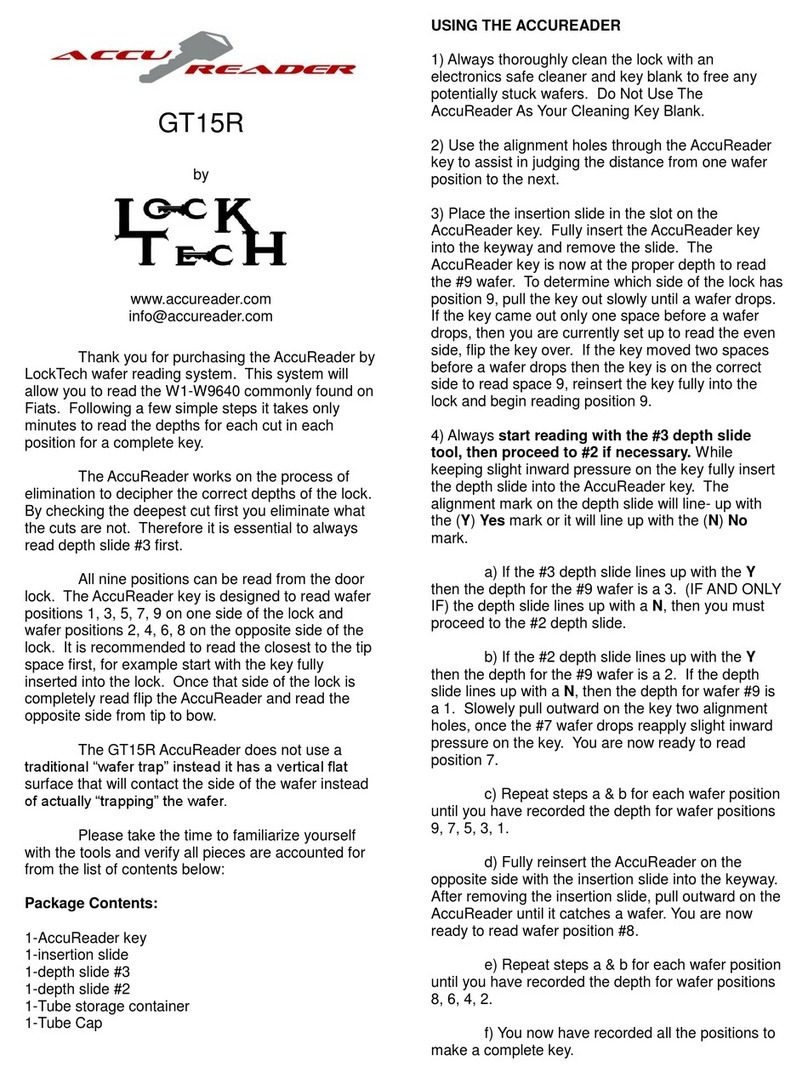
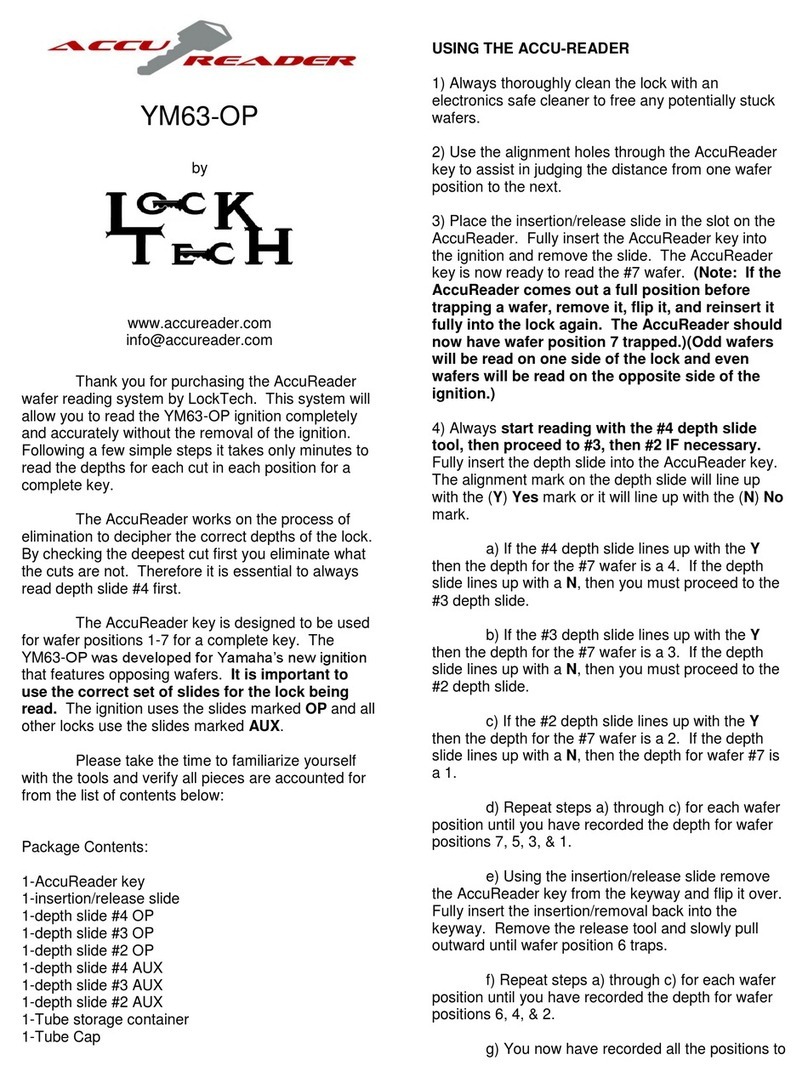
USING THE ACCU-READER
1) Always thoroughly clean the lock with a electronics
safe cleaner to free any potentially stuck wafers.
Cycle a key blank in and out of the lock approx. 20
times.
2) Use the alignment holes in the Accu eader key to
assist in judging the distance from one wafer position
to the next. Wafer orientation will vary depending on
the vehicle. It is recommended to use a resource
such as AutoSmart to determine wafer locations for
specific models.
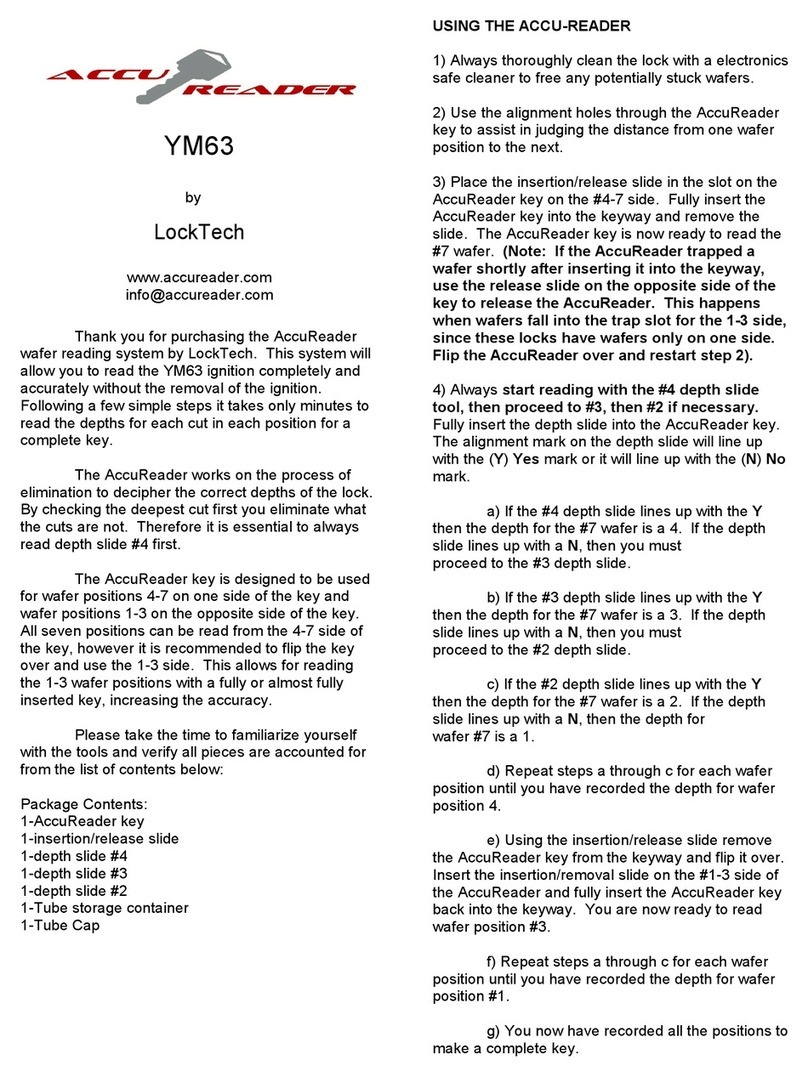
3) Place the insertion/release slide in the slot on the
Accu eader key for the 6-10 spaces. Fully insert the
Accu eader key into the keyway and remove the
slide. Pull the Accu eader outward until a wafer
traps and note the alignment holes. emoving the
Accu eader flipping it over and repeating this step
will determine if the deepest wafer is on the top or
bottom. After this has been determined, einsert the
Accu eader and trap the deepest wafer. WHEN
YOU TRAP A WAFER JIGGLE THE ACCUREADER
KEY TO INSURE THE WAFER HAS DROPPED
COMPLETELY TO ITS NORMAL RESTING
POSITION BEFORE READING.
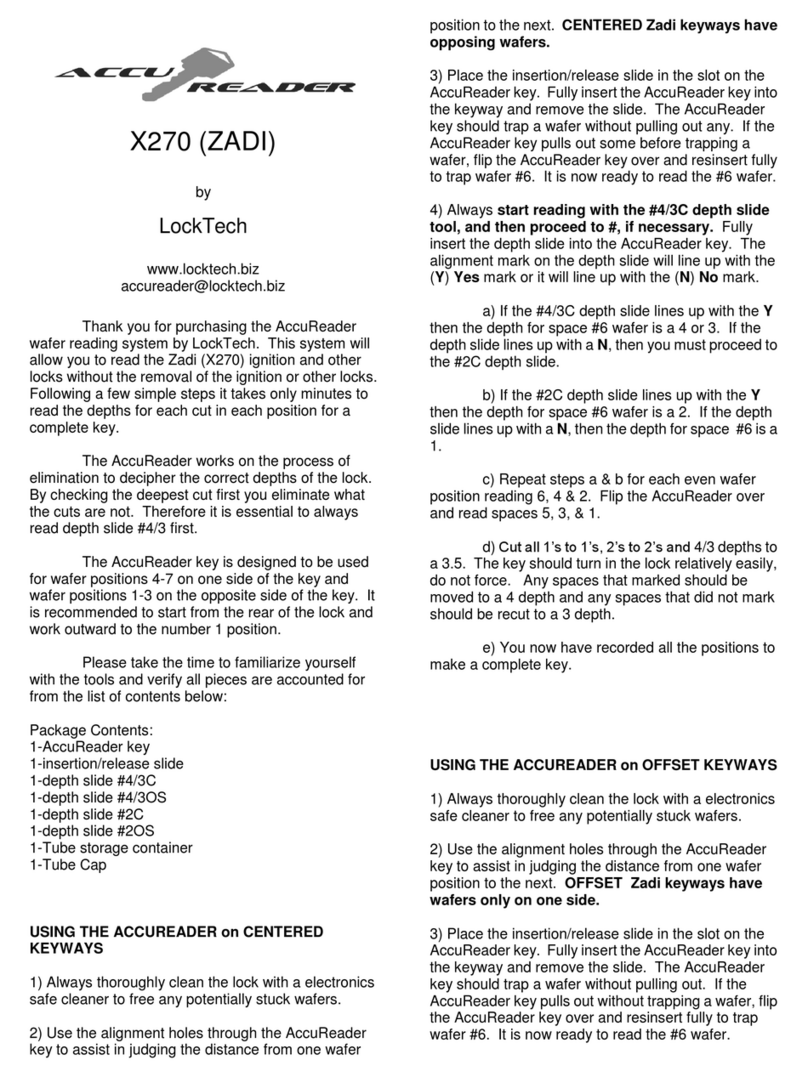
4) Always start read ng w th the #4 depth sl de
tool, then proceed to #3, then #2 “ f necessary.”
Fully insert the depth slide into the Accu eader key.
The alignment mark on the depth slide will line up
with the (Y) Yes mark or it will line up with the (N) No
mark.
a) If the #4 depth slide lines up with the Y
then the depth for that wafer is a 4. If the depth slide
lines up with a N, then you must proceed to the #3
depth slide.
b) If the #3 depth slide lines up with the Y
then the depth for that wafer is a 3. If the depth slide
lines up with a N, then you must proceed to the #2
depth slide.
c) If the #2 depth slide lines up with the Y
then the depth for that wafer is a 2. If the depth slide
lines up with a N, then the depth for that wafer is a 1.
d) epeat steps a) through c) for each wafer
position until you have recorded the depths for all
wafers in positions 6-10.
e) Using the GM10 Accu eader key for 1-5
spaces repeat a), b), & c) above to read any wafers
found in positions 1-5. Remember when the GM10
AccuReader key for 1-5 s fully nserted nto the
keyway the wafer trap s al gned w th pos t on 5.
Starting with position 5 continue to read all the
remaining wafers.
g) You now have recorded all the positions to
make a working key for that lock. Progression can be
used to finish the ignition cuts for a complete key.
TIPS & SUGGESTIONS
1) Always clean the keyway thoroughly before starting.
2) After each wafer is trapped, jiggle the Accu eader key to ensure the wafer is fully seated before taking readings.
3) Use the diagram on the protective case to identify the YES line and the NO line when reading a lock.
4) Watch the demonstration video online at: www.accureader.com
5) While holding the Accu eader key straight, keep slight upward pressure on the slide to ensure the tip is resting
along the bottom of the slide track.
6) If you get different readings on different locks, use the deepest reading for that space. This is caused when the
wafer wont fully seat due to dirt, caked grease, or is bent.
Please email us for any corrections or additions at [email protected] rev. 3-31-09

Other LockTech Tools manuals

LockTech AccuReader GM-Z User manual

LockTech

LockTech AccuReader GM-Z User manual

LockTech AccuReader Ford8 Operator's manual

LockTech

LockTech AccuReader Ford8 Operator's manual

LockTech AccuReader Ford10 User manual

LockTech

LockTech AccuReader Ford10 User manual

LockTech AccuReader GT15R User manual

LockTech

LockTech AccuReader GT15R User manual

LockTech AccuReader YM63 User manual

LockTech

LockTech AccuReader YM63 User manual

LockTech AccuReader X270 User manual

LockTech

LockTech AccuReader X270 User manual

LockTech AccuReader HYD13 User manual

LockTech

LockTech AccuReader HYD13 User manual

LockTech AccuReader KM12 User manual

LockTech

LockTech AccuReader KM12 User manual

LockTech AccuReader GM-Z ORTEC User manual

LockTech

LockTech AccuReader GM-Z ORTEC User manual

LockTech AccuReader YM63-OP User manual

LockTech

LockTech AccuReader YM63-OP User manual

Popular Tools manuals by other brands

Schneider Airsystems SLA 8-9 Original operating manual

Schneider Airsystems

Schneider Airsystems SLA 8-9 Original operating manual

jbc HT470 instruction manual

jbc

jbc HT470 instruction manual

HURST MOC instruction manual

HURST

HURST MOC instruction manual

TE Connectivity CERTI- LOK Hand Tool Frame Assembly 169400 Original instructions

TE Connectivity

TE Connectivity CERTI- LOK Hand Tool Frame Assembly 169400 Original instructions

Alcoa Huck HK150-S456 instruction manual

Alcoa

Alcoa Huck HK150-S456 instruction manual

U-Line BOSTITCH H-3530 Operation

U-Line

U-Line BOSTITCH H-3530 Operation

Dynello Rewinder II instructions

Dynello

Dynello Rewinder II instructions

Makita 2012NB instruction manual

Makita

Makita 2012NB instruction manual

Klein Tools KN1500P-EX instruction manual

Klein Tools

Klein Tools KN1500P-EX instruction manual

haubold SKN40L-12V-I operating instructions

haubold

haubold SKN40L-12V-I operating instructions

Titan TTB892MLT instruction manual

Titan

Titan TTB892MLT instruction manual

AW RPM68-2 instruction manual

AW

AW RPM68-2 instruction manual

Taylor PHOENIX instruction manual

Taylor

Taylor PHOENIX instruction manual

Würth master EH 4 operating instructions

Würth

Würth master EH 4 operating instructions

ANDAL SYSTEM TILE&SHAKE user manual

ANDAL SYSTEM

ANDAL SYSTEM TILE&SHAKE user manual

Makita HR002G instruction manual

Makita

Makita HR002G instruction manual

Forch 3920 20 3 manual

Forch

Forch 3920 20 3 manual

Parkside PBSG 95 A1 Operation and safety notes

Parkside

Parkside PBSG 95 A1 Operation and safety notes

manuals.online logo
manuals.online logoBrands
  • About & Mission
  • Contact us
  • Privacy Policy
  • Terms and Conditions

Copyright 2025 Manuals.Online. All Rights Reserved.