manuals.online logo
Brands
  1. Home
  2. •
  3. Brands
  4. •
  5. LockTech
  6. •
  7. Tools
  8. •
  9. LockTech AccuReader X270 User manual

LockTech AccuReader X270 User manual

X270 (ZADI)
by
LockTech
www.locktech.biz
accureader@locktech.biz
Thank you for purchasing the AccuReader
wafer reading system by LockTech. This system will
allow you to read the Zadi (X270) ignition and other
locks without the removal of the ignition or other locks.
Following a few simple steps it takes only minutes to
read the depths for each cut in each position for a
complete key.
The AccuReader works on the process of
elimination to decipher the correct depths of the lock.
By checking the deepest cut first you eliminate what
the cuts are not. Therefore it is essential to always
read depth slide #4/3 first.
The AccuReader key is designed to be used
for wafer positions 4-7 on one side of the key and
wafer positions 1-3 on the opposite side of the key. It
is recommended to start from the rear of the lock and
work outward to the number 1 position.
Please take the time to familiarize yourself
with the tools and verify all pieces are accounted for
from the list of contents below:
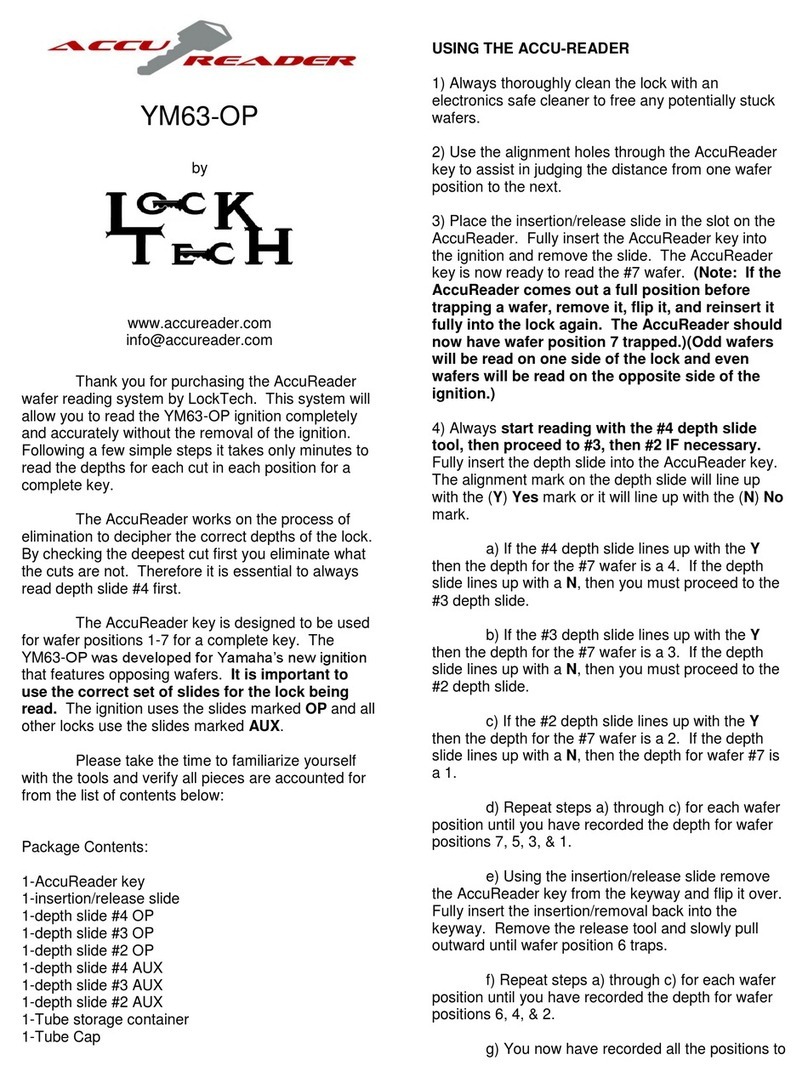
Package Contents:
1-AccuReader key
1-insertion/release slide
1-depth slide #4/3C
1-depth slide #4/3OS
1-depth slide #2C
1-depth slide #2OS
1-Tube storage container
1-Tube Cap
USING THE ACCUREADER on CENTERED
KEYWAYS
1) Always thoroughly clean the lock with a electronics
safe cleaner to free any potentially stuck wafers.
2) Use the alignment holes through the AccuReader
key to assist in judging the distance from one wafer
position to the next. CENTERED Zadi keyways have
opposing wafers.
3) Place the insertion/release slide in the slot on the
AccuReader key. Fully insert the AccuReader key into
the keyway and remove the slide. The AccuReader
key should trap a wafer without pulling out any. If the
AccuReader key pulls out some before trapping a
wafer, flip the AccuReader key over and resinsert fully
to trap wafer #6. It is now ready to read the #6 wafer.
4) Always start reading with the #4/3C depth slide
tool, and then proceed to #, if necessary. Fully
insert the depth slide into the AccuReader key. The
alignment mark on the depth slide will line up with the
(Y) Yes mark or it will line up with the (N)No mark.
a) If the #4/3C depth slide lines up with the Y
then the depth for space #6 wafer is a 4 or 3. If the
depth slide lines up with a N, then you must proceed to
the #2C depth slide.
b) If the #2C depth slide lines up with the Y
then the depth for space #6 wafer is a 2. If the depth
slide lines up with a N, then the depth for space #6 is a
1.
c) Repeat steps a & b for each even wafer
position reading 6, 4 & 2. Flip the AccuReader over
and read spaces 5, 3, & 1.
d) Cut all 1’s to 1’s, 2’s to 2’s and 4/3 depths to
a 3.5. The key should turn in the lock relatively easily,
do not force. Any spaces that marked should be
moved to a 4 depth and any spaces that did not mark
should be recut to a 3 depth.
e) You now have recorded all the positions to
make a complete key.
USING THE ACCUREADER on OFFSET KEYWAYS
1) Always thoroughly clean the lock with a electronics
safe cleaner to free any potentially stuck wafers.
2) Use the alignment holes through the AccuReader
key to assist in judging the distance from one wafer
position to the next. OFFSET Zadi keyways have
wafers only on one side.
3) Place the insertion/release slide in the slot on the
AccuReader key. Fully insert the AccuReader key into
the keyway and remove the slide. The AccuReader
key should trap a wafer without pulling out. If the
AccuReader key pulls out without trapping a wafer, flip
the AccuReader key over and resinsert fully to trap
wafer #6. It is now ready to read the #6 wafer.
4) Always start reading with the #4/3OS depth slide
tool, and then proceed to #, if necessary. Fully
insert the depth slide into the AccuReader key. The
alignment mark on the depth slide will line up with the
(Y) Yes mark or it will line up with the (N)No mark.
a) If the #4/3OS depth slide lines up with the Y
then the depth for space #6 wafer is a 4 or 3. If the
depth slide lines up with a N, then you must proceed to
the #2 depth slide.
b) If the #2OS depth slide lines up with the Y
then the depth for space #6 wafer is a 2OS. If the
depth slide lines up with a N, then the depth for space
#6 is a 1.
c) Repeat steps a & b for each wafer position
until you have recorded the depth for all 6 positions.
d) Cut all 1’s to 1’s, 2’s to 2’s and 4/3 depths to
a 3.5. The key should turn in the lock relatively easily,
do not force. Any spaces that marked should be
moved to a 4 depth and any spaces that did not mark
should be recut to a 3 depth.
e) You now have recorded all the positions to
make a complete key.
TIPS& SUGGESTIONS
1) Always clean the keyway thoroughly before starting.
2) If the lock is worn, unusually dirty, or inconsistent, try reading from multiple locks.
3) Watch the demonstration video online at: www.accureader.com
4) Keep slight upward pressure on the rear of the slide. This will keep the tip along
the bottom edge of the track as intended.
Please email us for any corrections or additions at info@accureader.com rev. 04-01-12

Other LockTech Tools manuals

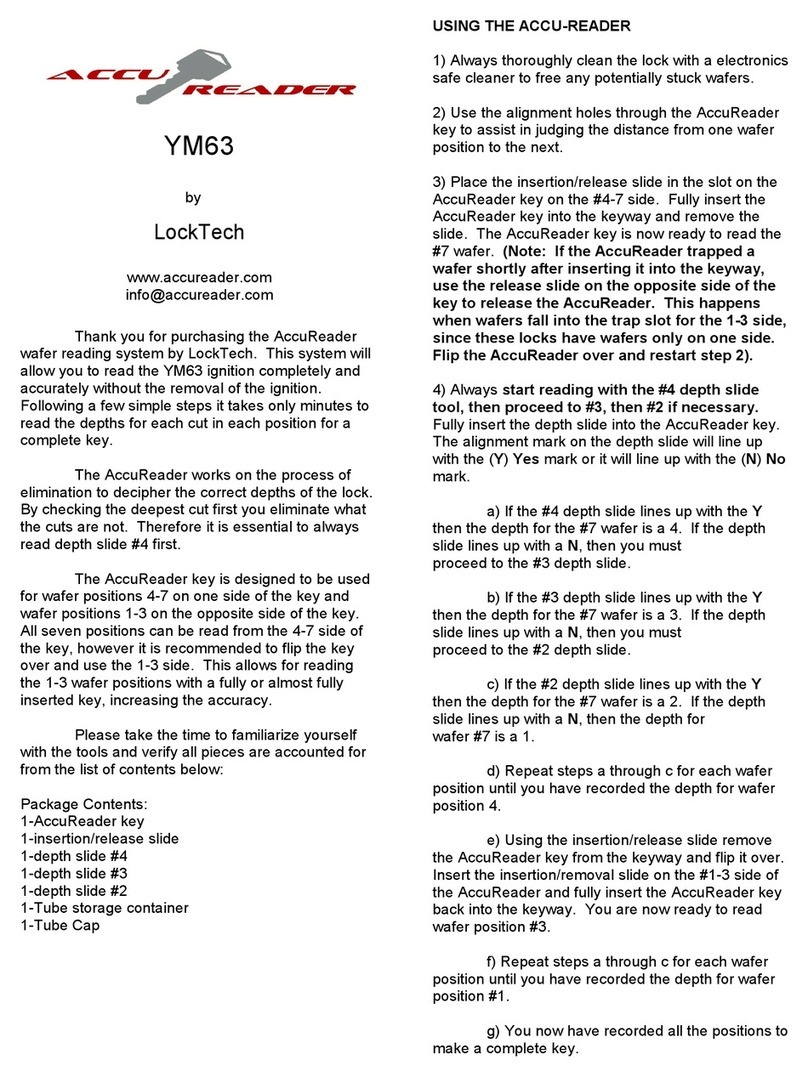
LockTech AccuReader YM63-OP User manual

LockTech

LockTech AccuReader YM63-OP User manual

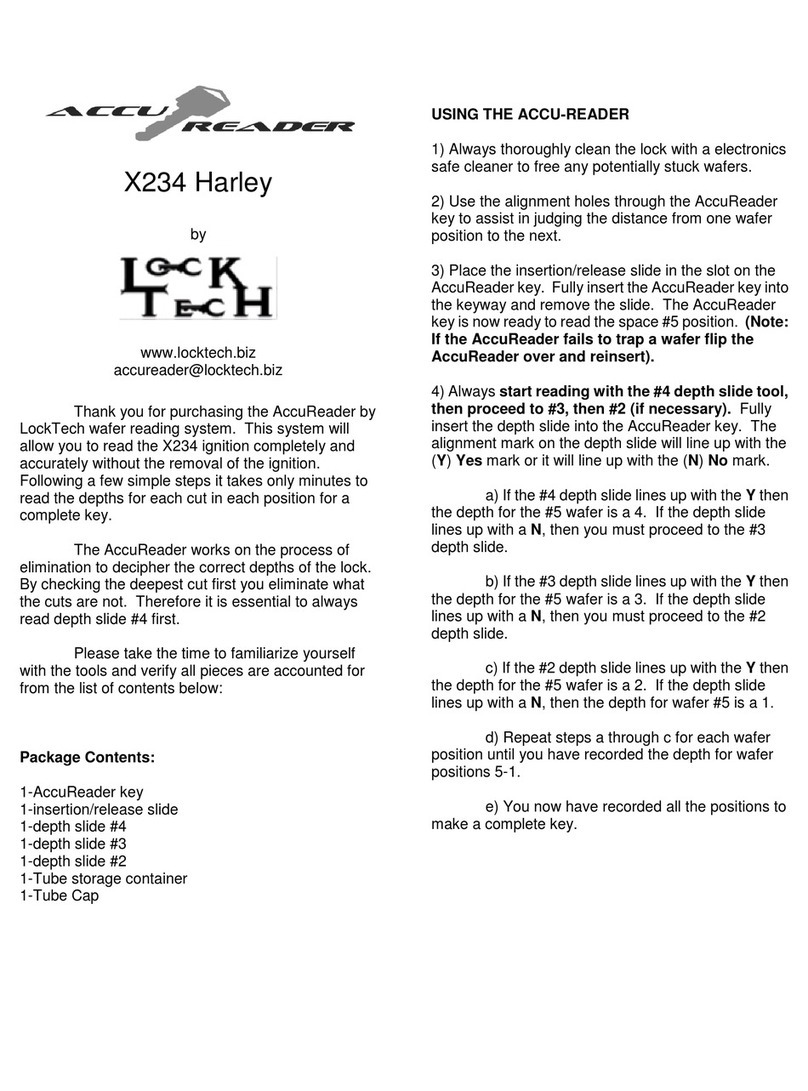
LockTech AccuReader YM63 User manual

LockTech

LockTech AccuReader YM63 User manual

LockTech AccuReader GT15R User manual

LockTech

LockTech AccuReader GT15R User manual

LockTech AccuReader GM10 User manual

LockTech

LockTech AccuReader GM10 User manual

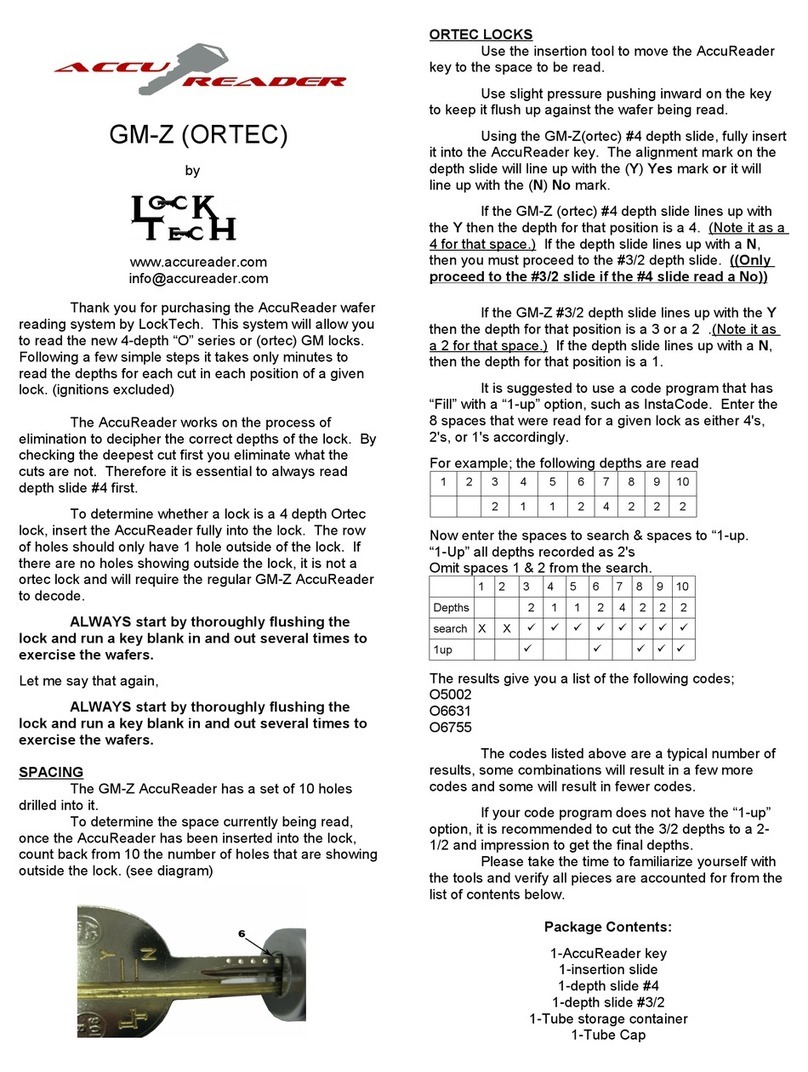
LockTech AccuReader GM-Z ORTEC User manual

LockTech

LockTech AccuReader GM-Z ORTEC User manual

LockTech AccuReader KM12 User manual

LockTech

LockTech AccuReader KM12 User manual

LockTech AccuReader HYD13 User manual

LockTech

LockTech AccuReader HYD13 User manual

LockTech AccuReader Ford8 Operator's manual

LockTech

LockTech AccuReader Ford8 Operator's manual

LockTech AccuReader GM-Z User manual

LockTech

LockTech AccuReader GM-Z User manual

LockTech AccuReader Ford10 User manual

LockTech

LockTech AccuReader Ford10 User manual

Popular Tools manuals by other brands

Makita VR001G instruction manual

Makita

Makita VR001G instruction manual

Hardinge 3C Instructions for use

Hardinge

Hardinge 3C Instructions for use

Central Forge 3794 Assembly and operating instructions

Central Forge

Central Forge 3794 Assembly and operating instructions

MUELLER CO. H-603 operating instructions

MUELLER CO.

MUELLER CO. H-603 operating instructions

Powerfix Profi PMTR 4 A1 translation of original operation manual

Powerfix Profi

Powerfix Profi PMTR 4 A1 translation of original operation manual

Draper TK58/BL User information

Draper

Draper TK58/BL User information

Parkside PDST 10 A1 Operation and safety notes translation of the original instructions

Parkside

Parkside PDST 10 A1 Operation and safety notes translation of the original instructions

Desoutter MC51-10 Technical manual

Desoutter

Desoutter MC51-10 Technical manual

Sealey CP20VGT3 quick start guide

Sealey

Sealey CP20VGT3 quick start guide

IKA S 25 N - 25 F technical information

IKA

IKA S 25 N - 25 F technical information

Arconic 2624 Series instruction manual

Arconic

Arconic 2624 Series instruction manual

Paslode IM350+ Lithium General safety instructions

Paslode

Paslode IM350+ Lithium General safety instructions

RAMSET TRIX 160 Operator's manual and maintenance instructions

RAMSET

RAMSET TRIX 160 Operator's manual and maintenance instructions

APE 50 Operation and maintenance manual

APE

APE 50 Operation and maintenance manual

LAS 10318 operating instructions

LAS

LAS 10318 operating instructions

tormek TT-50 Instruction manual

tormek

tormek TT-50 Instruction manual

MSW MSW-GSL2-10080-2PC user manual

MSW

MSW MSW-GSL2-10080-2PC user manual

Makita Maktec MT980 instruction manual

Makita

Makita Maktec MT980 instruction manual

manuals.online logo
manuals.online logoBrands
  • About & Mission
  • Contact us
  • Privacy Policy
  • Terms and Conditions

Copyright 2025 Manuals.Online. All Rights Reserved.