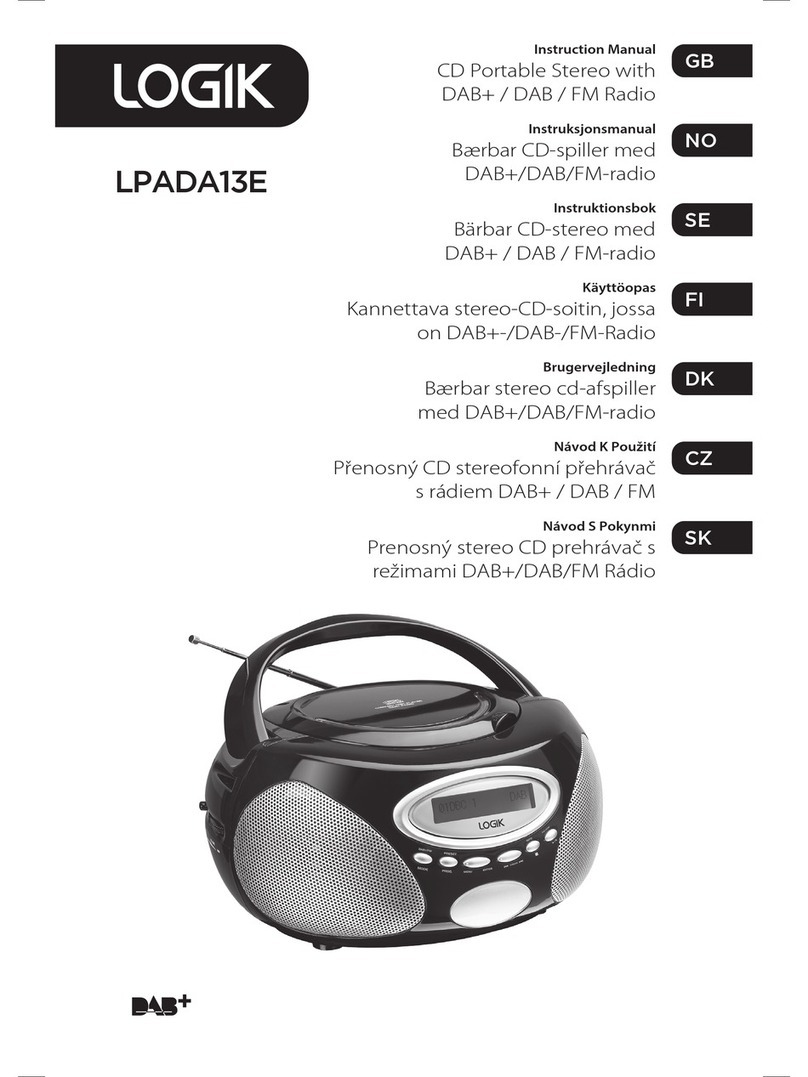
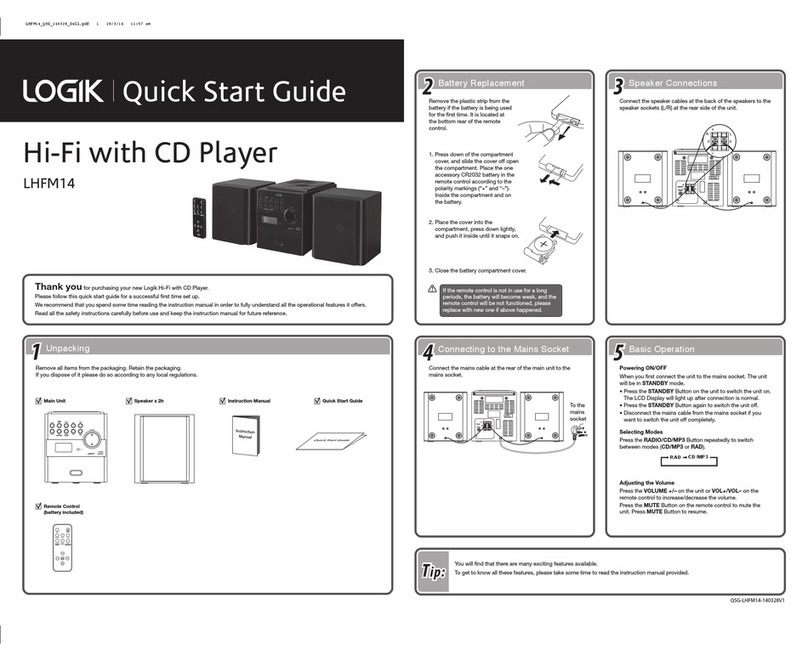
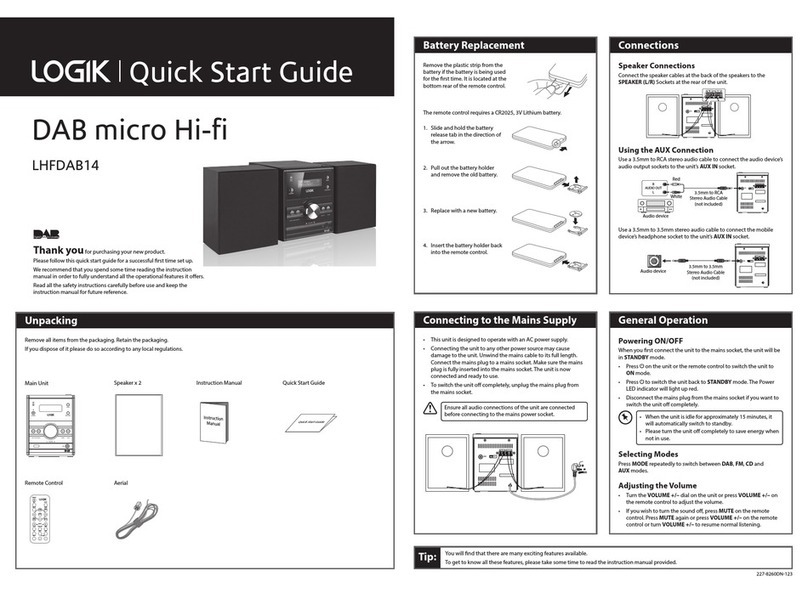
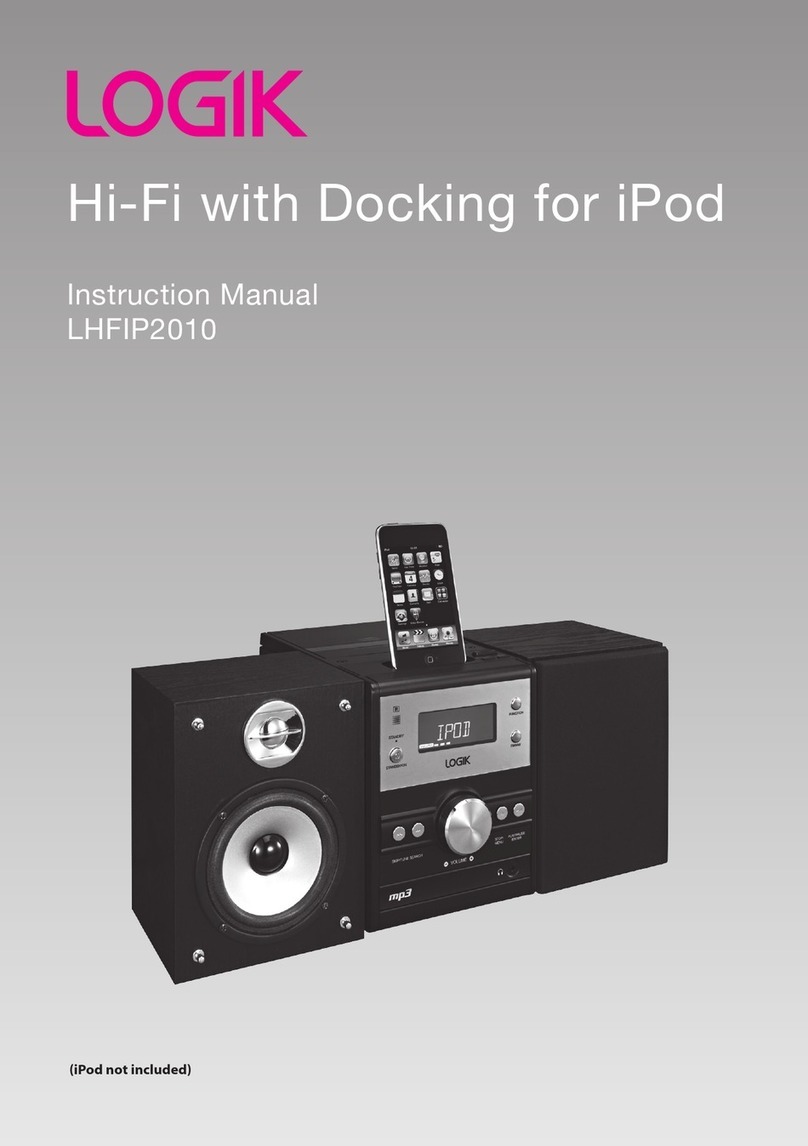
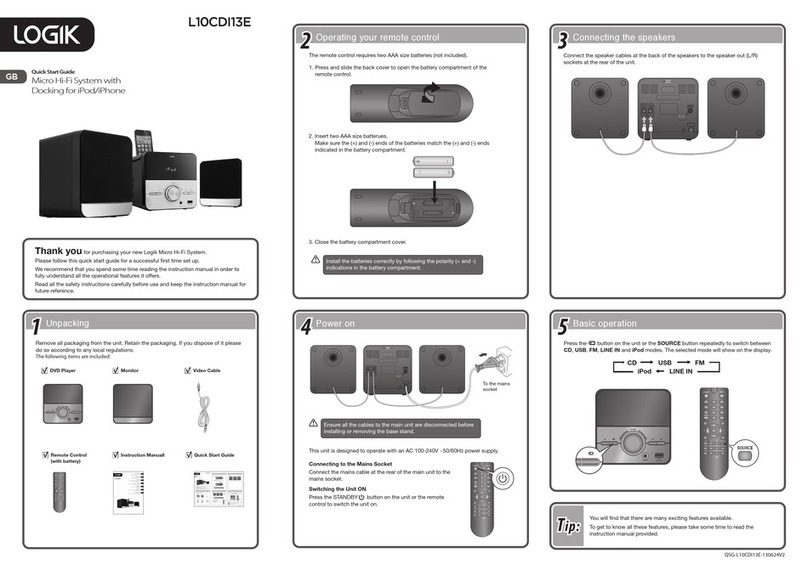
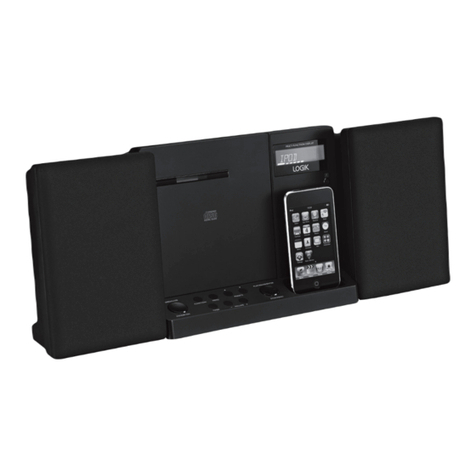
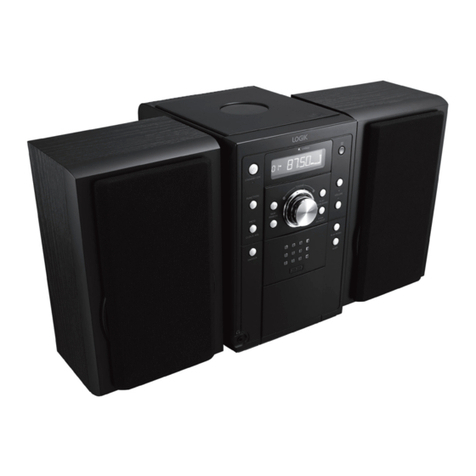
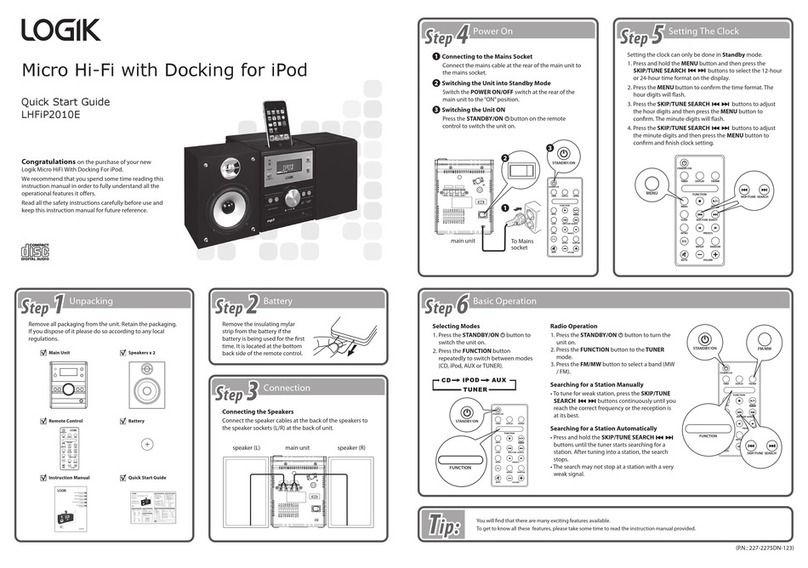
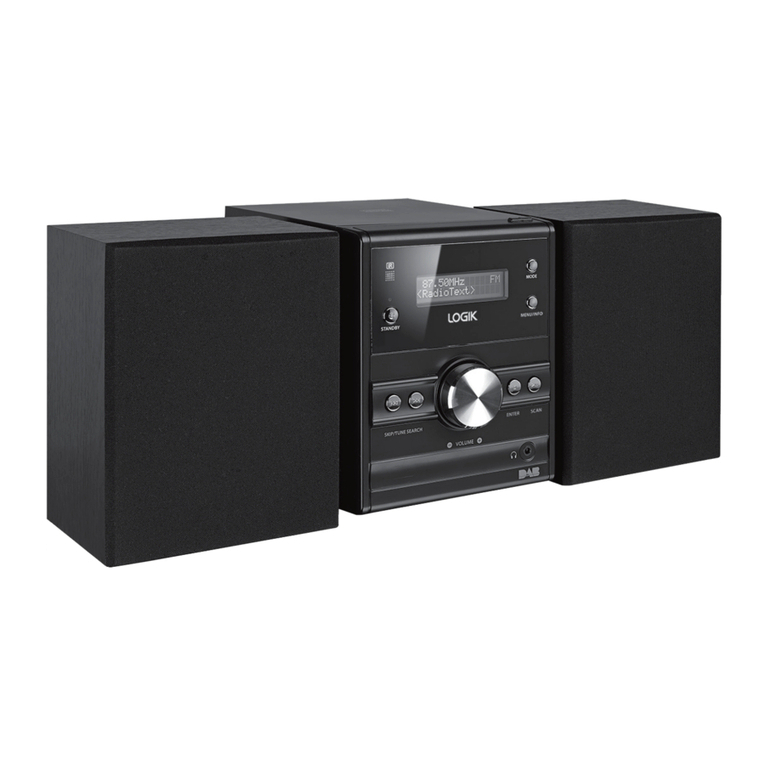
Logik LHFiP2010E User manual

(iPod not included)
GB
NO
SE
FI
DK
MICRO HI-FI WITH DOCKING for iPod
INSTRUCTION MANUAL
(iPod not included)
MIKRO-HIFI MED DOKKING for iPod
BRUKSANVISNING
(iPod medfølger ikke)
MICRO HI-FI MED DOCKNING för iPod
BRUKSANVISNING
(iPod medföljer inte)
iPod-TELAKALLA VARUSTETTU MICRO HI-FI
KÄYTTÖOHJE
(iPod ei kuulu toimitukseen)
Micro Hi-Fi med dok til iPod
BRUGERVEJLEDNING
(iPod medfølger ikke)
(iPod not included)
LHFiP2010E

Contents GB
Unpacking.............................................................................................5
Product Overview..................................................................................6
Front Panel ..................................................................................6
RearView ....................................................................................6
TopView......................................................................................6
Remote Control............................................................................7
Remove the Insulating Strip from the Remote Control.................7
Battery Installation for the Remote Control .................................7
Remote Control Operation Range ................................................8
LCD Display Window....................................................................9
Connections ........................................................................................10
Speaker Connections .................................................................10
Connecting to the Mains Socket ................................................10
For Personal Listening ...............................................................10
Compatible DiscTypes.........................................................................11
Basic Operation...................................................................................11
Powering ON/OFF ......................................................................11
Selecting Modes........................................................................11
Adjusting theVolume ...............................................................12
Clock Setting .............................................................................12
Timer Setting ............................................................................12
Sleep Timer Setting ...................................................................13
Preset EQ ...................................................................................13
CD / MP3 / WMA Operation .................................................................14
Playback....................................................................................14
To Pause Playback......................................................................14
To Stop Playback........................................................................14
Skipping to AnotherTrack..........................................................15
ID3 Operation (For MP3 /WMA Mode, Operate from
Remote Control Only) ................................................................15
Repeat Playback........................................................................15
Random Playback .....................................................................16
Intro Playback............................................................................16
Programmable Playback ...........................................................17
iPod Operation....................................................................................18
Inserting the iPod and Selecting iPod Mode..............................18
iPod Playback ............................................................................19
iPod MENU Mode.......................................................................19
ChargingYour iPod ....................................................................20
AUX Operation.....................................................................................20
Radio Operation..................................................................................20
Searching for a Station Manually...............................................20
Searching for a Station Automatically........................................20
Selecting Mono / Stereo ............................................................21
Presetting Stations....................................................................21
Tuning in to a Preset Station......................................................21
For Better Reception..................................................................21
Maintenance.......................................................................................22
Hints and Tips......................................................................................23
Specications......................................................................................24
Safety Warnings................................................................................105
Innhold NO
Pakke ut..............................................................................................25
Produktoversikt...................................................................................26
Frontpanel.................................................................................26
Bakside......................................................................................26
Ovenfra......................................................................................26
Fjernkontroll..............................................................................27
Fjerne isoleringsteipen fra ernkontrollen.................................27
Sette batterier i ernkontrollen .................................................27
Fjernkontrollens virkeområde....................................................28
LCD-displayvindu ......................................................................29
Tilkoplinger.........................................................................................30
Høyttalertilkoplinger.................................................................30
Koble til stikkontakten...............................................................30
For personlig lytting..................................................................30
Kompatible disker...............................................................................31
Grunnleggende operasjoner ...............................................................31
Slå PÅ/AV...................................................................................31
Velge moduser...........................................................................31
Justere volumet ........................................................................32
Klokkeinnstillinger ....................................................................32
Timerinnstilling ........................................................................32
Aktivere Innsoving.....................................................................33
Forhåndsinnstilt EQ ...................................................................33
CD / MP3 / WMA-operasjon.................................................................34
Avspilling...................................................................................34
Pause avspillingen.....................................................................34
For å stoppe avspilling...............................................................34
Hoppe videre til et annet spor ...................................................35
ID3-operasjon (For MP3 / WMA-modus,
betjen kun fra ernkontroll) ......................................................35
Gjenta avspilling .......................................................................35
Vilkårlig avspilling ....................................................................36
Introavspilling...........................................................................36
Programmerbar avspilling.........................................................37
iPod-operasjon....................................................................................38
Sette i iPod-en og velge iPod-modus.........................................38
iPod-avspilling ..........................................................................39
iPod MENY-modus.....................................................................39
Lade iPod-en din .......................................................................40
AUX-operasjon....................................................................................40
Radiooperasjon...................................................................................40
Søke etter en stasjon manuelt...................................................40
Søke etter en stasjon automatisk...............................................40
Velge mono/stereo....................................................................41
Forhåndsinnstille stasjoner........................................................41
Stille inn en forhåndsinnstilt stasjon .........................................41
For bedre mottak.......................................................................41
Vedlikehold.........................................................................................42
Tips og triks.........................................................................................43
Spesikasjoner....................................................................................44
Sikkerhetsadvarsler...........................................................................105
Innehåll SE
Uppackning.........................................................................................45
Produktöverblick.................................................................................46
Frontpanelen.............................................................................46
Baksida......................................................................................46
Vy ovanifrån ..............................................................................46
Fjärrkontroll...............................................................................47
Ta bort isoleringsremsan från ärrkontrollen.............................47
Isättning av ärrkontrollens batterier........................................47
Operationsområde för ärrkontrollen........................................48
LCD displayfönster .....................................................................49
Anslutningar.......................................................................................50
Högtalaranslutning ...................................................................50
Ansluta till ett eluttag ...............................................................50
För personlig lyssning................................................................50
Kompatibla skivtyper..........................................................................51
Grundläggande användning ...............................................................51
Ström PÅ/AV..............................................................................51
Välja läge...................................................................................51
Justera volymen ........................................................................52
Klockinställning.........................................................................52
Timerinställning .......................................................................52
Inställning avstängningstimer...................................................53
Förinställd EQ ............................................................................53
CD / MP3 / WMA hantering .................................................................54
Uppspelning..............................................................................54
Pausa uppspelningen................................................................54
Stoppa uppspelningen ..............................................................54
Hoppa till ett annat spår............................................................55
ID3 hantering (För MP3 /WMA läge,
hantera endast från ärrkontrollen) ..........................................55
Repetera uppspelning ...............................................................55
Slumpvis uppspelning...............................................................56
Intro uppspelning......................................................................56
Programmerbar uppspelning ....................................................57
iPod-funktioner...................................................................................58
Mata in iPoden och välj iPod-läge..............................................58
iPod-uppspelning......................................................................59
iPod MENU läge.........................................................................59
Laddning av din iPod.................................................................59
AUX hantering.....................................................................................60
Använda radion...................................................................................60
Sökning efter en station manuellt.............................................60
Sökning efter en station automatiskt ........................................60
Välja Mono / Stereo ...................................................................61
Förinställa stationer...................................................................61
Inställning på en förinställd station...........................................61
För bättre mottagning...............................................................61
Underhåll............................................................................................62
Tips och råd.........................................................................................63
Specikationer....................................................................................64
Säkerhetsvarningar...........................................................................106
Sisältö FI
Pakkauksen purkaminen.....................................................................65
Tuotekuvaus........................................................................................66
Etupaneeli.................................................................................66
Näkymä takaa ...........................................................................66
Näkymä ylhäältä .......................................................................66
Kaukosäädin..............................................................................67
Poista kaukosäätimen eristinnauha...........................................67
Kaukosäätimen pariston asennus..............................................67
Kaukosäätimen käyttöalue........................................................68
LCD-näyttöikkuna......................................................................69
Liitännät .............................................................................................70
Kaiutinliitännät .........................................................................70
Pistorasiaan liittäminen ............................................................70
Henkilökohtaiseen kuunteluun..................................................70
Yhteensopivat levytyypit ....................................................................71
Peruskäyttö.........................................................................................71
Virran kytkeminen PÄÄLLE/POIS................................................71
Tilojen valinta............................................................................71
Äänenvoimakkuuden säätäminen.............................................72
Kellon asetus.............................................................................72
Ajastimen asetus.......................................................................72
Lepoajastinasetus......................................................................73
Esiasetettu taajuuskorjain .........................................................73
CD- / MP3- / WMA-käyttö ...................................................................74
Toisto.........................................................................................74
Toiston keskeyttäminen.............................................................74
Toiston pysäyttäminen ..............................................................74
Ohittaminen toiseen raitaan......................................................75
ID3-käyttö (MP3/WMA-tilassa, käyttö vain
kaukosäätimellä).......................................................................75
Uudelleentoisto.........................................................................75
Satunnaistoisto .........................................................................76
Esittelytoisto..............................................................................76
Ohjelmoitava toisto...................................................................77
iPod-käyttö.........................................................................................78
iPodin lisääminen ja iPod-tilan valitseminen.............................78
iPod-toisto.................................................................................79
iPodinValikkotila.......................................................................79
iPodin lataaminen.....................................................................80
AUX-käyttö..........................................................................................80
Radiokäyttö.........................................................................................80
Manuaalinen asemahaku ..........................................................80
Automaattinen asemahaku.......................................................80
Mono/Stereo-valinta.................................................................81
Asemien esiasettaminen ...........................................................81
Virittäminen esiasetetulle asemalle ..........................................81
Vastaanoton parantaminen.......................................................81
Ylläpito ...............................................................................................82
Vihjeitä ja vinkkejä..............................................................................83
Tekniset tiedot ....................................................................................84
Turvallisuusvaroitukset .....................................................................106

Indholdsfortegnelse DK
Udpakning..........................................................................................85
Produktoversigt...................................................................................86
Forpanel....................................................................................86
Set bagfra..................................................................................86
Set ovenfra................................................................................86
Fjernbetjening...........................................................................87
Fjern isoleringsstrimlen fra ernbetjeningen ............................87
Batteriinstallation på ernbetejning .........................................87
Fjernbetjeningens virkningsafstand..........................................88
LCD skærm.................................................................................89
Tilslutninger........................................................................................90
Højtalertilslutninger..................................................................90
Tilslutning til stikkontakt...........................................................90
Til personlig lytning...................................................................90
Kompatible disktyper..........................................................................91
Basal anvendelse ................................................................................91
TÆND/SLUK ...............................................................................91
Valg af tilstande ........................................................................91
Indstilling af lydstyrken.............................................................92
Indstilling af ur..........................................................................92
Indstilling af timer ....................................................................92
Indstilling af sove-timer ............................................................93
Forindstil EQ ..............................................................................93
CD / MP3 / WMA drift..........................................................................94
Afspilning..................................................................................94
Sådan holdes der pause i afspilning ..........................................94
Sådan stoppes afspilning...........................................................94
Skift til et andet spor .................................................................95
ID3-funktion (for MP3/WMA-tilstand,
kan kun betjenes fra ernbetjeningen) .....................................95
Gentagelse af afspilning............................................................95
Vilkårlig afspilning ....................................................................96
Introduktion afspilning..............................................................96
Programmerbar afspilning ........................................................97
Brug af iPod ........................................................................................98
Anbringelse af iPod og valg af iPod tilstand...............................98
iPod afspilning...........................................................................99
iPod MENU tilstand....................................................................99
Opladning af iPod’en ...............................................................100
AUX funktion.....................................................................................100
Betjening af radio .............................................................................100
Manuel stationsøgning............................................................100
Automatisk stationsøgning .....................................................100
Valg af mono / stereo ..............................................................101
Forvalg af stationer .................................................................101
Stille ind på en forvalgt station................................................101
For bedre modtagelse..............................................................101
Vedligeholdelse ................................................................................102
Gode råd ...........................................................................................103
Specikationer..................................................................................104
Sikkerhedsadvarsler..........................................................................107

GB
5
The Main Unit Speakers x 2
Instruction Manual
(P.N.: 227-2275DN-033) Quick Start Guide
(P.N.: 227-2275DN-123)
Remote Control
(P.N.: 070-0018DN-01C0)
If items are missing or damaged, please contact Partmaster (UK only).
Tel: 0844 800 3456 for assistance.
Unpacking
Remove all packaging from the unit. Retain the packaging. If you dispose of it please do so
according to local regulations.
The following items are included:
STANDBY/ON
TIMER DISPLAY FM/MW
MENU
FUNCTION
ENTER
SLEEP SKIP/TUNE SEARCH
INTRO PRESETS
VOLUME
REPEAT RANDOM
MUTE
EQ
Congratulations on the purchase of your new Logik Micro HiFi with
Docking for iPod.
We recommend that you spend some time reading this instruction manual in
order that you fully understand all the operational features it oers. You will
also nd some hints and tips to help you resolve any issues.
Read all the safety instructions carefully before use and keep this instruction
manual for future reference.

GB
6
Product Overview
Front Panel
1. Remote Sensor
2. Function Button
3. LCD Display Window
4. Standby Indicator
5. STANDBY/ON Button
6. FM/MW Button
7. SKIP/TUNE SEARCH UP
Button
8. SKIP/TUNE SEARCH DOWN
Button
9. STOP/MENU Button
10. PLAY/PAUSE/ENTER Button
11. VOLUME Control
12. Earphones Socket
13. FM Aerial
14. Speaker terminals (L/R)
15. AUX IN Socket
16. Power ON/OFF Switch
17. Mains Cable
18
20
19
21
22
14
13
15
16
17
1 2
4
5
8
11
7
6
10
12
9
3
Rear View Top View
18. Disc Door
19. iPod Dock
20. Open Button
21. TIMER Button
22. MENU Button

GB
7
Battery Installation for the Remote Control
1. Press and slide the back cover to open the
battery compartment of the remote control.
Remove the Insulating Strip from the Remote Control
Remove the insulating mylar strip from the battery if the
battery is being used for the rst time. It is located at the
bottom back side of the remote control.
Remote Control
STANDBY/ON
TIMER DISPLAY FM/MW
MENU
FUNCTION
ENTER
SLEEP SKIP/TUNE SEARCH
INTRO PRESETS
VOLUME
REPEAT RANDOM
MUTE
EQ
12
17
10
15
8
4
16
11
9
13
6
2
5
1
14
7
3
1. STANDBY/ON Button
2. TIMER button
3. DISPLAY Button
4. FM/MW Button
5. FUNCTION Button
6. MENU Button
7. Button
8. /ENTER Button
9. SLEEP Button
10. SKIP/TUNE SEARCH
Buttons
11. INTRO Button
12. PRESETS Buttons
13. EQ Button
14. REPEAT Button
15. RANDOM Button
16. MUTE Button
17. VOLUME + / – Buttons

GB
8
3. Close the battery compartment cover.
Handling the Battery
• Improper or incorrect use of batteries may cause corrosion or battery leakage, which
could cause re, personal injury or damage to property.
• Install the battery correctly by following the polarity (+ and -) indications in the battery
compartment.
• When the battery is exhausted, the remote control will not function.
• Only use the battery type indicated in this manual.
• Do not dispose of the used battery as domestic waste. Dispose of it in accordance with
local regulations.
• Small button cell batteries such as the one used in the remote control are easily
swallowed by young children and this is dangerous. Keep loose button cells away from
young children and make sure that the battery holder tray is secure in the remote
control. Seek medical advice if you believe a cell has been swallowed.
Handling the Remote Control
• Take care of your ngernails when you press and hold the battery release tab.
• Do not drop or cause impact to the remote control.
• Do not spill water or any liquid on the remote control.
• Do not place the remote control on a wet object.
• Do not place the remote control under direct sunlight or near sources of excessive heat.
• Remove the battery from the remote control when not in use for a long period of time,
as it could cause corrosion or battery leakage and may result in physical injury and/or
property damage including re.
Remote Control Operation Range
Point the remote control at the unit no more than 5 metres
from the remote control sensor and within 60° of the front of
the unit. The operating distance may vary depending on the
brightness of the room.
2. Remove the old battery, and place a new
battery in the holder.
STANDBY/ON
TIMER DISPLAY FM/MW
MENU
FUNCTION
ENTER
SLEEP SKIP/TUNE SEARCH
INTRO PRESETS
VOLUME
REPEAT RANDOM
MUTE
EQ
Within about 5 m
30° 30°

GB
9
LCD Display Window
4
5
6
1 2 3
7
1. Timer Indicator
2. Album / Radio Memory Number Indicator
3. Repeat 1 & All Indicator
4. Sleep Indicator
5. Track / Number / Time Indicator
6. Volume Indicator
7. Stereo Indicator

GB
10
Connections
Speaker Connections
Connect the speaker cables at the back of the speakers to the speaker sockets (L/R) at the
back of the unit.
Connecting to the Mains Socket
Connect the mains cable at the rear of the unit to the mains socket.
To Mains
Socket
For Personal Listening
Connect headphones (Ø3.5mm stereo mini plug) to the earphones socket. Adjust the
volume control to obtain the desired volume level.
When the earphones are connected, the speakers will automatically mute.

GB
11
Basic Operation
Powering ON/OFF
When you rst connect the unit to the mains socket, switch the POWER ON/OFF switch at
the rear of the main unit to the“ON” position. The unit will be in STANDBY mode.
• Press the STANDBY/ON button to switch the unit on.
• Press the STANDBY/ON button again to switch the unit o.
• Disconnect the mains cable from the mains socket if you want to switch the unit o
completely.
Selecting Modes
Press the FUNCTION button repeatedly to switch between modes (CD, iPod, AUX or
TUNER).
Compatible Disc Types
Disc Types Disc Logo Recorded Content
CD-R (CD Recordable - Audio/Video format or
JPEG les) AUDIO + VIDEO + JPEG
CD-RW (CD-Rewritable - Audio/Video format
or JPEG les) AUDIO + VIDEO + JPEG
AUDIO-CD (Compact Disc Digital Audio) AUDIO
Some recorded les may not be able to be played due to the type and format of disc or
condition of the recording.
• If there is no signal when the unit is in CD / iPod mode, the unit will automatically turn o in
15 minutes.
• When the unit is in the iPod mode and if there is no iPod in the iPod dock, the unit will
automatically turn o in 15 minutes.
• While in STANDBY mode, press any button to illuminate the display for 10 seconds.
• To save energy, turn o the unit by switching the POWER ON/OFF switch at the rear of the
unit to the“OFF” position.

GB
12
3. Press the SKIP/TUNE SEARCH buttons to adjust the minute digits and then
press the TIMER button to conrm the TIMER ON time.
4. After adjusting“TIMER ON”,“ OFF”indicator will show on the display and the hour
digits ash.
5. Press the SKIP/TUNE SEARCH buttons to adjust the
hours digits and then press the TIMER button to conrm.
Adjusting the Volume
Adjust the Volume Control on the the unit or press the VOL + / – buttons on the remote
control to increase/decrease the volume.
Press the MUTE button on the remote control to switch the
sound o. The volume level will ash and the audio output will
be temporarily terminated. Press the MUTE button again to
resume audio listening.
Clock Setting
Setting the clock can only be done in STANDBY mode.
When the unit is in STANDBY mode the“STANDBY” indicator illuminates.
1. In STANDBY mode, press and hold the MENU button and then press the SKIP/TUNE
SEARCH buttons to select the 12-hour or 24-hour time format on the display.
2. Press the MENU button to conrm the time format. The hour digits will ash.
3. Press the SKIP/TUNE SEARCH buttons to adjust the hour digits and then press
the MENU button to conrm. The minute digits will ash.
4. Press the SKIP/TUNE SEARCH buttons to adjust the minute digits and then
press the MENU button to conrm and nish clock setting.
Timer Setting
The timer function will turn the unit on at a preset time.
1. Press and hold the TIMER button on the remote control until the “ ON”indicator and
“00:00”show on the display and the hour digits ash.
2. Press the SKIP/TUNE SEARCH buttons to adjust the
hour digits and then press the TIMER button to conrm.
The minute digits will ash.
6. Press the SKIP/TUNE SEARCH buttons to adjust the minute digits and then
press the TIMER button to conrm the TIMER OFF time.
7. Now the“TUNER”indicator will ash on the display. Press the SKIP/TUNE SEARCH
buttons to select the mode (CD / iPod / AUX / TUNER).
8. Press the TIMER button again, the timer“VOL”indicator will ash on the display. Press
the SKIP/TUNE SEARCH buttons to adjust the volume to the desired level.
9. After adjusting“TIMER ON”and “TIMER OFF”, press the TIMER button to conrm. The
““ indicator will show on the display.

GB
13
To cancel timer, press and hold the TIMER button on the remote control until the TIMER
indicator goes out.
Sleep Timer Setting
The sleep timer automatically turns the unit o after a certain time.
1. While the unit is on, press the SLEEP button and “ ”will show on the display.
2. Press the SLEEP button repeatedly to select the desired sleep time as below:
3. After setting a desired sleep time, the “ ”indicator will show on the display.
4. The unit will automatically turn o once it counts down the sleep time.
To clear the preset sleep time, keep pressing the SLEEP button until normal display is
shown on the display. The “ ” icon will disappear.
Preset EQ
This system supports a variety of equalizers and sound eects.
During playback, press the EQ button on the remote control to select a desired music
mode. Each time the EQ button is pressed, the music mode will change to the next one as
follows:
10. The unit will be turned on automatically to the selected CD / iPod / AUX / TUNER
mode and turn o when the timer reaches the preset time.
• Each enable state will be cleared if buttons are not pressed in 10 seconds.
• For the FM/AM tuner timer, it will turn on to the last station you tuned into.
• If the display shows“ERROR” while you set the“TIMER ON”it means both “TIMER ON”and
“TIMER OFF”is the same. In this case, please go to“TIMER OFF” to set the o time rst.

GB
14
4. Press the /ENTER button the unit will play the rst
track of the CD disc automatically.
2. Press the FUNCTION button repeatedly to select CD
mode. The unit will start to read the CD/MP3 disc
automatically.
3. If there is no disc or the disc can’t be read, “NO DISC” will
show on the display.
CD / MP3 / WMA Operation
Playback
1. Press the OPEN button to open the disc door. Put the disc
with the label side up and then close the disc door gently.
To Stop Playback
Press the button to stop playback.
To Pause Playback
Press the /ENTER button to pause the playback, the time
elapsed indicator will ash.
To resume playback, press the /ENTER button again.

GB
15
Repeat the Entire CD
Press the REPEAT button twice,“REPEAT ALL”indicator
will show on the display. All the discs tracks will be played
repeatedly in a cycle.
ID3 Operation (For MP3 / WMA Mode, Operate from Remote
Control Only)
• During MP3 playback, press the DISPLAY button on the remote control to open the ID3
function. If the MP3/WMA le is written “ID3”, it will automatically search the information
of“TITLE NAME”,“ARTIST NAME”and“ALBUM NAME”indicated on the display.
• Press the DISPLAY button again to resume the normal playback.
Repeat Playback
For CD Mode
Repeat Current Track
Press the REPEAT button once,“REPEAT”indicator will show on
the display. The current track will be played repeatedly.
Skipping to Another Track
• Press the SKIP/TUNE SEARCH buttons to skip to the start of the current track or
to skip to the next track.
• Press and hold the SKIP/TUNE SEARCH buttons to skip fast forward / backward
of each song.
• To resume playback, press the /ENTER button.
For MP3 /WMA Discs
• During MP3 playback, press the PRESETS buttons to skip to the 1st track of the next album.
• During STOP mode, press the PRESETS buttons repeatedly to select your desired album to
play. Press the /ENTER button to start playing the 1st track in that album.
Cancel Playback Mode
Press the REPEAT button three times to cancel the repeat function.

GB
16
For MP3 / WMA Mode
Repeat Current Track
Press the REPEAT button once,“REPEAT”indicator will show on
the display. The current track will be played repeatedly.
Cancel Playback Mode
Press the REPEAT button four times to cancel the repeat
function.
Random Playback
All tracks on the disc can be played in a random order.
• During playback, press the RANDOM button on the remote
control. The“RANDOM” indicator will show on the display. All
tracks will be played randomly.
• After all the tracks have played once, the playback will stop
automatically.
• To cancel the random playback, press the RANDOM button
on the remote control during RANDOM playback. Normal
playback will resume.
Intro Playback
• During the playback, press the INTRO button on the remote
control. The“INTRO” indicator will show on the display. The
unit will play the rst 10 seconds of each track.
• Press the INTRO button on the remote control again to
resume the normal playback.
Repeat the Album
Press the REPEAT button three times,“REPEAT ALBUM”
indicator will show on the display. The currently album will be
played repeatedly in a cycle.
Repeat the Entire CD
Press the REPEAT button twice,“REPEAT ALL”indicator
will show on the display. All the discs tracks will be played
repeatedly in a cycle.

GB
17
2. Press the REPEAT button twice,“REPEAT ALL” indicator
will show on the display. The total number of tracks
will be played repeatedly.
3. Press the REPEAT button three times to cancel the
repeat function.
2. Press the PRESETS button to select the desired
album number and then press the MENU button. The
track number will ash on the display.
Programmable Playback
A program of up to 32 tracks in CD mode or 64 tracks in MP3/WMA mode can be set to play
in a preset order.
For CD Mode
1. In STOP mode, press the MENU button to shift to
PROGRAM mode.“MEMORY”indicator will show on the
display.
2. Press the SKIP/TUNE SEARCH buttons to select
the desired track and then press the
MENU button to store the track in the memory.
3. To add additional tracks, repeat step 2 (up to 32 tracks).
4. To start playback, press the /ENTER button. The rst track of the program will start
to play. When all tracks have been played, the unit will show the number of tracks and
the playing time of the CD tracks.
For MP3 / WMA Mode
1. In STOP mode, press the MENU button to shift to
PROGRAM mode.“MEMORY”indicator will show and the
album number will ash on the display.
3. Press the SKIP/TUNE SEARCH buttons to select the desired track and then
press the MENU button to store the track in the memory.
4. To add additional tracks, repeat step 2 (up to 64 tracks).
5. To start playback, press the /ENTER button. It will play starting with the rst track
of the program . When all tracks have been played, the unit will show the number of
tracks and the playing time of the CD tracks.
To Erase the Program
• In STOP mode, you can erase the contents of the memory by pressing the button or by
opening the disc door.
• Setting a new program will erase the existing one.
Repeat Playback
For CD mode,
1. Press the REPEAT button once,“REPEAT” indicator will
show on the display. The current track will be played
repeatedly.

GB
18
3. Press the REPEAT button 3 times,“REPEAT ALBUM”
indicator will show on the display. The album will be
played repeatedly.
4. Press the REPEAT button 4 times to cancel the repeat
function.
2. Press the REPEAT button twice,“REPEAT ALL” indicator
will show on the display. The total number of tracks
will be played repeatedly.
For MP3/WMA mode,
1. Press the REPEAT button once,“REPEAT” indicator will
show on the display. The current track will be played
repeatedly.
iPod Operation
Using the iPod dock you can play music les stored on your iPod through the stereo
speakers.
Inserting the iPod and Selecting iPod Mode
1. Locate the iPod adapter that came with your iPod into the
dock.
2. Connect the iPod to the iPod connector inside the dock.
3. Press the STANDBY/ON button to turn on the unit.
4. Press the FUNCTION button repeatedly to select iPod
mdoe.
5. Press the button to start playing.
• Your iPod will automatically start charging once it is docked.
• Switch o your iPod while listening to the radio to prevent signal interference.
• While your iPod is docked, you can control it from the main unit, the remote control or from
the iPod directly.

GB
19
iPod Playback
Press the /ENTER button to start playing.
To Pause Playback
Press the /ENTER button to pause the playback. To resume playback, press the /
ENTER button again.
To Stop Playback
Press the button to stop playing.
Skipping to Another Track
Press the SKIP/TUNE SEARCH buttons to skip forward or backward from the
current track.
Locating a Particular Point on a Track
Keep either the or button pressed during playback, according to the desired
direction, and release at the desired point.
Repeat Playback
Press the REPEAT button on the remote control to play songs repeatedly. Some of the older
iPod versions do not support this function.
Random Playback
Press the RANDOM button on the remote control to play songs randomly. Some of the
older iPod versions do not support this function.
iPod MENU Mode
1. While the unit is in iPod mode, press the MENU button to
enter the iPod MENU mode. The iPod MENU indicator will
show on the display.
2. Press the button to return to the previous iPod menu.
3. Press the /ENTER button to enter the desired menu folder.
4. Press the SKIP/TUNE SEARCH buttons to navigate up and down in the iPod
menu.
5. If you want to return to the previous iPod menu, press the button again.
6. To resume playback, press the MENU button. The unit will return to iPod mode.

GB
20
Charging Your iPod
1. Your iPod has an internal non-removable battery, the battery may need to be charged
if the iPod has not been used for awhile.
2. You can charge the iPod through the unit automatically under the STANDBY or POWER
ON mode.
• The iPod battery is 80% charged in about an hour, and fully charged in about a few hours. If you
charge it while playing music, it may take longer.
• It is not recommended to charge when using the TUNER mode. It may interfere with the reception.
AUX Operation
1. Before connecting to the mains socket, use the 3.5mm stereo LINE IN cable (not
included) to connect your audio device through this AUX socket at the rear of the unit.
2. Connect the mains cable to the mains socket. The unit will be in the STANDBY mode.
3. Press the STANDBY/ON button to switch the unit on.
4. To select the AUX mode, press the FUNCTION button repeatedly to select AUX mode.
5. In AUX mode, you may operate your audio device directly for playback features.
Radio Operation
1. Press the FUNCTION button to the TUNER mode.
2. Press the FM/MW button to select a band (MW / FM).
Searching for a Station Manually
• To tune for weak station, press the SKIP/TUNE SEARCH buttons continuously
until you reach the correct frequency or the reception is at its best.
Searching for a Station Automatically
• Press and hold the SKIP/TUNE SEARCH buttons until the tuner starts searching
for a station. After tuning into a station, the search stops.
• The search may not stop at a station with a very weak signal.
Other manuals for LHFiP2010E
1
Table of contents
Languages:
Other Logik Stereo System manuals

Logik
Logik LCDBM12 User manual

Logik
Logik LCDHF512 User manual

Logik
Logik LHFMP310 User manual

Logik
Logik LHFIP2010 User manual

Logik
Logik LPADA13E User manual

Logik
Logik LCCSTR10 User manual

Logik
Logik LCDBB13E User manual

Logik
Logik LHFiP2010E User manual

Logik
Logik LHFDAB14 User manual

Logik
Logik LHFDAB14 User manual