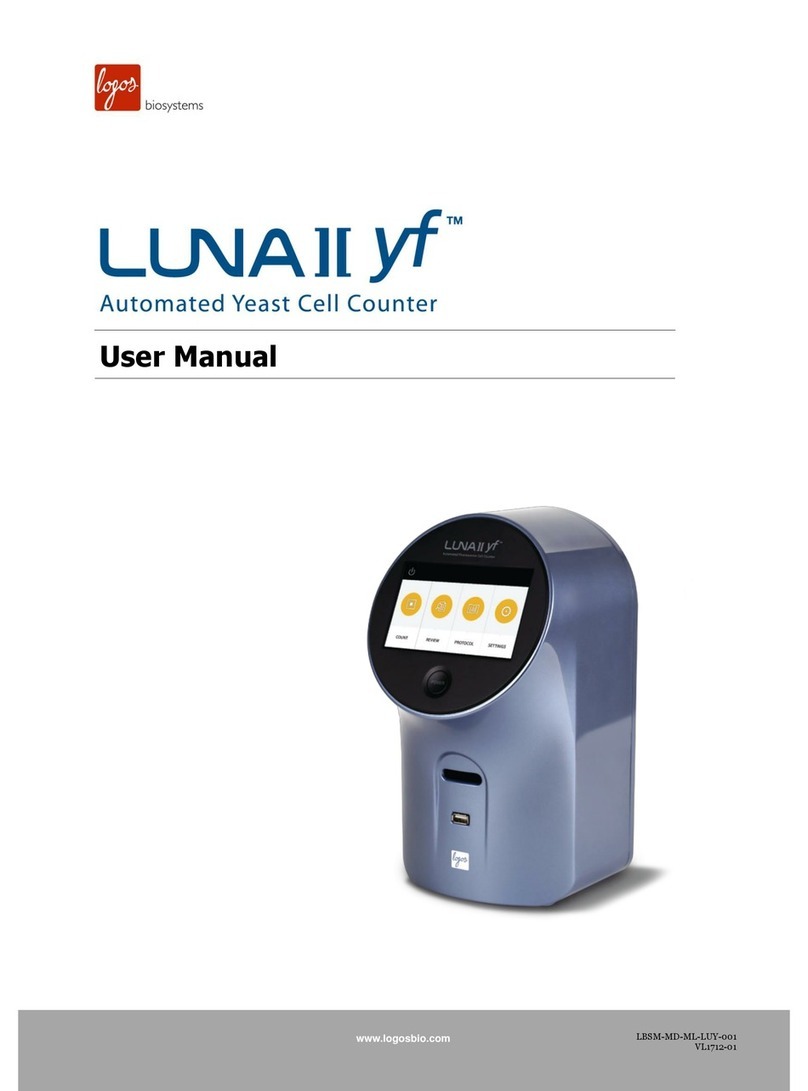
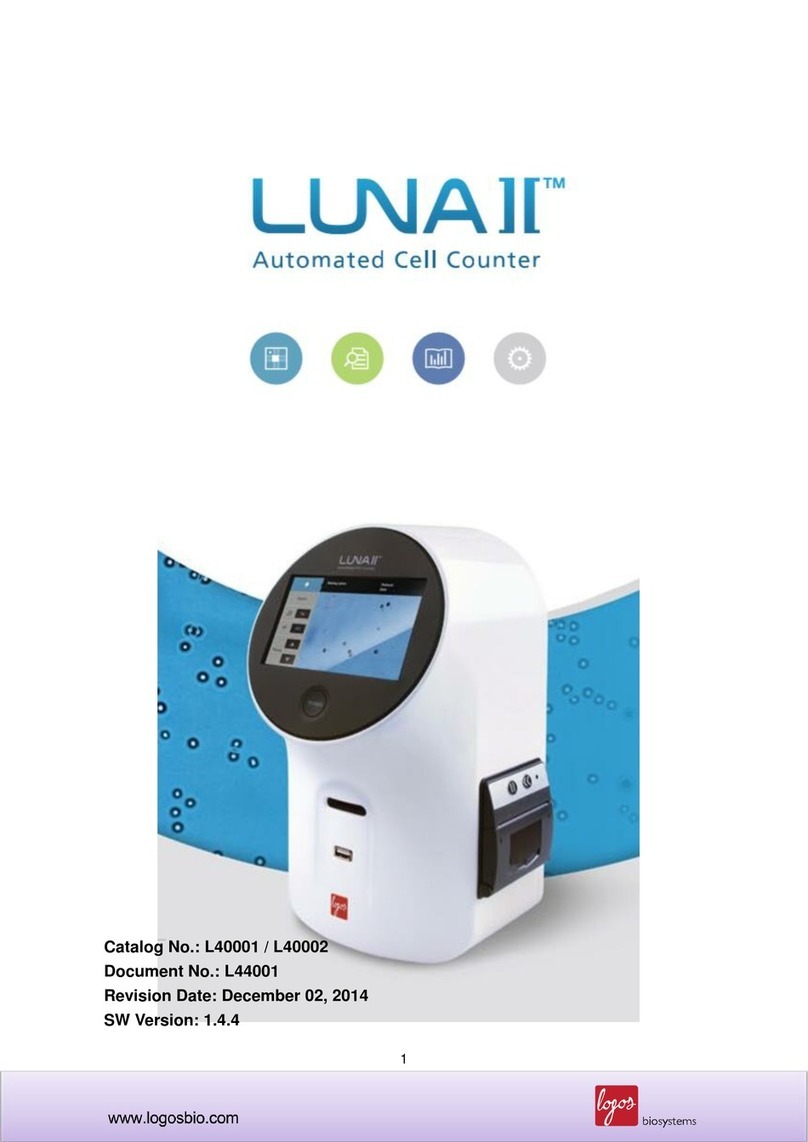
logos biosystems LUNA-II User manual

DISCLAIMER
The contents of this document are subject to change without notice.
The LUNA-II™Automated Cell Counter is an electrical laboratory instrument for scientific research use only.
It is not a medical, therapeutic, or in vitro diagnostics device.
Do not disassemble the device on any occasion as this will invalidate your warranty.
TRADEMARKS
The trademarks used in this document are the property of Logos Biosystems, Inc.
© 2017 Logos Biosystems, Inc. All rights reserved.

2
Table of Contents
Chapter 1 –Introduction -----------------------------------------------------------------------
3
1.1 Product Overview ---------------------------------------------------------------------------------
3
1.2 Key Features ---------------------------------------------------------------------------------------
3
1.3 Product Contents ---------------------------------------------------------------------------------
4
1.4 Product Specifications ---------------------------------------------------------------------------
4
1.5 Product Description -------------------------------------------------------------------------------
5
1.6 General Guidelines -------------------------------------------------------------------------------
5
Chapter 2 –Setting up ---------------------------------------------------------------------------
6
2.1 Installation ------------------------------------------------------------------------------------------
6
2.2 Startup/Main Menu -------------------------------------------------------------------------------
6
2.3 Settings ----------------------------------------------------------------------------------------------
7
Chapter 3 –Setting the Count Protocol ------------------------------------------------------
11
3.1 Protocol Parameters -----------------------------------------------------------------------------
11
3.2 Creating and Editing Protocols ----------------------------------------------------------------
12
3.3 Protocol Selection ---------------------------------------------------------------------------------
13
Chapter 4 –Counting Cells --------------------------------------------------------------------
14
4.1 Instrument Preparation --------------------------------------------------------------------------
14
4.2 Sample Preparation ------------------------------------------------------------------------------
14
4.3 Slide Insertion --------------------------------------------------------------------------------------
15
4.4 Focusing ---------------------------------------------------------------------------------------------
15
4.5 Cell Counting ---------------------------------------------------------------------------------------
16
4.6 Results -----------------------------------------------------------------------------------------------
17
Chapter 5 –Review Previous Results ---------------------------------------------------
24
25
Chapter 6 –Maintenance and Troubleshooting ------------------------------------
25
6.1 Turning On/Off -------------------------------------------------------------------------------------
25
6.2 Cleaning ---------------------------------------------------------------------------------------------
25
6.3 Installing Printer Paper --------------------------------------------------------------------------
25
6.4 Troubleshooting -----------------------------------------------------------------------------------
26
Chapter 7 –Safety Information -----------------------------------------------------------------
27
Chapter 8 –Ordering Information --------------------------------------------------------
29
Chapter 9 –Purchaser Notification -------------------------------------------------------
30

3
Chapter 1 –Introduction
1.1 Product Overview
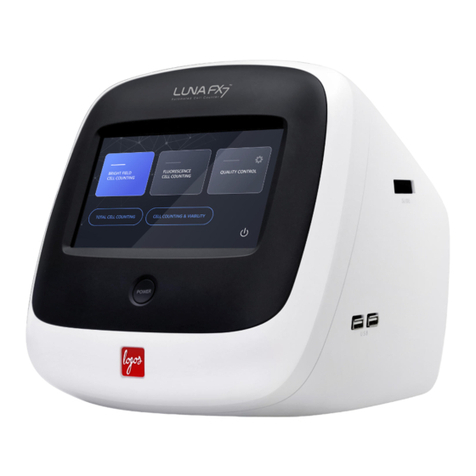
The LUNA-II™Automated Cell Counter is an image-based cell counting device that features an innovative autofocusing
liquid lens and a proven counting algorithm, providing a fully automated solution for cell counting and viability analysis.
Simply prepare a cell sample solution and the LUNA-II™does the rest, doing away with the subjectivity and time
expenditure of manual cell counting.
The LUNA-II™counting algorithm declusters clumpy cells and counts them individually with precision. Counted cells can
be gated for size and sorted into a cluster map with a user-friendly, interactive software interface.
The LUNA-II™provides:
the total number of cells per mL,
the number of live and dead cells per mL,
the viability of cells (% live cells to total cells),
cell images (optional: labeling live and dead cells as green and red circles, respectively),
cell cluster maps (% of single cells, doublets, and triplets), and
histograms of cell size distributions.
The LUNA-II™automatically saves results as CSV files and provides the option to generate comprehensive PDF reports
with the date, time, protocol used, cell images, and relevant histograms. The LUNA-II™also provides the option to review
previous data.
Both reusable and disposable slides can be used with the LUNA-II™. The LUNA™Reusable Slide is compatible with the
LUNA™family of automated cell counters for both brightfield and fluorescence cell counting. Designed for cost-efficient an
accurate cell counting, the LUNA™Reusable Slidecombines the economy ofmanual cell counting with the speed, accuracy,
and convenience of automated cell counting. The disposable LUNA™Cell Counting Slides maintain the highest standard
of cell counting accuracy and offer the ultimate counting experience with no mess or cleanup.
1.2 Key Features
Key Features
Description
Compact, space-efficient design
Lightweight and compact, the LUNA-II™maximizes space and may be used on a
laboratory bench or in a biosafety cabinet.
Accuracy & precision
Sophisticated optical components and a proven counting algorithm provide
accurate and reproducible results.
Autofocusing
A non-mechanical liquid lens efficiently and reliably autofocuses, removing human
error and enabling accurate cell counting.
Easy-to-operate user interface
A straightforward and intuitive software allows users to capture and analyze cell
count and viability data with ease.
Shortest time-to-results
With manual focusing, you are 10 seconds away from your data. With
autofocusing, a mere 15 seconds.
Built-in printer
An integrated thermal printer makes record keeping effortless.
Cell size & concentration range
Cells 3 to 60 µm in size at concentrations ranging from 5 x 10⁴to 1 x 10⁷cells/mL
are easily analyzed.
Simple dilution calculations
Onboard software calculates dilutions for users.
Onboard memory
Up to 1000 counts can be saved directly to the LUNA-II™.
Customizable protocols
Up to 300 unique protocols can be set and used.
Data reports
Detailed PDF files complete with cell count and viability data, images, and
histograms can be saved to an external drive.
4
1.3 Product Contents
The LUNA-II™product package contains the following components.
*The LUNA-II™Automated Cell Counter with built-in printer (L40001) comes with one pack of LUNA-II™Printer Paper installed.
Upon receiving the product package, please inspect its contents to ensure that all parts have been included and that no
damage has occurred during shipping. The warranty does not cover damage that may occur during shipping and handling.
Any damage claims must be filed with the carrier. Contact your local distributor or Logos Biosystems if anything is missing.
1.4 Product Specifications
*Processing time may vary according to cell type and concentration.
**This is the minimum processing time for each focusing option at the specified concentration of HeLa or HL-60 cells.
Component
Quantity
LUNA-II™Automated Cell Counter*
1
Power Cord (with AC adapter)
1
LUNA™Cell Counting Slides, 50 Slides (100 Counts)
1 box
USB Drive, 16 GB
1
Trypan Blue Stain, 0.4%
2 x 1 mL
LUNA-II™Automated Cell Counter Specifications
Instrument Type
Benchtop cell counter
Dimensions (W x D x H)
16 x 18 x 28 cm (6.3 x 7.0 x 11.0 in)
Weight
1.6 kg (3.5 lb)
Cell Concentration Range
5 x 10⁴- 1 x 10⁷cells/mL
Cell Diameter Range
3 - 60 µm (optimal range: 8-30 µm)
Cell Viability Range
0 - 100%
Image Resolution
5 MP
Image Type
TIFF
Processing Time*
10** (manual focusing) or 15** (autofocusing) seconds at ~1 x 10⁶cell/mL
LUNA™Cell Counting Slide Specifications
Material
Polystyrene
Dimensions (W x D x H)
25 x 75 x 2.4 mm
Chamber Depth
100 µm
Chamber Volume
10 µL

5
1.5 Product Description
1.5.1 Front and Right Side View of the LUNA-II™
The front of the LUNA-II™has a wide touchscreen, a power button, a counting slide port to insert LUNA™Cell Counting
Slides or the LUNA™Reusable Slide, and a USB port for easy data transfer. The right side of the LUNA-II™has a built-in
printer (L40001 models only), allowing the user to print results immediately.
1.5.2 Rear View of the LUNA-II™
The rear of the LUNA-II™has two additional USB ports and a power inlet to connect the instrument to an electrical outlet.
1.6 General Guidelines
Follow the instructions below to obtain the best results with the LUNA-II™Automated Cell Counter.
1. Hold slides by the edges to avoid touching the optical surface. Take care that the optical surfaces of the slide do not
become smudged, damaged, or contaminated.
2. When staining cells with trypan blue, perform cell counting within three minutes of mixing samples for accurate cell
viability measurements. If necessary, count your sample twice (duplicate readings) and take an average. Otherwise,
use Erythrosin B for an alternative that is less toxic to your cells.
3. As the LUNA-II™is calibrated before shipping, recalibration before use is not necessary. See Section 2.3.5: Settings:
Background Calibration to see when background calibration is necessary.

6
Chapter 2 –Setting up
2.1 Installation
Place the LUNA-II™on a clean and level surface. Connect the power cord to the AC adapter. Connect the power cord to
an electrical outlet after checking the outlet configuration in your local area.
Do not install the instrument in a location that will expose the instrument to intense ultraviolet light.
2.2 Startup/Main Menu
Push the power button below the touchscreen to turn the instrument on. The company logo will appear, followed by the
startup screen.
The main menu has a power icon and four options: count, review, protocol, and settings.
For instructions on when and how to turn the instrument on or off, see Section 6.1: Turning On/Off.

7
2.3 Settings
The instrument is preset at the time of manufacture and may be used immediately. Users may adjust the settings of the
instrument as desired.
Select settings from the main menu.
The Settings screen displays:
a home icon: press this icon to return to the main menu,
the current protocol and date,
the date and values of the most recent calibration, and
the date and version of the latest software update.
Settings options:
2.3.1 [Staining Options] Select for the presence or absence of a stain.
2.3.2 [Counting Options] Select Auto Exposure mode to adjust light settings for each count.
2.3.3 [Date/Time] Adjust the date and time of your instrument for record keeping purposes.
2.3.4 [Software Updates] Update software to the most recent version.
2.3.5 [Background Calibration] Perform background calibrations with each software update.

8
2.3.1 Settings: Staining Options
Users can select for the use or absence of a stain for cell counting with the LUNA-II™. The LUNA-II™is optimized for use
with trypan blue or Erythrosin B.
Option
Description
With Trypan Blue
This option is used when cell samples are mixed with trypan blue or Erythrosin B for regular
bright field counting. This option generates cell viability data.
Adjust the dilution factor in your set protocol appropriately.*
Without Trypan Blue**
When samples are not mixed with a stain, select this option and follow the directions in the
message boxes.
Adjust the dilution factor in your set protocol appropriately.*
*The dilution factor will not change automatically. Failure to adjust the dilution factor will lead to inaccurate cell concentration calculations.
**Low contrast from not using a stain may lead to suboptimal results.
Press [Staining Options] in the Settings screen.
The selected option will be marked with a blue .
Change the staining option by pressing the unselected option.
Select With Trypan Blue when using a stain such as trypan blue or Erythrosin B.
Important! Users must recalibrate the background when switching stains (see Section 2.3.5: Settings:
Background Calibration).
Press OK to select the desired staining option. Otherwise, press Cancel to close the window.
Press <to return to the Settings screen.
Choose the appropriate protocol or adjust the dilution factor accordingly (see Section 3.1: Protocol Parameters and
Section 3.2. Creating and Editing Protocols).

9
2.3.3 Settings: Counting Options
Users can choose to turn Auto Exposure mode on or off. Auto Exposure mode automatically adjusts the light settings for
each count to ensure the accuracy of counting results regardless of the brand, concentration, and shade of trypan blue
used. Auto Exposure mode is especially important when using higher concentrations of trypan blue.
Press [Counting Options] in the Settings screen.
Select ON to activate Auto Exposure mode. Select OFF to deactivate Auto Exposure mode.
The selected option will be highlighted in blue.
Press <to return to the Settings screen.
2.3.3 Settings: Date/Time
The LUNA-II™uses a 24-hour clock and is preset to Korean time. Adjust the settings to the local date and time for
accurate record keeping.
Press [Date/Time] in the Settings screen.
Select the desired field to delete the existing value.
Input the desired values with the number panel on the right. Press Apply to save changes.
Press <to return to the Settings screen.
2.3.4 Settings: Software Update
Logos Biosystems continually provides software updates to ensure optimal performance. The existing version of
software is displayed in the startup screen and the Settings screen.
Download the most recent version from the Logos Biosystems website (www.logosbio.com) into the root directory of a
compatible USB drive.
Press [Software Update] in the Settings screen. Insert the USB drive with the downloaded file into the USB port. Press
Start. Do not turn the instrument off during the update. The date and version of the last software update will change
automatically in the Settings screen.
Important! Users must recalibrate the background after each software update (see Section 2.3.5: Settings:
Background Calibration).

10
2.3.5 Settings: Background Calibration
Background calibration adjusts for the specific shade of the stain used for counting and is a prerequisite for the
successful detection of cells. Users must recalibrate the background after each software update or when using a
different brand, concentration, or type of stain. The LUNA-II™is optimized for use with trypan blue or Erythrosin B.
Press [Background Calibration] in the Settings screen.
A window will appear with directions for Calibration Step 1.
The counting slide port should be empty for Calibration Step 1. If there is a slide in the counting slide port, remove it from
the instrument.
Press Start.
Do not turn the instrument off during this process.
Mix one part stain with an equal volume of distilled water, PBS, or plain medium. Put 10 µL of the diluted stain into the
chamber of a new LUNA™Cell Counting Slide or a clean LUNA™Reusable Slide.
A window will appear with directions for Calibration Step 2 when Calibration Step 1 is complete.
Insert the slide face up and sample-side first into the counting slide port.
Important! Do not insert the slide facedown.
Press Start. Do not remove the slide or turn off the instrument during this process.
Press Exit to return to the Settings screen when Calibration Step 2 is complete. The background calibration value and
date will have changed in the Settings Screen.

11
Chapter 3 –Setting the Count Protocol
The LUNA-II™provides a default protocol that can be used for most common cell lines. Users may create and save up to
300 unique protocols.
3.1 Protocol Parameters
The LUNA-II™protocols have the following modifiable parameters:
Parameter
Range
DEFAULT
PBMC
Dilution Factor
1-100
2
2
Noise Reduction
1-10
5
5
Live Cell Sensitivity
1-9
1
7
Roundness (%)
0-100
60
60
Min. Cell Size (µm)
3-59
3
3
Max. Cell Size (µm)
4-60
60
30
Declustering Level
None, Low, Medium, High
Medium
Medium
Dilution Factor: The dilution factor is used to calculate cell concentrations accurately. The default dilution factor is
preset as 1 for Without Trypan Blue and 2 for With Trypan Blue, assuming a 1:1 ratio of stain to cell suspension.
Users can modify this value according to the dilution of the original sample in increments of 1 between 1-10 and of 10
between 10-100. For users handling highly dense cells (e.g. fermented CHO cells), serial dilutions and several counts
with appropriately adjusted dilution factors will be necessary.
Noise Reduction: This option allows for the adjustment of background noise during counting. With more noise
reduction, the instrument will be less sensitive and not detect weakly stained cells. With lower noise reduction, the
instrument can detect objects with faint signals. Adjusting this parameter will help optimize for different cell types as
staining can vary from cell to cell.
Live Cell Sensitivity: Live cells with intact cell membranes exclude trypan blue and Erythrosin B. The dyes form halos
around live cells and stain the cytoplasm of dead cells or cells with compromised membranes. With a higher live cell
sensitivity, the instrument can detect smaller cells by registering smaller halos. For most cells, this option should be set
to 1. For peripheral blood mononuclear cells (PBMCs) or smaller, set it to 5.
Roundness: Cells are not all completely spherical. Adjusting the roundness to detect cells of various shapes. Higher
percentages lead to the counting of rounder cells and excludes objects with less roundness. Lower percentages are
suitable for counting cells with irregular shapes.
Minimum and Maximum Cell Size: Users can customize cell size parameters to detect specific cells efficiently. Values
can be adjusted in 1 µm increments for sizes between 3-60 µm.
Declustering Level: The declustering function allows for the efficient detection of a variety of cells that may clump or
grow in clusters. Higher levels of declustering will increase counting time. This function is helpful for counting sticky cells
or rod-shaped spores.

12
3.2 Creating and Editing Protocols
Select protocol from the main menu.
The Protocol screen includes a list of saved protocols. The selected protocol is highlighted in blue. The parameters of
the selected protocol are displayed in the right panel.
The DEFAULT and PBMC protocols cannot be modified or deleted.
To create a new protocol, select New Protocol and press Load.
Press Delete to delete the selected protocol.
Press Edit to modify the selected protocol. This will activate the arrows for each parameter, turning them a solid grey.
Press the arrows to adjust the values of each parameter as desired.
Press Save as.
Using the onscreen keyboard, name the protocol and press Save.
The newly created protocol will appear in the list of protocols in the Protocol screen.

13
3.3 Protocol Selection
Select the desired protocol in the Protocol screen.
Press Load to apply the selected protocol.
Now the instrument is ready to count cells with the selected protocol.
Important! Merely selecting a protocol does not mean that it has been put into effect. To apply the selected
protocol, make sure to press Load.

14
Chapter 4 –Counting Cells
4.1 Instrument Preparation
Select count from the main menu.
The staining option, set protocol, date, and time appear in the panel at the top of the Count screen.
Set the protocol, dilution factor, and staining option appropriately prior to counting.
4.2 Sample Preparation
Prepare a cell suspension according to standard procedures. Mix gently but thoroughly to ensure that the suspension is
homogenous.
Mix 10 µLcell suspension with 10 µLstain. Pipette gently.
Prepare a new LUNA™Cell Counting Slide or a clean LUNA™Reusable Slide. Hold the slide by its edges and load 10-
12 µL of the cell sample into a sample chamber. For easy and accurate loading, hold the pipette at a 45-60°angle to the
slide. Be careful not to over-load or under-load the sample chamber.

15
4.3 Slide Insertion
Insert the slide face up and sample-side first into the counting slide port of LUNA-II™. The LUNA-II™can only analyze the
inserted chamber.
Important! Do not insert the slide facedown.
A live image of the cells will appear on the screen. If not, the slide might not be inserted correctly.
4.4 Focusing
The LUNA-II™has an autofocusing algorithm that works in tandem with a focusing mechanism to rapidly obtain the Z
position of the sample by applying a small voltage to a liquid lens. The elimination of mechanical parts in the focusing
mechanism removes noise and significantly reduces the need for servicing.
4.4.1 Autofocusing
Press the circle next to [Autofocused Counting]. The circle will turn blue when the autofocus is activated.
4.4.2 Manual Focusing
Users can adjust the focus manually by simply pressing the [Focus] arrow heads (up or down) with the autofocus
function on or off.

16
4.5 Cell Counting
Use a finger or a stylus to navigate the image. The red outer box in the top left corner of the image represents the entire
counting area and the inner box is the current field of view. The size and location of the inner box will change with the
magnification and movement of the screen
Press the magnifier button to zoom in and out of the image.
Press [Count] to start counting.
The LUNA-II™counts the cells in 0.5 µL, which is comparable to five (1 mm x 1 mm) squares on a standard
hemocytometer.
Counting time will vary with protocol, cell size, and cell concentration. With the DEFAULT protocol, cell samples with a
concentration of ~1 x 10⁶cell/mL will take at minimum 10 seconds to count without autofocusing or 15 seconds with
autofocusing.
Cell count and viability results will appear.

17
4.6 Results
The LUNA-II™has onboard data analysis software that allows users to analyze cell count and viability data immediately.
4.6.1 Results: Image View
Press [Image] to view the captured image of the analyzed cell sample.
Use a finger or a stylus to navigate the image.
The Tag and magnifier buttons are to the right of the image.
Press the magnifier button to zoom in and out of the saved image.
Press Tag to label what was counted as live cells with green circles and dead cells with red circles. The Tag function
allows users to verify the instrument’s counting accuracy immediately.
Press Tag again to remove the labels.

18
4.6.2 Results: Histogram and Gating
Press [Histogram & Gating] to see a graphical representation of the cell count results.
Users can review the distribution of cells according to their sizes. Green bars represent live cells and red bars represent
dead cells. The Total/on button indicates that live and dead cells are both represented.
Press Total/on to change it to Live/on and display the size distribution of only live cells.
Press Live/on to change it to Dead/on and display the size distribution of only dead cells.

19
The LUNA-II™provides a gating function that can be controlled by the gating bar on the bottom of the screen. Select the
desired light grey limit icon. The selected icon will become red.
Press the arrows on either end of the size to alter the minimum and maximum size limits. The gating function is helpful
for monitoring co-cultured cells with distinct sizes and the exclusion of noncellular particles.
Press Apply to set the size gating limits. The count results will adjust accordingly.
Press Cell Number to change the Y-axis to Cell Concentration.
Press Cluster Map/off to change it to Cluster Map/on and show the distribution of cell clusters.
Table of contents
Other logos biosystems Laboratory Equipment manuals

logos biosystems
logos biosystems X-CLARITY TISSUE CLEARING SYSTEM User manual

logos biosystems
logos biosystems CELENA X User manual

logos biosystems
logos biosystems QUANTOM User manual

logos biosystems
logos biosystems Luna-II yf User manual

logos biosystems
logos biosystems LUNA FX7 Series User manual

logos biosystems
logos biosystems LUNA-FX7 Basic Installation guide

logos biosystems
logos biosystems Luna II User manual