manuals.online logo
Brands
  1. Home
  2. •
  3. Brands
  4. •
  5. Long range
  6. •
  7. Transmitter
  8. •
  9. Long range T4300 Trap User manual

Long range T4300 Trap User manual

Long Range LLC. 26 Tannery Street Franklin, NH 03235
T4300 Trap
Introduction
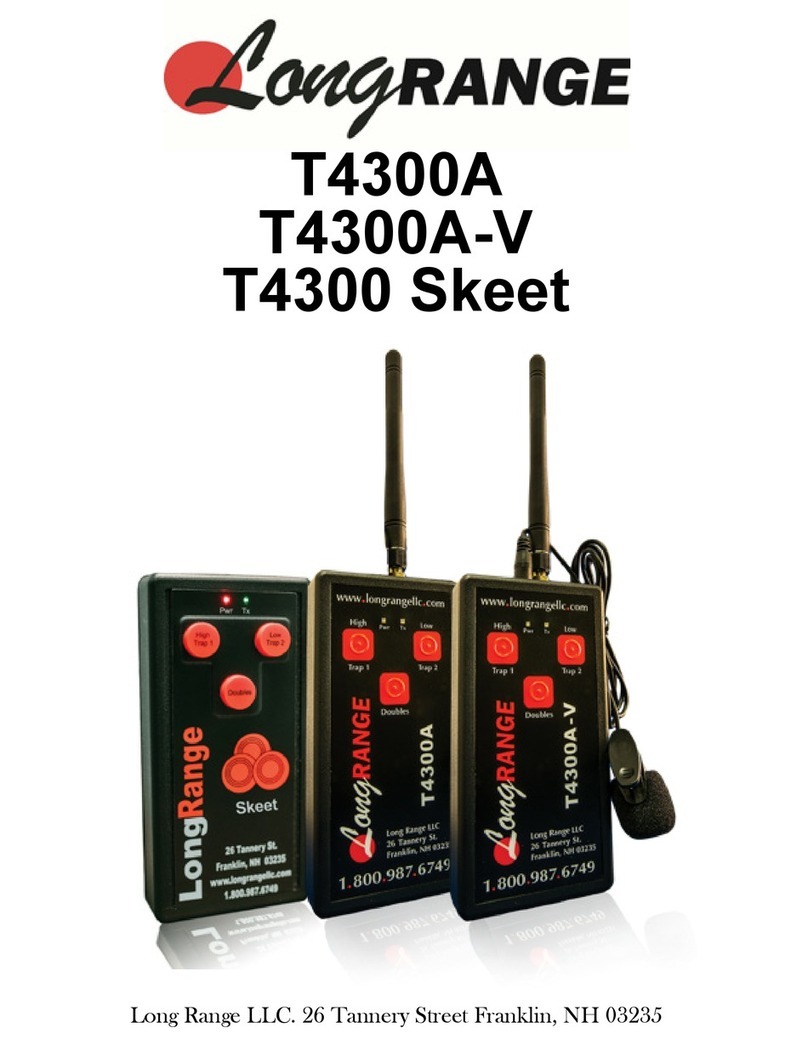
The T4300-Trap is a simple to use transmitter that can control a trap machine with the push of a button.
The T4300-Trap has a voice version with the added ability to launch targets using voice control. Both
transmitters require a 9-volt battery and an antenna.
Press the Trap button to power on the transmitter. Be aware the this rst button press, even though the
device is o󰀨, will re the corresponding trap or traps.
The voice unit has a microphone included. For best results, clip this microphone to the lapel of vest or
shirt, about 6-9 inches from your mouth.
1
Antenna
Trap Button
Microphone Jack
Only on the voice unit
Button Operation
Voice Operation (Voice Option Only)
Press Trap to re the corresponding trap.
Be sure to have the supplied microphone plugged into the Microphone Jack on the top of the T4300-
Trap and clipped to the lapel of vest or shirt, about 6-9 inches from your mouth. The transmitter can be
clipped to a belt or put in a pocket of a shooting vest.
Once the microphone is plugged into the Microphone Jack, the T4300-Trap automatically enters voice
activation mode. To re a single target, press the Trap button. This arms the device but does not re the
trap. When ready, call “Pull” in a normal tone of voice to re the designated trap.
Lock On Mode (Voice Option Only)
The Lock On Mode is a feature of the T4300-Trap and is used in conjunction with voice operation.
Lock On Mode allows the Trap button to be locked in and launched with a verbal command without
pressing the button each time.
To lock in the trap, press and hold the Trap button for 5 seconds. The trap is now locked in. When
ready, call “Pull” in a normal tone of voice to re the trap. After 4 seconds, the transmitter will re-arm
and will be ready to re the same trap. Request the target using the microphone and the trap will again
re. If the target does not launch, the button was not held down long enough to activate Lock On Mode.
Redo the steps above and be sure to hold down the button for at least 5 seconds. To exit Lock On
Mode, press the Trap button.
2
Link Mode (Alternative to Using Dip Switches)
1
2
3
4
Set desired Field ID Channel and Trap
Addresses on the transmitter.
Power on desired receiver with all dip switches
set to the open/o󰀨 position. The red Link LED
will blink for 15 Seconds. This indicates that
the receiver is in Link Mode. If a transmitter
has not been linked to the receiver during this
15 seconds, the receiver will revert to the
previous settings.
The red Link Mode light on the receiver will
go solid. The transmitter and receiver are now
linked. Repeat this process to link another
receiver.
Press and hold the trap button that you would
like to assign to the receiver until the green Tx
Light on the transmitter ashes.
Link Mode allows users to wireless link receivers to specic trap buttons. Be sure that the receiver
you wish to link to is in Link Mode. If you are using the voice model, make sure that there is no
microphone attached to the device.
Link LED
Will blink for 15
seconds
Set to open/o󰀨
position
Indicates power
is on
Dip Switches
Power LED
Transmitter Field ID
Must Be Set (Channel
1 Shown Here)
R-4300 Dip Switches
Set to Link Mode (All in
the open/o󰀨 position)
Trouble Shooting
Frequently Asked Questions
Contact
Please call us with any questions. Your satisfaction is our priority.
Call toll free:
1 800 987-6749, Monday-Friday 8:30am-4:30pm EST
Website:
http://www.longrangellc.com
Product Repairs
MAIL TO: Long Range LLC.
26 Tannery St.
Franklin, NH 03235
Please carefully pack and ship, prepaid and insured, to Long Range LLC.
Questions Answers
What should I do if my transmitter isn’t working?
What should I do if my transmitter isn’t turning on?
First, ensure that your transmitter is set to the
same Channel as the trap that you are trying to
re. Second, ensure that your transmtter is set to
the correct Message Format.
Please refer to the Dip Switches Manual
included with your device.
Be sure that the transmitter has a fresh 9-volt
battery.
3

Other Long range Transmitter manuals

Long range T-3 User manual

Long range

Long range T-3 User manual

Long range T Series User manual

Long range

Long range T Series User manual

Long range T4300A User manual

Long range

Long range T4300A User manual

Long range T4300A User manual

Long range

Long range T4300A User manual

Popular Transmitter manuals by other brands

Metrol RC Series instruction manual

Metrol

Metrol RC Series instruction manual

SMART-AVI RK-DVX2U-A Series installation manual

SMART-AVI

SMART-AVI RK-DVX2U-A Series installation manual

HTRONIC HT5S manual

HTRONIC

HTRONIC HT5S manual

PureLink Luxi Presenter LU-TPR-150CR quick start guide

PureLink

PureLink Luxi Presenter LU-TPR-150CR quick start guide

Pocket Wizard MultiMAX quick guide

Pocket Wizard

Pocket Wizard MultiMAX quick guide

SPY Ball 6527 user manual

SPY Ball

SPY Ball 6527 user manual

Black Box IC564A installation guide

Black Box

Black Box IC564A installation guide

smart home SwitchLinc 12080W user manual

smart home

smart home SwitchLinc 12080W user manual

Camsat CAM8h-AHD user manual

Camsat

Camsat CAM8h-AHD user manual

Burkert SE56 OPERATING AND INSTALLATION Manual

Burkert

Burkert SE56 OPERATING AND INSTALLATION Manual

Technalogix TAVD-250L Operation manual

Technalogix

Technalogix TAVD-250L Operation manual

Vega VEGABAR 81 Product information

Vega

Vega VEGABAR 81 Product information

Vaisala WXT510 user manual

Vaisala

Vaisala WXT510 user manual

Tele Radio T19-02 User instructions

Tele Radio

Tele Radio T19-02 User instructions

Mobrey MSP400RH Reference manual

Mobrey

Mobrey MSP400RH Reference manual

IFM Electronic efector 600 operating instructions

IFM Electronic

IFM Electronic efector 600 operating instructions

TEREN DPTM Operation manual

TEREN

TEREN DPTM Operation manual

Analytical Technology F12D Series manual

Analytical Technology

Analytical Technology F12D Series manual

manuals.online logo
manuals.online logoBrands
  • About & Mission
  • Contact us
  • Privacy Policy
  • Terms and Conditions

Copyright 2025 Manuals.Online. All Rights Reserved.