manuals.online logo
Brands
  1. Home
  2. •
  3. Brands
  4. •
  5. Lorex
  6. •
  7. Baby Monitor
  8. •
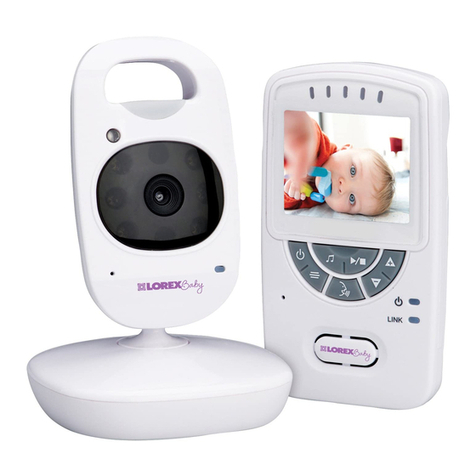
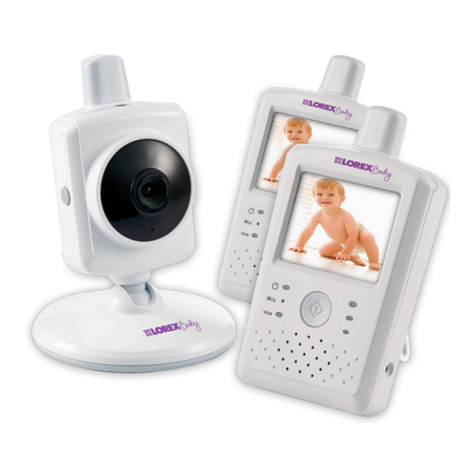
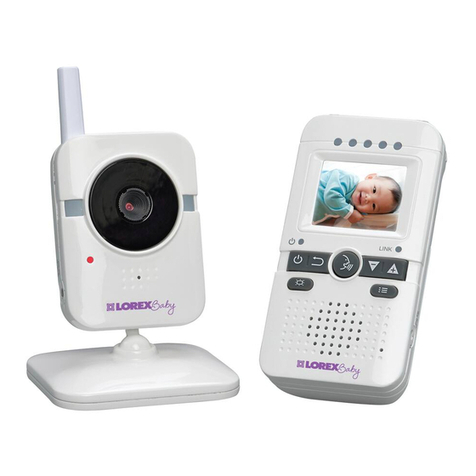
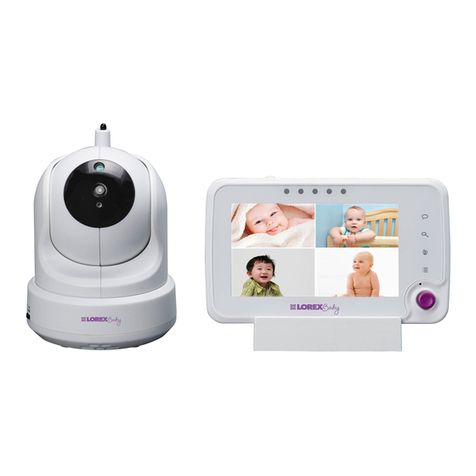
  9. Lorex ACCWIFI1 User manual

Lorex ACCWIFI1 User manual

www.lorextechnology.com BB351AC1_QSG_TRILINGUAL_R1
www.lorextechnology.com
ADD-ON CAMERA
BB351AC1
QUICK START GUIDE
x1 x3 x1 x3 x3
What’s Included
Getting Started
12
1
2
Place the camera and monitor next to each other. Make sure
the monitor and the camera are plugged in and turned on.
Pairing the Camera with Your Monitor
Press , then move the joystick left or right to navigate to
SETUP. Press the joystick to select SETUP.
3
Connect the power adapter to the
camera and then to a power outlet. Hold the power button on the
camera for one second.
4
NOTE: BB351AC1 can be mounted
on a wall or ceiling. Please see the
User’s Guide provided with your
monitor for details.
NOTE: Immediately move the camera away from the monitor
to avoid speaker feedback.
Select Pairing.
Use the joystick to select the channel you would like to pair
the camera to. Press the joystick to make a selection.
5
*If pairing was unsuccessful, repeat the pairing process described above starting with step 2.
Make sure all power cables are at
least 3ft / 1m away from children.
Select
Setup
Select
Pairing
Press the PAIR button on the bottom of the camera within
30 seconds of selecting the pairing channel.*
NOTE: If a camera is already connected to this channel,
the new camera will replace the existing camera.
x1
Use the included cable clips to help keep
power cables away from your child:
TIP
1. Pass the cable through the two plastic brackets on the
cable clip. Position the clip against a surface.
2. Remove the adhesive guard when you are prepared
to install the clip.
3. Wrap excess cable around the brackets as indicated
below by the arrows.
EXPAND AND CUSTOMIZE YOUR SYSTEM
DÉVELOPPEZ ET PERSONNALISEZ VOTRE SYSTÈME
AMPLÍE Y PERSONALICE EL SISTEMA
BB311AC1
• Fixed camera.
• Built-in night light.
• Wall mountable.
• Caméra fixe.
• Lumière de nuit intégrée.
• Montage mural.
• Cámara Fija.
• Luz de noche integrada.
• Montaje en la pared.
BB351AC1
• Pan / tilt camera.
• Auto motion tracking.
• Wall / ceiling mountable.
• Caméra panoramique/
inclinable.
• Détection automatique de
mouvement.
• Montage mural/au plafond.
• Cámara de vista
panorámica/inclinación.
• Seguimiento automático del
movimiento.
• Se puede montar en el techo
o en la pared.
ACCWIFI1
• Remote viewing accessory.
• View your system on iPhone®, iPad® or Android™ devices.
• Easy QR code setup.
• Connects to your router using Wi-Fi or Ethernet.
• Doubles as a charging station for the monitor.
• Accessoire de visionnement à distance.
• Visionnez votre système sur des appareils iPhone®, iPad® ou Android™.
• Configuration facile avec code QR.
• Se raccorde à votre routeur par Wi-Fi ou Ethernet.
• Peut être également utilisé comme poste de recharge pour le moniteur.
• Accesorio para visualización remota.
• Visualice el sistema en dispositivos iPhone®, iPad® o Android™.
• Fácil configuración de código QR.
• Se conecta al enrutador mediante Wi-Fi o Ethernet.
• Funciona también como una estación de carga para el monitor.
www.lorextechnology.com
Learn more at
Pour en savoir davantage, visitez
Más información en
www.lorextechnology.com BB351AC1_QSG_TRILINGUAL_R1
www.lorextechnology.com
CAMÉRA SUPPLÉMENTAIRE
BB351AC1
GUIDE DE DÉMARRAGE RAPIDE
Ce qui est inclus
Aide au démarrage
12
1
2
Placez la caméra et le moniteur côte à côte. Assurez-vous
que le moniteur et que la caméra sont branchés et allumés.
Jumelage de la caméra avec votre moniteur
Appuyez sur , et déplacez la manette à gauche ou à droite
pour vous rendre vers Caméra. Appuyez sur la manette pour
choisir Caméra.
3
Branchez l'adaptateur d'alimentation à
la caméra, puis à une prise de courant.
4
Utilisez les attaches-câble afin de vous aider
à garder les câbles loin de votre enfant.
REMARQUE : BB351AC1 peut être
installé sur un mur ou sur le plafond.
Veuillez utiliser le guide de l'utilisateur
fourni avec le moniteur pour plus de
détails.
REMARQUE : Déplacez immédiatement la caméra loin du
moniteur afin d'éviter les rétroactions du haut-parleur.
CONSEIL
1. Passez le câble dans les deux supports en plastique sur
l'attache-câble. Placez l'attache-câble contre une surface.
2. Retirez le protecteur adhésif lorsque vous êtes prêt à
installer l'attache-câble.
3. Enroulez l'excès de câble autour des supports comme
illustré avec les flèches ci-dessous.
Sélectionnez Jumelage.
Utilisez la manette pour sélectionner le canal auquel vous
aimeriez jumeler la caméra. Appuyez sur la manette pour
effectuer une sélection.
5
*Si le jumelage n'a pas réussi, répétez le processus de jumelage décrit ci-dessus en commençant à l'étape 2.
Assurez-vous que les câbles d'alimentation
sont à au moins 1 m/3 pi des enfants.
Sélectionnez
Caméra
Sélectionnez
Jumelage
Appuyez sur le bouton de jumelage sous la caméra dans
les 30 secondes de la sélection du canal de jumelage.
REMARQUE : Si une caméra est déjà connectée à ce
canal, la nouvelle caméra la remplacera.
Maintenez le bouton
d’alimentation sur la caméra
pendant une seconde.
x1 x3 x1 x3 x3 x1
CÁMARA COMPLEMENTARIA
BB351AC1
GUÍA RÁPIDA DE INSTALACIÓN
¿Qué incluye?
Primeros pasos
12
1
2
Coloque la cámara junto al monitor. Asegúrese de que el monitor
y la cámara están conectados y encendidos.
Vinculación de la cámara con su monitor
3
Conecte al adaptador de corriente a la
cámara y luego a un tomacorriente.
4
Utilice las abrazaderas del cable que se incluyen para
ayudar a mantener los cables de alimentación fuera del
alcance de su hijo:
NOTA: La BB351AC1 se puede
instalar en una pared o en el techo.
Para obtener más información
consulte la Guía del usuario que
acompaña al monitor.
NOTA: Inmediatamente aleje la cámara del monitor para
evitar retroalimentación del altavoz.
SUGERENCIA
1. Pase el cable a través de los dos soportes de plástico en la
abrazadera del cable. Coloque la abrazadera contra una superficie.
2. Retire el protector del adhesivo cuando esté listo para instalar el clip.
3. Enrolle el exceso de cable alrededor de los soportes como lo
indican las flechas a continuación.
Seleccione Emparejar.
Utilice la palanca de mando para seleccionar el canal que
le gustaría para vincular la cámara. Presione la palanca de
mando para realizar una selección.
5
* Si la vinculación no se realizó correctamente, repita el proceso de
vinculación que se ha descrito anteriormente a partir del paso 2.
Seleccione
Cámara
Seleccione
Emparejar
NOTA: Si una cámara ya está conectada a este canal, la
nueva cámara va a sustituir la cámara actual.
Mantenga presionado el botón
de corriente de la cámara
durante un segundo.
Presione , y, a continuación, mueva la palanca de mano hacia
la izquierda o la derecha para desplazarse a Cámara. Presione
la palanca de mando para seleccionar Cámara. Presione el botón de vinculación en la parte inferior de la
cámara no más de 30 segundos después de seleccionar el
canal de vinculación.
Asegúrese de que todos los cables de alimentación se encuentran
al menos a 3 pies / 1 metros fuera del alcance de los niños.
x1 x3 x1 x3 x3 x1

Other manuals for ACCWIFI1
3

This manual suits for next models

2

Other Lorex Baby Monitor manuals

Lorex BB2411 User manual

Lorex

Lorex BB2411 User manual

Lorex Live SD3.5 User manual

Lorex

Lorex Live SD3.5 User manual

Lorex LW2003 Instruction Manual

Lorex

Lorex LW2003 Instruction Manual

Lorex SWEET PEEP MAX VIDEO BABY MONITOR User manual

Lorex

Lorex SWEET PEEP MAX VIDEO BABY MONITOR User manual

Lorex LIVE snap User manual

Lorex

Lorex LIVE snap User manual

Lorex sweet peek mini User manual

Lorex

Lorex sweet peek mini User manual

Lorex BB2411 User manual

Lorex

Lorex BB2411 User manual

Lorex CARE 'N' SHARE User manual

Lorex

Lorex CARE 'N' SHARE User manual

Lorex LNC234 Series User manual

Lorex

Lorex LNC234 Series User manual

Lorex Care'n'share User manual

Lorex

Lorex Care'n'share User manual

Lorex LW2020 Series User manual

Lorex

Lorex LW2020 Series User manual

Lorex LW2004 series User manual

Lorex

Lorex LW2004 series User manual

Lorex BB2411AC1 User manual

Lorex

Lorex BB2411AC1 User manual

Lorex SWEET PEEP MINI User manual

Lorex

Lorex SWEET PEEP MINI User manual

Lorex LW2002 Series Instruction Manual

Lorex

Lorex LW2002 Series Instruction Manual

Lorex Baby Care 'n' Share BB4300 Series User manual

Lorex

Lorex Baby Care 'n' Share BB4300 Series User manual

Lorex LW2400 Series User manual

Lorex

Lorex LW2400 Series User manual

Lorex LW2401 Series Installation guide

Lorex

Lorex LW2401 Series Installation guide

Lorex CARE 'N' SHARE User manual

Lorex

Lorex CARE 'N' SHARE User manual

Lorex LW2400 Series User manual

Lorex

Lorex LW2400 Series User manual

Lorex LW2401 Series User manual

Lorex

Lorex LW2401 Series User manual

Lorex LW2020 Series Instruction Manual

Lorex

Lorex LW2020 Series Instruction Manual

Lorex SG5550CL User manual

Lorex

Lorex SG5550CL User manual

Lorex LW241 User manual

Lorex

Lorex LW241 User manual

Popular Baby Monitor manuals by other brands

Chicco Baby Control Audio Digital Compact Instructions for use

Chicco

Chicco Baby Control Audio Digital Compact Instructions for use

Motorola MBP36XL Faq

Motorola

Motorola MBP36XL Faq

Summer 28850 instruction manual

Summer

Summer 28850 instruction manual

Denver SC-2 user manual

Denver

Denver SC-2 user manual

ItsImagical KicoNico Dolce Vigilanza manual

ItsImagical

ItsImagical KicoNico Dolce Vigilanza manual

Beurer BY 99 DUAL Instructions for use

Beurer

Beurer BY 99 DUAL Instructions for use

Sencor sbm 141 instruction manual

Sencor

Sencor sbm 141 instruction manual

Angelcare AC1200 Quick installation guide

Angelcare

Angelcare AC1200 Quick installation guide

Sony NTM-DA1 Specifications

Sony

Sony NTM-DA1 Specifications

Samsung SEB-1015RW user manual

Samsung

Samsung SEB-1015RW user manual

Motorola MBP421 quick start guide

Motorola

Motorola MBP421 quick start guide

Motorola MBP36S user guide

Motorola

Motorola MBP36S user guide

Motorola MBP662CONNECT quick start guide

Motorola

Motorola MBP662CONNECT quick start guide

Beaba ZEN+ Instructions for use

Beaba

Beaba ZEN+ Instructions for use

Reer 5006 SCOPI quick start

Reer

Reer 5006 SCOPI quick start

Alecto DBX-62 user manual

Alecto

Alecto DBX-62 user manual

Motorola VM50G-2 user guide

Motorola

Motorola VM50G-2 user guide

MC Devices BT05 user guide

MC Devices

MC Devices BT05 user guide

manuals.online logo
manuals.online logoBrands
  • About & Mission
  • Contact us
  • Privacy Policy
  • Terms and Conditions

Copyright 2025 Manuals.Online. All Rights Reserved.