LORUS R23 Series Installation guide

NR1W942
2-95 198L1
Instruction & Warranty Booklet
DIGITAL STOPWATCH
R23 Series (Cal. W942)
■HOW TO USE THE STOPWATCH
• The stopwatch can measure up to 9 hours, 59
minutes, 59 seconds and 99 in 1⁄100 seconds.
* Even if the stopwatch display is changed to another
while the measurement is in progress, it continues
counting properly. After the stopwatch is used,
however, be sure to reset it as the battery energy
is consumed enormously to shorten the battery
life.
Stopwatch display mark
■CHARACTERISTICS
1. Stopwatch: Measures up to 9 hours, 59 minutes,
59 seconds and 99 with 1⁄100 second readout.
•Lap time measurement: Up to 9 lap times
can be measured. The lap time difference and
the fastest lap time are calculated and displayed
during the measurement.
2. Time/calendar display: Hour, minutes, seconds,
month, date and day of the week.
• Automatic calendar adjustment: Calendar
adjusts automatically for odd and even months
including February of leap years, but not for
February of common years.
•Time indication: Changeover between 12-
and 24-hour indications is possible.
3. Daily alarm: The alarm can be set to ring on a
24-hour basis.
4. Dual time: Time of a different time zone can be
set and displayed.
5. Stroke function: The watch can be set to beep
at a selected rate to serve as a pacemaker in
jogging, etc.
6. Countdown timer: Up to 9 hours 59 minutes
and 59 seconds can be set in seconds.
Lap time measurement
• “Lap time” refers to an elapsed time required to
cover a given section of the whole distance.
1. At the start of the activity, depress button “D” to
start the stopwatch.
2. At the end of the first lap, depress button “A”.
The first lap time and lap number are displayed,
though the second lap time is being measured
internally.
3. Depress button “A” to release the lap time before
the end of the second lap. The first lap time and
lap number disappear, and the measurement in
progress and “0” are displayed in place of the lap
time and lap number, respectively.
4. At the end of the second lap, depress button “A”.
The second lap time and lap number are dis-
played, though the third lap time is being mea-
sured internally.
5. Measurement and release of the lap time can be
repeated by depressing button “A”.
6. At the end of the activity, follow either of the two
methods below.
a. To display the final lap time, depress button
“A”. Then, depress button “A” to release the
lap time, and depress button “D” to stop the
measurement.
* The time displayed when button “D” is de-
pressed is not the total elapsed time of the
activity, that is, the time that elapsed from
the start until the end of the activity but the
time that elapsed from the start until the
stop of the measurement.
b. To display the total elapsed time of the activi-
ty, depress button “D” to stop the measure-
ment.
7. Depress button “B” to reset the stopwatch.
Stopwatch operation
Depress button “C” to show the stopwatch display.
Start Stop
Restart
Stop
Reset
Accumulate repeatedly by
depressing button “D”.
Accumulated elapsed time measurement
DD D DB
Notes:
1. When a lap time measured is the fastest among
the lap times previously measured, a short beep
rings to signal that the memory has been updated
with the new fastest lap time.
2. The lap number counts up to “9”. After “9”, the
number returns to “1”.
• While a lap time is being displayed, depress but-
ton “B”. With each depression of the button, the
difference between the displayed lap time and the
previous lap time is displayed in the following
order.
Latest lap time Lap time difference
→
Fastest lap time ←
INSTRUCTIONS
for
Cal. W942
■BUTTONS AND DISPLAYS
The selection of the display can be made in the
following order with each depression of button “C”.
C
Stopwatch
display
* A flashing display mark indicates that the corre-
sponding function is in use.
Timer
display
CTime/calendar
display
CAlarm
display
C
C
Dual time
display
C
Stroke
display
Lap time difference and the fastest lap time
To return to the measurement in progress, depress
button “A”.
↑
Seconds
Alarm mark
D
C
B
A
Minutes
Hour
PM mark
Hour
ST.W
BC D
A
Minutes Seconds 1/100 second
PM
Month (Day) Date

• The lap time difference is displayed without a plus
or minus sign. Instead, the lap number of the
faster lap time is always displayed at the right of
the “–” mark.
Ex.)
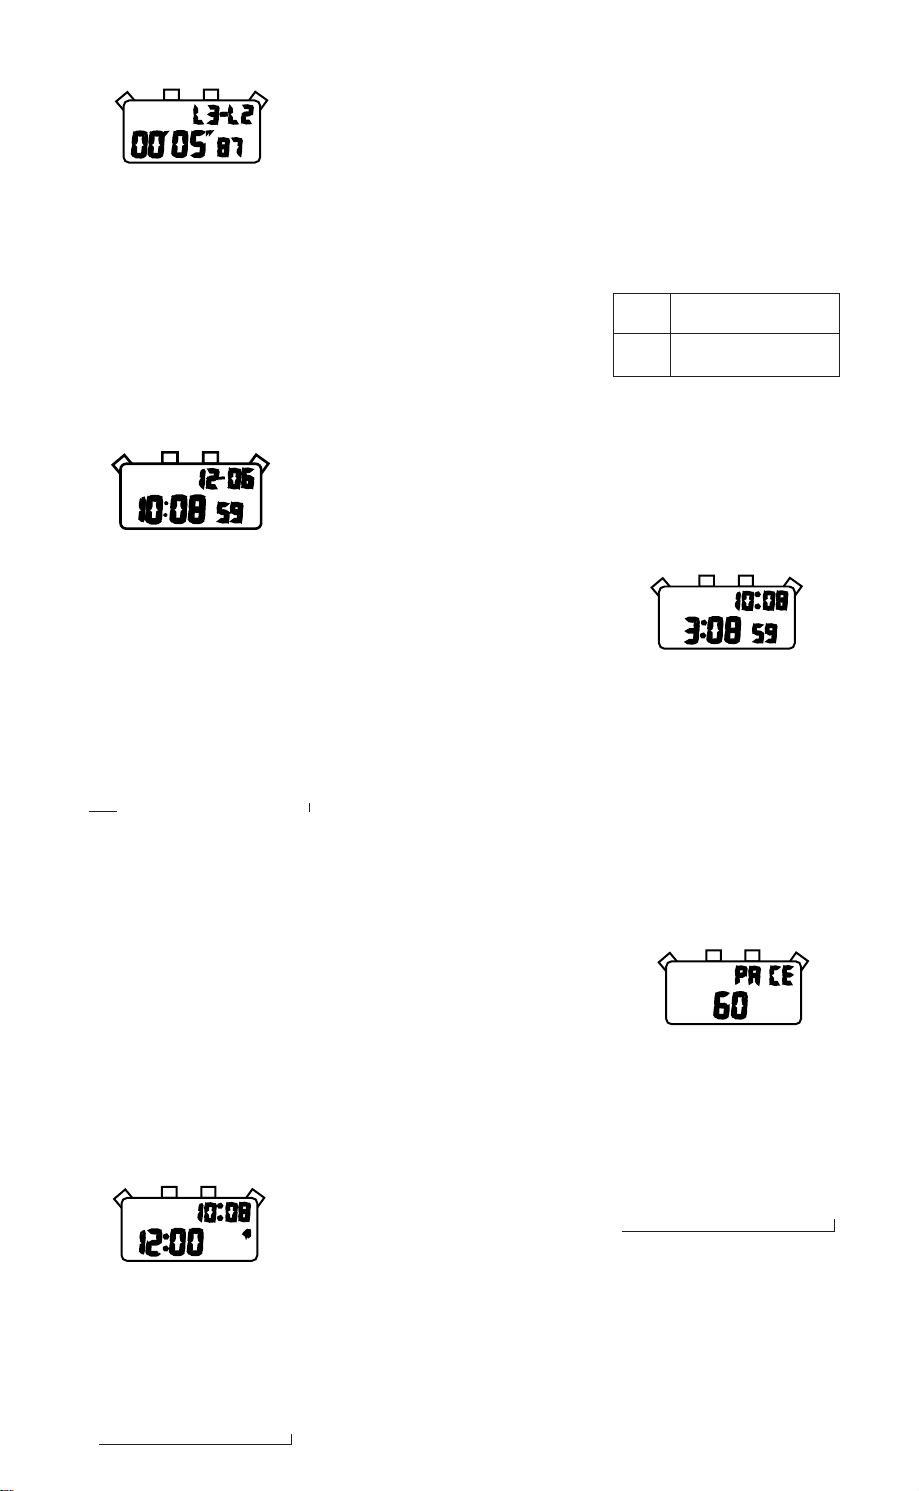
The display should be read as “Lap 2 is 5 seconds
87 faster than Lap 3”.
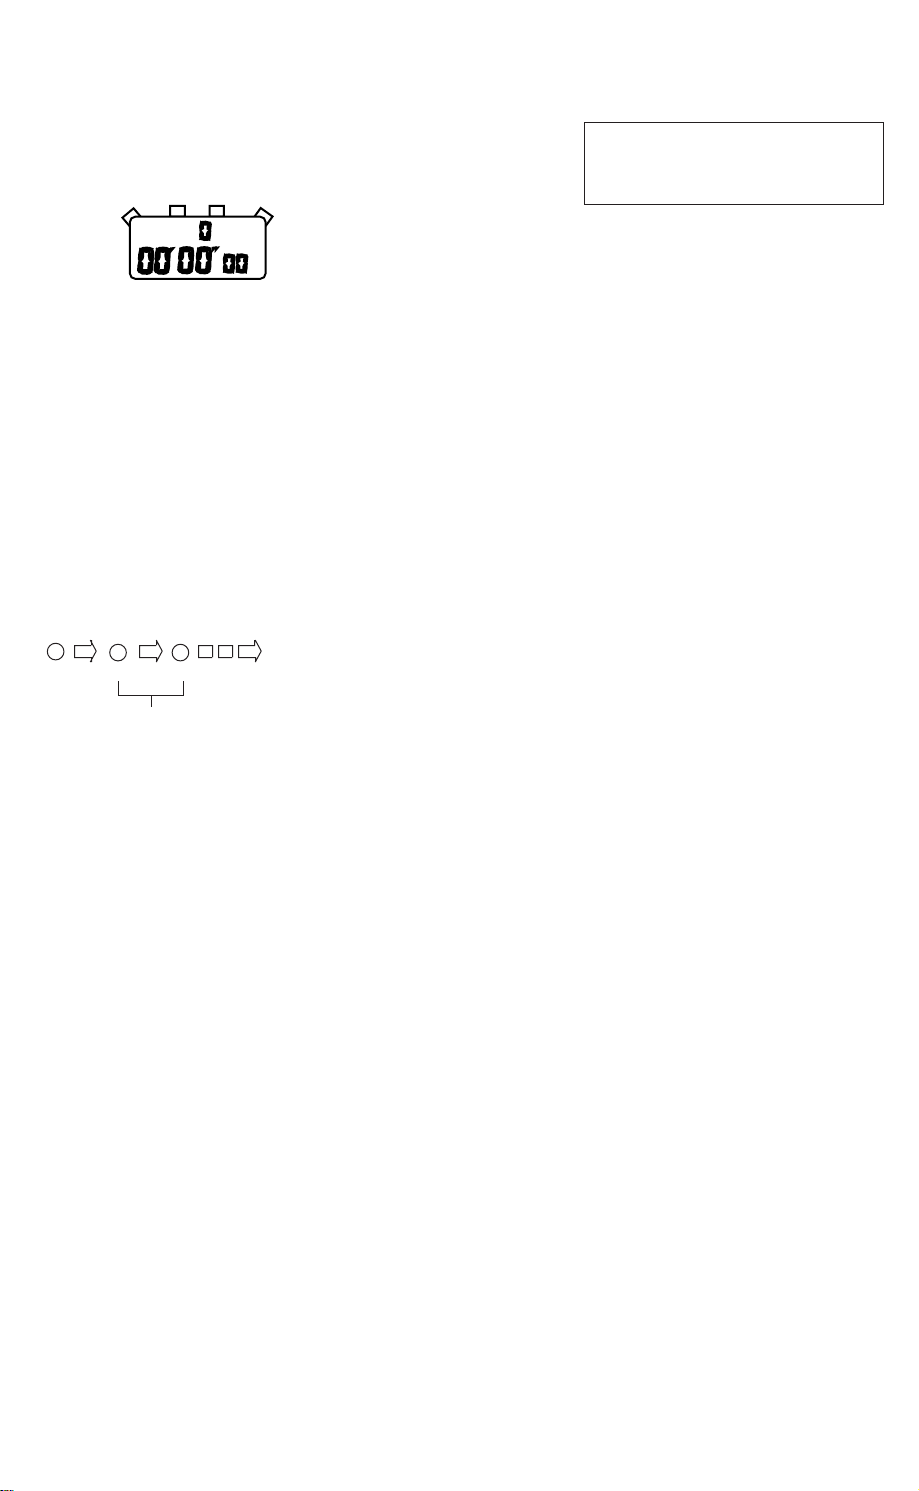
Notes: 1. While the measurement in progress is shown
on the display, the lap time difference
and the fastest lap time cannot be shown
by depressing button“B”.
2. While the latest lap time, lap time differ-
ence or the fastest lap time is shown on
the display, the display cannot be changed
to another by depressing button “C”.
■
HOW TO SET THE TIME/CALENDAR
Seconds Minutes
(units digit)
→→ →
←
DateDay ←←Month
Seconds setting
When the seconds digits are flashing, depress button
“A” in accordance with a time signal. The seconds
are reset to “00” and start immediately.
4. Depress button “A” to set the flashing digits.
One digit is advanced with each depression of
button “A”. Digits except seconds move quickly
by keeping button “A” depressed.
5. After all the adjustments are completed, depress
button “C” to return to the time/calendar display.
* With each depression of button “A”, month and day
are displayed alternately.
* With each depression of button “D”, the display
changes over between the 12- and 24-hour indica-
tions.
1. Depress button “C” to show the time/calendar
display.
2. Depress button “B” to show the time/calendar
setting display. The second digits start flashing.
3. Selection of the digits to be adjusted (flashing)
is made in the following order by depressing
button “D”.
Note: When setting the hour digits in the 12-hour
indication, check that AM/PM is properly
set. Only “PM” is displayed and there is no
indication for the AM setting. In the 24-
hour indication, there is no indication.
Minutes
(tens digit)
■HOW TO SET THE ALARM
1. Depress button “C” to show the alarm display.
2. Depress button “B” to show the alarm setting
display. The hour digits start flashing.
3. Depress button “D” to select the digits to be
adjusted (flashing).
Minutes
(units digit)
→
Minutes
(tens digit)
→
Hour
↑
4. Depress button “A” to set the digits. One digit is
advanced with each depression of the button.
The digits move quickly by keeping the button
depressed.
5. After all the adjustments are completed, depress
button “C” to return to the alarm display.
Notes:
1. When the time function is displayed in the 24-
hour indication, the alarm is also displayed in
the 24-hour indication.
2. When setting the hour digits in the 12-hour indication,
check that AM/PM is properly set.
Only “PM” is displayed and there is no indication
for the AM setting. In the 24-hour indication,
there is no indication.
Alarm disengaged
Alarm engaged
• The alarm rings at the designated time for 18
seconds and stops. To stop it manually, depress
button “A”, “B”, “C” or “D”.
• With each depression of button “D” in the alarm
display, the alarm is engaged and disengaged alternately.
Engagement/disengagement of the alarm
■HOW TO SET THE DUAL TIME
Time of a different time zone can be set and displayed
together with the time you have set in “HOW TO SET
THE TIME/CALENDAR”.
1. Depress button “C” to show the dual time display.
2. For dual time setting, refer to “HOW TO SET
THE TIME/CALENDAR”.
60 →80 →120 →160
■HOW TO USE THE STROKE FUNCTION
•4 different stroke rates (60, 80, 120 and 160 strokes
per minute) have been preset for the stroke function,
and the watch beeps at a selected preset stroke
rate. Therefore, it can serve as a pacemaker in
such activities as jogging.
Selection of the preset stroke rate
1. Depress button “C” to show the stroke display.
2. Depress button “B” to select the desired stroke
rate. Selection of the stroke rate is made in the
following order by depressing button “B”.
Operation of the stroke function
• Depress button “D” in the stroke display. The
watch starts beeping at the selected rate.
* To turn off the stroke sound, depress button
“D”. With each depression of button “D”, the
stroke sound is turned on and off alternately.
↑
Hour
↑
Month (Day) Date
Seconds
MinutesHour
PM mark
ABCD
Current time
Alarm mark
Alarm display mark
Hour Minutes
PM mark
ALARM
PM
DUAL
PM
PM mark
Hour Minutes Seconds
A
Dual time display mark
BCD
PACER
Number of strokes
per minute
Stroke display mark
ABC D
ST.W
PM
D
B
AC

■CARE AND SERVICE OF YOUR
LORUS WATCH
1. Care:
• BATTERY
•WATER RESISTANT
Your watch is classified into one of the following
four groups by the degree of water resistance.
Please read the appropriate item below for proper
use.
If your watch is water resistant, “WATER RESISTANT”
is shown on the back of your watch case. If your
watch is 100m or 50m water resistant, it is so
indicated on the dial. If your watch is non-water
resistant, there is no such indication.
Water resistant: These watches are designed
to withstand accidental contact with water, for
example, splashes or rain, but should not be worn
while swimming or diving.
Water resistant (50m): These watches are
suitable for swimming and can be worn in the
shower, but not for diving.
Water resistant (100m): These watches are
suitable for swimming or skin diving (without
heavy breathing apparatus), but not for scuba
diving.
Non-water resistant: Care should be taken
not to get your watch wet as water may damage
the movement.
•Do not depress any buttons when the watch is
wet.
•If the watch is exposed to salt water, rinse it in
fresh water and then wipe it thoroughly dry.
CAUTION
Do not expose the old battery to fire or
recharge it. Keep it at a place beyond
the reach of children.
• ANTI-MAGNETIC
Your watch will not be affected by magnetism
generated by household electric appliances.
• ANTI-SHOCK
Your watch may be worn for normal sports activi-
ties, but be careful not to drop it or hit it on hard
surfaces.
• TEMPERATURE
Your watch is preadjusted that constant accuracy
may be insured at normal temperature.
2. Service:
If your LORUS watch requires repair or servic-
ing, send it to the Authorized Lorus Service Center
below:
COSERV
P.O. Box 677
Mahwah, NJ 07430
For local repair service in California, please consult
the Yellow Pages of your local telephone directory.
When you send your Lorus watch for service
under warranty to the address above, please enclose
a $4.00 check or money order (payable to COSERV)
to cover the cost of handling.
• Because of possible loss, we recommend in-
suring your watch when using the mails. Never
include a special watchband or gift box in your
shipment.
• As a convenience in obtaining service at the
Authorized Lorus Service Center listed above,
participating Lorus retailers will be pleased to
provide you with a free, pre-addressed Watch
Service Mailer.
■HOW TO USE THE COUNTDOWN
TIMER
•The timer can be set up to 9 hours, 59 minutes and
59 seconds in seconds.
• The remaining time is displayed in 1/100 seconds.
Timer setting
1. Depress button “C” to show the timer display.
2. Depress button “B” to show the timer setting
display. The hour digit starts flashing.
3. Depress button “D” to select the digits to be
adjusted (flashing).
→
Seconds (units digit)
←
Seconds (tens digit)
Hour Minutes
(tens digit) →Minutes
(units digit)
4. Depress button “A” to set the digits. One digit is
advanced with each depression of the button.
The digits move quickly by keeping the button
depressed.
5. After all the adjustments are completed, depress
button “C” to return to the timer display.
Timer operation
Depress the buttons in the following order.
Time-up
Stop
Restart
Warning beep
sounds
Start
Restart and stop of the
timer can be repeated by
depressing button “D”.
* A warning sound beeps for 18 seconds when the set
time is up. To stop it manually, depress button
“A”, “B”, “C” or “D”.
↑↓
DDD
■BATTERY CHANGE
The miniature lithium battery SEIKO SR1130W,which
powers your watch should last approximately 1 year.
However, because it is inserted at the factory, the
actual life of the battery once in your possession may
be less than 1 year.
Be sure to replace the battery to prevent any possible
malfunction as soon as it runs down. To replace the
battery, we recommend taking the watch to a local
watch repair shop.
TIMER
BCD
A
Hour
Seconds 1/100 seconds
Minutes
Timer display mark

LIMITED WARRANTY
This LORUS®watch (except for battery, crystal, bracelet,
or strap) is warranted against defects in manufacture,
for a period of one year from the date of original
purchase. This limited warranty is offered by Lorus
Time and not by the retailer from whom the watch
was purchased.
Within the warranty period, your watch will be repaired
by Lorus Time installing either a new or completely
reconditioned movement or, at our option, supplying
you with a new replacement watch (i.e., watch of
equal value and similar appearance).
Lorus Time will not provide any warranty service:
a) if there was damage while in the possession of
the consumer not resulting from a defect in
manufacture;
b) if there was damage caused by tampering with
or opening the watch or by other than normal
use; or
c) if repairs have been performed other than by
the Authorized Lorus Service Center.
Lorus Time reserves the right to charge you for a
replacement battery if the battery in your watch is
depleted.
LORUS TIME DISCLAIMS LIABILITY FOR CONSE-
QUENTIAL DAMAGES FOR BREACH OF ANY EXPRESS
OR IMPLIED WARRANTY, INCLUDING WARRANTY
OF MERCHANTABILITY, WITH RESPECT TO THIS
WATCH. Some states do not allow the exclusion or
limitation of consequential damages, so the above
limitation may not apply to you.
LORUS TIME LIMITS THE DURATION OF ANY IMPLIED
WARRANTY, INCLUDING THE IMPLIED WARRANTY
OF MERCHANTABILITY TO ONE YEAR FROM THE
DATE OF ORIGINAL PURCHASE. Some states do
not allow limitations on how long an implied war-
ranty lasts so the above limitation may not apply to
you. This warranty gives you specific legal rights
and you may also have other rights, which vary
from state to state.
To obtain service under the warranty send it with the
completed warranty coupon and a $4.00 check or
money order (payable to COSERV), to cover the cost
of handling, to the Authorized Lorus Service Center
below:
COSERV
P.O. Box 677
Mahwah, NJ 07430
For local repair service in California, please consult
the Yellow Pages of your local telephone directory.
Note that the $4.00 handling charge is not a require-
ment to obtain warranty service provided your watch
was purchased from a retailer in the State of Califor-
nia.
As a convenience in obtaining warranty service at
the Authorized Lorus Service Center listed above,
participating Lorus retailers will be pleased to provide
you with a free, pre-addressed Watch Service Mailer.
If a mailer is not available, please wrap the watch
securely in a small package, print our address and
your name and return address on the package. Because
of possible loss, we recommend insuring your watch
when using the mails. Never include a special watchband
or gift box in your shipment. Any postage, insurance
and shipping costs incurred in sending the watch for
service are the responsibility of the owner.
How to obtain service under
the Warranty
ADDRESS
Please complete, detach, and enclose
LORUS WATCH
WARRANTY COUPON
NAME
- - - - - - - - - - - - - - - - - - - - - - - - - - - - - - - - - - -
LORUS Printed in Japan
DESCRIBE PROBLEM
PURCHASE DATE
STATE
CITY ZIP
WHERE PURCHASED
Other manuals for R23 Series
17
This manual suits for next models
1
Table of contents
Other LORUS Watch manuals

LORUS
LORUS R23 Series User manual

LORUS
LORUS RL5 Series User manual

LORUS
LORUS NREYK60 User manual

LORUS
LORUS Y922 User manual

LORUS
LORUS Y704 User manual

LORUS
LORUS CAL. 5Y85 (RK8 SERIES) User manual

LORUS
LORUS Y737 User manual

LORUS
LORUS W209 User manual

LORUS
LORUS RW6 Series User manual

LORUS
LORUS RT3 Series User manual

LORUS
LORUS RW6 Series User manual

LORUS
LORUS PC21 User manual

LORUS
LORUS R23 Series User manual

LORUS
LORUS RX3 Series User manual

LORUS
LORUS RF3 SERIES User manual

LORUS
LORUS NREY704E User manual

LORUS
LORUS Watch User manual

LORUS
LORUS V52H User manual

LORUS
LORUS RYZ Series User manual

LORUS
LORUS W136 User manual