manuals.online logo
Brands
  1. Home
  2. •
  3. Brands
  4. •
  5. LUMEN CENTER ITALIA
  6. •
  7. Lighting Equipment
  8. •
  9. LUMEN CENTER ITALIA ASTOLFO HT Arm User manual

LUMEN CENTER ITALIA ASTOLFO HT Arm User manual

ASTOLFO
IT - Il simbolo riportato sull’apparecchio indica che il prodotto deve essere smaltito
in modo differenziato dai riuti urbani.
EN - The sign shown on the device indicates that the product must be thrown out in
a different manner than with the urban trashes.
FR - Le symbole montré sur l’appareil indique que le produit doit être débarrassé de
façon différente que les déchets urbains.
DE - Das auf dem Gerät wiedergegebene Symbol zeigt an, dass das Produkt getrennt
vom Stadtüll entsorgt werden muss.
SICHERHEITSHINWEISE
Die Sicherheit des Gerates ist nur garantiert
wenn die folgendenVorschriften eingehalten
werden. Es ist daher notwendig diese
aufzubewahren.
Montage,Wartung und Lampenwechsel durfen
nur nach Unterbrechung des Netz anschlusses
durchgeführt werden.
Nie die höchste angegebene Leistung
überschreiten.
ACHTUNG
Die Leuchte ist von qualizierten Fachleuten
im Einklang mit der Bestimmung HD 384 zu
installieren.
Wenn das externe exible Kabel dieses Gerätes
beschädigt ist, muss es nur durch den Hersteller,
seinen Kundendienst oder einer ähnlich
qualizierten Person, um Gefahren zu vermeiden.
DE
AVERTISSEMENT
La sureté de l’appareil est garantie avec
l’utilisation appropriée des instructions
suivantes. Il est donc nécessaire de les garder.
Toutes les opérations de montage, entretien
et remplacement de l’ampoule ne doivent etre
effectuées qu’après avoir coupé le courant.
Il ne faut pas dépasser la puissance maximum
indiquée.
AT T E N T I O N
L’installation doit être effectuée par des
installateurs agréés, conformément à la norme
HD 384.
Si le câble extérieur exible de cet appareil est
endommagé, il doit être remplacé exclusivement
par le constructeur, son service d’assistance ou
par du personnel équivalent qualié, an d’éviter
tout danger.
FR
WARNING
The safety of the tting is guaranteed by the
correct use of the following instructions. It is
therefore necessary to keep them.
When carrying out all assembly, maintenance
and lamp replacement operations, make sure
that the power is off.
Do not exceed the maximum power indicated.
AT T E N T I O N
The tting should be installed by qualied
installers to comply with the HD 384 standards.
If the external exible cable of this device is
damaged, it has to be replaced only by the
manufacturer, by its service assistance or by
similar qualied personnel in oder to avoid risks.
EN
AVVERTENZA
La sicurezza dell’apparecchio é garantita
all’osservanza di queste istruzioni pertanto si
raccomanda di conservarle.
Tutte le operazioni di montaggio, manutenzione
e sostituzione lampadine, vanno eseguite
assicurandosi che la rete di alimentazione sia
disinserita.
Non deve essere superata la potenza massima
indicata.
ATTENZIONE
L’installazione deve essere effettuata da
installatori qualicati nel pieno rispetto della
normativa.
Se il cavo essibile esterno di questo apparecchio
viene danneggiato, deve essere sostituito
esclusivamente dal costruttore, dal suo
servizio di assistenza o da personale qualicato
equivalente, al ne di evitare pericoli.
IT
Design Amedeo G. Cavalchini, 2015
ISTRUZIONI DI MONTAGGIO
ASSEMBLY ISTRUCTIONS
INSTRUCTIONS DE MONTAGE
MONTAGE ANLEITUNGEN
ASTOLFO
LIGHT SOURCE
ASTOLFO HT: Arm: LED - 40W - 3000K - 220/240V 50/60 Hz
Base: LED - 29W - 3000K - 220/240V 50/60 Hz
CERTIFICATION
MADE IN ITALY Certified production in Italy
Class 2
FFixture tted for direct assembly on normally inammable surfaces.
Protected against the entry of solid objects larger than 12mm. No protection
against the ingress of water.
Product conforms to European Directive Community
Certication of conformity for the Euroasian Custom Union
ATTENZIONE/ATTENTION/ATTENTION/ACHTUNG
L’eventuale sporco che si crea quando si muove l’asta, si può pulire con un panno morbido.
You can wipe with a soft cloth, possible dirt that is created when you move the rod.
Toute la saleté qui est créé lorsque vous déplacez la tige, on peut nettoyer avec un tissu doux.
LUMEN CENTER ITALIA S.r.l.
Via Donatori del Sangue 37 20010, S. Stefano Ticino (Mi) Italy
tel: +39.02.36544811 - fax: +39.02.36544818
e-mail: [email protected] - www.lumencenteritalia.com
Design Amedeo G. Cavalchini, 2015
ASTOLFO ISTRUZIONI DI MONTAGGIO / ASSEMBLY INSTRUCTION /
INSTRUCTIONS DE MONTAGE / MONTAGEANLEITUNGEN
Mettere in piedi la base della lampada. Fissare il disco ‘blocca-asta’ con l’apposita vite.
Place vertically the lamp base. Fasten the ‘block-bar’ plate with the appropriate screw.
Mettre debout la base de la lampe. Fixer le disque ‘bloquer-hampe’ avec la vis spéciale.
Stellen Sie die Basis der Leuchte. Befestigen Sie die Platte ‘Block-Stange” mit der Schraube.
123
4
NO NO
YES
2
1
ATTENZIONE!/ATTENTION!/ATTENTION!/ACHTUNG!
L’asta deve passare attraverso la fresatura della base. Non deve essere ssata con la punta
dell’asta.Potrebbe causare danni all’asta. The bar must pass through the milling of the base.
Don’t x with the bar tip. It could cause damages at the bar. La hampe doit passer à travers
le fraisage de la base. Elle ne doit pas être xée avec la pointe de la hampe.Il pourrait causer des
dommages à la hampe. Die Stange muss durch das Fräsen des Bodens gehen. Befestigen Sie
nicht der Spitze der Stange. Es könnte Schäden an der Stange führen.
Aggiustando l’altezza dei piedini, controllare la planarità dell’asta che sia perfettamente
orizzontale. By adjusting the height of the feet, check the planarity of the bar that it is perfectly
horizontal. En réparant la hauteur des broches, contrôler le planéité de la hampe que sois
parfaitement horizontal. Durch die Anpassung der Höhe der Füße, prüfen Sie die Ebenheit der
Stange, dass es durchaus horizontal.
Inserire il cavo di alimentazione nel bocchetto della base. Avvitare la ghiera per bloccare.
Plug the power cable into the pipe union of the base. Tighten the ring nut to lock.
Insérer le câble d’alimentation dans le trou de la base. Visser l’embout pour bloquer.
Stecken Sie das Netzkabel in dem Anschlussstutzen der Basis. Ziehen Sie die Nutmutter zu
sperren.
Posizionare l’asta in orizzontale con la fresatura in alto. Girare il disco ‘blocca-asta’ con la
posizione in cui si copre l’asta per bloccarla. Avvitare la vite per ssare l’asta. Place the rod
horizontally with the milling at the top. Turn the ‘block-bar’ plate with the position it covers the
block-bar. Tighten the screw to fasten the bar. Positionner la hampe en horizontal avec le
fraisage en haut. Tourner le disque ‘bloquer-hampe’ avec la position dans laquelle il se couvre la
hampe pour la bloquer. Visser la vis pour xer la hampe. . Legen Sie den Stab horizontal mit
dem Fräsen an der Spitze. Drehen Sie die Platte “Block-Stange” mit der Position, der die Block-
Stange deckt. Ziehen Sie die Schraube, um die Stange zu sichern.
www.lumencenteritalia.com
Design Amedeo G. Cavalchini, 2015
ASTOLFO ISTRUZIONI DI MONTAGGIO / ASSEMBLY INSTRUCTION /
INSTRUCTIONS DE MONTAGE / MONTAGEANLEITUNGEN
5 76
Posiozionare l’asta nella posizione prescelta.
Place the bar in the desired position.
Positionner la tige dans la position désigné.
Setzen Sie den Stab in die gewünschte Position.
Collegare la spina all’impianto elettrico. Connect the plug to the electrical system.
Connecter l’épine à l’installation électrique. Verbinden Sie den Stecker an der elektrischen
Anlage.
SHORT PUSH
ON / OFF
LONG PUSH
Light intensity
ARM
ARM
BASE
BASE
Pressione breve per accendere e spegnere. Short push to turn on and off.
Appui court pour allumer et éteindre. Kurzer Druck für Ein und Ausschalten.
a
Pressione prolungata per aumentare o diminuire l’intensità luminosa. Longer push to
increase or decrease light intensity. Appui long pour augmenter ou diminuer l’intensité de la
lumière. Verlängerter Druck für Steigerung oder Minderung der Lichtintensität.
b
Regolazione della intensità luminosa 10-100% con comando a pulsante per la base e l’asta:
Light regulation 10-100% by push button for the base and the bar: Régulation de l’intensité
lumineuse 10-100% avec commandement à bouton pour la base et la hampe: Lichtregulierung
10-100% durch den Taster für die Basis und die Stange:
NO
NO
YES
YES
ATTENZIONE/ATTENTION/ATTENTION/ACHTUNG
Non far scivolare l’asta dentro la fresatura. Posizionarla solo con movimento perpendicolare.
Don’t slide the rod into the milling. Position it by vertical motion.
Ne pas faire glisser la tige dans le fraisage. La positioner seulement avec mouvement
perpendicolaire.
www.lumencenteritalia.com
Design Amedeo G. Cavalchini, 2015
ASTOLFO ISTRUZIONI DI MONTAGGIO / ASSEMBLY INSTRUCTION /
INSTRUCTIONS DE MONTAGE / MONTAGEANLEITUNGEN
Per un nuovo comando di accensione, regolazione o spegnimento, rilasciare il pulsante e dare
nuovamente il comando desiderato
. For another on, regulation or off command, release the
push button and give the desired command again. Pour une nouvelle gestion de l’allumage,
réglage ou arrêt, relâchez le bouton et donner à nouveau la commande souhaitée. Zu erneuten
Einschalten, Regulierung oder Ausschalten lassen Sie den Taster frei und erteilen Sie ihm nochmals
den gewünschten Befehl.
d
c
RELEASE for
New command
2 CLICK=MAX Intensity
ARM
ARM
BASE
BASE
Cliccando rapidamente due volte, arriva alla massima intensità luminosa.
By clicking twice quickly, reach the maximum light intensity.
En cliquant rapidement deux fois, il arrive à la maxime intensité lumineuse.
Durch Anklicken schnell zweimal, erhalten die maximale Lichtintensität.
www.lumencenteritalia.com

This manual suits for next models

2

Other LUMEN CENTER ITALIA Lighting Equipment manuals

LUMEN CENTER ITALIA VENDOME User manual

LUMEN CENTER ITALIA

LUMEN CENTER ITALIA VENDOME User manual

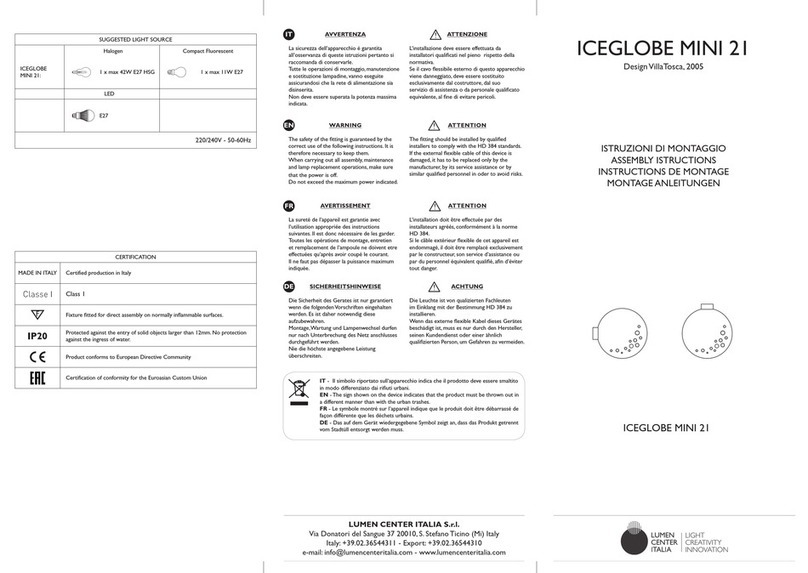
LUMEN CENTER ITALIA ICEGLOBE MINI 02 User manual

LUMEN CENTER ITALIA

LUMEN CENTER ITALIA ICEGLOBE MINI 02 User manual

LUMEN CENTER ITALIA CROCHET User manual

LUMEN CENTER ITALIA

LUMEN CENTER ITALIA CROCHET User manual

LUMEN CENTER ITALIA HINODE User manual

LUMEN CENTER ITALIA

LUMEN CENTER ITALIA HINODE User manual

LUMEN CENTER ITALIA ICEGLOBE MINI 21 User manual

LUMEN CENTER ITALIA

LUMEN CENTER ITALIA ICEGLOBE MINI 21 User manual

LUMEN CENTER ITALIA ICEGLOBE MINI S User manual

LUMEN CENTER ITALIA

LUMEN CENTER ITALIA ICEGLOBE MINI S User manual

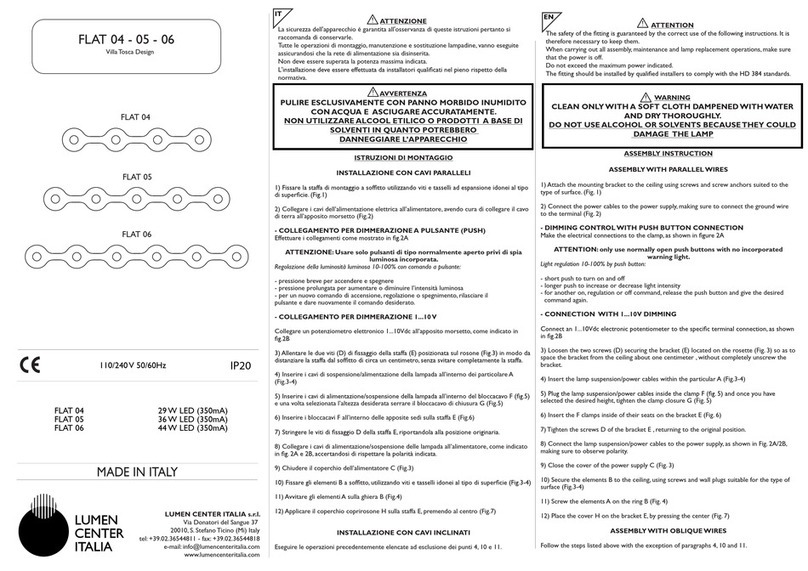
LUMEN CENTER ITALIA FLAT 04 User manual

LUMEN CENTER ITALIA

LUMEN CENTER ITALIA FLAT 04 User manual

LUMEN CENTER ITALIA ICELIGHT 20 User manual

LUMEN CENTER ITALIA

LUMEN CENTER ITALIA ICELIGHT 20 User manual

LUMEN CENTER ITALIA EAGLE LED User manual

LUMEN CENTER ITALIA

LUMEN CENTER ITALIA EAGLE LED User manual

LUMEN CENTER ITALIA SIBYLLA BT S User manual

LUMEN CENTER ITALIA

LUMEN CENTER ITALIA SIBYLLA BT S User manual

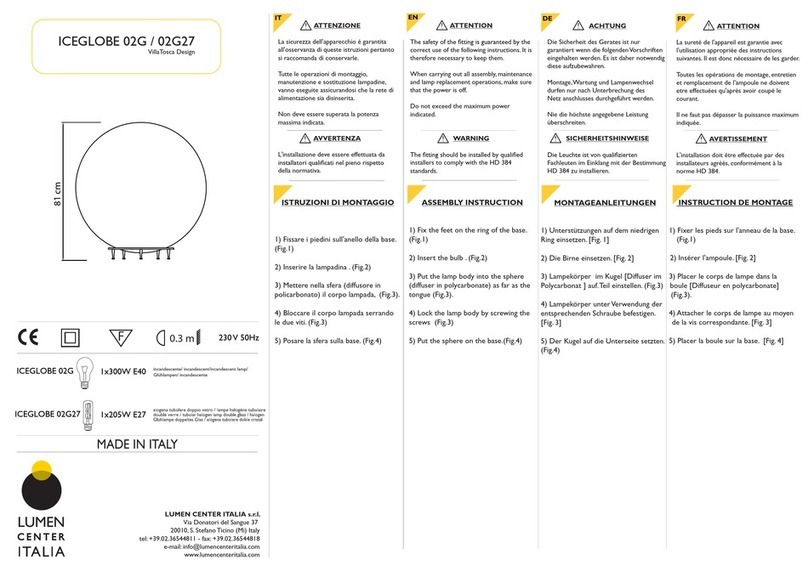
LUMEN CENTER ITALIA ICEGLOBE 02G User manual

LUMEN CENTER ITALIA

LUMEN CENTER ITALIA ICEGLOBE 02G User manual

LUMEN CENTER ITALIA BRAWALL User manual

LUMEN CENTER ITALIA

LUMEN CENTER ITALIA BRAWALL User manual

Popular Lighting Equipment manuals by other brands

Becen BC-M400CMY user manual

Becen

Becen BC-M400CMY user manual

Epstein-Design Sahara E27 manual

Epstein-Design

Epstein-Design Sahara E27 manual

Pixlip FP60 LIGHTBOX Assembly instruction

Pixlip

Pixlip FP60 LIGHTBOX Assembly instruction

Schou DAY USEFUL EVERYDAY 71830 manual

Schou

Schou DAY USEFUL EVERYDAY 71830 manual

Chauvet Well Flex user manual

Chauvet

Chauvet Well Flex user manual

Wiedamark SRL-6043S user manual

Wiedamark

Wiedamark SRL-6043S user manual

MA lighting dot2 XL-F user manual

MA lighting

MA lighting dot2 XL-F user manual

IFM O3M950 Brief instructions

IFM

IFM O3M950 Brief instructions

ARRI Orbiter user manual

ARRI

ARRI Orbiter user manual

Klus W1 Mounting instructions

Klus

Klus W1 Mounting instructions

Melink ML1SLS20-5MRGBCCT instruction manual

Melink

Melink ML1SLS20-5MRGBCCT instruction manual

Light Sky SUPER SCOPE user manual

Light Sky

Light Sky SUPER SCOPE user manual

BARRON CP-EMW  Series installation instructions

BARRON

BARRON CP-EMW Series installation instructions

Blue Corvus The Bird user guide

Blue Corvus

Blue Corvus The Bird user guide

Epstein-Design Flora manual

Epstein-Design

Epstein-Design Flora manual

Broncolor mobil operating instructions

Broncolor

Broncolor mobil operating instructions

Chimera 1651 Instructions for care and use

Chimera

Chimera 1651 Instructions for care and use

ALUZ A8 Series Guide

ALUZ

ALUZ A8 Series Guide

manuals.online logo
manuals.online logoBrands
  • About & Mission
  • Contact us
  • Privacy Policy
  • Terms and Conditions

Copyright 2025 Manuals.Online. All Rights Reserved.