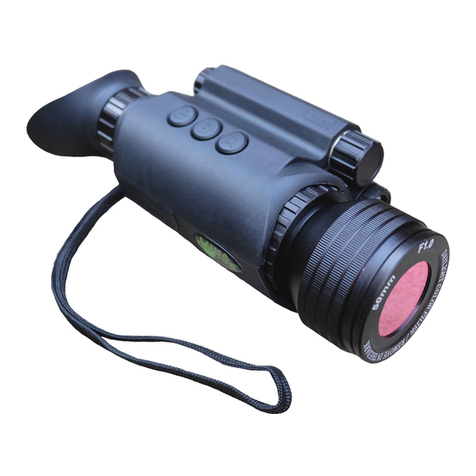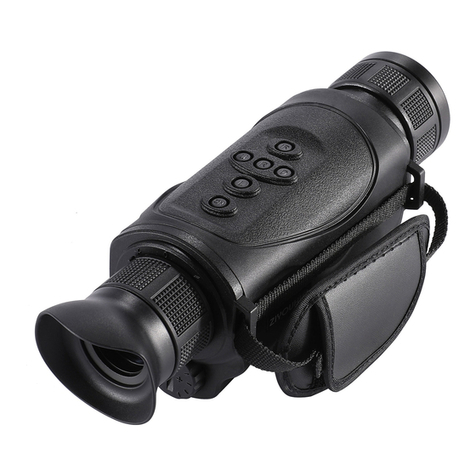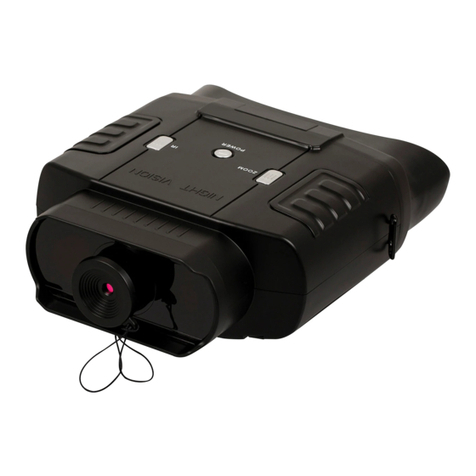
To take a picture, focus the unit onto the object you are viewing and with a
steady hand firmly press the PIC button (10) once. The display will give a
countdown (2-1) and then image is taken and is automatically stored onto the
SD card.
To record a video, focus the unit onto the object and press REC button (9) once.
The system will start recording. Please note that the video is being recorded in
Full-High Definition (1080p) and in the Widescreen format (16x9). To pause
video recording press PIC button (10) once. To resume video recording press
PIC button again. To stop recording, press Power button (12) once. During
recording it is still necessary to re-adjust the focus if you wish to record
different objects, located at different distances. Please be aware that actual
video recording quality is significantly higher than what you will see through
the viewfinder –to see recording in widescreen HD format please remove the
micro-SD card and play it on your Blu-Ray player or computer.
NOTE: during daylight video-recording is 60fps, during nighttime it is 30fps.
DATA VIEWING AND DATA TRANSFER OPTIONS:
It is possible to view the images and videos directly on the unit’s micro-display.
To do so, while the unit is operating press the Power button (5) momentarily
just once. You will be able to switch between images and videos by pressing
IMAGE button (4) in either + or –direction. To play the recorded video, press
PIC button (3) once. To stop playing video press PIC button again. To exit
picture/video viewing mode and to come back to the active image mode, press
Power button (5) briefly just once. Please note –if you press and hold Power
button, your unit will shut down and would need to be reactivated again by
pressing Power button once.
You can connect the unit directly to the computer via USB connection by
utilizing the micro-USB connector (16). To do so, first connect the micro-USB
part to the unit, then connect the standard USB part to the computer. Look
through the eyepiece –choose MASS STORAGE option via the IMAGE button
and confirm your selection with either PIC or REC button (depending on the
software version). Once connected to the computer, the software will
download automatically and you will be able to open and transfer all of your
SD-card files onto your computer.
Alternatively, you can remove the micro-SD card from the monocular and use it
in the included USB flash drive adapter to transfer data to your computer. If
your computer has a direct micro-SD slot, you can insert the card directly to the
slot bypassing the above options. It is also possible to utilize the full-size SD
card adapter (not included with monocular).
