LYSON Optima W204001O User manual

Instructions Manual
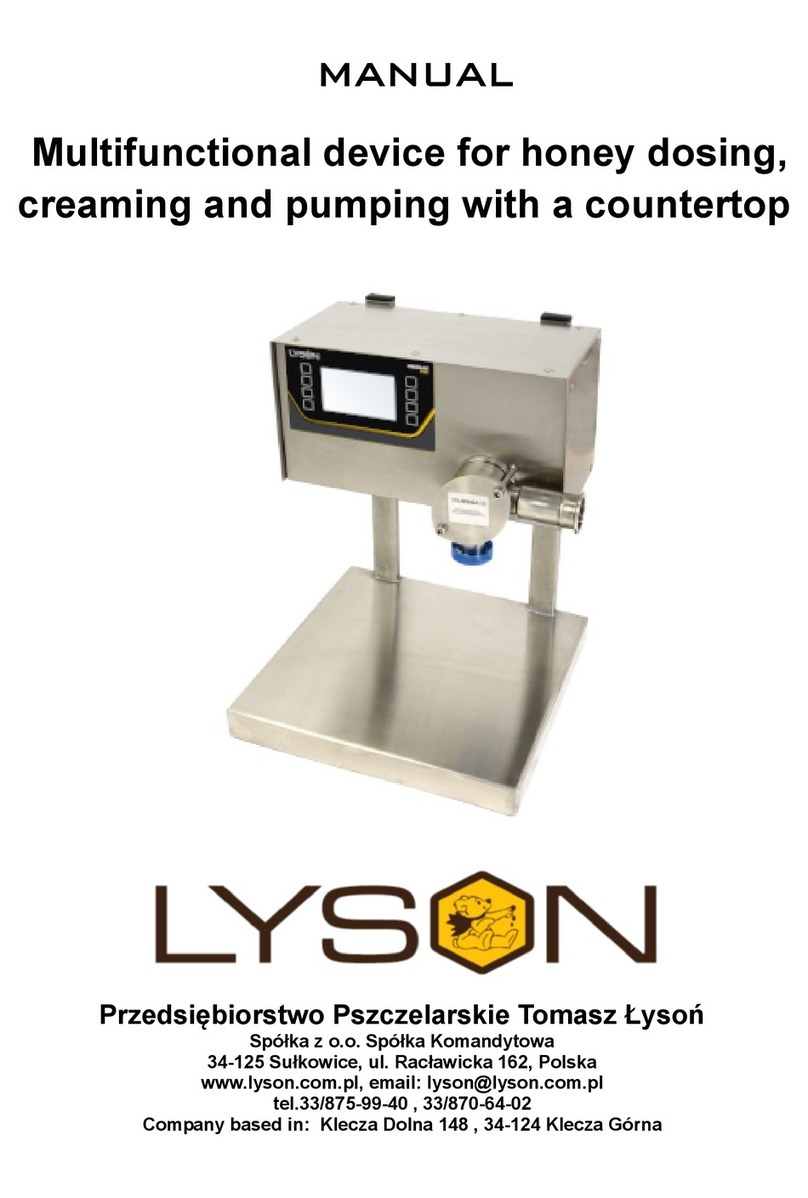
Optima - Multi function, bottling, pumping and
creaming device
Przedsiębiorstwo Pszczelarskie Tomasz Łysoń
Spółka z o.o. Spółka Komandytowa
34-125 Sułkowice, ul. Racławicka 162, Polska
www.lyson.com.pl, email; [email protected]
tel. 33/875-99-40, 33/870-64-02
Headquarters: Klecza Dolna 148, 34-124 Klecza Górna

1
The manual covers following devices
(codes):
W204001O
Table of contents
1. General safety instructions, intended use
1.1. Electrical safety
1.2. Operation safety
2. Technical specifications
3. Setting up and operation
3.1. Preparations for use
3.2. Bottling
3.3. Controller configuration
3.4. Error codes
3.5. Additional features
4. Maintenance and cleaning
5. Waste disposal and environmental protection
6. Warranty

2
1. General safety instructions, intended
use
Before first use read the manual carefully and follow
the instructions contained therein. The
manufacturer is not liable for damage caused by
equipment used inappropriately or by incorrect
handling.
Intended use
The device is designed to automatically
fill honey into the jars, and pump or
cream honey
1.1. Electrical safety
a) Make sure that the nominal voltage of the device and
power source are compatible and the socket is
grounded.
b) The electrical supply system must be fitted with a
residual-current circuit breaker with rated tripping
current not higher than 30mA. Performance of the
circuit breaker should be checked periodically.
c) Periodically check the condition of the power cord.
Replace the power cord if damaged. Replacing the
power cord can only be performed by the manufacturer
or by qualified personnel.
d) Do not use the device if the power cord is damaged!
1.2. Operation safety
a) a) The device is not intended for use by persons
(including children) with limited physical, sensory or
mental abilities, or by inexperienced users, unless under
supervision or with instructions given by an accountable
party.
This device is not a toy, and shouldn’t be used as one.
Children should not to play with it.
b) In the event of damage to the device, to avoid any
health and safety risks, repairs should be carried out
only by qualified personnel.
c) Do not use the device near any flammable
materials.
d) Never carry out any maintenance or
repairs during operation or if the device is
plugged in!
e) In case of any danger, use the safety switch
immediately.
f) The device can be restarted after the hazard has
been eliminated.
g) For indoor use only. The device is not suitable for
outdoor use.
h) Protect the motor and the control unit from
moisture (also during storage).
i) Do not pull the power cord.
j) Keep the power cord away from heat sources and
sharp edges to ensure its good condition.
NOTE!
HONEY INTENDED FOR BOTTLING SHOULD BE
WARMED UP TO 30°C.
POUR HONEY INTO THE PUMPING UNIT
BEFORE USING THE DISPENSER.
Required honey temperatures:
liquid, freshly extracted:20 - 25°C
heather, cream or with water content of <16%: 25-
35°C
maximum honey temperature: 40°C
Not adhering to the recommendations concerning the
temperature of honey may cause damage to the machine,
for which the manufacturer is not responsible. The product
damaged due to improper use is not subject to warranty.
Instructions:
1. Connect the hose to the dispenser pumping unit
with a clamp, take care to seat the seal correctly.
2. Pour about 1 kg of honey (i.e. a 0.95 kg jar) into the
other end of the tube.
3. Hold the hose up until the honey flows into the
pump. The hose is transparent so you can
see when the honey is flowing into the pump.
4. Select the creaming mode.
5. When the honey has flowed into the pump,
press the „START” button
6. Remember to put a container or a jar for
honey under the pump’s (dispenser) nozzle.
7. When the honey poured earlier into the pipe is
pumped, stop the pump by pressing the button
„START” again.
8. Once the above steps have been completed, insert
the hose into the honey barrel and start bottling or
pumping.
9. Make sure there is no air left in the hose
10. The machine is ready for operation.

3
2. Technical specifications
Power supply – 230 V · rated power – 160W
self priming, low speed pump with toothed pumping
module
All parts that come into contact with honey are
made of stainless steel or food-grade plastic.
Bottling effectiveness 350 jars of 500g per hour
(honey type dependant).
Filling range 50 g – 45 kg
dimensions: L.420, W.380, H.480 mm
weight – 15 kg
Elements:
Pumping unit
hose spigot
connector
hose clamp
1,5 m hose
Optional elements:
Foot pedal
Limit/position switch – activation by sliding the jar
under the dosing nozzle (fixed on the right leg, from
the inside, two M6 holes)
All parts that come into contact with honey are made of
stainless steel or food-grade plastic.
Small dimensions make it possible to use the machine in
various ways, even where space is limited.
Work modes
Mode A
- work mode - values set in mode C are used in this
mode
Mode B
- work mode - values set in mode C are used in this
mode
Mode C
- manual setting of the desired amount of dosed
honey.
Start work with the dosing device in Mode
C. Its purpose is to define the amount of
honey to be dosed
3. Setting up and operation
When preparing for work:
Set the device up on a stable, clean and dry
surface.
adjust the height of the dispenser in relation to the
jar; to do this, place the jar under the dispensing
nozzle and, using the screws at the back of the
device, raise or lower the device to the desired
height
Switch on the dispenser by pressing the 0/1 switch
on the back of the dispenser (2)
Description
1. 12A motor fuse
2. Power switch
3. 2A main fuse
4. Foot pedal or position/limit switch socket
5. 230V power cord
3.1. Preparations for use
1. Prepare a jar of the desired capacity to be
filled, e.g. 900 g
2. Prepare a scale and place it under the dosing
nozzle
3. Place a 900g jar on the scale
4. Zero the scale
5. Enter the MODE C by pressing the “O” button,
i.e. manual setting of the dosed amount of
honey
6. Press START - the green button on the right
side of the display and hold it until the scale
displays the desired amount of dosed honey,
e.g. 900g, then release the START button
7. The display shows a numerical indication of
the time taken to fill the given quantity, e.g.
8.46 for 900g

4
8. Then press button "O" to switch to dosing
mode A or B
9. The display in the bottom row shows a pre-set
(memorised) numerical value indicating the
time of dosing 900g - 8.46s
10. The same value is set in the top row by
pressing the "+" or "- " buttons
In Mode "B" we can set the amount of honey for another
type of jar, e.g. 250g
To do this, press the "O" button and switch to Mode "C", set
the filling time of the jar, this time e.g. 250g.
Enter the values set in Mode C into Modes A and B.
The settings entered in Modes "A" and "B" can be changed
using the buttons "+" "- ".
After filling several jars, adjust the settings in Mode A and B
if necessary. To do this use the "+" and "- " buttons
3.2. Bottling
To start the dosing process, use the "O" button to switch to
the desired mode, e.g. ". A"
Place a jar under the dosing nozzle,
Press the" START" button, which starts dosing,
after filling the jar with the required amount the
device stops dosing
Place another jar and press the START button,
repeat the operation each time the jar is filled
In case of an emergency stop the
device by pressing the "O" button
An arrow under the selected Mode, e.g. "A", indicates that
the device is in the process of filling.
The device allows to check the number of filled jars. To do
this press the "O" button to enter the counter screen where
the current number of filled jars is displayed

5
3.3. Controller configuration
Hold down the "O" button until "MENU" is displayed and
then release to enter the dispenser controller configuration
mode.
In this mode, set the following parameters: dosing speed
(indications in %), duration of the reverse movement
(indications in ms) and the speed of the reverse movement
(indications in %).
Use the "+" and "-" buttons to modify the settings and the
"O" button to select the modified parameter. To exit the
configuration mode press and hold the "O" button until
"EXIT" appears and then release it.
Upper parameter 75% (photo above) - dosing speed, 5%
increments, range 50÷100%
Lower parameter 10ms (photo above) - duration of reverse
movement min.10ms, 10ms increments
Alternate between the up and down arrows with the "O"
button
Reverse speed parameter min.20%, 5% increments
By holding down the "O" button for 7 seconds longer after
the MENU message appears, parameter "T" will be
displayed followed by DYNAMICS LOW., DYNAMICS
MEDIUM and DYNAMICS HIGH.
Select required parameter e.g. HIGH and release the "O"
button
Three levels of dosing dynamics are available - depending
on honey density: DYNAMICS LOW, DYNAMICS MEDIUM
and DYNAMICS HIGH. The DYNAMICS HIGH level is
recommended.
When the dosing of honey is finished and the operator does
not react, the word STOP appears on the device
3.4. Error codes
When a message appears on the device screen
This means that the device has detected an error:
E:1 - internal fault of the controller - contact the
dealer/manufacturer to rectify the fault
E:2 - "-" button pressed / stuck - release the button
E:3 - "+" button pressed / stuck - release the button
E:4 - "O" button pressed / stuck - release the button.
3.5. Additional features
The device offers a creaming function, which is
activated by pressing the START button. The
device will work until the START button is
pressed again
To enter creaming mode press “O” button.
Warning!
Before starting the creaming or pumping
unscrew the dosing nozzle. In its place screw in
the connector with 5.4" flange
4. Maintenance and cleaning
Important!
Clean and dry the unit thoroughly after use.
Clean the device in two phases: preliminary
and final (disinfecting).
Preliminary phase – rinsing out the honey from the
nozzle and dosing module
After filling, unscrew the dispensing nozzle and
in its place screw in a 5/4" flange connector,
which enables the connection of a second hose
(not included).
Switch on the dispenser in CREMMING mode
(NON STOP operation).
Immediately after work with the device, put the
suction hose into a container with warm water
and pump it to rinse out the dispenser module.
This process protects the device from damage
that may be caused by crystallised honey. The
dirty water should be poured out, and the
container should be re-filled with water with
detergent recommended for cleaning and
disinfecting equipment in contact with food.

6
Follow the instructions on the package.
Damage resulting from improper cleaning of the
module is not covered by the warranty.
For thorough cleaning and disinfection of the unit, it
is necessary to disassemble the dosing module.
To do this:
1. unscrew the 4 knobs from the dosing module (from
the front of the machine).
2. remove the pumping module from the dispenser.
3. remove the clear cover of the module.
4. remove the gears and shafts and wash everything
thoroughly. Leave to dry.
5. replace the module body.
6. replace the o-ring on the module body.
7. replace the gear with drive shaft (longer shaft)

7
8. replace the second gear with shaft
9. replace the cover of the module.
10. tighten the 4 knobs on the module.
Wash the module with disinfectants allowed for food
industry, rinse thoroughly after cleaning and dry.
The manufacturer recommends disassembling the
dosing element several times per season and
thoroughly washing and disinfecting it.
5. Waste disposal and environmental
protection
The used product must be disposed in accordance with
the local regulations. Return the device to a collection
point from where it can be submitted for environmentally
compatible recycling.
The consumer has the right to return used equipment
directly to the manufacturer's distribution network, free of
charge, while replacing it with a new unit as long as the
used device is of the same kind and same application as
the newly purchased device.
6. Warranty
The product purchased from the Lyson Company is
covered by a manufacturer's warranty. The warranty period
is 24 months from the date of purchase.
All purchased products come with receipts or VAT invoices.
Warranty details at:
www.lyson.com.pl
Table of contents
Other LYSON Commercial Food Equipment manuals
Popular Commercial Food Equipment manuals by other brands

Hussmann Chino
Hussmann Chino MPC-ET Installation & operation guide

Rational
Rational iCombi Pro Original Installation Instructions

APW Wyott
APW Wyott GCB-18S Installation and operation instruction

Lotus
Lotus PC-74GP Installation and operating instructions

Cobra
Cobra CS9 Service manual

TRAPP
TRAPP DM 50 manual

Hickory Industries
Hickory Industries N/6.5G Installation & operation manual

Falcon
Falcon FLEXI PAN User, installation and servicing instructions

Daub
Daub Slim 700 manual

Wiesenfield
Wiesenfield WIE-CCD-300 user manual

Structural Concepts
Structural Concepts Oasis B3924RH user manual

saro
saro EGN 1410 GN operating instructions