manuals.online logo
Brands
  1. Home
  2. •
  3. Brands
  4. •
  5. M-system
  6. •
  7. Media Converter
  8. •
  9. M-system M8XV3 User manual

M-system M8XV3 User manual

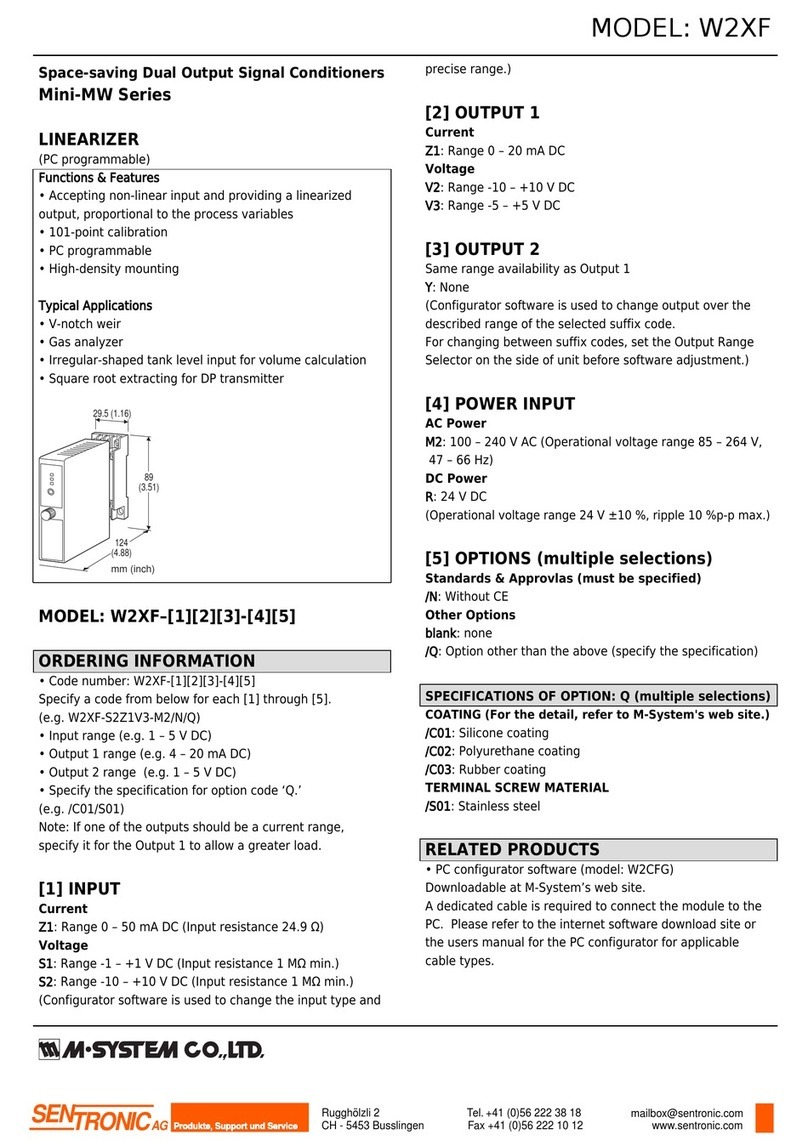
M8XV2 / M8XV3
EM-5469 Rev.2P. 1 / 3
BEFORE USE ....
Thank you for choosing M-System. Before use, check the
contents of the package you received as outlined below.
If you have any problems or questions with the product,
please contact M-System's Sales Office or representatives.
■ PACKAGE INCLUDES:
Signal conditioner ....................................................... (1)
■ MODEL NO.
Check that model No. described on specification label is
exactly what you ordered.
■ INSTRUCTION MANUAL
This manual describes necessary points of caution when you
use this product, installation, connection and basic mainte-
nance procedures.
For changing I/O ranges, the JX Configurator Connection Kit
(model: JXCON) is required. For detailed information, refer
to the data sheet and instruction manual for the JXCON.
POINTS OF CAUTION
■ M8XV3: CONFORMITY WITH EC DIRECTIVES
• Operational insulation is maintained between signal input
and output.
• The equipment must be mounted inside a panel.
• Install lightning surge protectors for those wires connected
to remote locations.
• The actual installation environments such as panel con-
figurations, connected devices, connected wires, may affect
the protection level of this unit when it is integrated in a
panel system. The user may have to review the CE require-
ments in regard to the whole system and employ additional
protective measures to ensure the CE conformity.
■ POWER INPUT RATING & OPERATIONAL RANGE
• Check the power rating for the unit on the specification
label.
Rating 24V DC: 24V ±10%, approx. 50mA
• Power fuse: A power fuse of the rating as shown below is
incorporated for safety. However, DO NOT replace it by the
user.
T 0.25A 125V
■ ENVIRONMENT
• Indoor use
• When heavy dust or metal particles are present in the air,
install the unit inside proper housing and ventilate it.
• Do not install the unit where it is subjected to continuous
vibration. Do not apply physical impact to the unit.
• Environmental temperature must be within 0 to 55°C (32
to131°F)withrelativehumiditywithin30to95%RHinorder
to ensure adequate life span and operation.
• Be sure that the ventilation slits are not covered with
cables, etc.
■ WIRING
• Do not install cables (input and output) close to noise
sources (relay drive cable, high frequency line, etc.).
• Do not bind these cables together with those in which noises
are present. Do not install them in the same duct.
■ AND ....
• The unit is designed to function as soon as power is
supplied, however, a warm up for 10 minutes is required for
satisfying complete performance described in the data sheet.
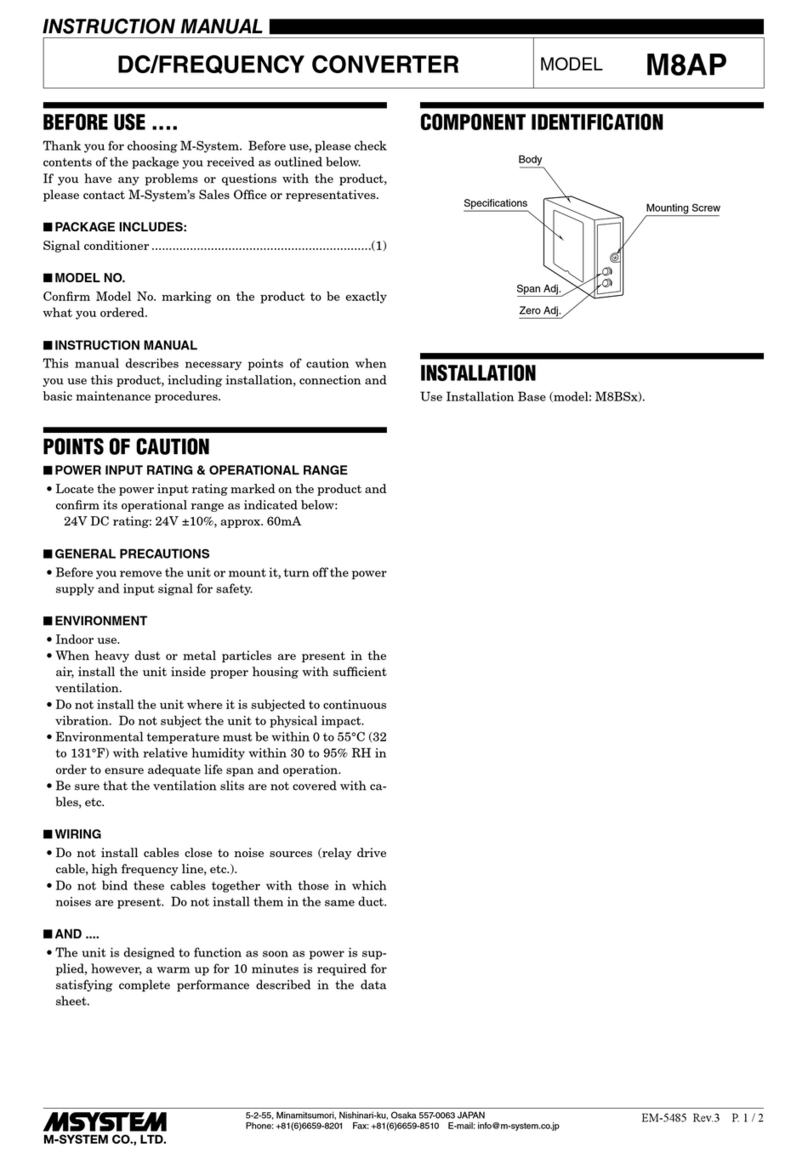
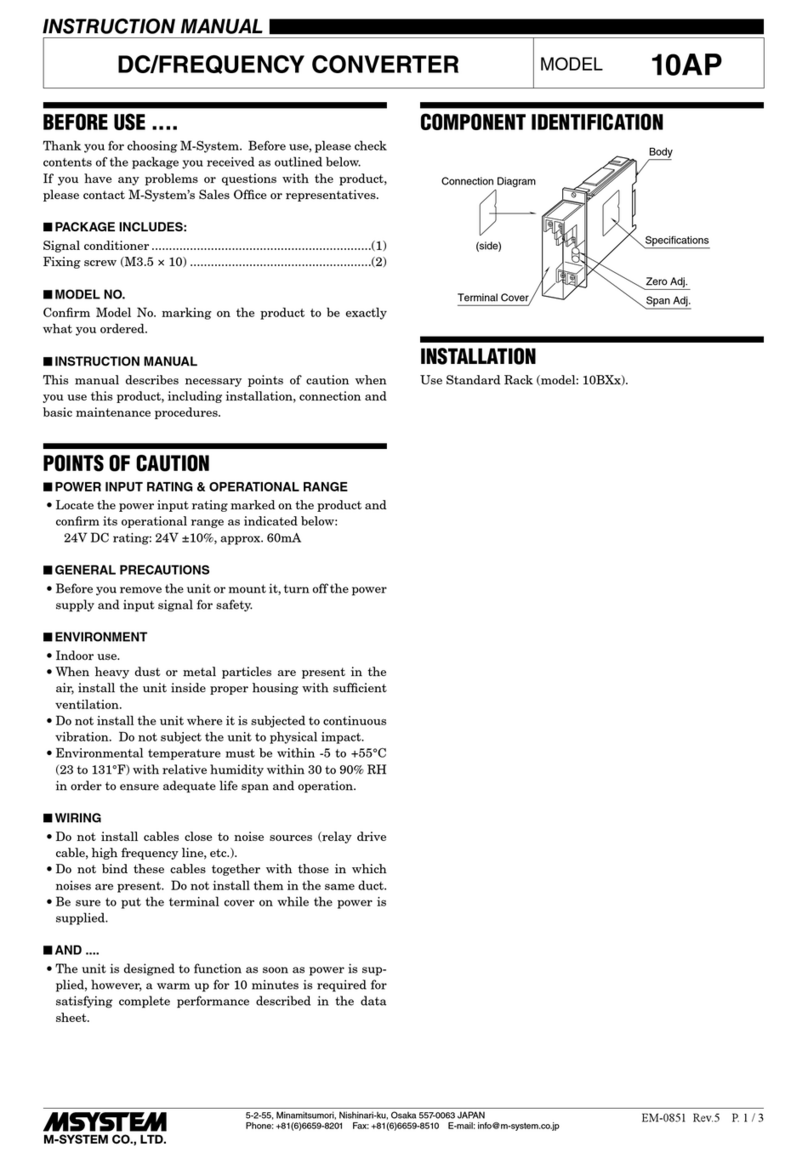
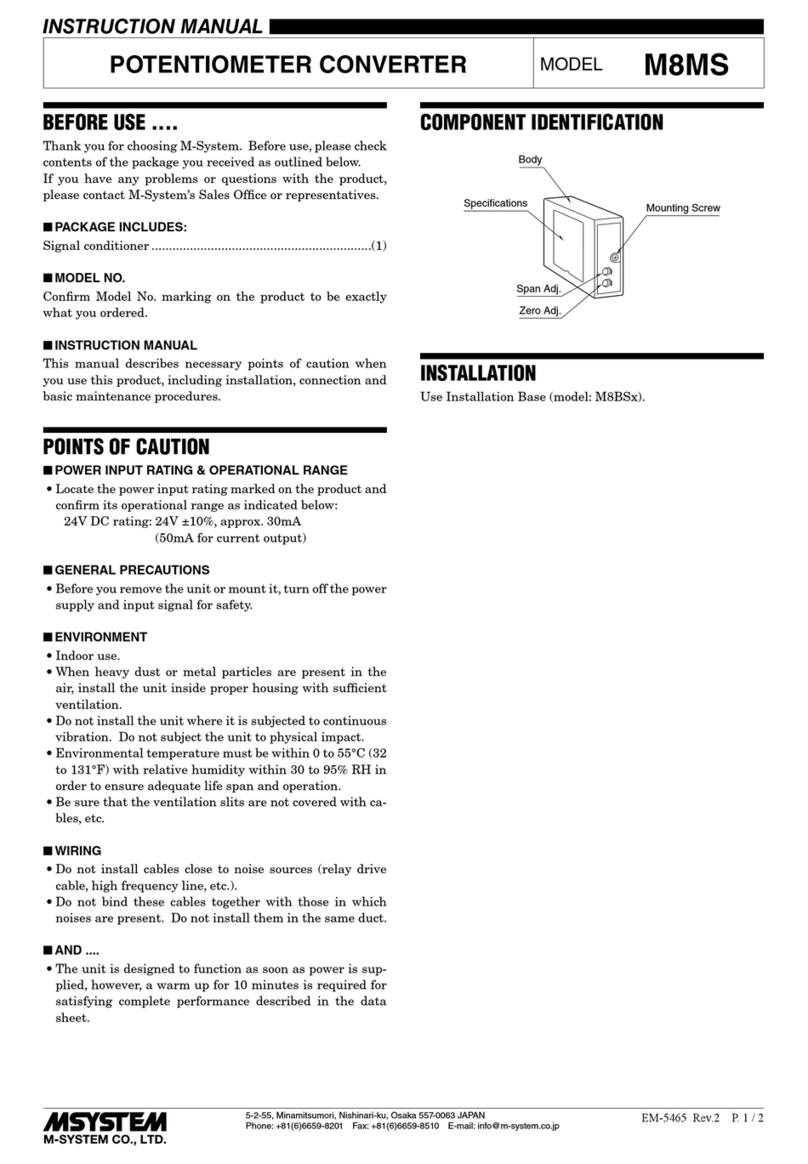
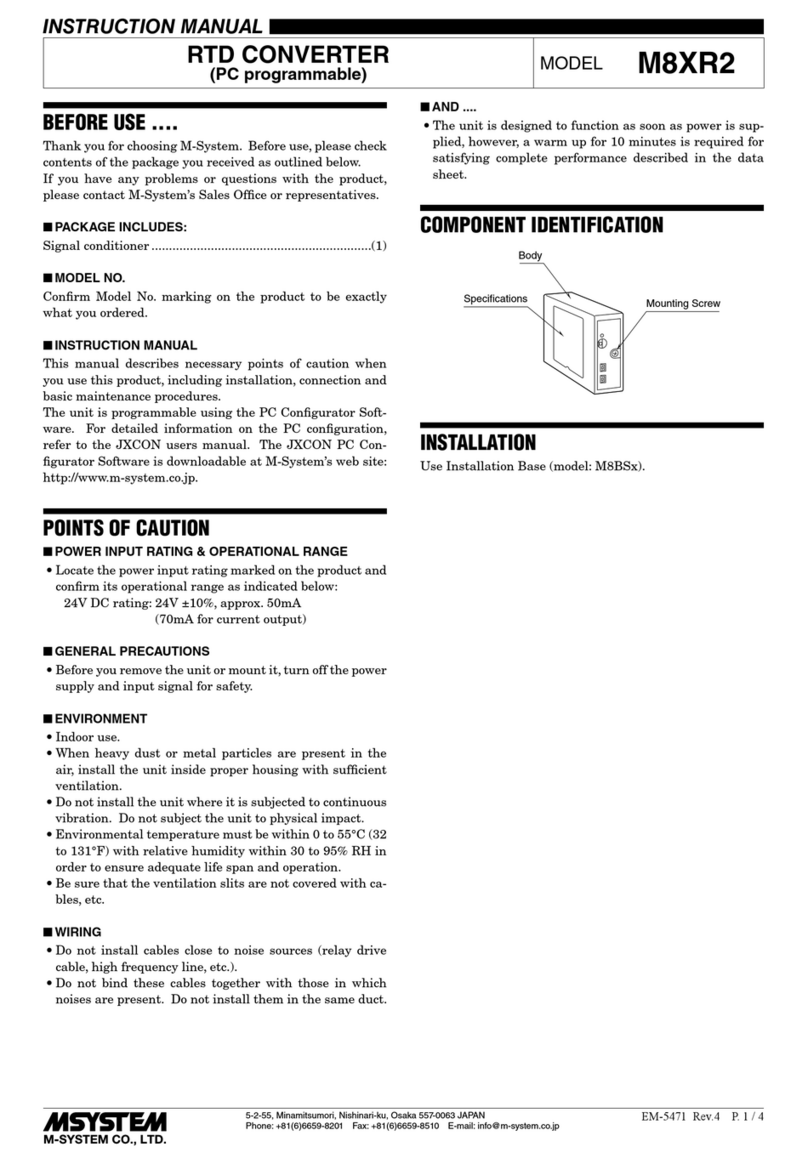
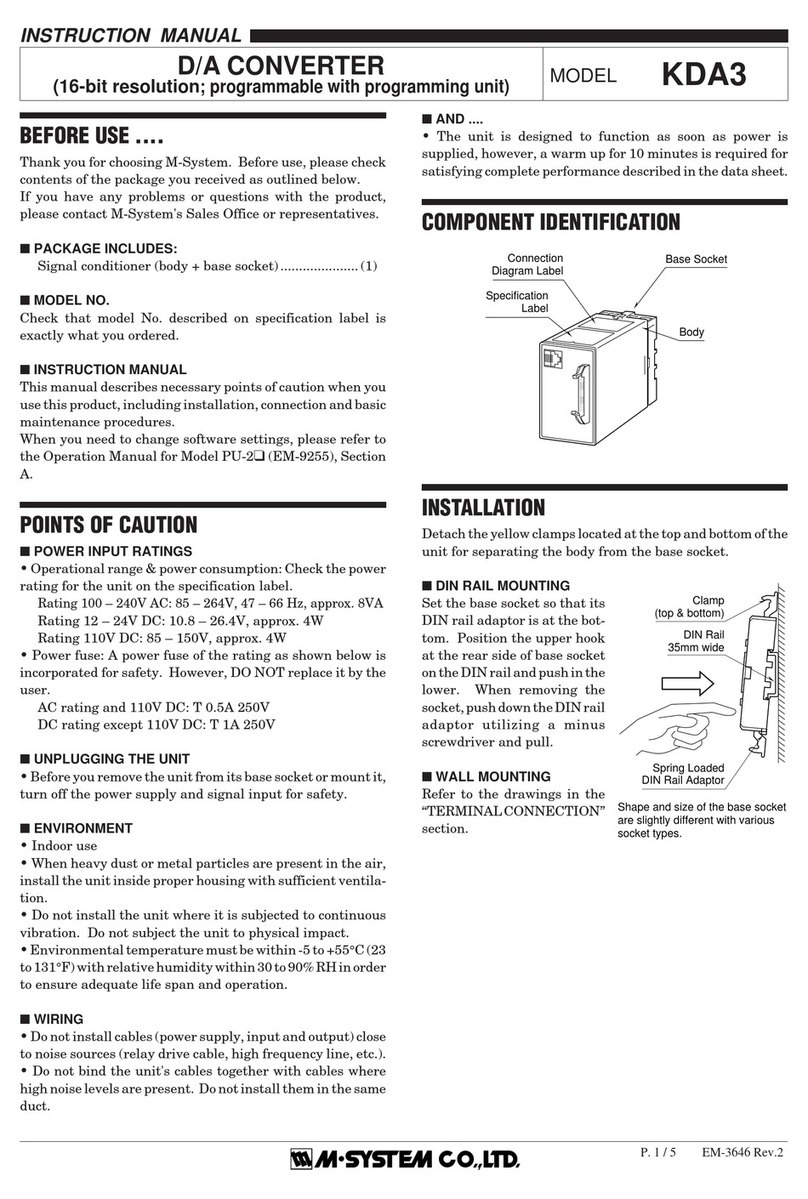
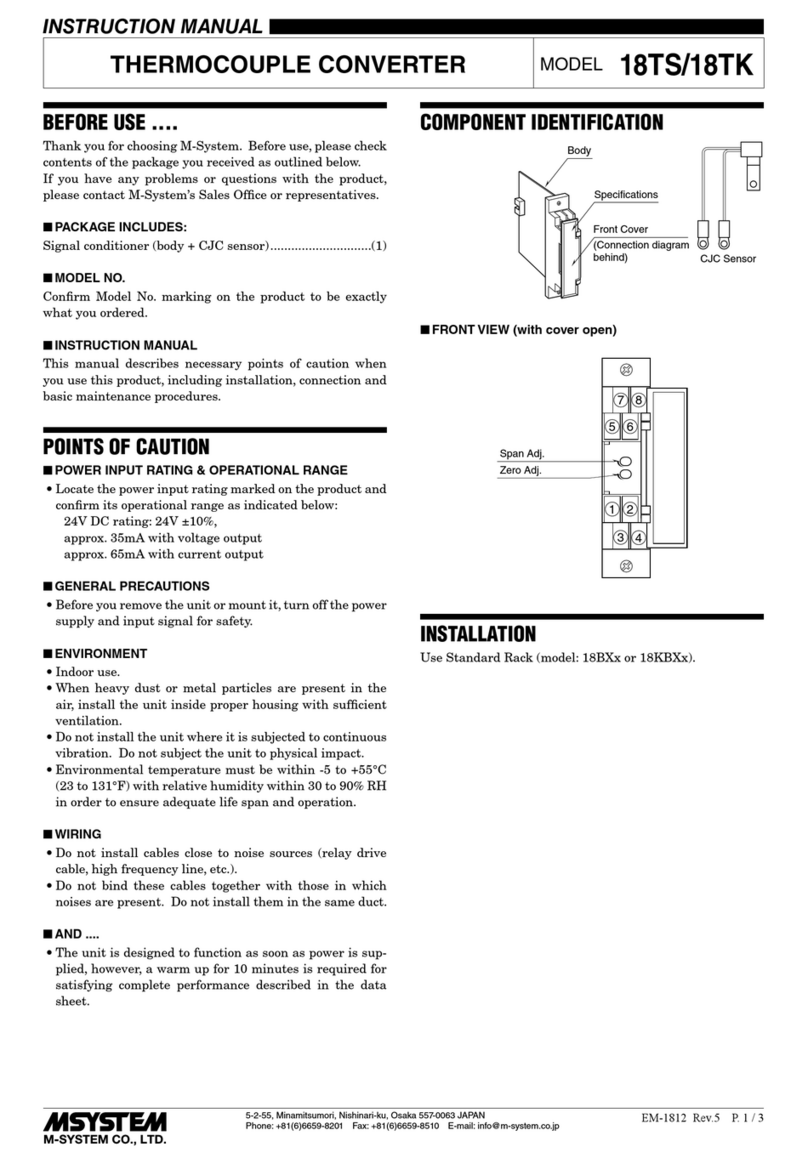
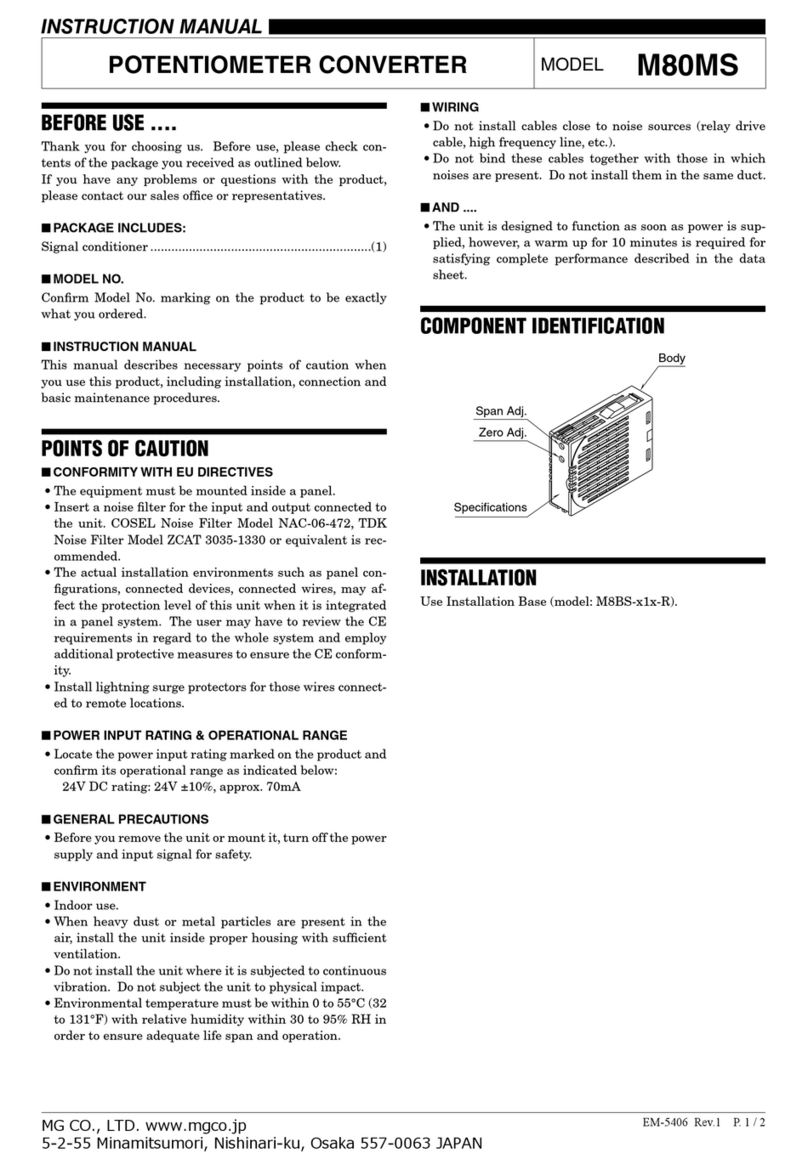
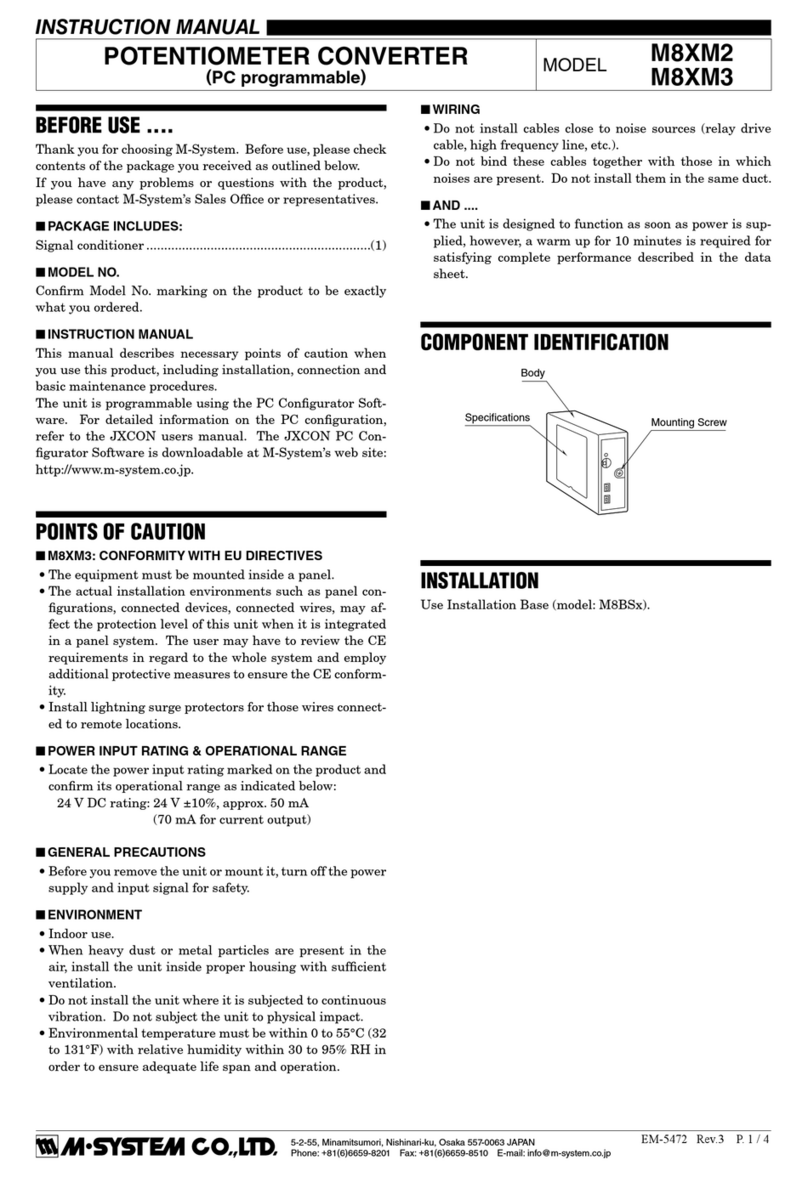
COMPONENT IDENTIFICATION
INSTALLATION
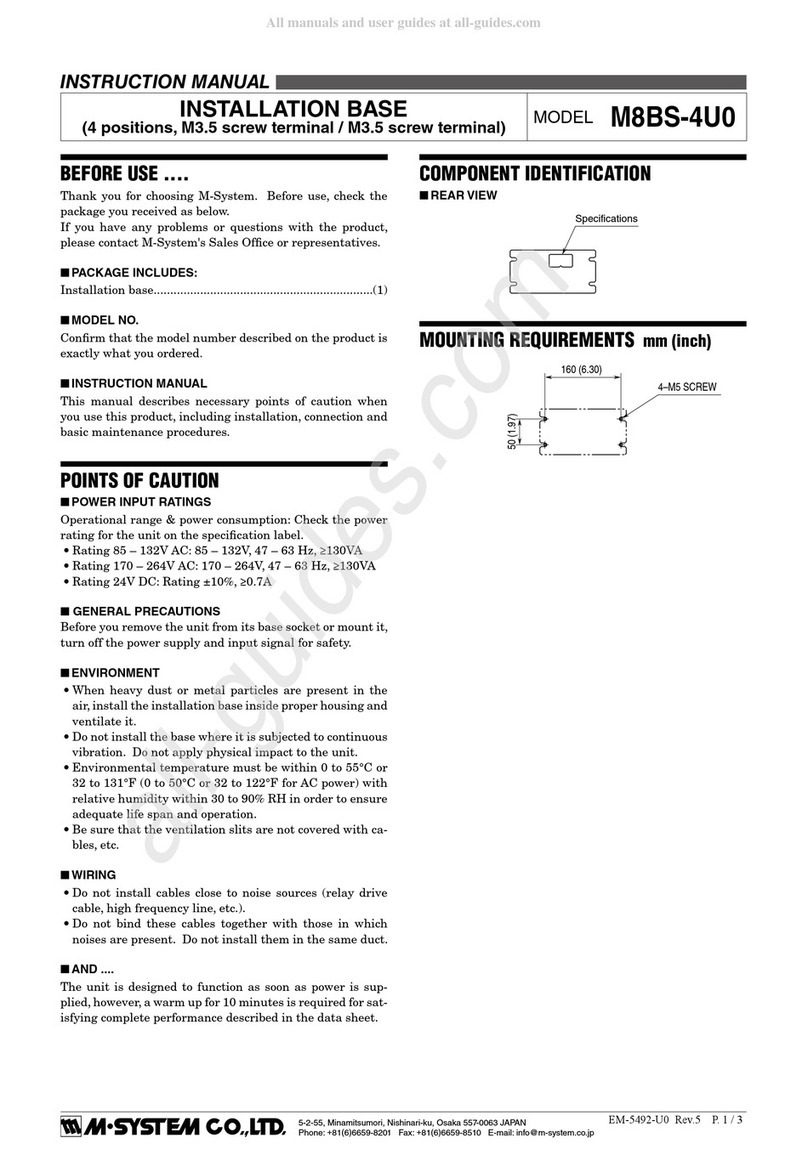
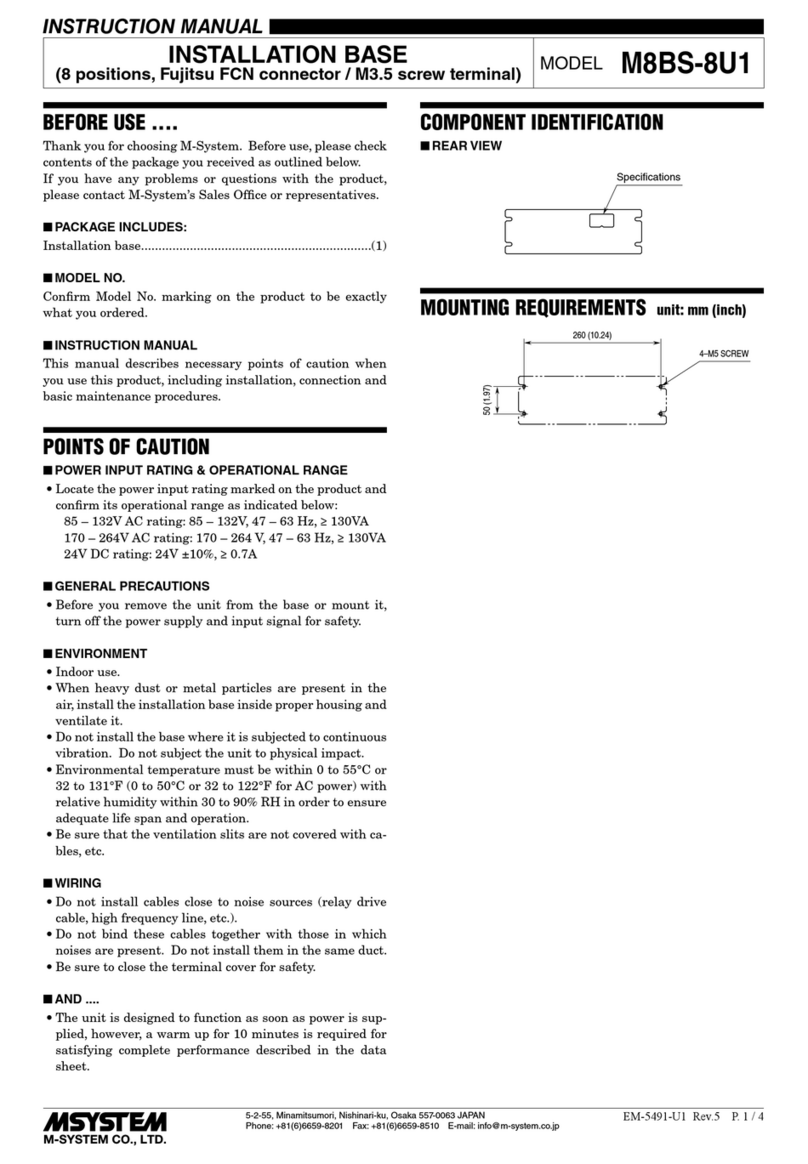
Use Installation Base (model: M8BS❑).
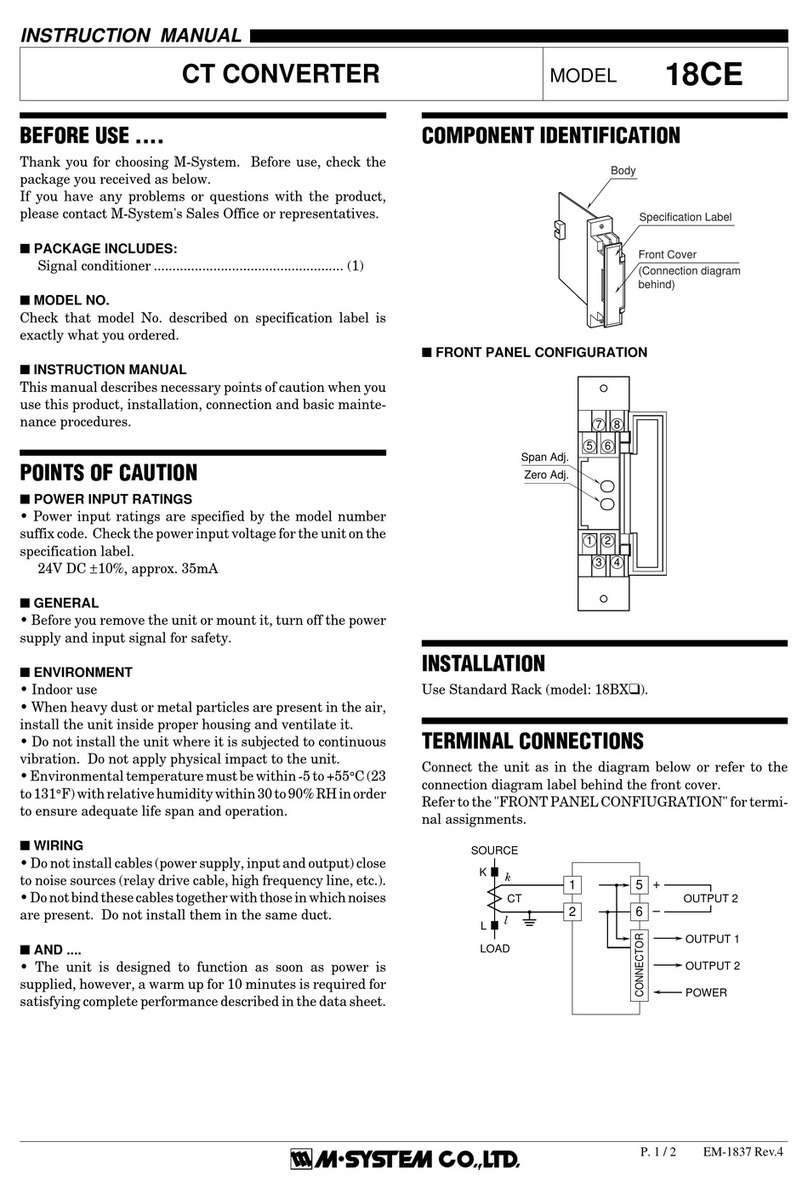
TERMINAL CONNECTIONS
Connect the unit referrint the drawings below.
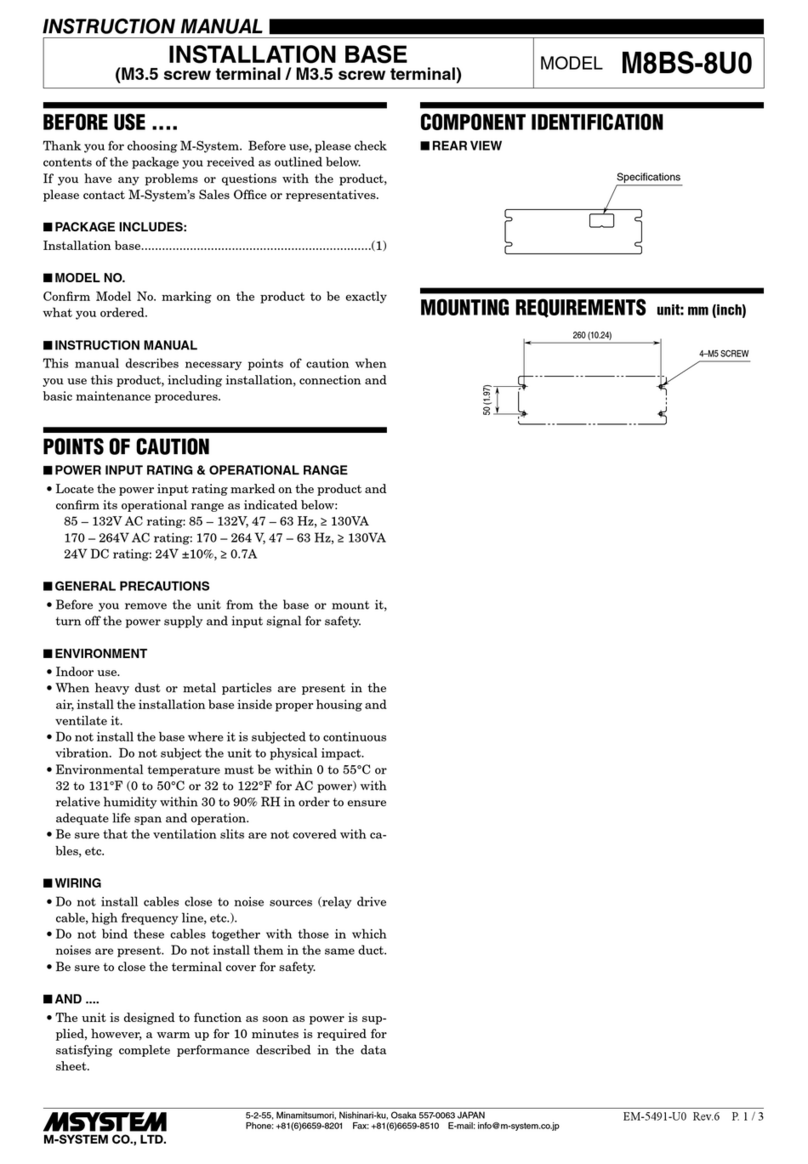
■ EXTERNAL DIMENSIONS mm (inch)
■ CONNECTION DIAGRAM
INSTRUCTION MANUAL
MODEL
SIGNAL CONVERTER
(PC programmable)
Specification
Label Mounting Screw
Body
+
–
Installation Base
OUTPUT 1
6
7
8
9
10
11
+
–
+
–
OUTPUT 2
1
2
A
B
POWER
+
–
INPUT
CONFIGURATOR JACK
I/O PINS
17.5(.69)
48 (1.89)
75 (2.95)
83 (3.27)
M8XV2
M8XV3
M8XV2 / M8XV3
EM-5469 Rev.2P. 2 / 3
CHECKING
1) Terminal wiring: Check that all cables are correctly
connected according to the connection diagram.
2) DIP switches: Check the input range selector and output
range selector setting.
3) Power input: Check the power input voltage.
4) Input: Check that the input signal is within 0 – 100% of
the full-scale.
5) Output: Check that the load resistance meets the de-
scribed specifications.
6) Status indicator LED: Check that it flashes in a regular
pattern.
CALIBRATION
This unit is calibrated at the factory to meet the ordered
specifications, therefore you usually do not need any calibra-
tion.
For matching the signal to a receiving instrument or in case
of regular calibration, adjust the output as explained in the
following.
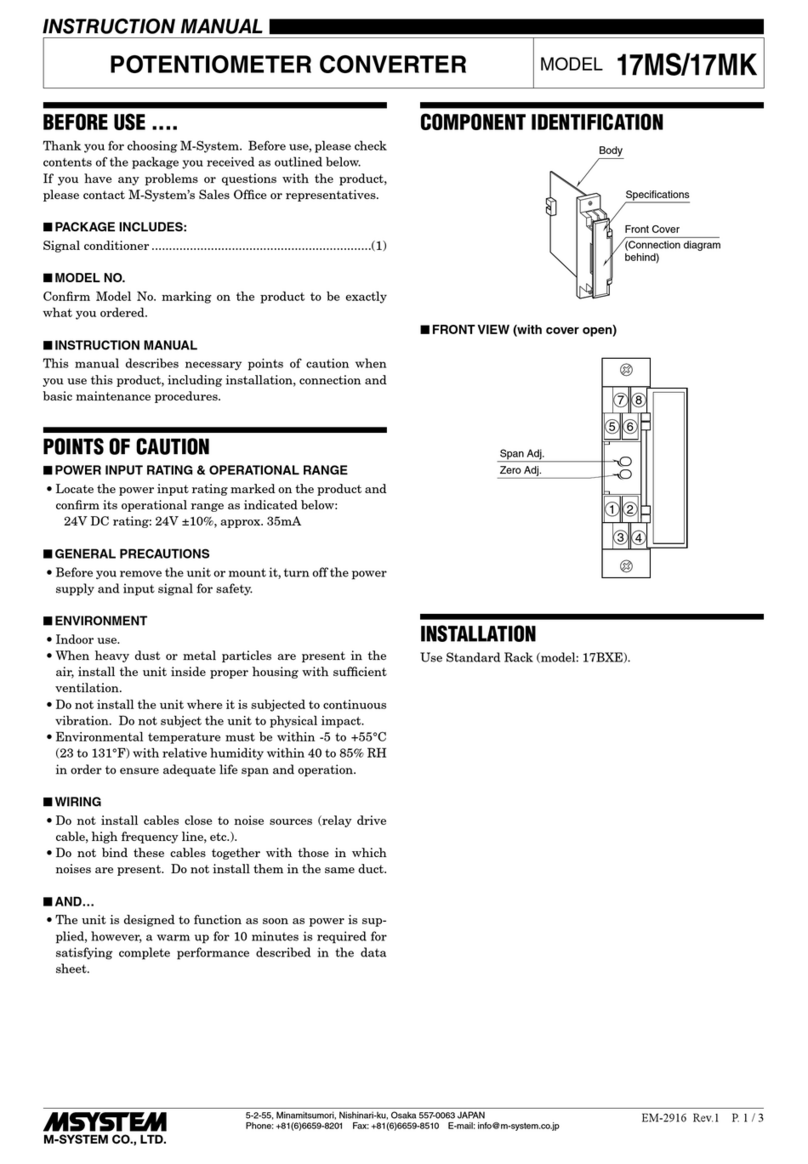
■ ZERO/SPAN & UP/DOWN SWITCHES
Fine zero and span adjustments can be done with the ZERO/
SPAN Selector and UP/DOWN switches. Calibrated values
are stored in the non-volatile memory, which will not be lost
even when you turn off power supply to the unit.
The output 1 and output 2 can be independently adjustable.
Zero and span are respectively set to 0% and 100% at the
factory, and field calibration can be reset to ex-factory setting
if necessary.
Adjustable range: ±5%
Zero/Span Selector
ZERO:UP/DOWN switches usable for zero adjustment.
OFF:UP/DOWN switches unavailable.
SPAN:UP/DOWN switches usable for span adjustment.
UP/DOWN Switches
UP:Pressing UP increases adjusted values.
DOWN:Pressing DOWN decreases adjusted values.
■ FRONT VIEW
■ BOTTOM VIEW
Zero/Span Selector
SZ
OFF Z
S
UP Switch
Status Indicator LED
Configurator Jack
DOWN Switch
■ HOW TO CALIBRATE THE ZERO & SPAN
Use a signal source and measuring instruments of sufficient
accuracy level. Turn the power supply on and warm up for
more than 10 minutes.
The output 1 and output 2 adjustments are linked except for
(2) and (6).
1) Apply 0% input.
2) Select the Output 1 Zero: Slide the Zero/Span Selector to
the position Z.
Select the Output 2 Zero: Slide the Zero/Span Selector to
the position Z while pressing UP switch.
3) Press UP or DOWN switch and adjust the output to 0%.
Incrementing speed will be doubled when you keep press-
ing a switch.
4) Put the Zero/Span Selector back to the position OFF.
5) Apply 100% input.
6) Select the Output 1 Span: Slide the Zero/Span Selector to
the position S.
Select the Output 2 Span: Slide the Zero/Span Selector to
the position S while pressing UP switch.
7) Press UP or DOWN switch and adjust the output to 100%.
Incrementing speed will be doubled when you keep press-
ing a switch.
8) Put the Zero/Span Selector back to the position OFF.
9) Check Zero and Span adjustments again with 0% and
100% input respectively.
10
)If the output value is changed, repeat the above procedure
(1) – (9).
■ HOW TO RESET
After you calibrated manually with these switches, you can
reset them to its ex-factory state by pressing both UP/DOWN
switches at once.
Zero/Span Selector
MODE SW POSITION
SPAN S
OFF ■
ZERO Z
M8XV2 / M8XV3
EM-5469 Rev.2P. 3 / 3
I/O RANGE MODIFICATION
Configurator Software is used to change input ranges over
the described range of the selected suffix code. For changing
out of this range, set the Input Range Selectors before
software adjustment.
For changing output ranges, set the Output Range Selector
and then select by Configurator Software.
M-SYSTEM WARRANTY
M-System warrants such new M-System product which it manufactures to be free from defects in materials and workmanship during the 36-month period following the date that such
productwasoriginallypurchasedifsuchproducthasbeenusedundernormaloperatingconditionsandproperlymaintained,M-System'ssoleliability,andpurchaser'sexclusiveremedies,
under this warranty are, at M-System's option, the repair, replacement or refund of the purchase price of any M-System product which is defective under the terms of this warranty. To
submit a claim under this warranty, the purchaser must return, at its expense, the defective M-System product to the below address together with a copy of its original sales invoice.
THIS IS THE ONLY WARRANTY APPLICABLE TO M-SYSTEM PRODUCT AND IS IN LIEU OF ALL OTHER WARRANTIES, EXPRESS OR IMPLIED, INCLUDING ANY IMPLIED
WARRANTIES OF MERCHANTABILITY OR FITNESS FOR A PARTICULAR PURPOSE. M-SYSTEM SHALL HAVE NO LIABILITY FOR CONSEQUENTIAL, INCIDENTAL OR
SPECIAL DAMAGES OF ANY KIND WHATSOEVER.
M-System Co., Ltd., 5-2-55, Minamitsumori, Nishinari-ku, Osaka 557-0063 JAPAN, Phone: (06) 6659-8201, Fax: (06) 6659-8510, E-mail: [email protected]
■SIDE VIEW
Input Range Selector
Output Range Selector
VV
LI
I
H
I
I
H
V
L
V
STATUS INDICATOR LED
The unit is provided with a status indicator LED which
flashes in different patterns indicating various status of its
CPU. When it is functioning within normal parameters, the
LED flashes in a regular pattern of ON and OFF.
The following figure indicates typical patterns.
MAINTENANCE
Regular calibration procedure is explained below:
■ CALIBRATION
Warm up the unit for at least 10 minutes. Apply 0%, 25%,
50%, 75% and 100% input signal. Check that the output
signal for the respective input signal remains within accu-
racy described in the data sheet. When the output is out of
tolerance, recalibrate the unit according to the "CALIBRA-
TION" explained earlier.
Input Range Selector
RANGE TOP SW
BOTTOM SW
Z1 : 0 – 50mA DC I L
S1 : -1 – +1V DC V L
S2 : -10 – +10V DC V H
Output Range Selector
RANGE SW POSITION
V2Z1 : -10 – +10V / 0 – 20mA DC I
V2V2: -10 – +10V / -10 – +10V DC V
LED PATTERNSSTATUS
Normal
Programming Mode
Out. 1 Calibration Mode
Out. 2 Calibration Mode
200 ms ON OFF

This manual suits for next models

1

Other M-system Media Converter manuals

M-system Mini-MW Series User manual

M-system

M-system Mini-MW Series User manual

M-system M8XR2 User manual

M-system

M-system M8XR2 User manual

M-system M8RS User manual

M-system

M-system M8RS User manual

M-system 15MS User manual

M-system

M-system 15MS User manual

M-system 18CE User manual

M-system

M-system 18CE User manual

M-system M8YV1 User manual

M-system

M-system M8YV1 User manual

M-system JFR2 User manual

M-system

M-system JFR2 User manual

M-system 18JM User manual

M-system

M-system 18JM User manual

M-system 18TG User manual

M-system

M-system 18TG User manual

M-system 17AC User manual

M-system

M-system 17AC User manual

M-system JARP2 User manual

M-system

M-system JARP2 User manual

M-system M8CTC User manual

M-system

M-system M8CTC User manual

M-system 18AC User manual

M-system

M-system 18AC User manual

M-system M8RS1 User manual

M-system

M-system M8RS1 User manual

M-system JPR2 User manual

M-system

M-system JPR2 User manual

M-system LK1 User manual

M-system

M-system LK1 User manual

M-system JAPD2 User manual

M-system

M-system JAPD2 User manual

M-system Mini-M M2PRU User manual

M-system

M-system Mini-M M2PRU User manual

M-system M8PT User manual

M-system

M-system M8PT User manual

M-system M80MS User manual

M-system

M-system M80MS User manual

M-system AD3V User manual

M-system

M-system AD3V User manual

M-system 18PE User manual

M-system

M-system 18PE User manual

M-system Mini-M M2RR User manual

M-system

M-system Mini-M M2RR User manual

M-system M8BS-8U1-R User manual

M-system

M-system M8BS-8U1-R User manual

Popular Media Converter manuals by other brands

Pro-Ject Audio Systems DAC Box S USB Instructions for use

Pro-Ject Audio Systems

Pro-Ject Audio Systems DAC Box S USB Instructions for use

Baumer HUBNER BERLIN EtherCAT PMG 10 Installation and operating instructions

Baumer

Baumer HUBNER BERLIN EtherCAT PMG 10 Installation and operating instructions

Altronix NetWaySP4PX installation guide

Altronix

Altronix NetWaySP4PX installation guide

10Gtek G0101-MSFP Series product manual

10Gtek

10Gtek G0101-MSFP Series product manual

Allnet ALL-USB-RS422/485 user manual

Allnet

Allnet ALL-USB-RS422/485 user manual

Esu L.Net converter instruction manual

Esu

Esu L.Net converter instruction manual

Melco HA-N1Z Quick setup guide

Melco

Melco HA-N1Z Quick setup guide

Omnitron Systems OmniConverter 10G user manual

Omnitron Systems

Omnitron Systems OmniConverter 10G user manual

Moxa Technologies TCF-142-S user manual

Moxa Technologies

Moxa Technologies TCF-142-S user manual

PeakTech 4123 A Operation manual

PeakTech

PeakTech 4123 A Operation manual

MediaKind RX1 quick start guide

MediaKind

MediaKind RX1 quick start guide

Spartz MULTISCALE Operation manual

Spartz

Spartz MULTISCALE Operation manual

AETEK M30-022-91-V2 Quick installation guide

AETEK

AETEK M30-022-91-V2 Quick installation guide

Moxa Technologies ME50-M-SC user guide

Moxa Technologies

Moxa Technologies ME50-M-SC user guide

Shinybow USA SB-6358 instruction manual

Shinybow USA

Shinybow USA SB-6358 instruction manual

CTS WPC-2012 SERIES user guide

CTS

CTS WPC-2012 SERIES user guide

Digikeijs DR4018 DIGISWITCH instruction manual

Digikeijs

Digikeijs DR4018 DIGISWITCH instruction manual

Sirus Stream 200 quick start guide

Sirus

Sirus Stream 200 quick start guide

manuals.online logo
manuals.online logoBrands
  • About & Mission
  • Contact us
  • Privacy Policy
  • Terms and Conditions

Copyright 2025 Manuals.Online. All Rights Reserved.